

When it comes to DIY, a lot of us find ourselves confused and a little unsure of what to do. This is especially true when it comes to the kitchen. A kitchen is a key part of the home, which is why it’s vital that your kitchen remains in great condition and works well for everyday use. However, kitchen DIY isn’t always straightforward. Luckily, help is at hand.
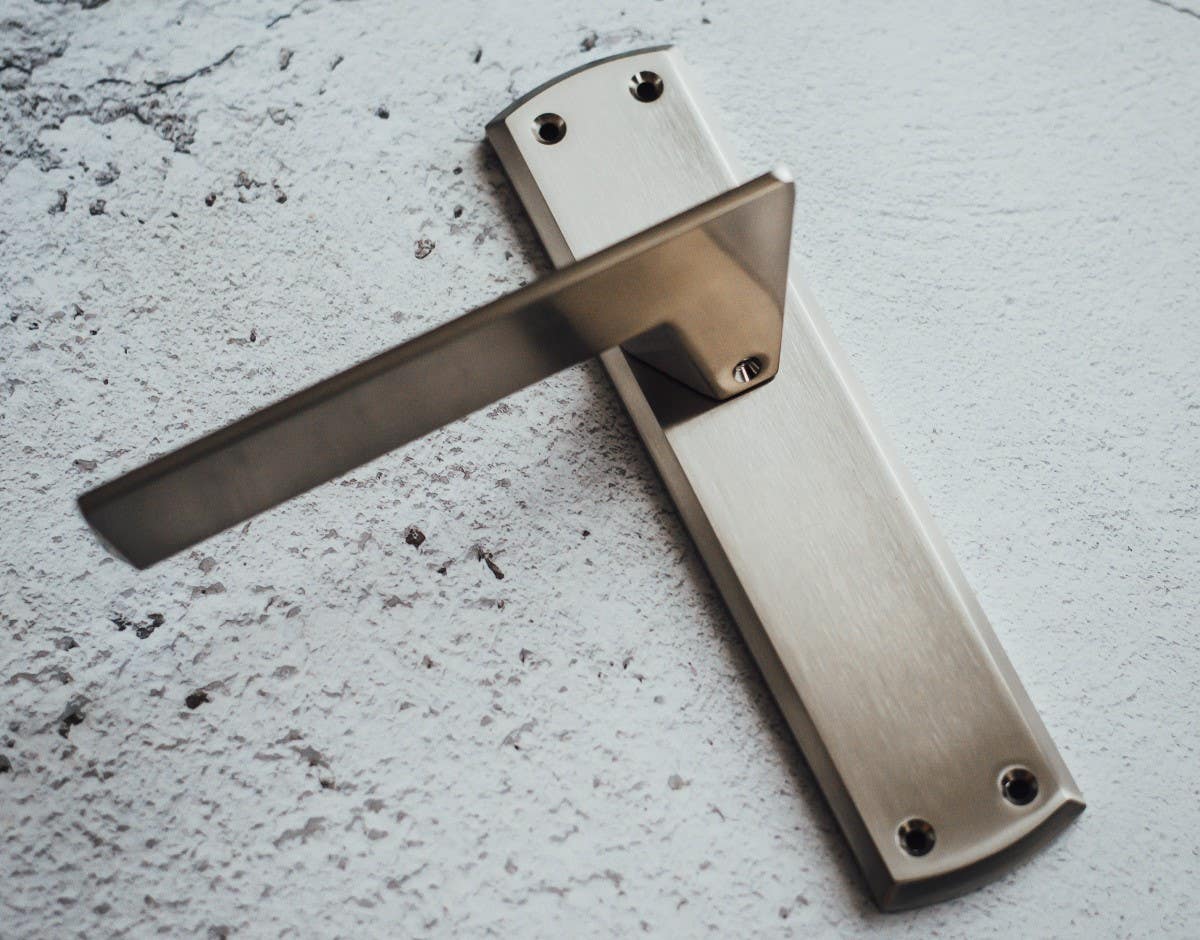
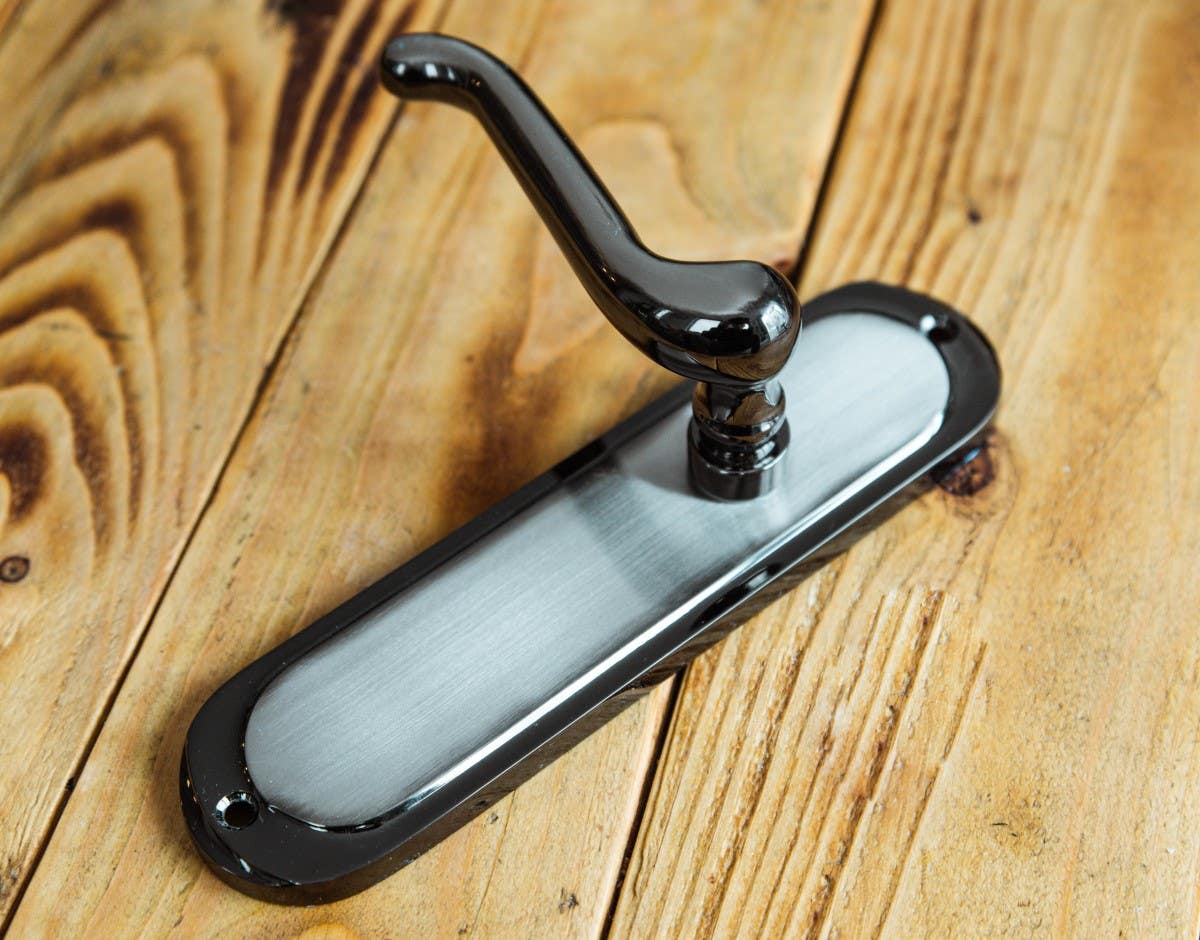
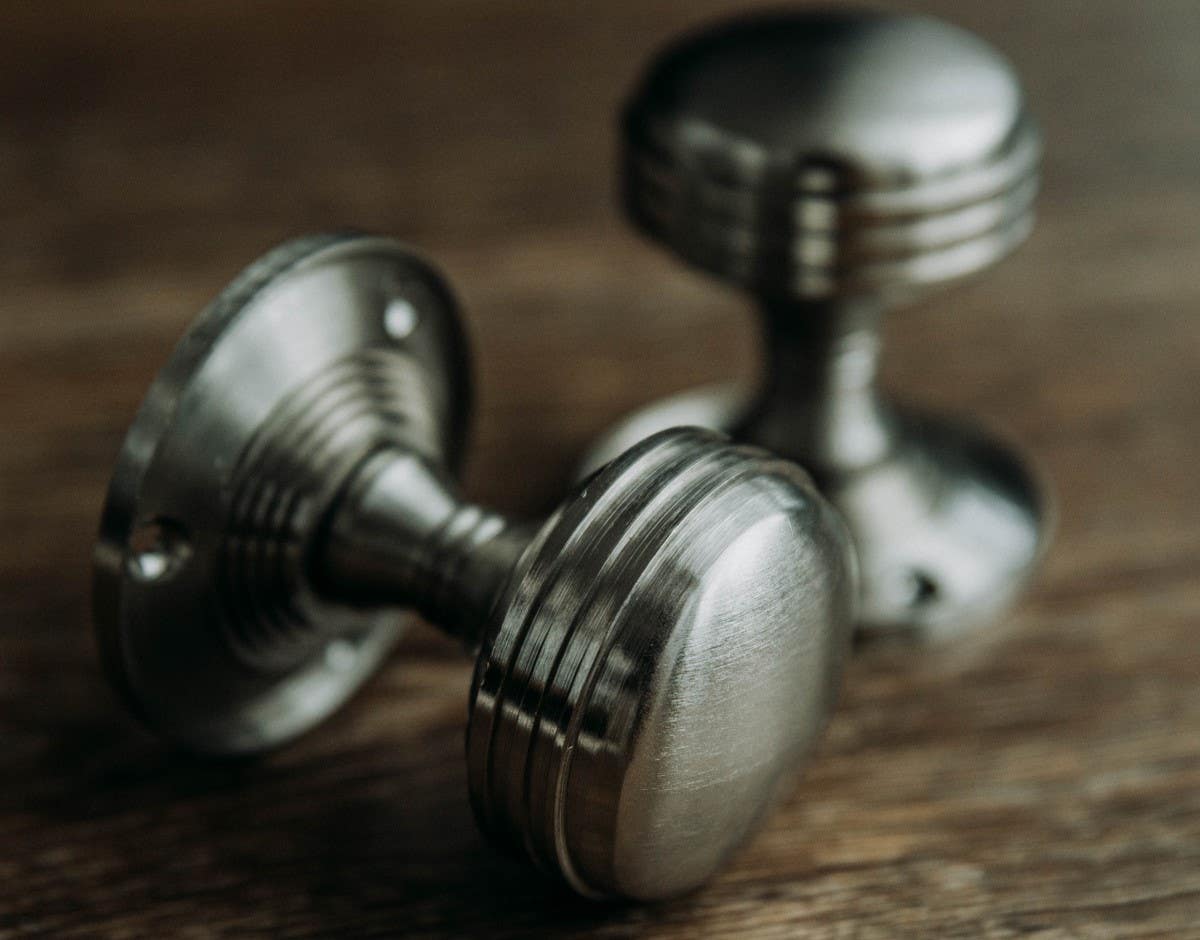
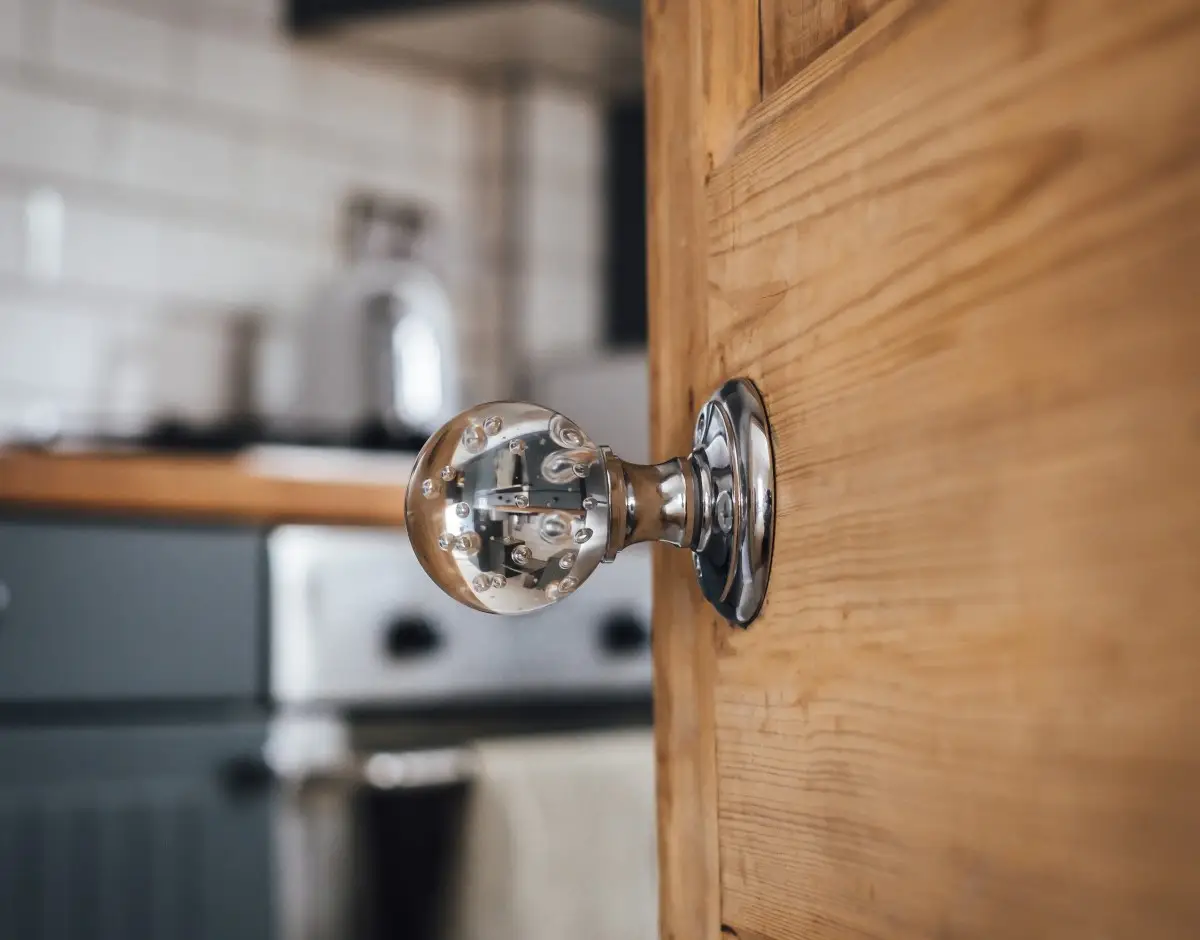
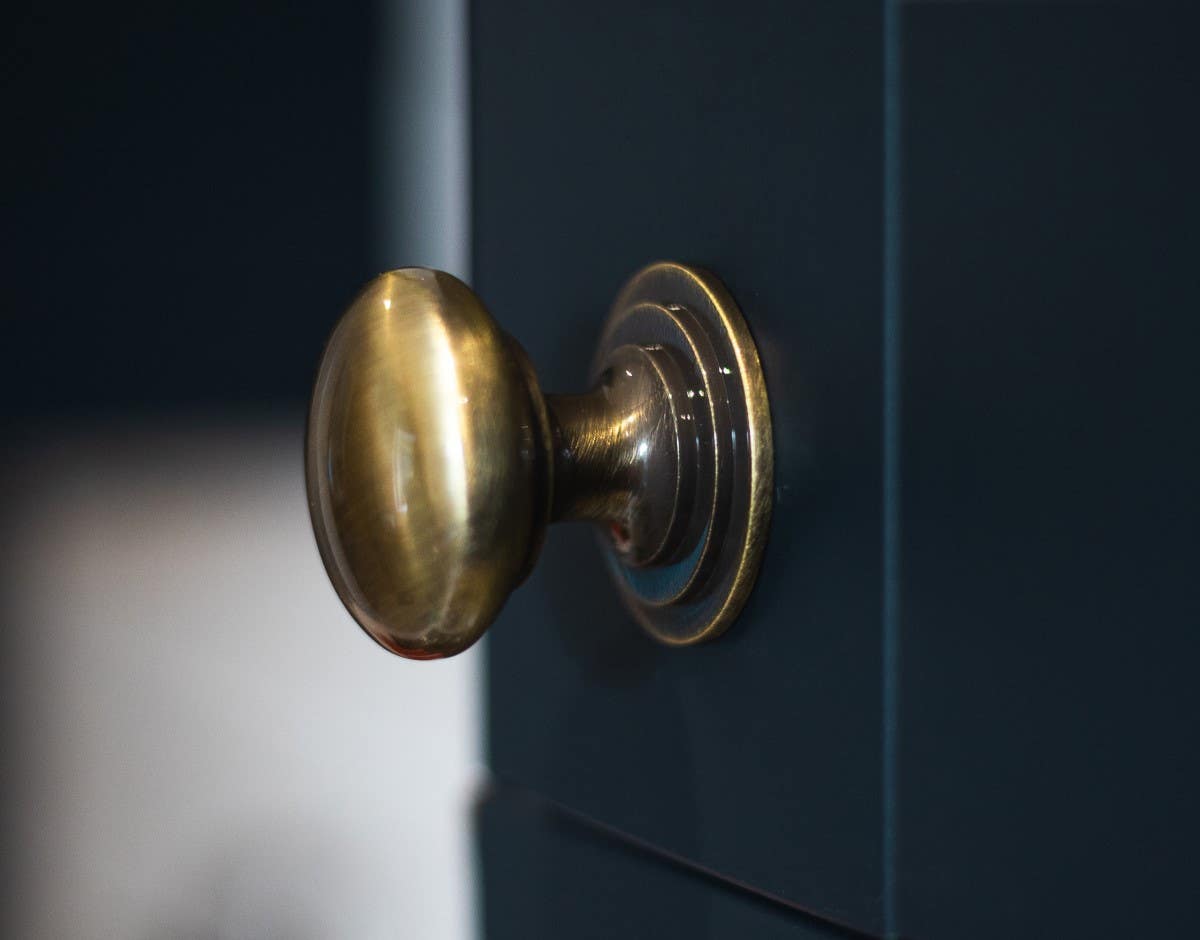
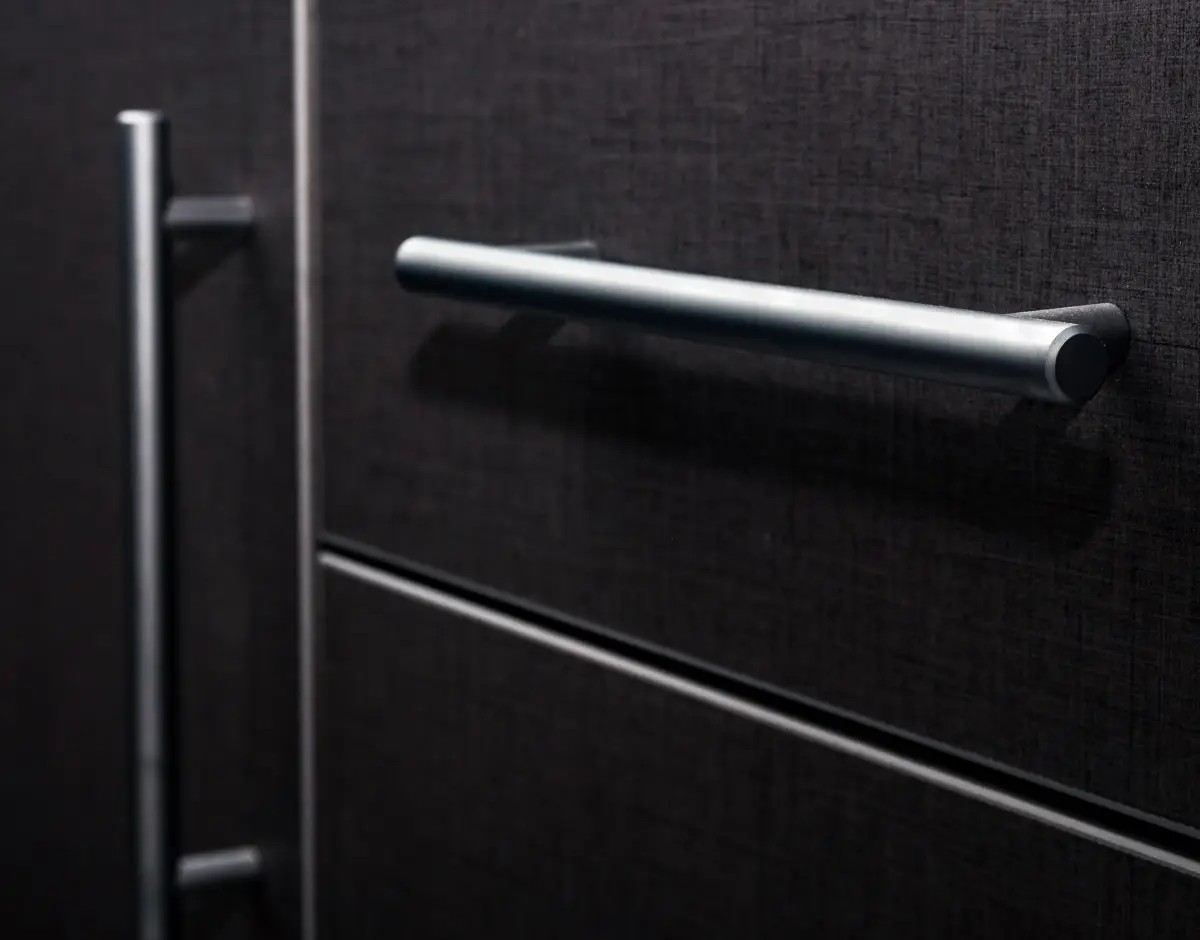
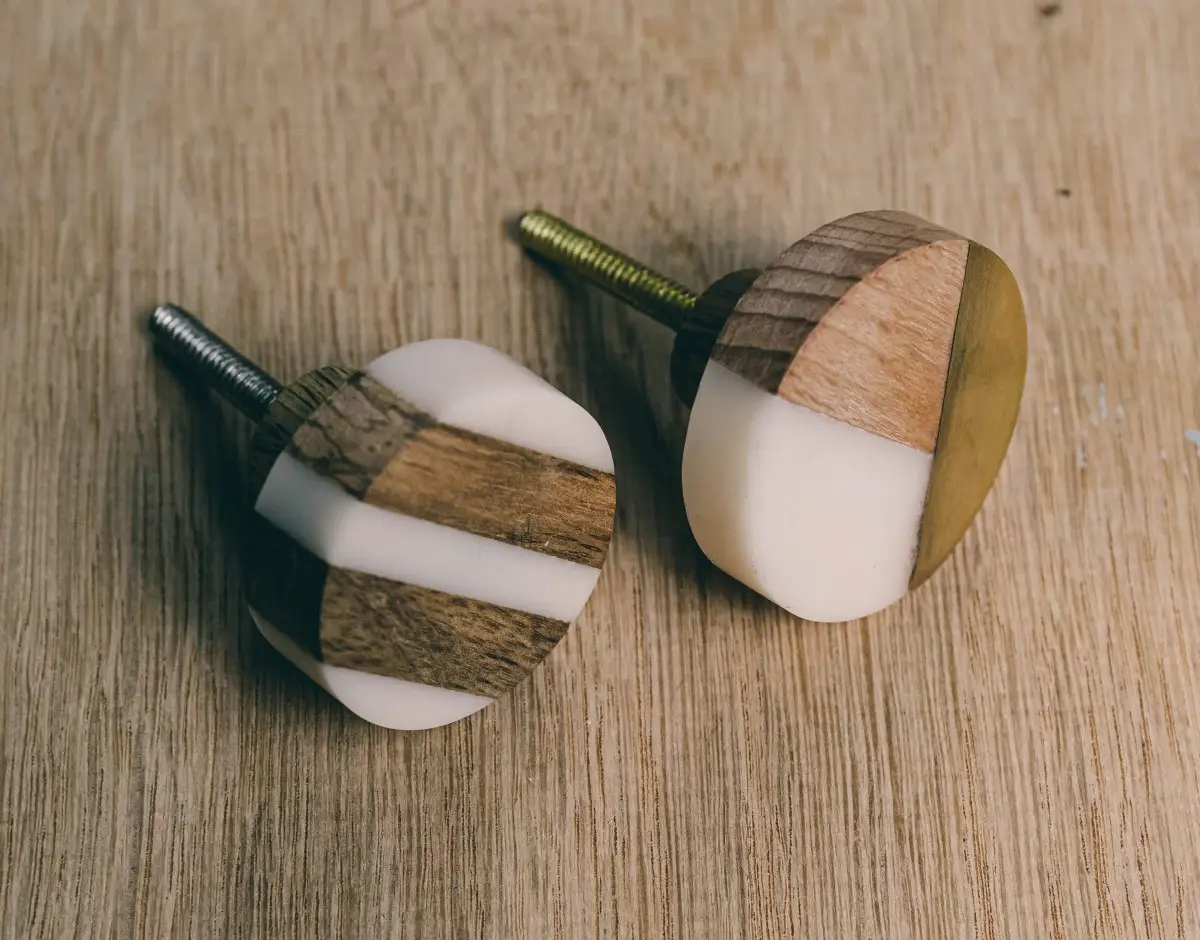
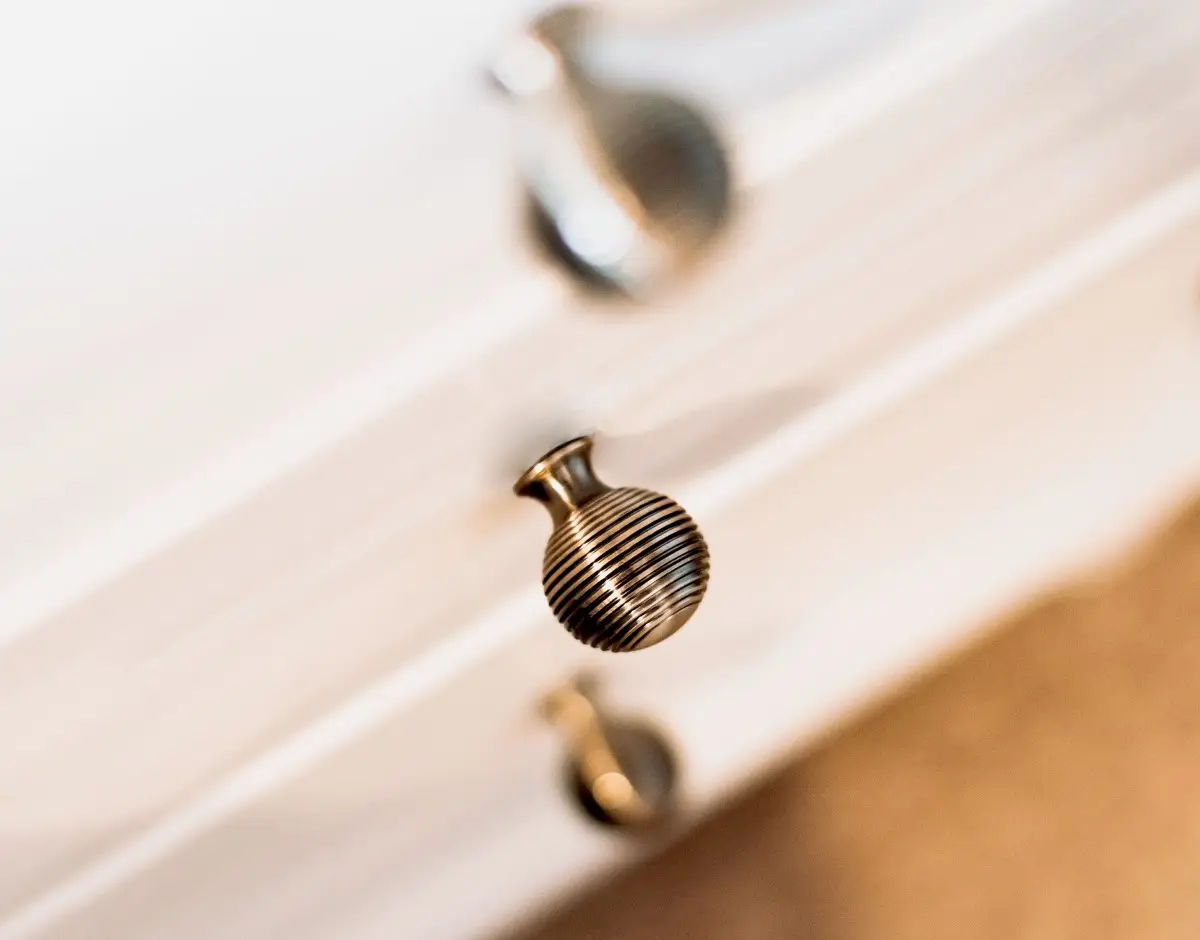
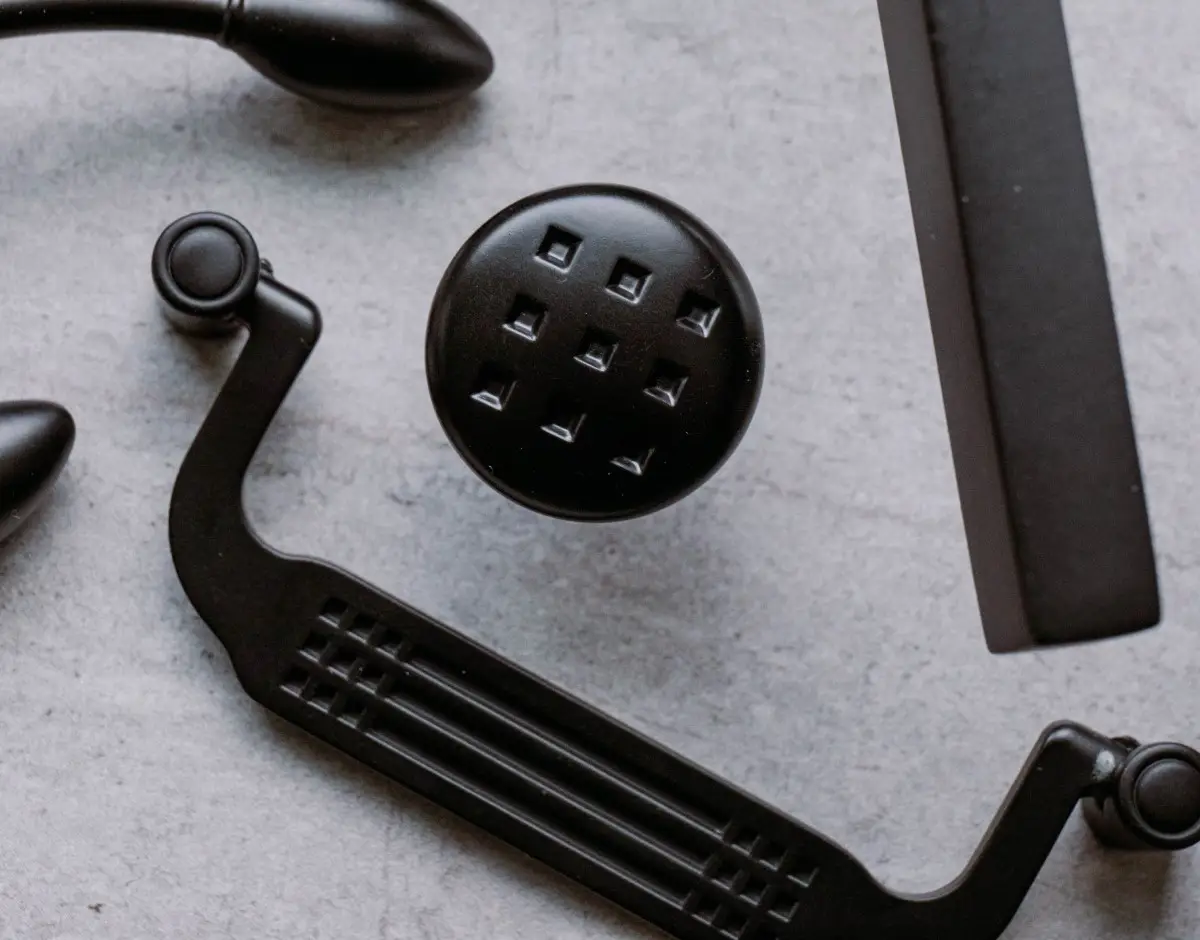
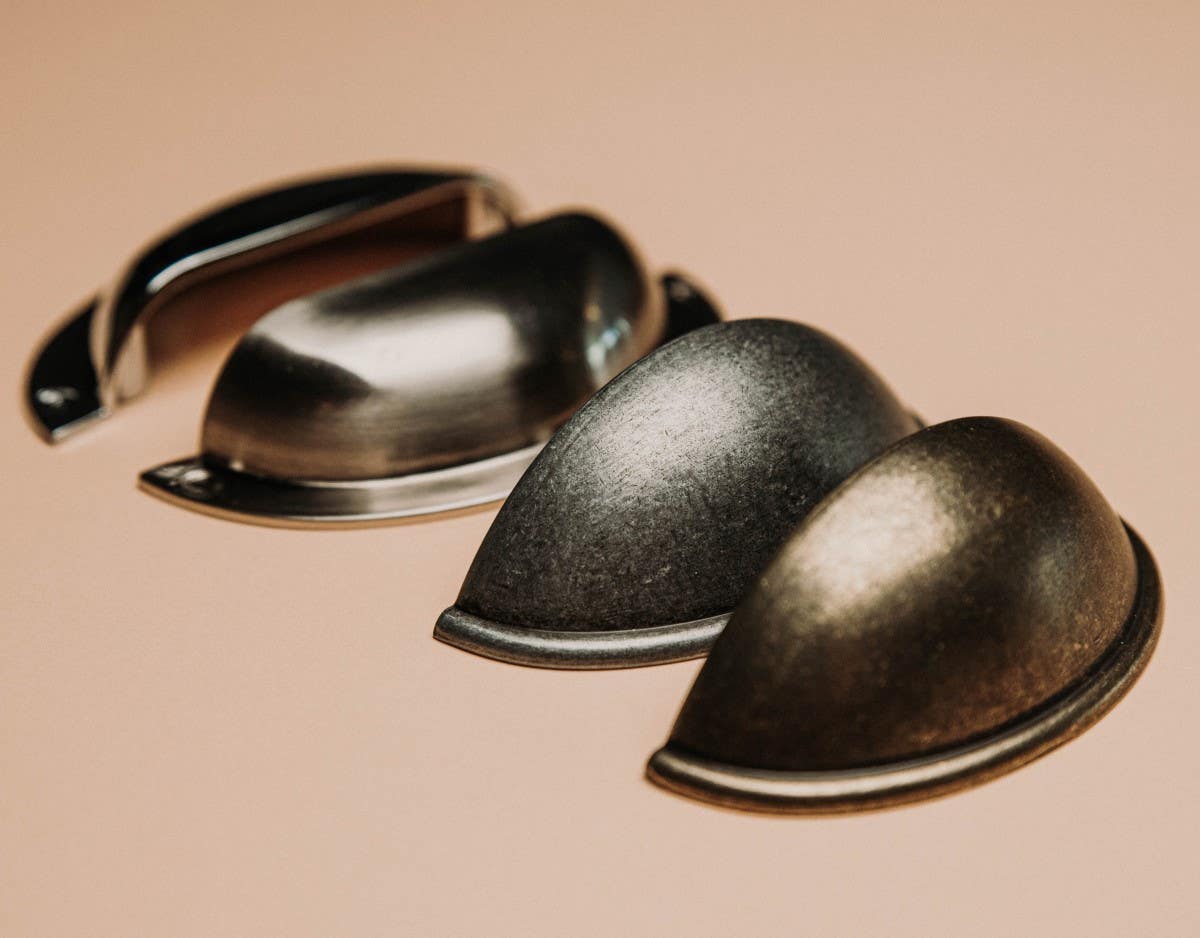
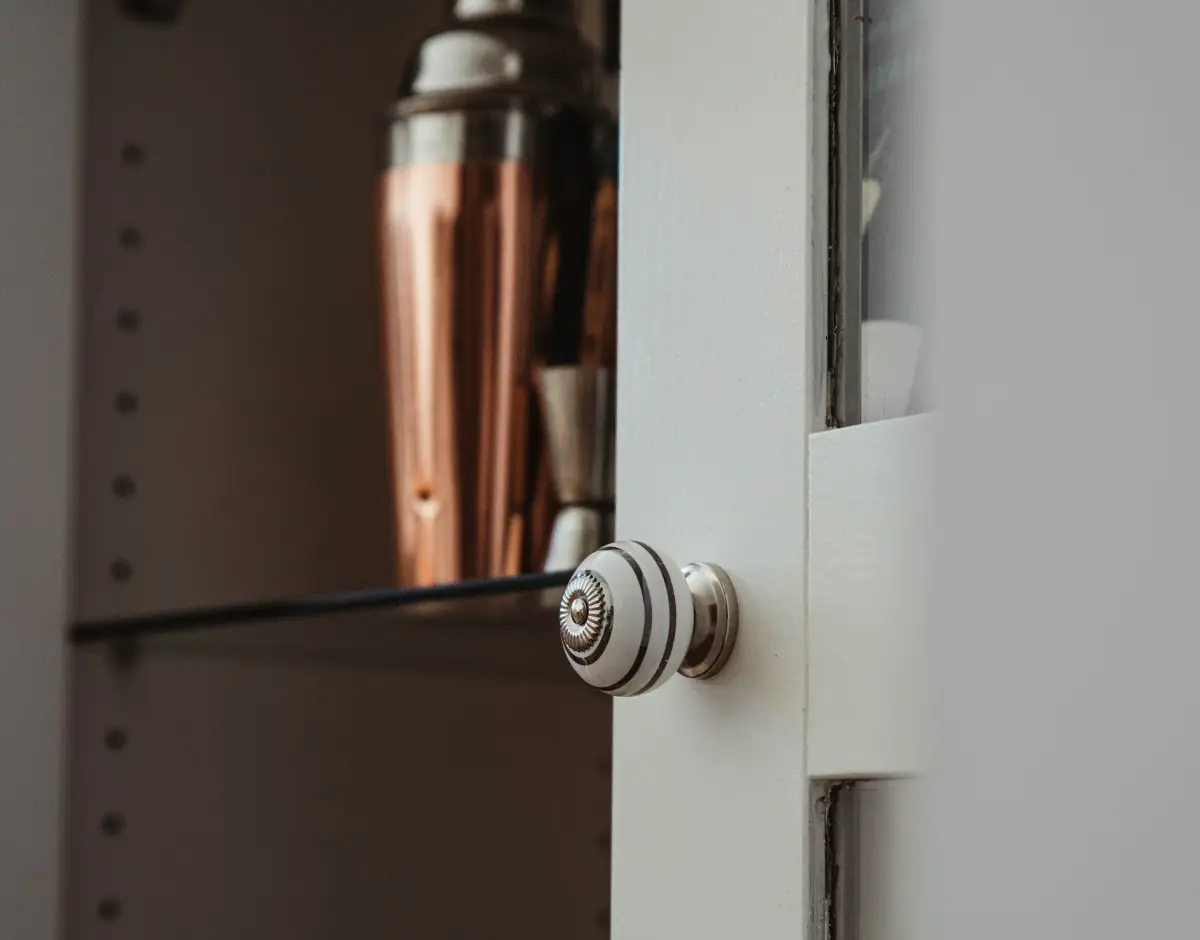
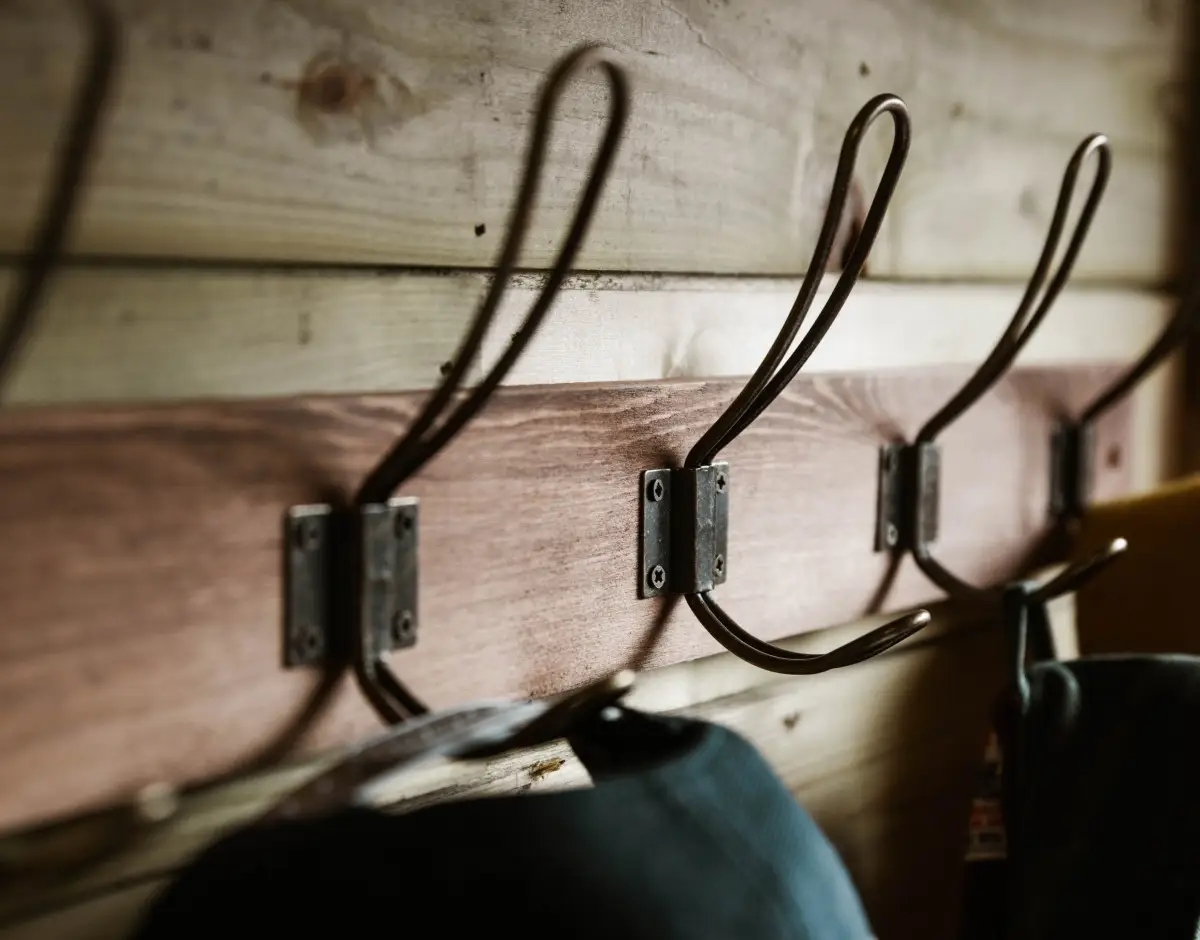
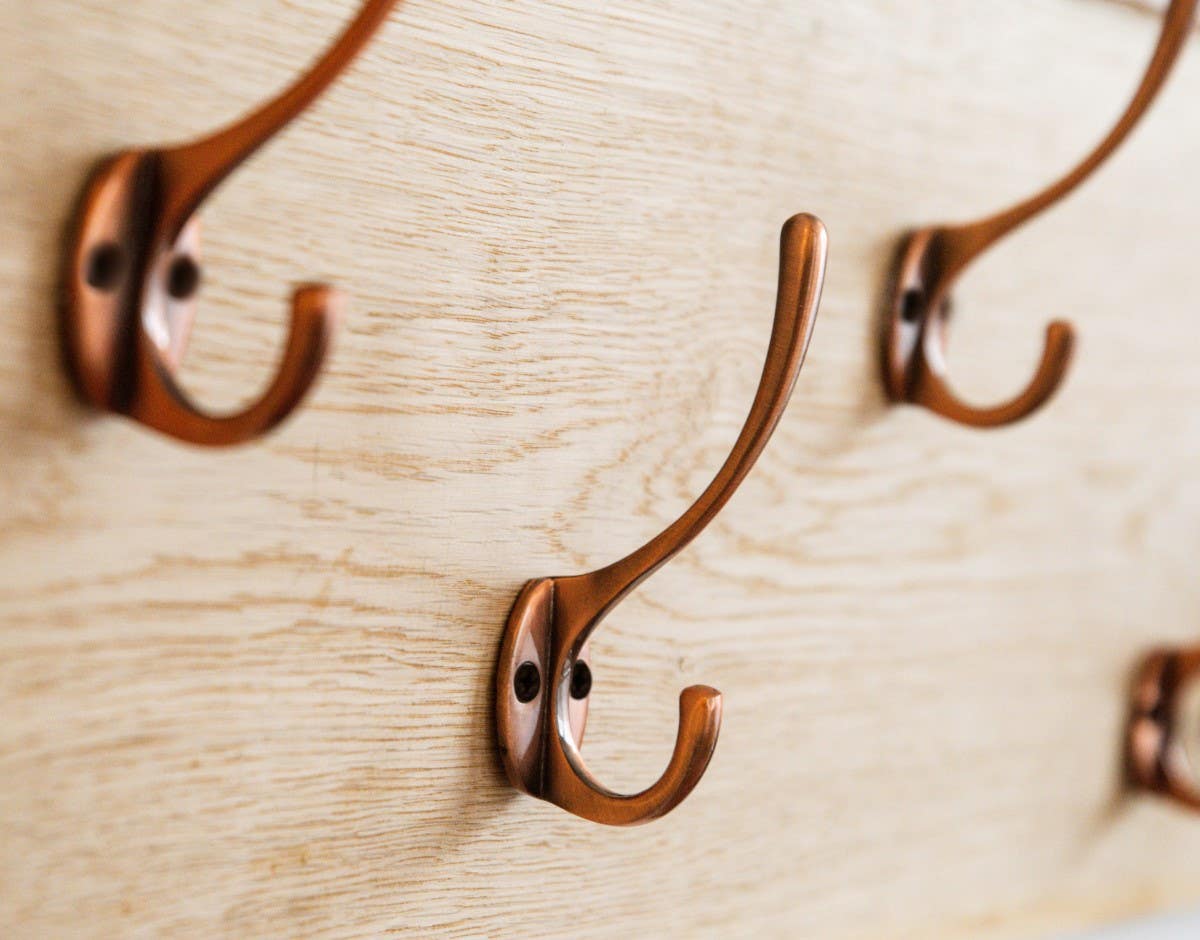
Kitchen cabinet handles and knobs aren’t always easy to fit, but they can make a huge difference to the way that your kitchen looks and works. As well as looking great and helping to add a personal touch, it’s important that handles and knobs benefit a kitchen ergonomically. If yours don’t, it could be time to update them. This guide will explain how to fit handles and knobs to kitchen cabinets. The instructions are generic and standard, which means that they’ll work well for most kitchen cabinet handles and knobs.
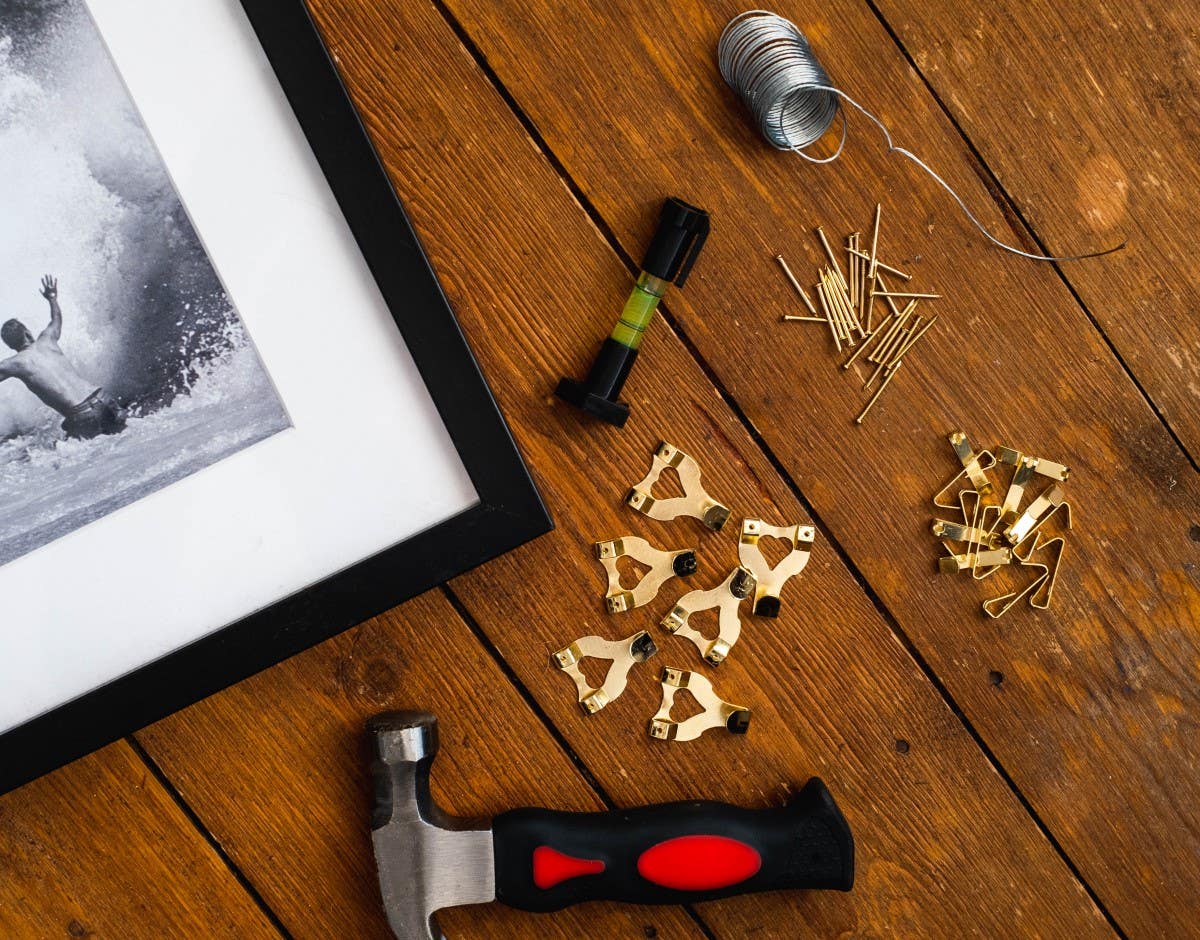
What You’ll Need:
- Your Kitchen Cabinet Handles or Knobs of Choice
- A Tape Measure
- A Power Drill
- Pencil
- Phillips Head Screwdriver
- G Clamp
Step 1: Preparation
Before you begin, you’ll need to prepare your kitchen cabinets for the new handles or knobs. They must be clean and free of any dust. The easiest way to do this is with a wet wipe, followed by a kitchen towel or cloth to wipe away any residue. It’s also a good idea to refer to the kitchen cabinet instructions, to ensure that you’re preparing the cabinet in the right way. The instructions that come with the handles or knobs that you have chosen may also provide additional information on how best to prepare the cabinets.
Step 2: Marking the Positioning
The next step to fitting handles and knobs to kitchen cabinets is to mark where you want to fit them. Mark the positioning where you want them to go with a pencil, specifying where the drilling points will be. Then, double-check to see that the handle or knob lines up with the markings and that you’re happy with the location. If you’re lucky, the kitchen cabinet will have pre-marked drilling holes to make everything a little bit easier.
When you’re marking the positioning, remember that base unit handles and knobs should be mounted towards the top of the door; this makes them easy to access. Similarly, wall unit handles and knobs should be mounted towards the bottom of the door. It’s also recommended to fit them closer to the opening side of the door. If you’re fitting handles or knobs elsewhere, it’s best to mount them in the centre.
Step 3: Drilling the Holes
When you’re drilling the holes for the handles or knobs, you should drill them from the front of the door to the back. You may want to consider drilling the hole halfway from the front of the door, then halfway from the back. However, this method doesn’t work well for everyone and some people find it easier to just simply drill from the front in one go. First, use a G clamp to attach a piece of wood to the outside of the open door. This will help to reduce the chances of wood splitting. Then, use a slightly larger drill bit than the hole that the screw needs. This will ensure that the screws fit in and can be screwed in with ease.
Step 4: Fitting the Handles or Knobs
Remove all pencil marks before screwing in the handle or knob, to ensure that no pencil marks will show once they have been fitted. Then, begin screwing the handle or knob. Handles can be a bit more difficult, as there are usually two screws to contend with. Whereas knobs usually only have one. When you’re fitting a handle, start with one screw and screw it until it is tight but with some room to move. Then screw the second screw until it is completely tight, before tightening the first screw the rest of the way.
Extra Tips for Fitting Handles and Knobs
- Try to avoid tightening screws too tightly as this can cause the wood to split.
- Always wear safety goggles and gloves to cut down on the chances of personal injury.
- Use a G clamp when drilling holes into kitchen cabinets to cut down on the chances of the wood splitting and splintering.