

1. Painting a flat door
Sanding the surface
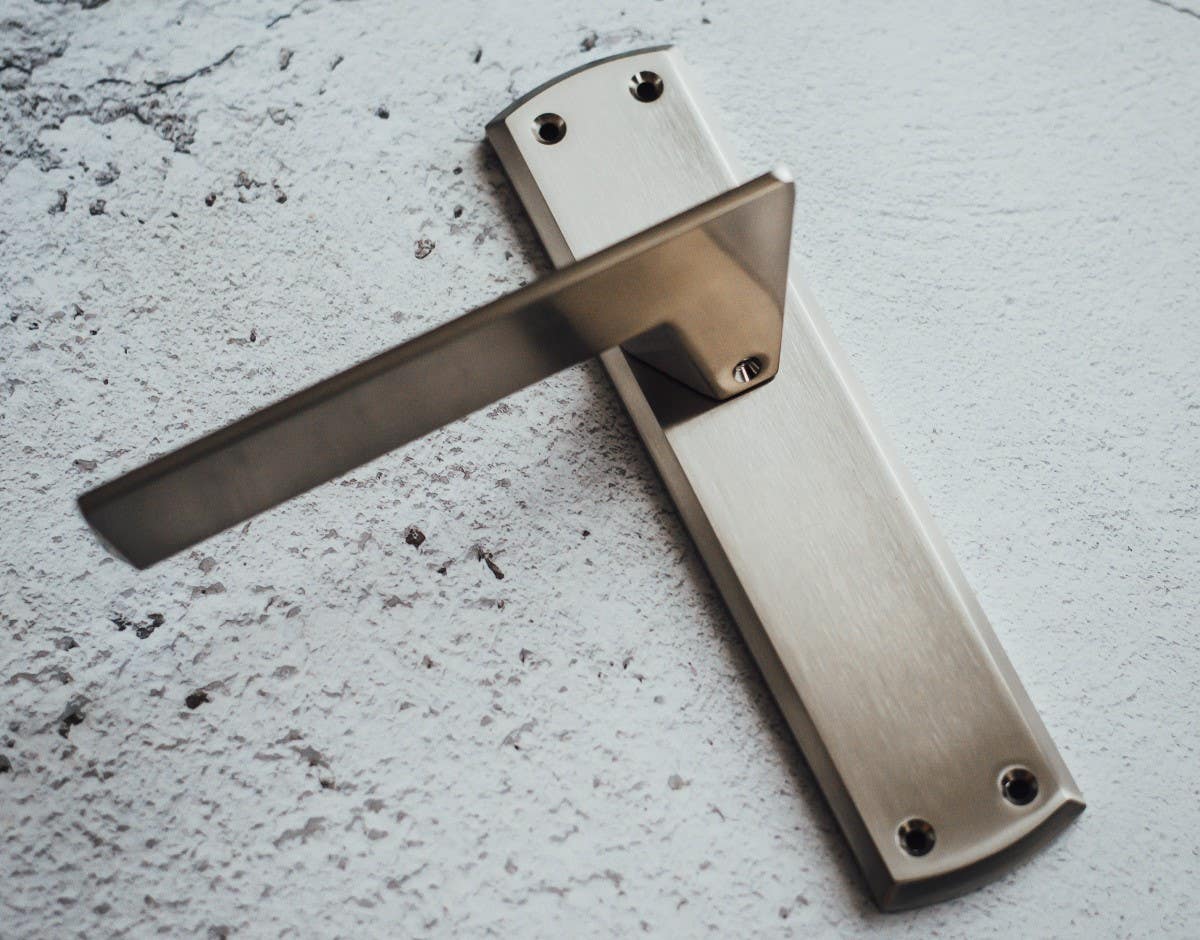
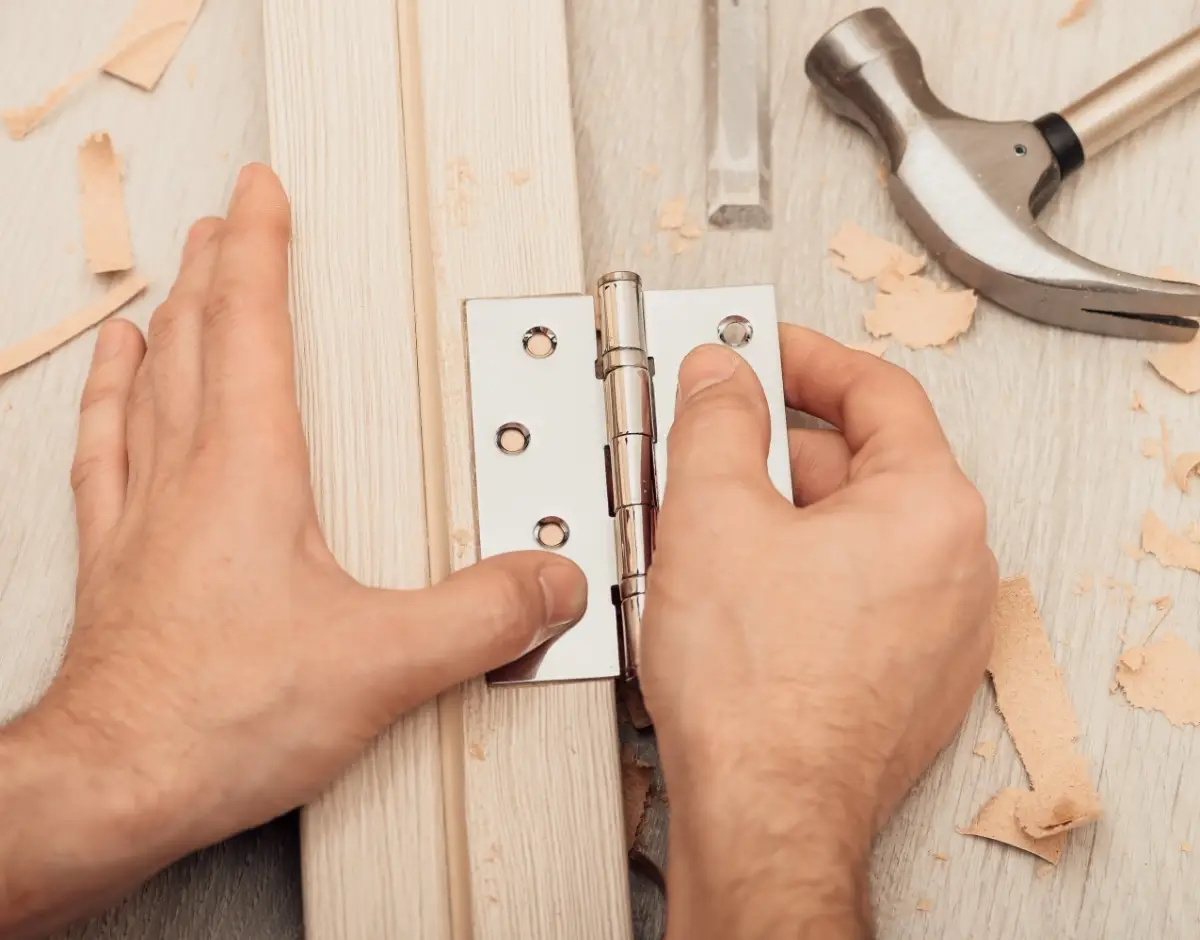
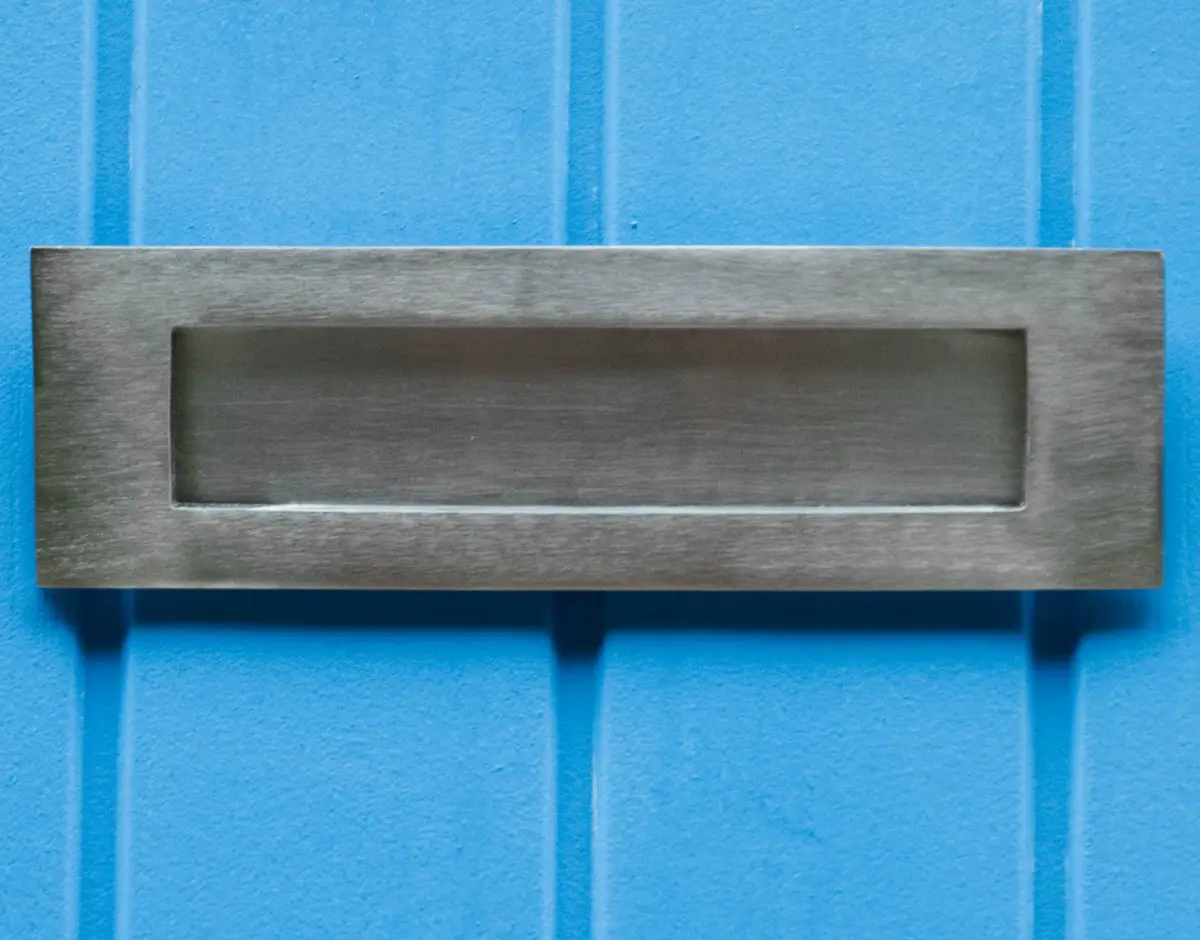
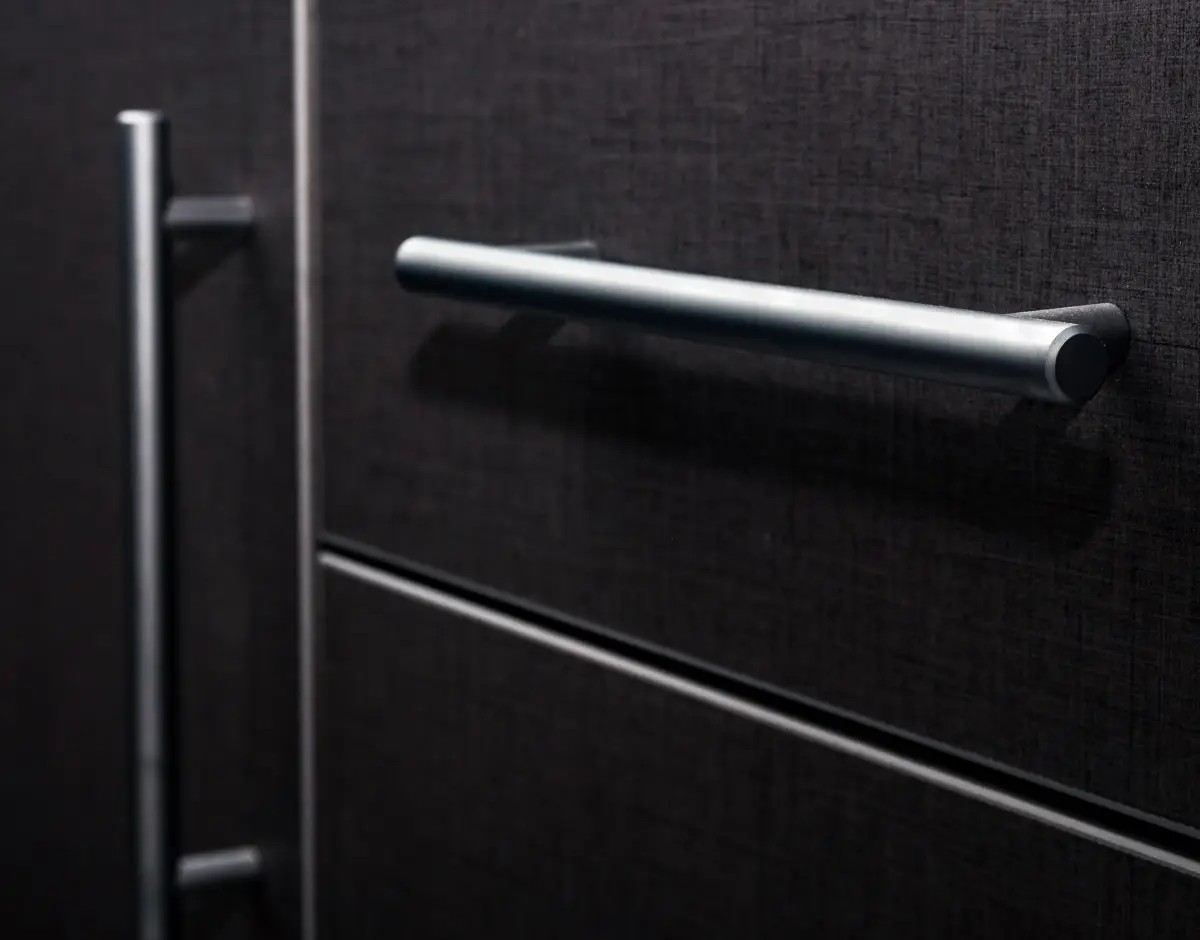
Once you have removed all the door hardware parts, you will need to start your painting by first sanding the surface. The purpose of sanding is to give the door a smooth and even surface to make applying coats of paint easy for the cleanest result.
When sanding, you need to ensure you get rid of all existing paint coats. This makes the door more responsive in terms of holding the new paint coat. While you can use an electric sanding machine, you can save on costs by using the basic sanding block.
Once the surface is smooth, you can use a tack cloth to brush off the dust.
Painting the edges
To ensure you paint your door perfectly flat, it is advisable to start the process by painting the inside edges of the hinges. Work while moving in a single direction from the hinges.
Start from the inside bottom and move to the header and then down the striker side. For better control of the painting process, use brushes for the narrow spaces.
Be careful not to load up too much paint on the brushes when scooping paint as this causes excess dripping, which can make the project harder.
Painting the flat door
Once the edges are done, you can move to paint the door’s surface using a 4-inch foam roller with a closed-end.
It is advisable to use 2 or 3 roller width for full door height and painting across the face of the door.
To get rid of any lines, lay off the finish by brushing bottom to top with a smaller roller or light brush. This technique helps the roller achieve a uniform application while still letting the edges maintain the required moisture for a smooth-looking finish.
2. Painting a panel door
Sand the door
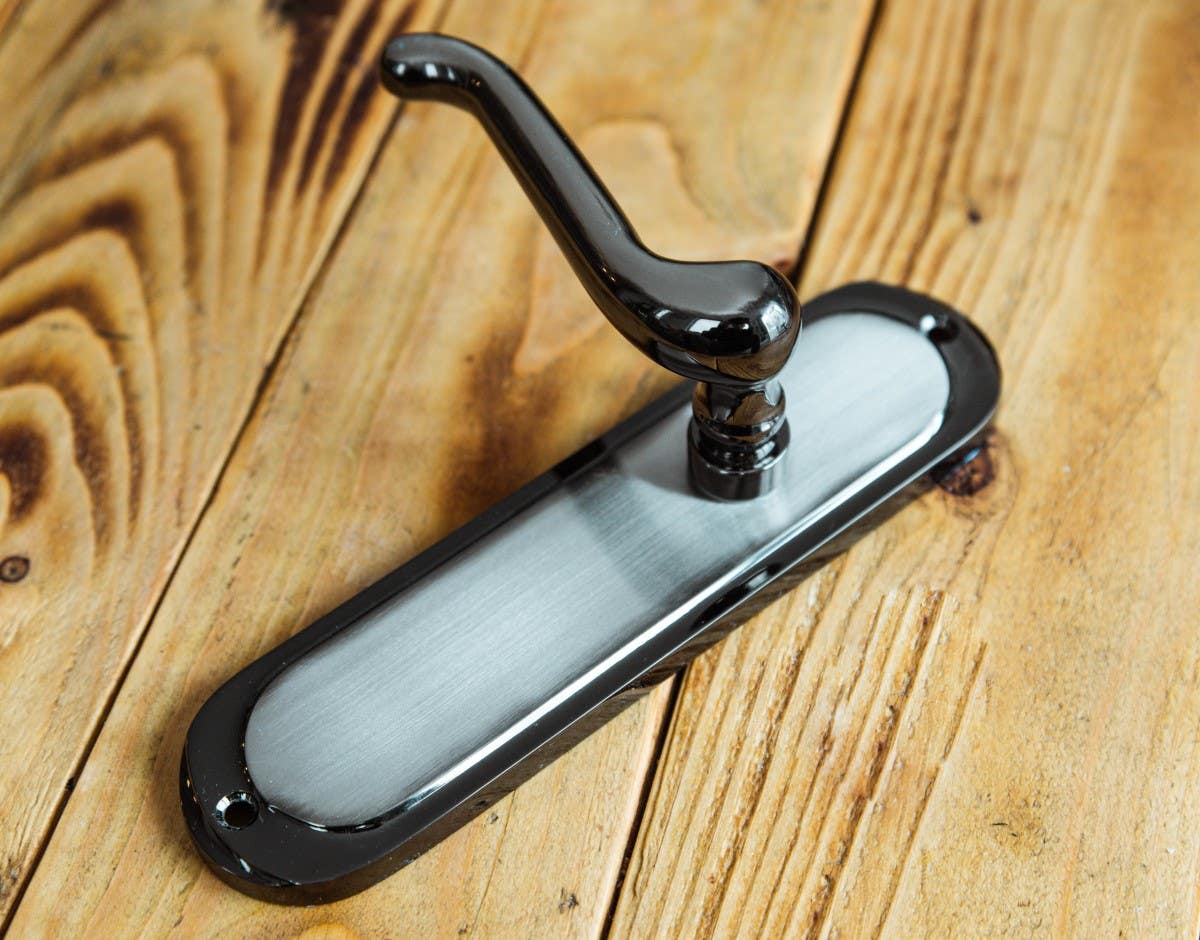
Remove all hardware on the door, including the handles and knobs. Sand the surface of the door as you would a flat door. You can use a sanding block for this process as it allows you to completely sand every part of the door, including the areas close to the corners and edges.
Wipe down the surface after smooth sanding.
Paint the door
For panel doors, you need to paint each of the panels separately. Begin with the upper left panel as you move down towards the door face in a sequence. Ensure you paint around the edges of each panel using a fine paintbrush. Don’t worry too much about painting outside the lines as you will paint over it again.
Once you have panted the panels, use a 4-inch roller to paint the panel centres.
Paint the stiles
Once all the panels are painted, you need to paint the stiles. Begin with the vertical stiles as you move to the horizontal ones. Finish off with vertical stretches from the outermost part of the door.
The edges and finishing
The last of the painting process is painting the door edges. While painting, avoid paint sages or runs. This way, the paint will dry without visible drips.
Once you are done painting the edges, allow your doors to dry. Sand the dried doors lightly before applying a second coat of paint. When this second coat has dried, reattach the removed hardware or attach new hardware.
Install your door, and enjoy the new look.
Important tips
If you prefer to paint while the door is still installed, line your floors with newspapers to prevent the paint from staining.
Use wood shims to hold the door in place as you paint. Before starting the painting process, cover all the hinges with painter tape.
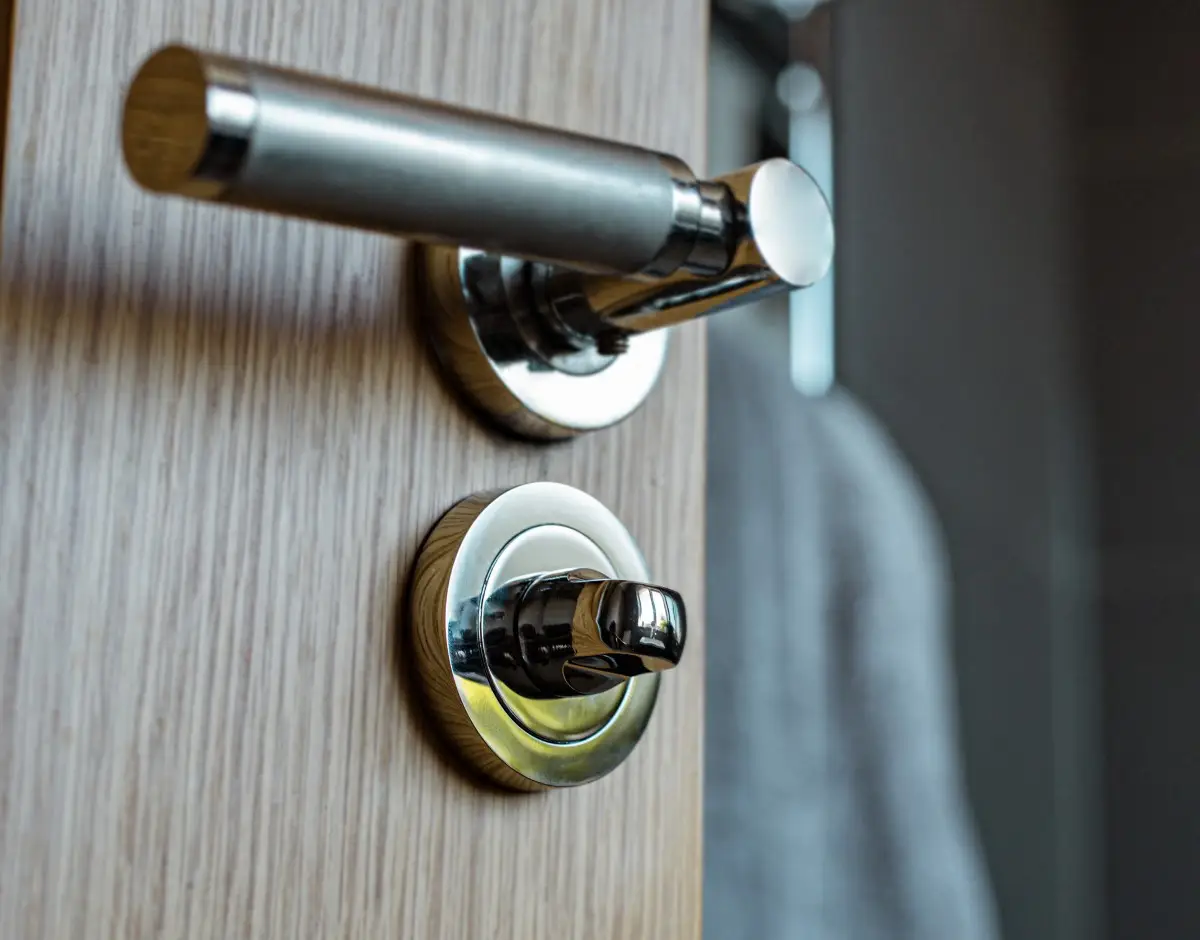
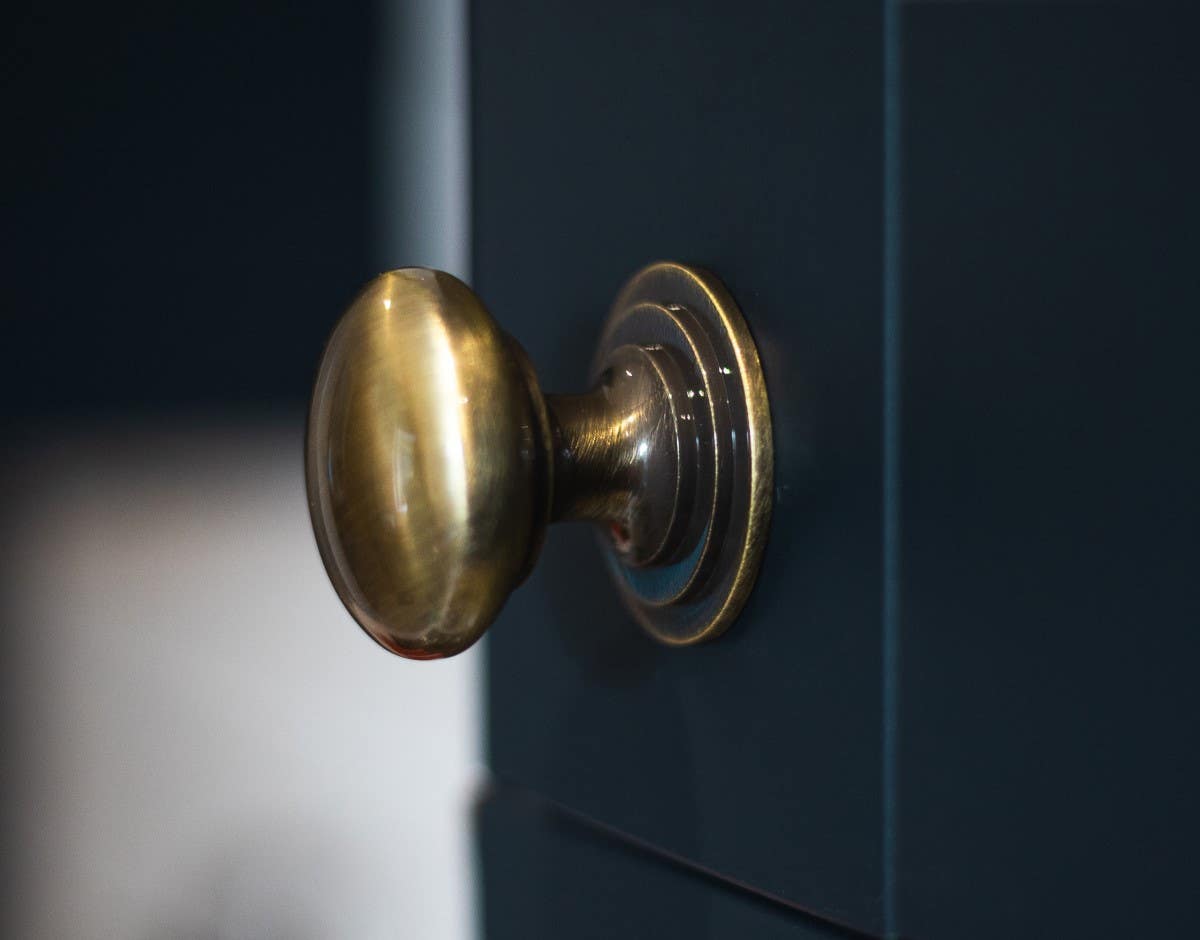
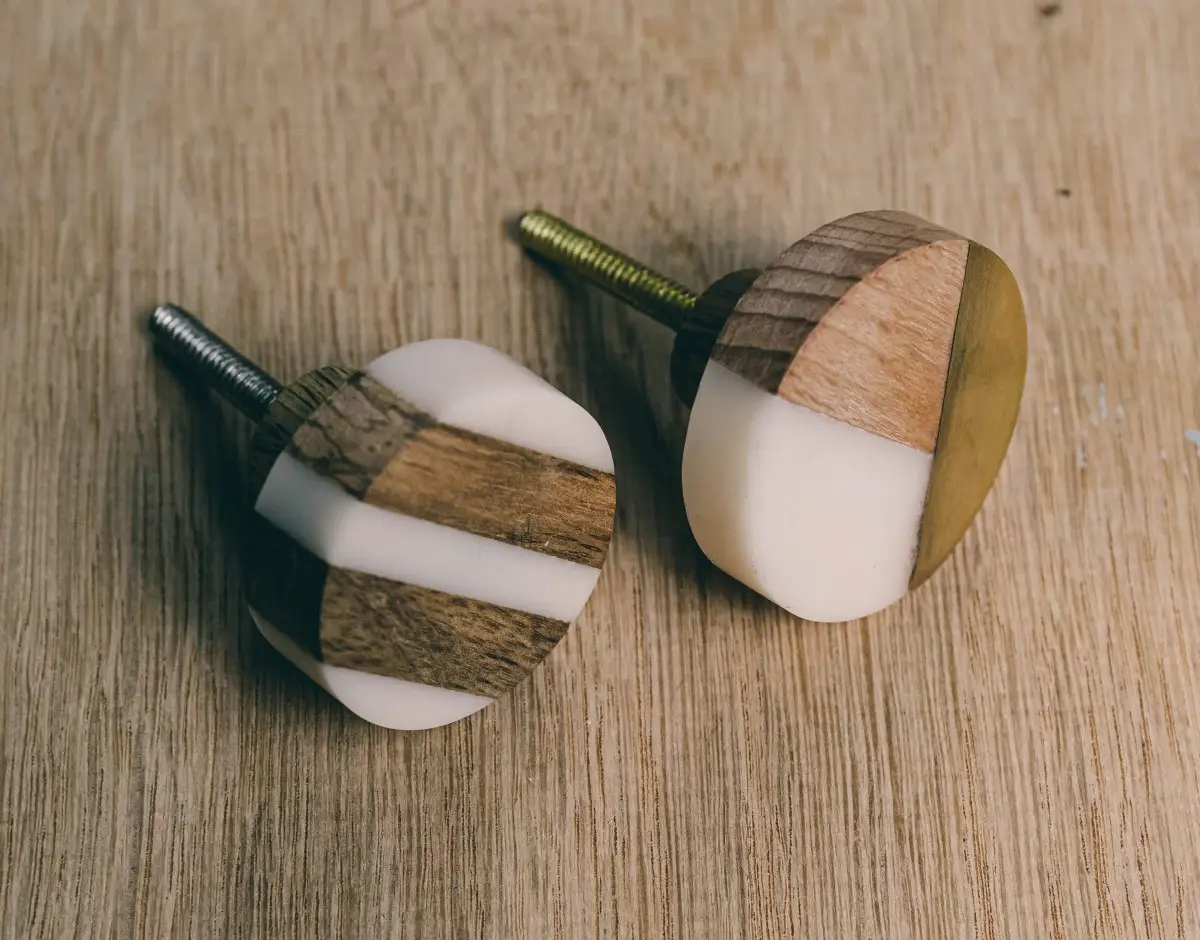
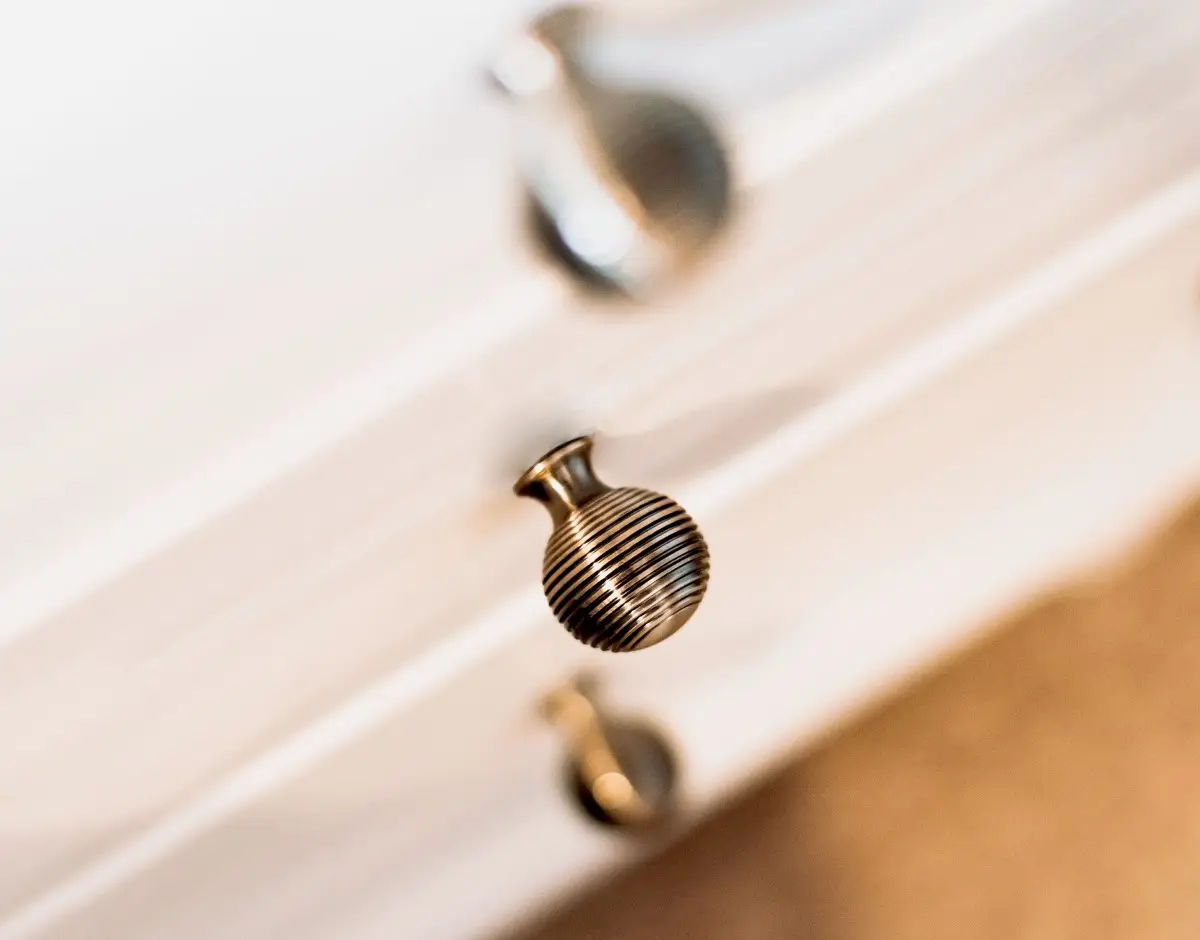
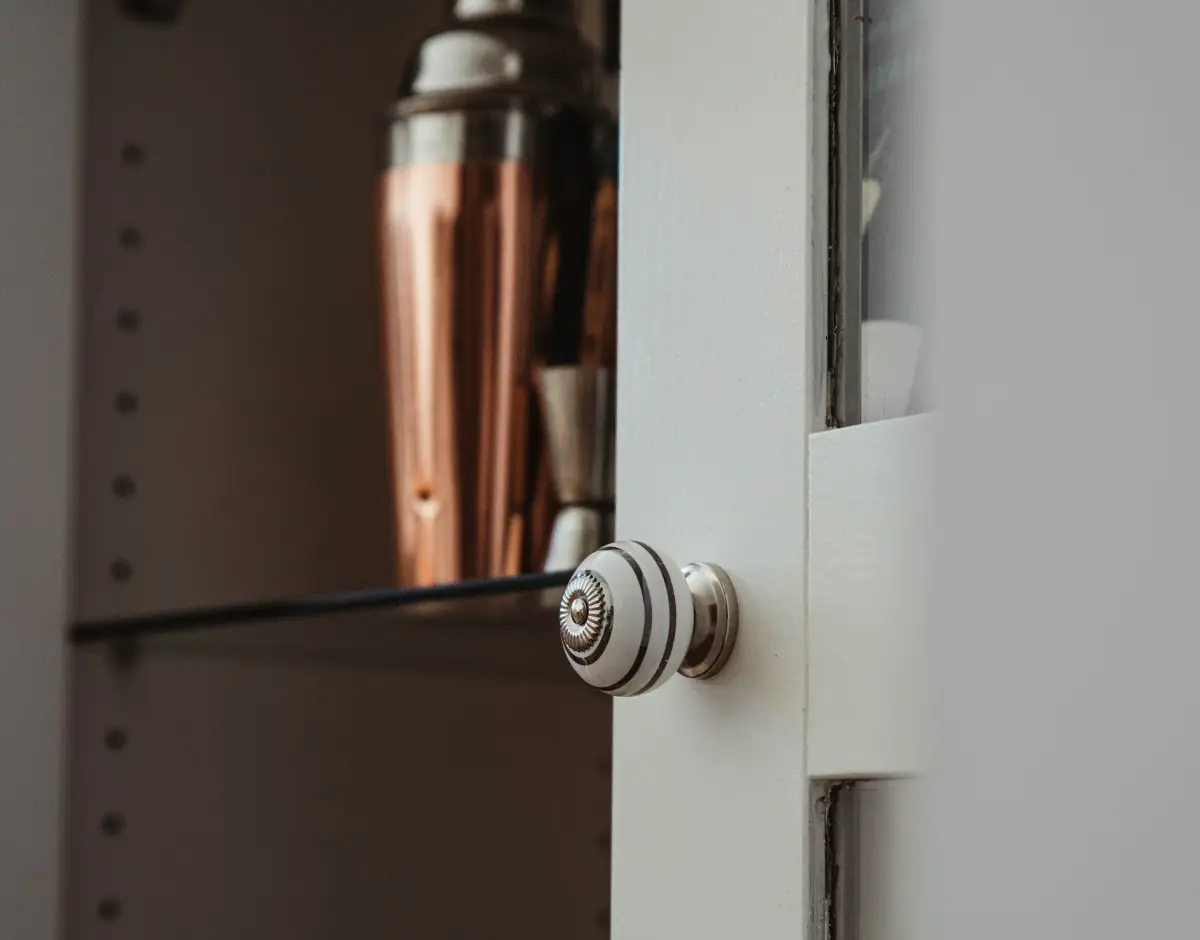
Consider installing new doorknobs such as mortice door knobs to give your door a brand new look.