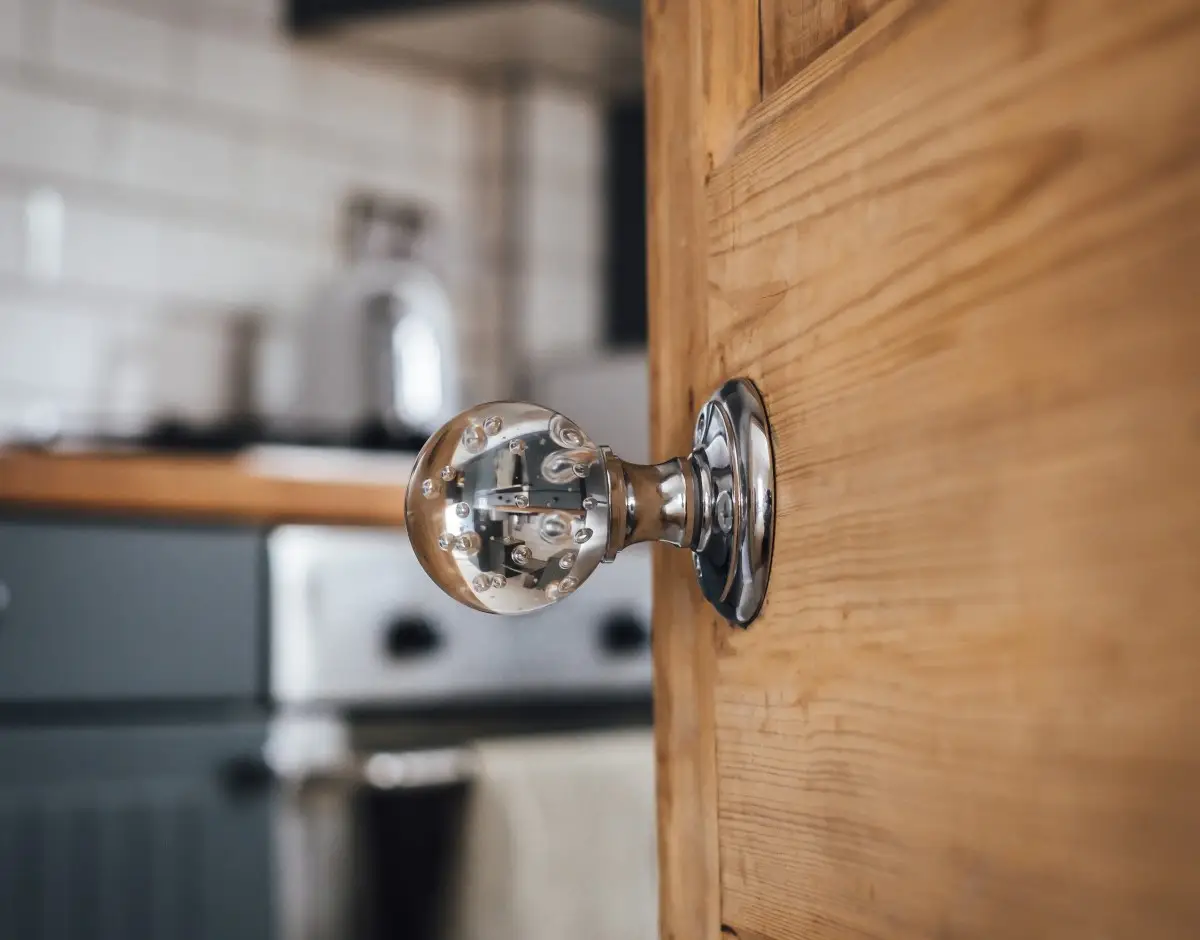

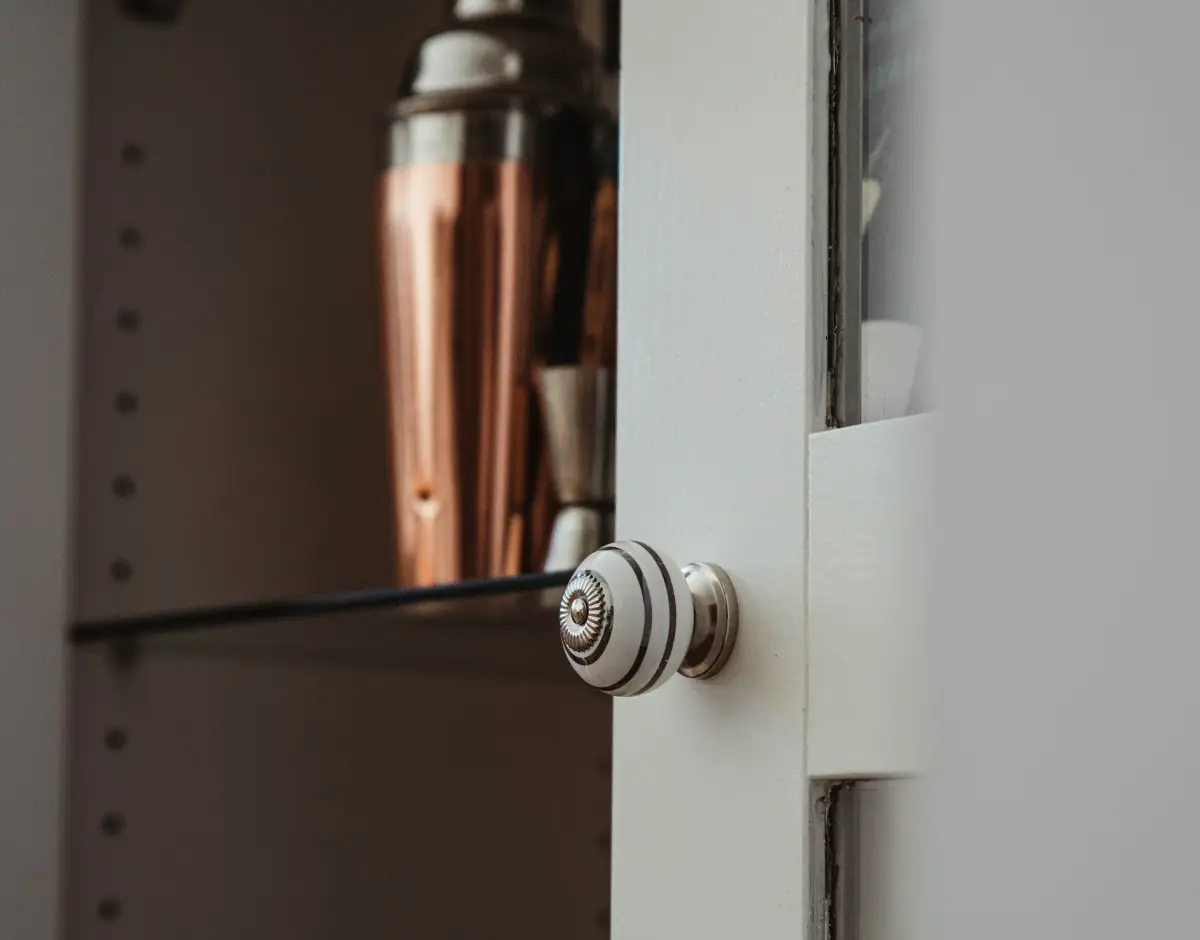

If you're fed up with people walking in on you while in the bath or otherwise, then it's likely time to consider reclaiming your privacy by installing a bathroom lock.
The good news is that while it can seem a little daunting at first, learning how to fit a bathroom door lock mechanism is easier than you might think. All that it takes is a little experience and know-how in this kind of thing.
It's not daunting with someone to guide you
In truth, if you're a regular home improvement DIY-er, then fitting a bathroom thumb turn lock shouldn't be much of an issue, particularly as we're going to be showing you how to do it here! So, we hope you've got your notepad and pen at the ready!
In total, the job should take around an hour to complete, but this does depend on whether you're installing a new lock mechanism to a new door or replacing an old faulty lock. The job is largely the same either way, but a new installation takes just a little longer.

Learn how the professionals do it
That said, this will all become clear, as work through our bathroom lock guide. We can't promise you'll be an expert by reading to the end, but you will get a clear idea of how the professionals do things. So, without further ado, let's get started.
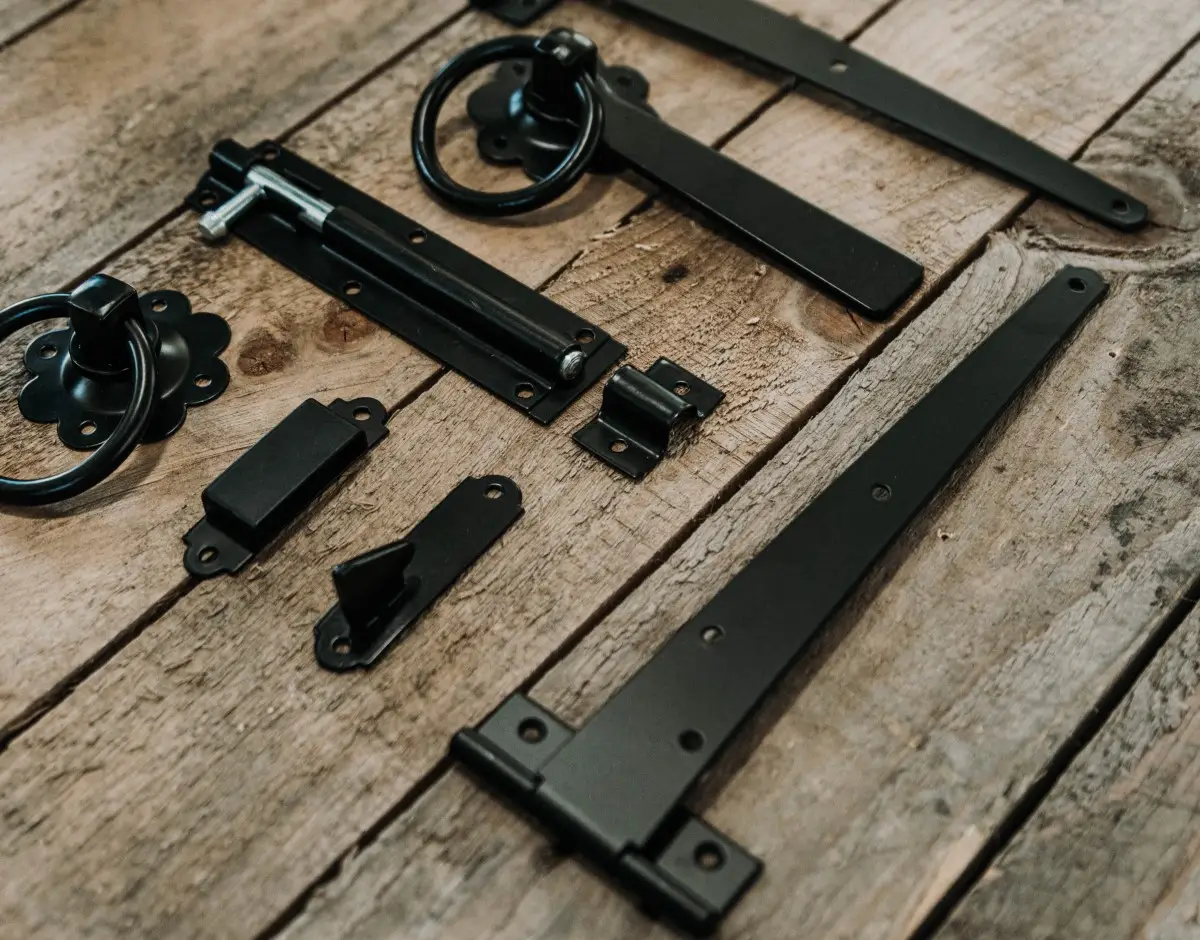
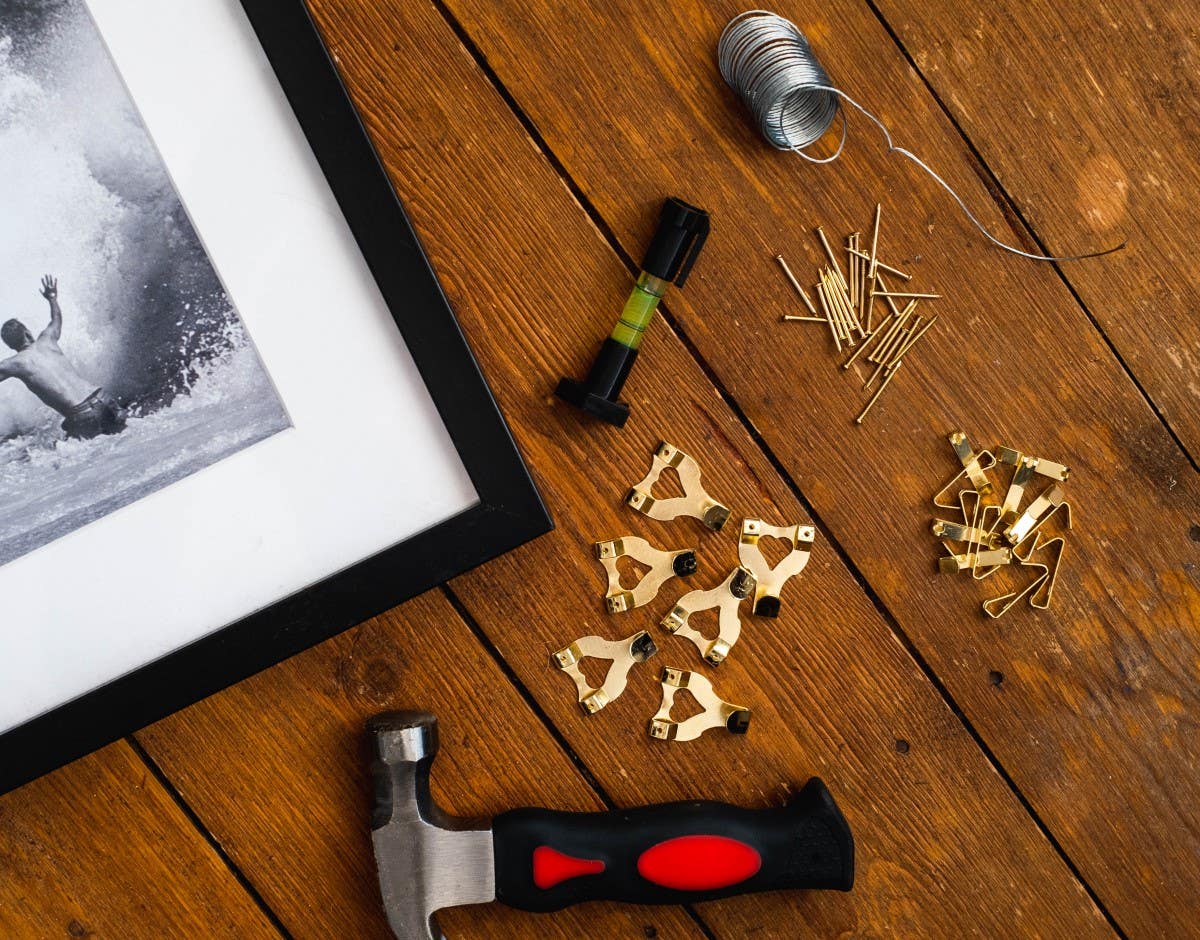
The tools you'll need to fit your bathroom thumb turn lock
Before you get started on fitting your new bathroom thumb lock, you're obviously going to need the right tools for the job. So, let's take a look at what you'll need to have laid out in front of you.
You'll need:
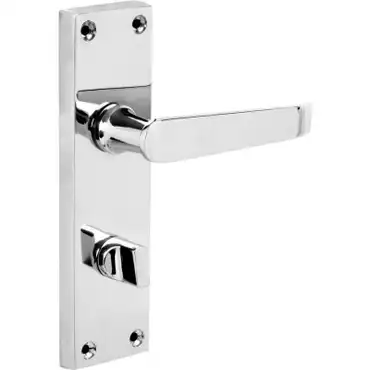
- The bathroom door lock mechanism itself
- The bathroom thumb turn
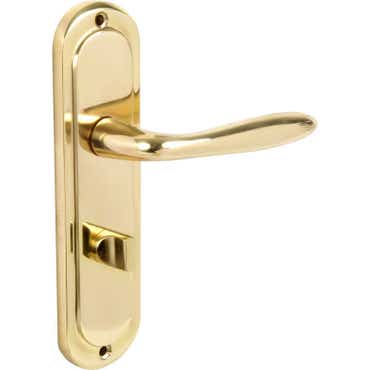
- The bathroom door handle
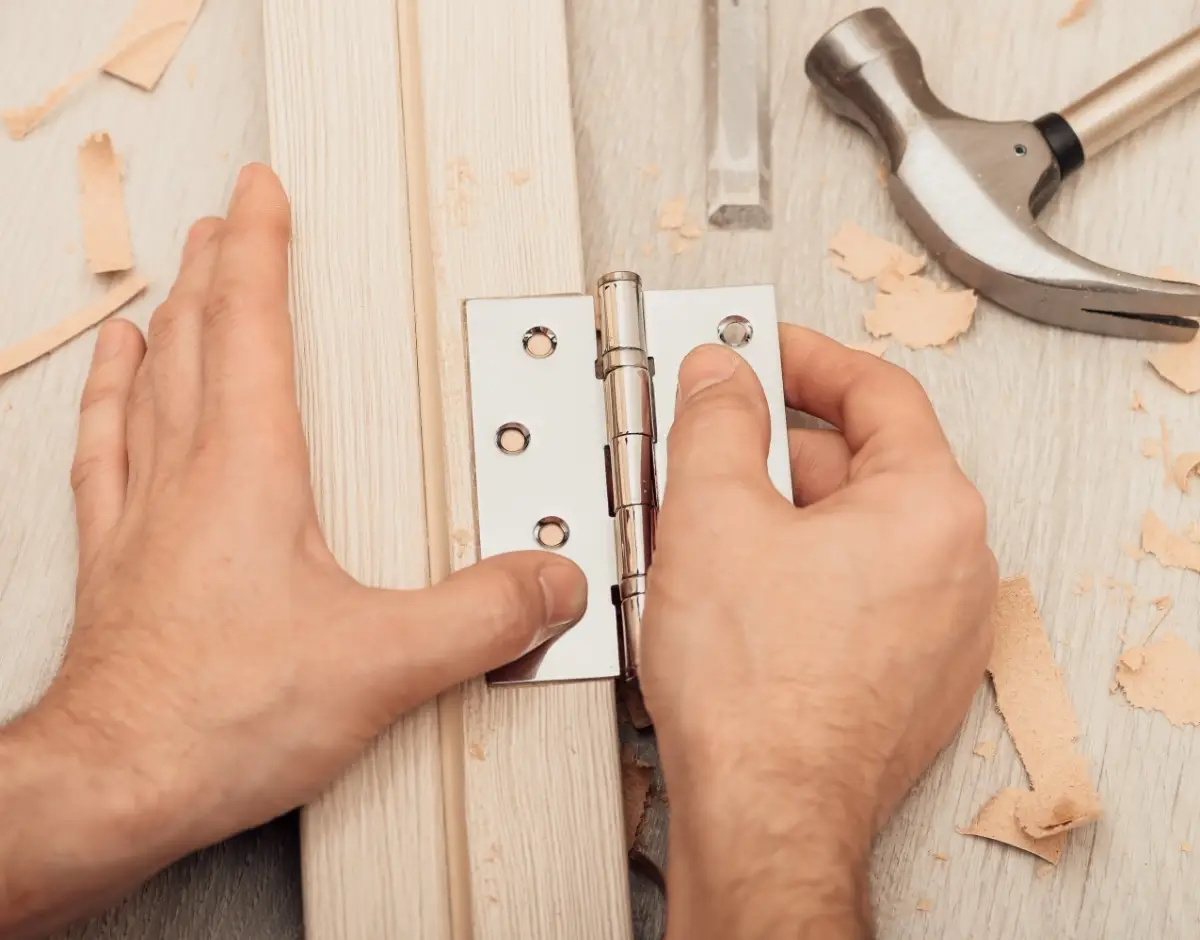
- 12mm to 25mm chisel selections
- A claw hammer
- 16mm to 20mm wood drill bit selections
- Pencil
- Tape measure
- Screws
- Screwdriver

Step one - marking the desired lock position
Our first step is to measure out and mark the desired lock position, which is perhaps the most important part of the job. In order to do so, you should hold the bathroom lock mechanism against the edge of the door that you're fitting it to.
Patience is key, so don't rush
You don't want to get this part of installing your bathroom thumb turn lock wrong, as things just won't line up properly later on. So, don't rush this part and get it spot on.
Find the door's centre point with your tape measure and then draw a vertical line through all the points you've marked. Done that? Then let's move on.
Step two - making a hole for the bathroom lock
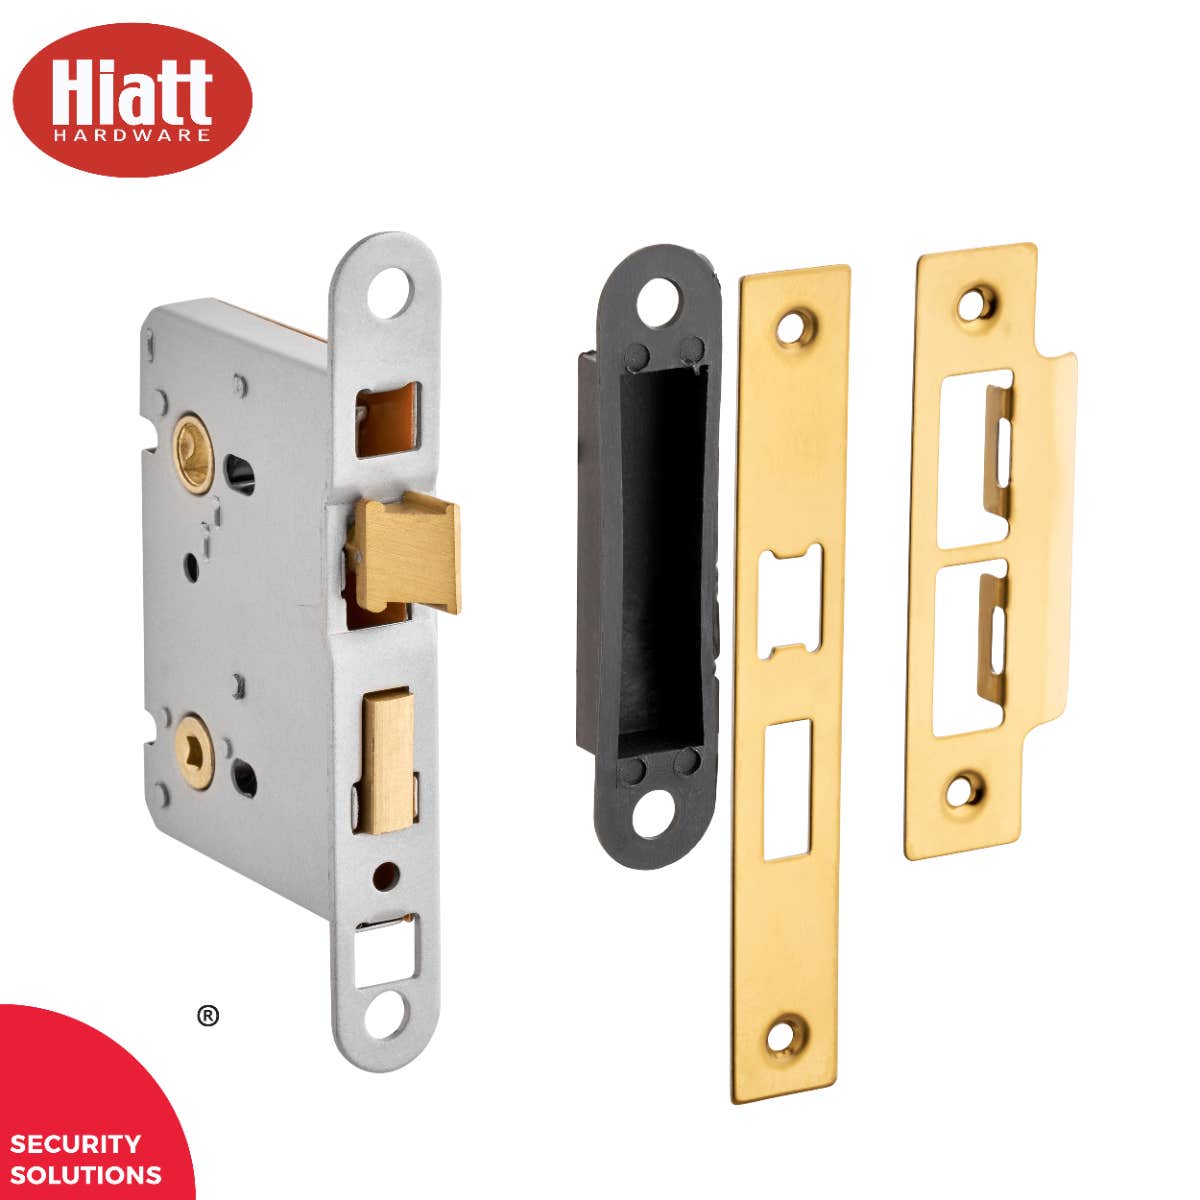
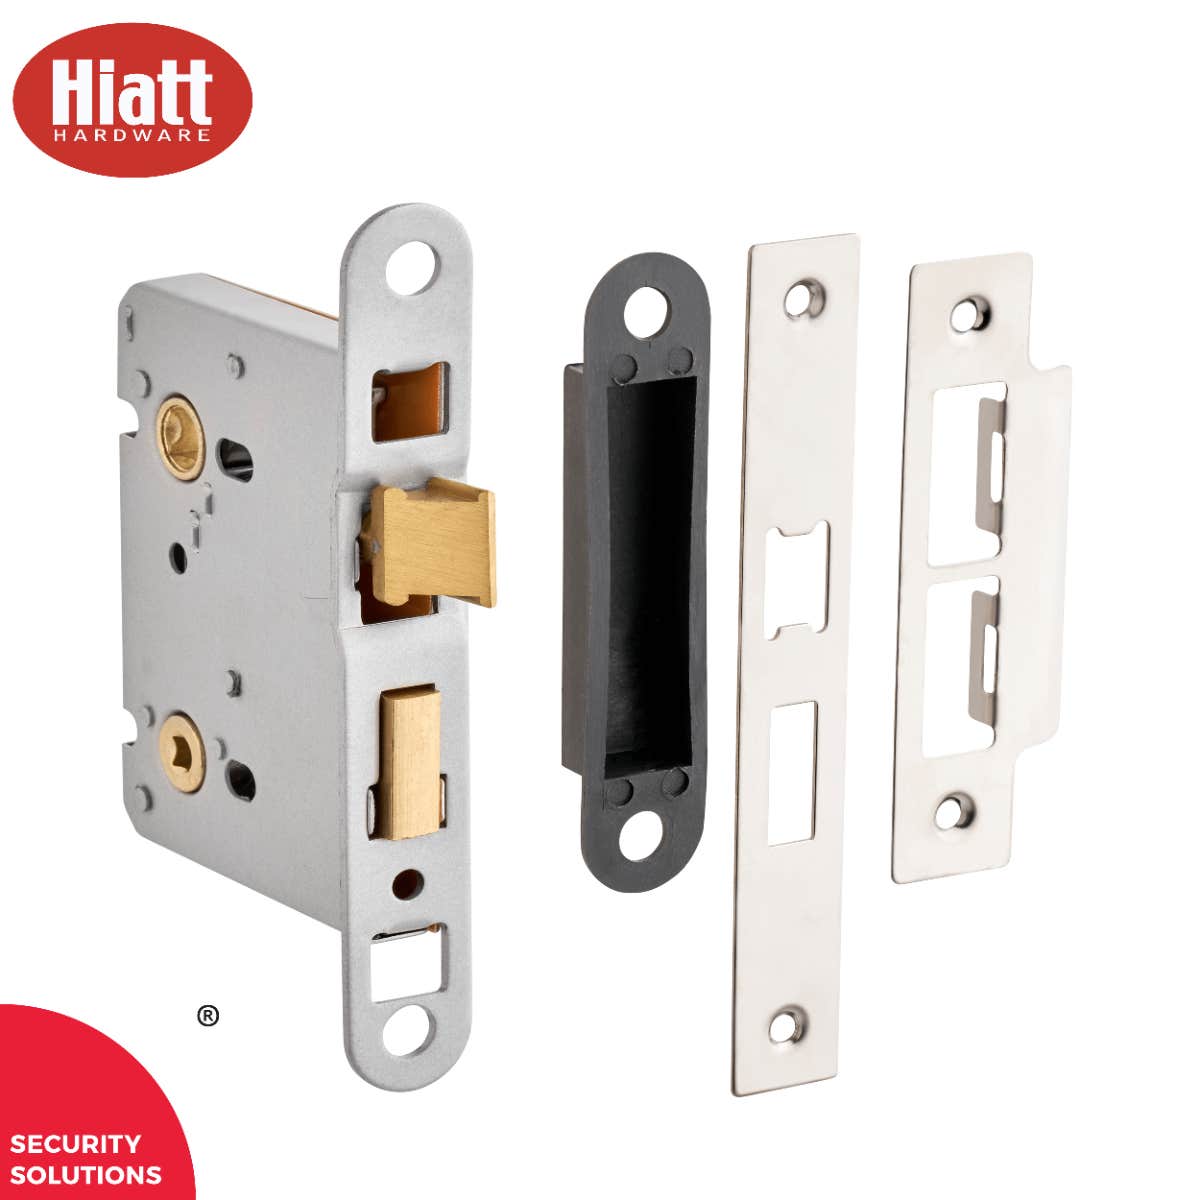
So next, we're going to need to make a hole in your bathroom door, into which the lock mechanism is going to fit. It's important to remember that door locks are more about privacy than home security, which affects the dimensions of the lock needed.
You'll typically find the depth of the mechanism will either be 63/64mm or 75/76mm, so it's important to know which type you're fitting.
It's a good idea to approach this particular job with caution, as you don't want to damage the edge of the door with an inappropriate tool or approach.
Use drill bits to start your hole
The best practice for this is to use your power drill and some wooden drill bits. Begin by examining the lock mechanism width, as this part will sit inside the door itself.
Based on what you discover, you should then select the appropriate bit. This will usually be a 20mm bit, but suffice to say, it needs to be at least 2mm narrower than the lock mechanism.

Avoid going outside of your markings
Now you'll be using those marked points we explained in step one to guide you when drilling a series of holes along the vertical line you previously drew - ensuring that you do your best not to go outside of your markings.
In the next part, we'll be using some elbow grease to make these holes bigger - so get ready to be covered in wood shavings!
Making Space For the Door Lock
So, what we're doing with our sharp chisel is to carefully work these holes into a space large enough on the edge of the door to house the door lock.
Once you're sure that you've made enough room, get rid of all of the wood shavings with a vacuum cleaner and put the door lock inside. Ideally, it will fit perfectly.

Even experts need to make adjustments
Don't worry if it doesn't fit perfectly the first time around, as even experienced tradesmen have to make a few adjustments from time to time to ensure a good fit.
Do take the time to ensure that your mechanism aligns with your vertical line before moving on to the next phase of your door lock installation.
Step three - creating room for the latch plate
Don't be putting your chisels away just yet, as the next part is to again work on the edge of the door to create enough space for the latch plate that you'll find on all bathroom locks.
What you want here is to have the new bathroom lock sit flush in the newly made hole. You'll achieve this by drawing around the latch plate with the new bathroom lock inside the door.
You're aiming for a super-flush fit
Be sure to make a clear outline, as you'll be using it to guide your hand as you chisel out the necessary latch plate space to the required depth.
It will be quite evident that you've done this part correctly, as the mechanism, complete with latch plate will sit snugly into the hole you've made. It's time now to move on to step four.
Important note: It's better to be safe than sorry when you chisel out your door edge, as you can always do more if you've not quite yet made enough room.
However, if you make too much room, then it's not something you'll be able to undo. You won't need a new lock, but there's a chance that you might need up needing a new door!
Step four - creating space for the thumb turn & door handle
Our next step is to make the holes required for the thumb turn and your door handle. This part involves first marking the required locations for the spindles and you'll begin by holding your new lock plate to the holes you've made to ensure they're lined up properly.

Always keep the area free of wood shavings
Hopefully, they all fit perfectly, which means it's time to push your pencil through the lock slides on both sides of the door to make markings for the drill holes.
This part of the process is designed to provide a little more certainty, as your next action is to drill holes through those marks. Then remove wood shavings that are produced as a result.
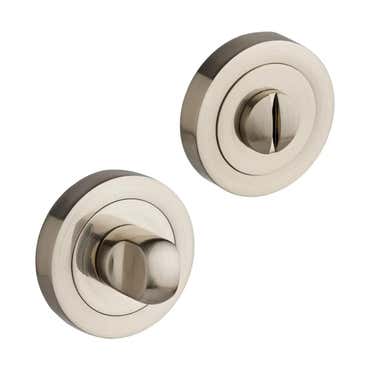
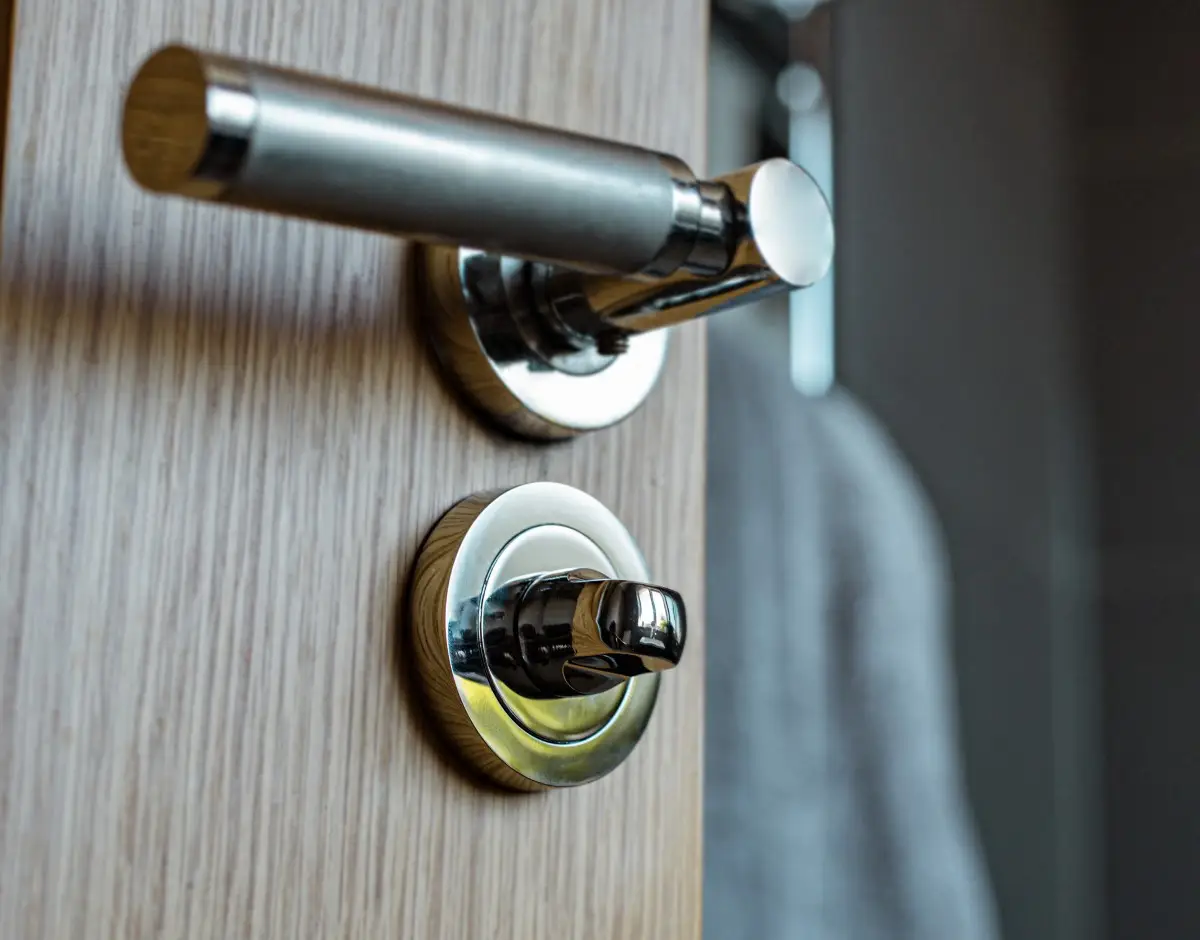
Step five - fitting the thumb turn lock
So, now we're actually going to be securing the thumb turn lock into place with the screws we mentioned at the beginning.
Once this is done, the thumb turn and your chosen bathroom door handles should be fitted into the holes we made earlier, making sure that the lock lines up properly with the area marked for the strike plate on the door frame.

The Brooklyn Lever on Rose Door Handle in Chrome. Click the image above to shop today.
Consider who'll be using the bathroom
You have to keep in mind who's going to need to think about how smoothly your thumb turn operates. The last thing you want is for anyone to get stuck in the toilet because you've installed the mechanism too tightly.
Bathroom thumb turns need to be loose enough for a child to work the mechanism, but secure enough so that it keeps the door locked to protect the privacy of the person inside.
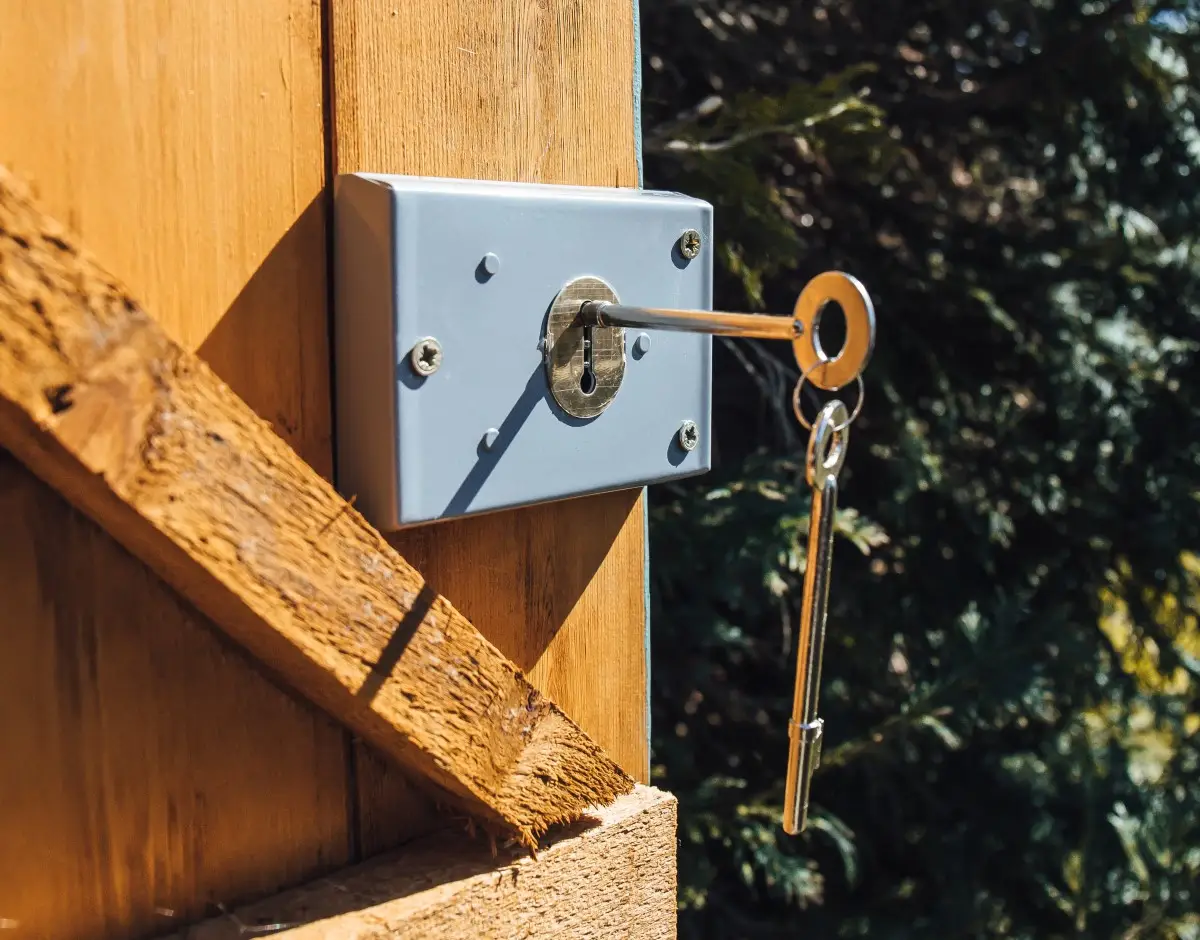
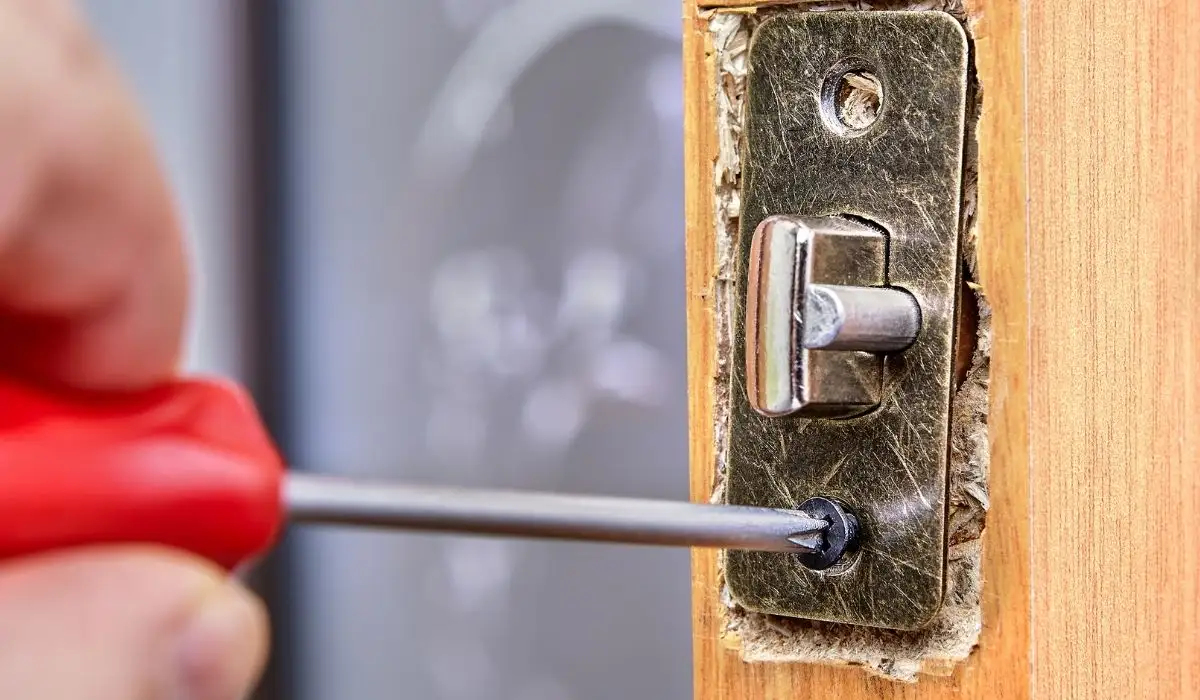
Step six - fitting the strike plate
Now that the thumb turn has been fitted, the job is nearly finished and all that's required now is to fit the strike plate onto the door jam.
If this area hasn't already been marked out by the old bathroom turn lock, you'll need to create the necessary strike plate placement markings now.

The easiest way to ensure your strike plate is in the right place is to measure from the door jam's centre point and draw a straight line to the middle of the locking mechanism.
Lastly, we'll be making holes for the door closing mechanism as we did in previous steps.
Enjoy Your New Bathroom Privacy!
After running your vacuum cleaner around the area, everything will now be neat and tidy, and so, well done, you've regained your bathroom privacy!
It's only a little lock, sure, but it gives you exactly what you need to relax and unwind while you soak in the tub in a room that's designed to provide calmness and serenity.
We hope that you've found our little guide nice and easy to follow and that it has demonstrated that these kinds of jobs are easy when you have the right know-how.
Fitting a thumb turn lock and the home improvement in general really doesn't have to be difficult. As long as you follow the old 'measure twice, cut once' mantra, you'll get the job done the right way the first time without wasting materials.