


Installing a door hinge can be considered rocket science but is actually a fairly straightforward task. These can be installed by anyone as long as you are patient and have the right tools to hand! Please see our guide below on how to install door hinges on a new door.
Step 1
It is important to decide where you would like to install the door hinges or where is the door going to be installed. Accordingly, you can choose to install two or three hinges on a door (three must be used on fire doors) and you can install them, so the door opens to the left or to the right.
Step 2
Mark the spots on the doorframe where you want to install the hinges. The location of the hinges on the door is usually up to you but hinges are normally installed 10 inches away from the doorframe’s bottom and 5 inches away from the top.
It is very important to make exactly the same measurements on the door as on the frame to get the correct alignment.
Step 3
Now trace the outline of the hinge onto the doorframe using a pencil and make marks for the places where you will put your screws. All the door hinges sold at Hiatt Hardware include screws.
Step 4
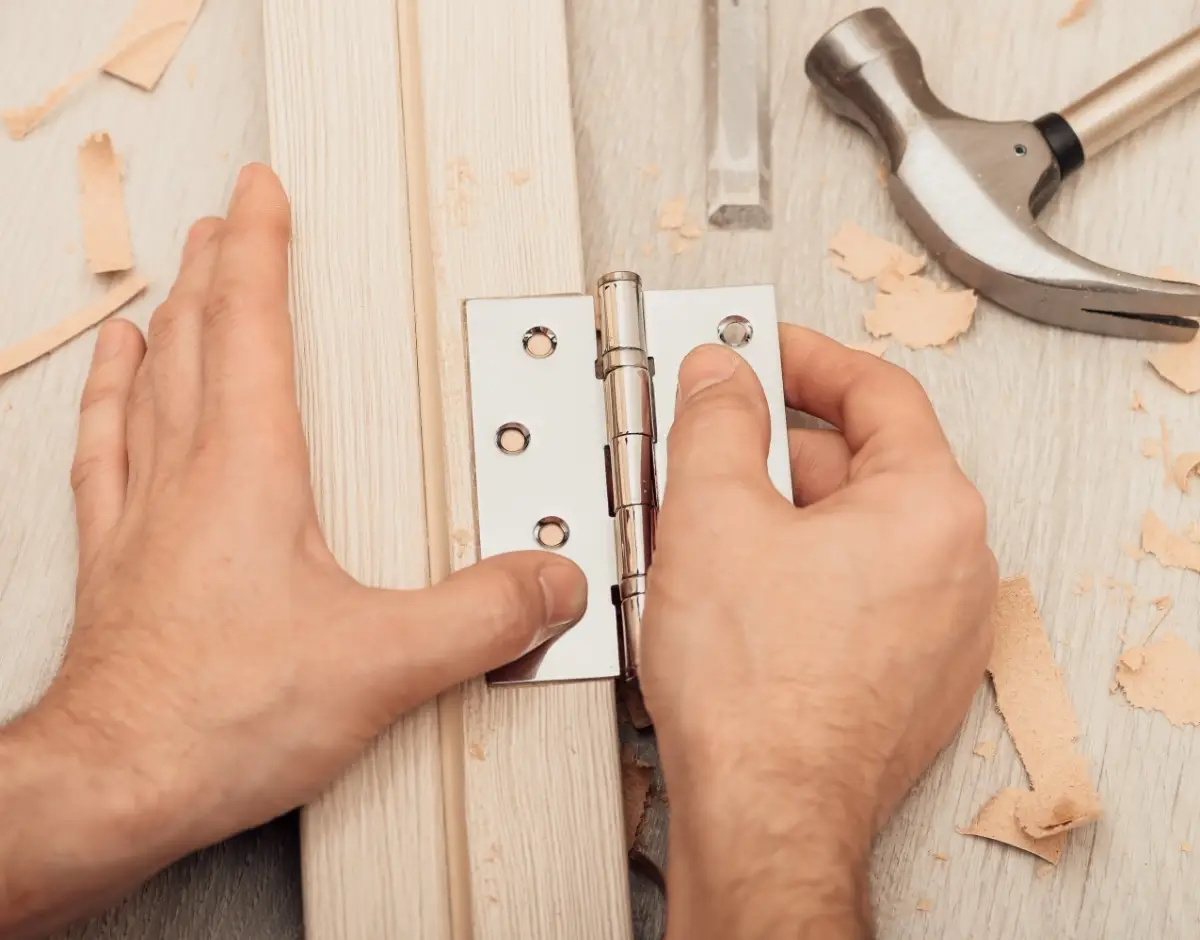
Now you need to make a cut-out in the doorframe where your hinge will be recessed to sit flush into the frame. Then use a sharp chisel and hammer to chisel out the cut-out within the outline of the hinge.
Clear away any splinters and then check that your hinge sits perfectly flush into the cut-out.
Step 5
Now screw the hinge into its recess, making sure that everything is level.
Step 6
Similarly, make a cut-out in the door and then attach it to the hinge before tightening all the screws into place.
Please note that the reverse can be done if so desired - put the hinge on the door first and then attach it to the frame.
Job done!