

How to Hang an Interior Door So it Fits Like a Glove
When you're looking to upgrade your home's interior, there are certain fundamental aspects that can have offer a huge uplfit when renewed. One of those aspects - your internal doors - can have a massive impact when you replace them.
As such, upgrading your home does not have to involve home renovations or extensions, meaning it doesn't have to be time-consuming or costly. Don't worry either if you're new to the field of DIY, as it's a job that's within most people's reach.
it's a job most DIY-ers can do
Replacing an old door can appear daunting to the uninitiated, but the truth is that it's really not that hard whether you're dealing with an old door frame or a new one. You just need a little know-how, which is what we offer to you now.
So, come with us now, as we examine how it's done and offer up some step by step instructions for you to follow.
Step #1 – Getting Prepped to Hang a Door

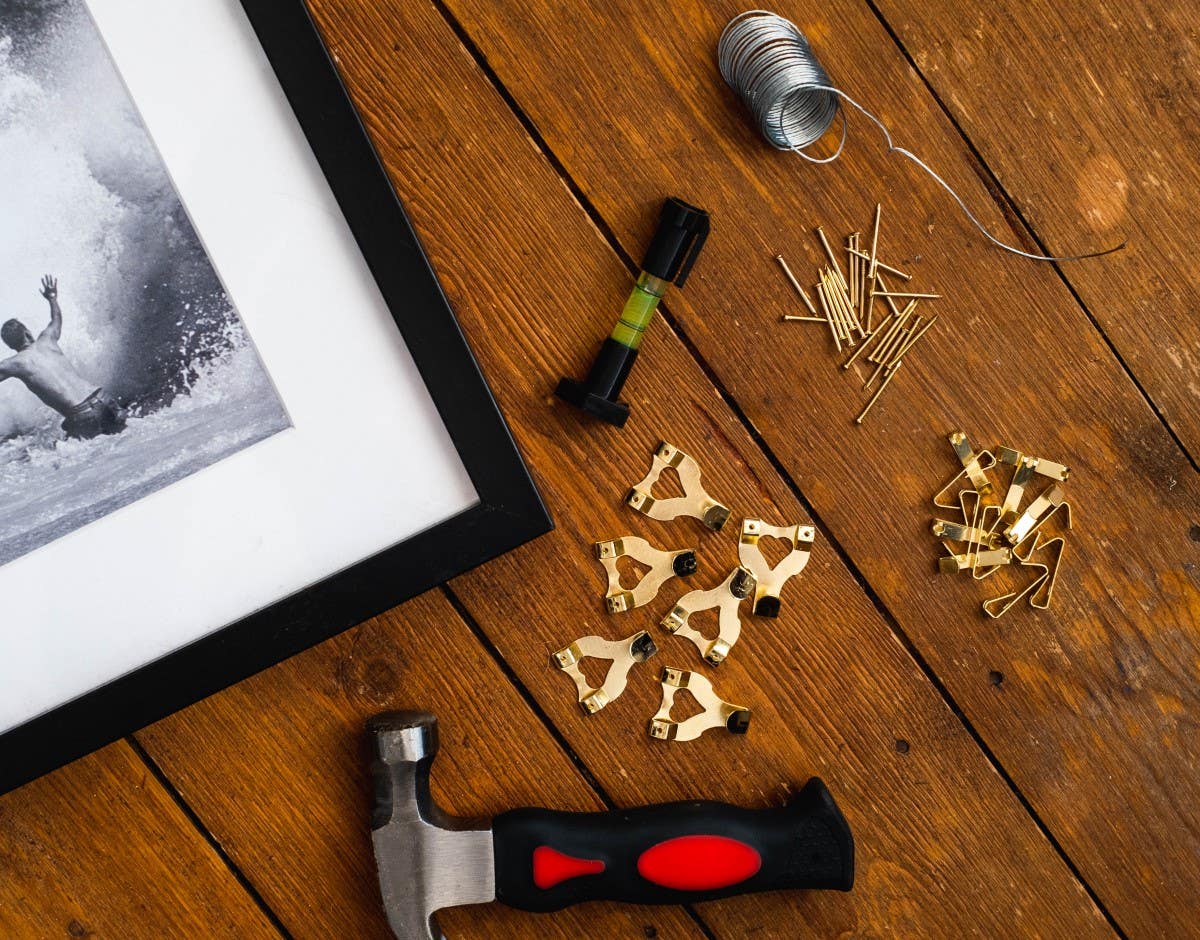
As any experienced tradesperson will attest to, any DIY job you undertake will be made easier or more difficult, depending on how well you prep. To begin with, that means having the right tools for the job, which means gathering together:
-
A tape Measure
-
A sharp Pencil (HB)
-
Chisel (25mm)
-
A drill (Cordless is best)
-
Wood drill bits & screwdriver bits
-
Workbench
-
Wooden Wedges
-
A smoothing plane
-
Safety goggles (optional)
-
A mallet
You may not need all of these tools when you're hanging an internal door, but it's good to have them, just in case. Also, before you start, make sure that you've got enough room in which to move and access your tools comfortably.
Step #2 – Measuring up for your new door
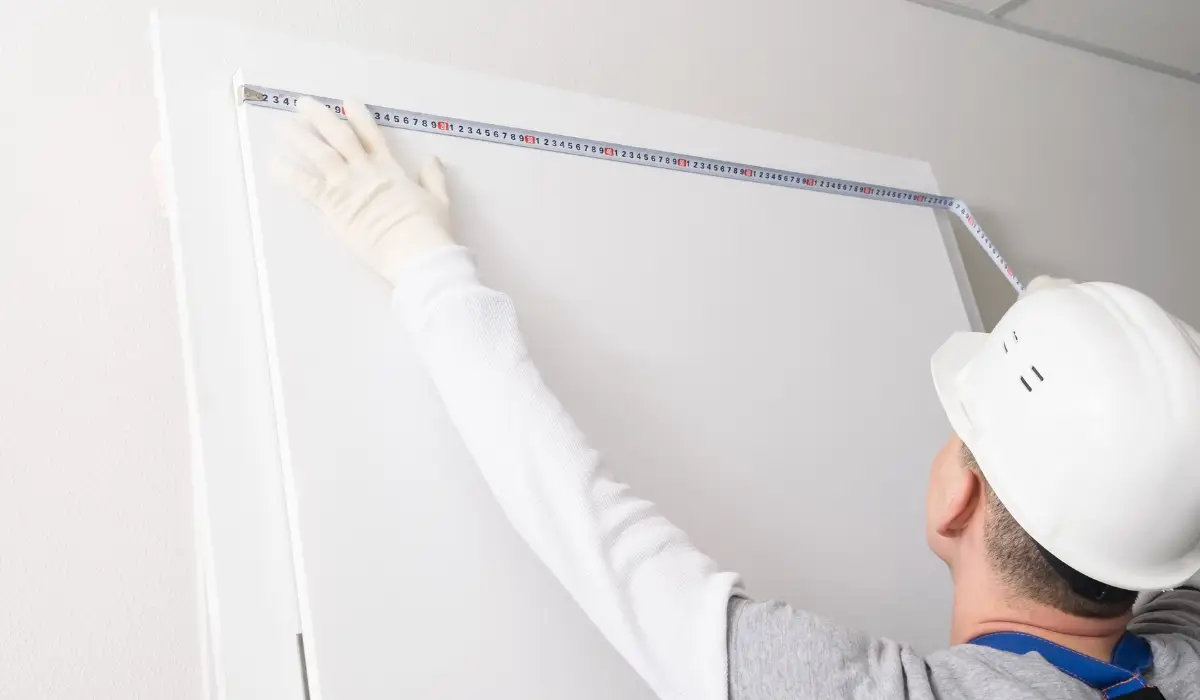
If you happen to be replacing an old door, the job of identifying the right size for your new door will be nice and easy. You'll simply need to measure from one door edge to the other, accounting for the height, and width of your new internal door. Not forgetting of course to double check that it has the same thickness.
It's important also to take each measurement twice, at opposite ends for your thickness, width, and height to ensure no mistakes are made.
And when there's no existing internal door in the door frame?

In the event that you're hanging doors without an existing one being replaced, it's possible instead to simply measure the size of the frame. It does take a steady hand, but simply by measuring the frame, you can get the figures you need.
On this occasion, conventional wisdom shows us that you should be taking three measurements each time, measuring at the top, middle, and bottom. If there's any variance between the measurements, the largest one represents your magic number.
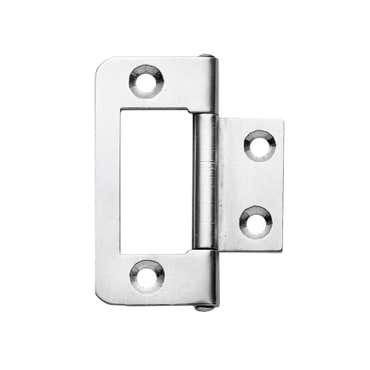
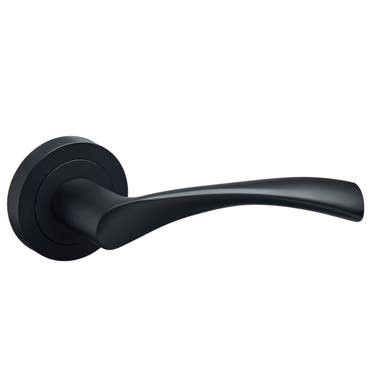
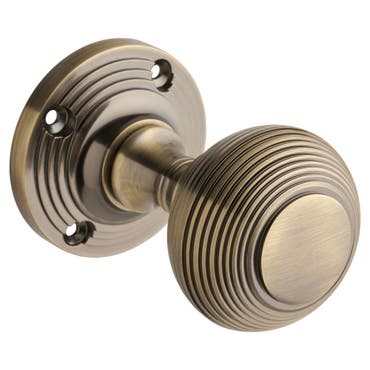
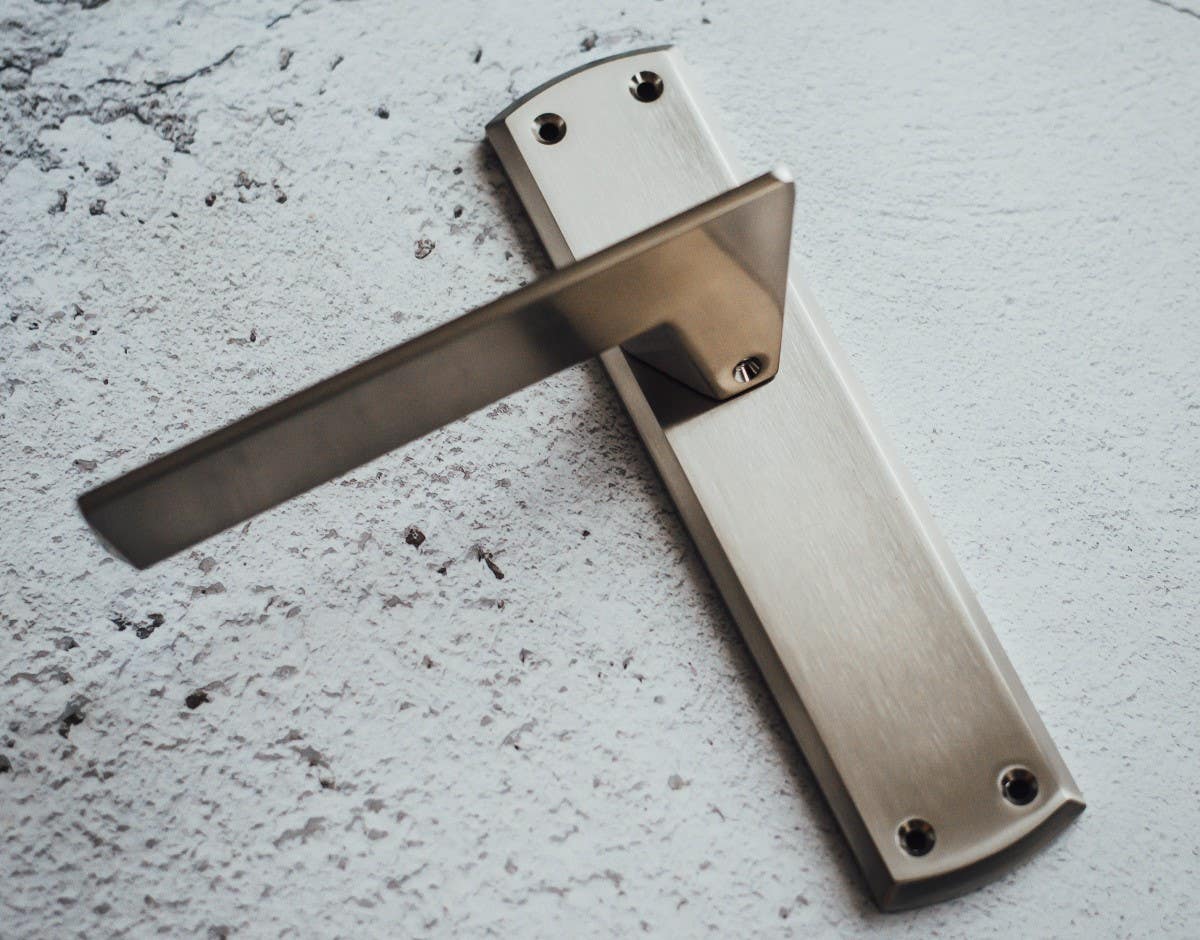
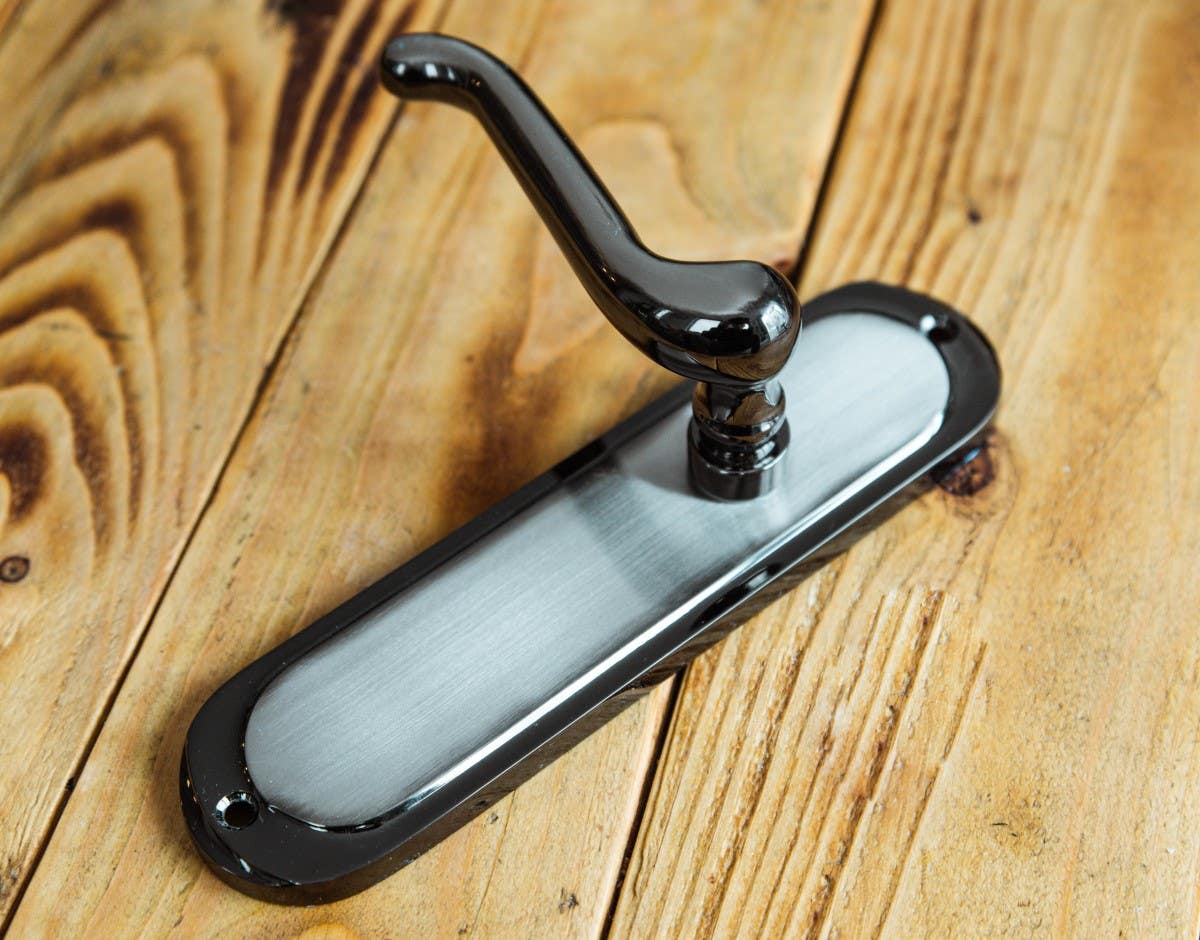
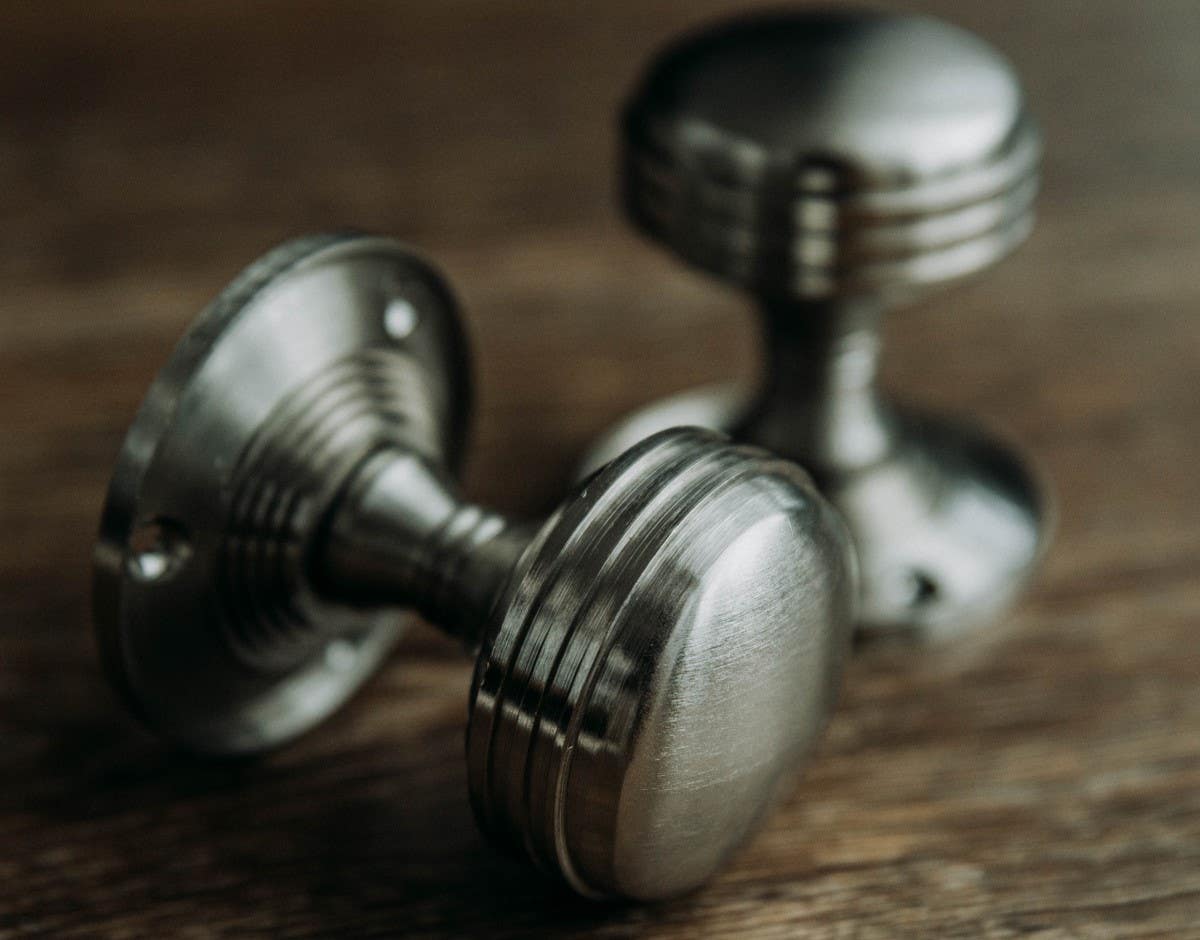
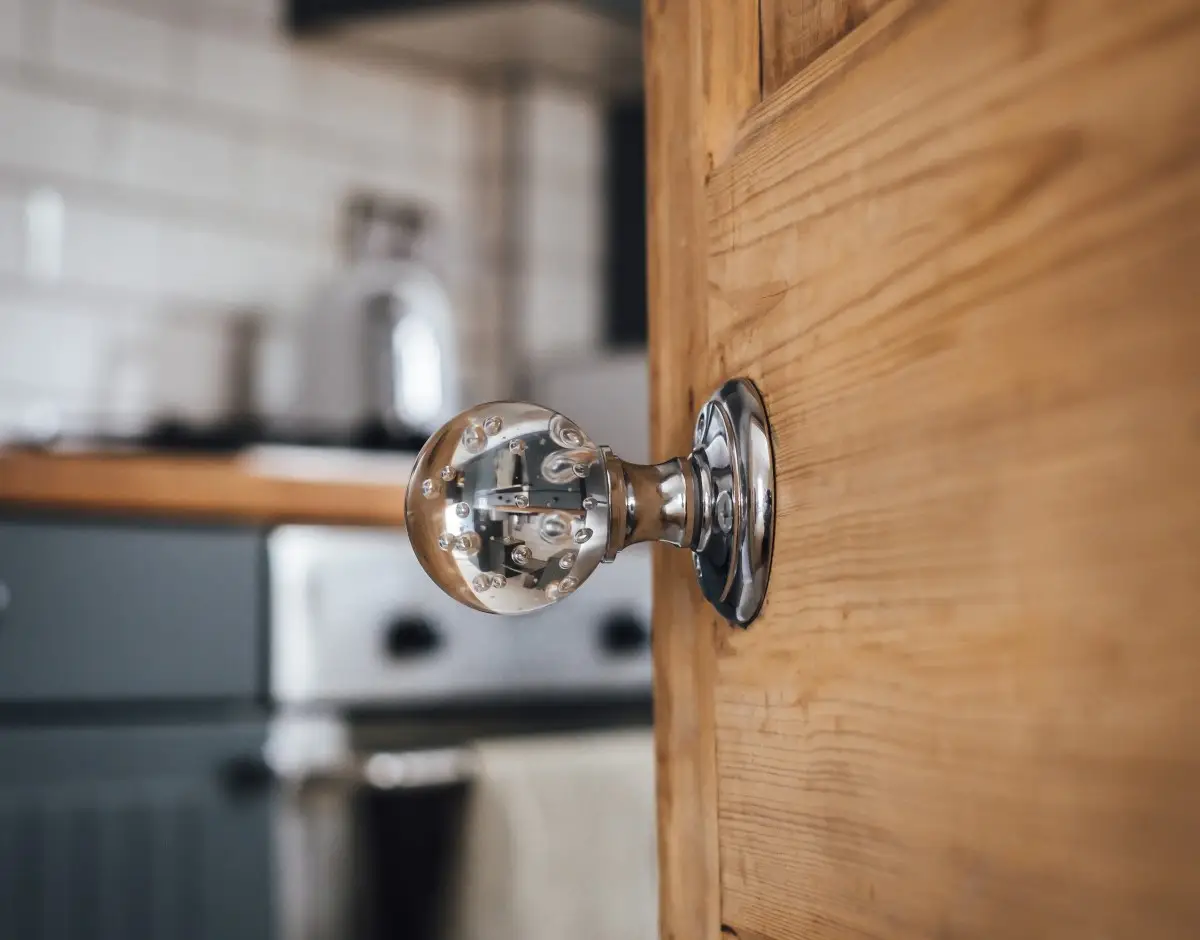
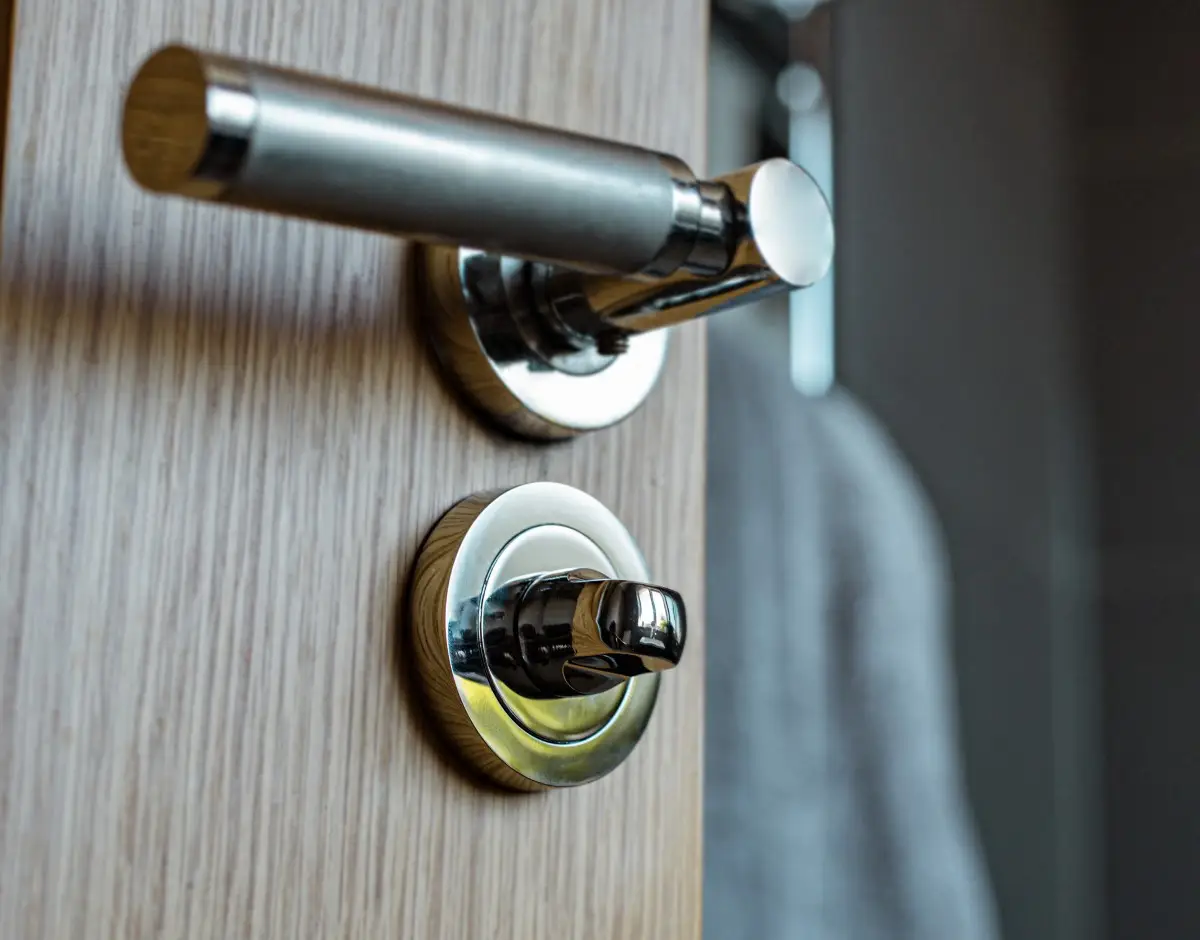
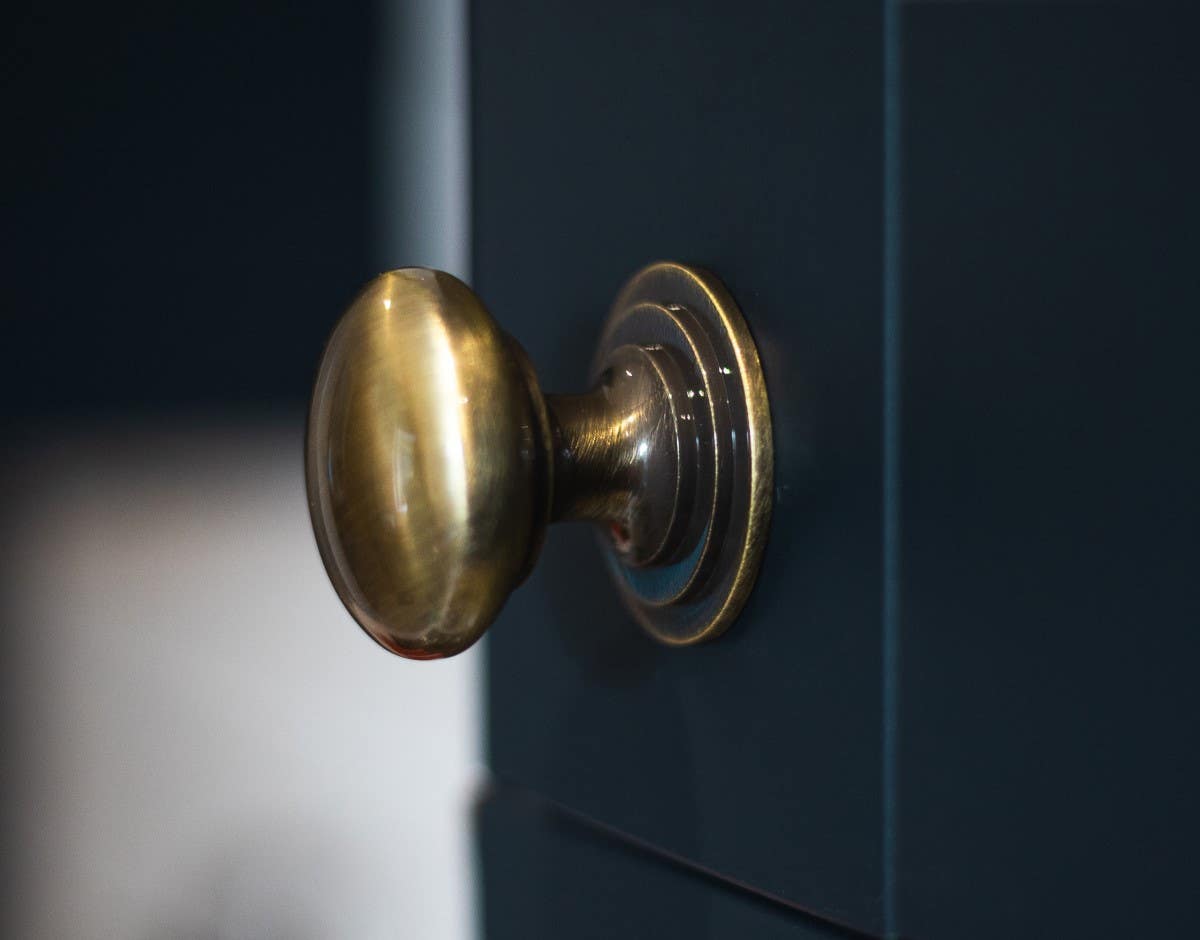
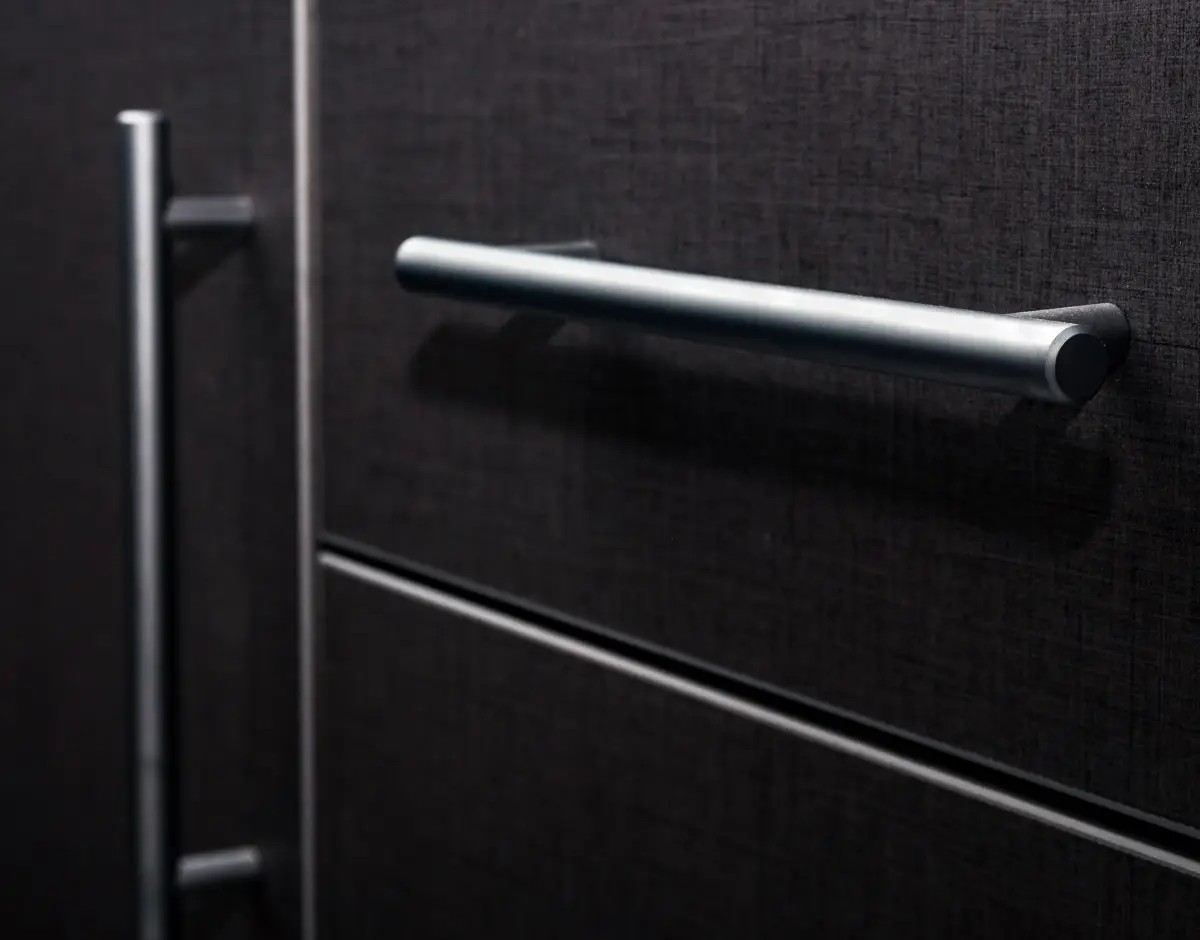
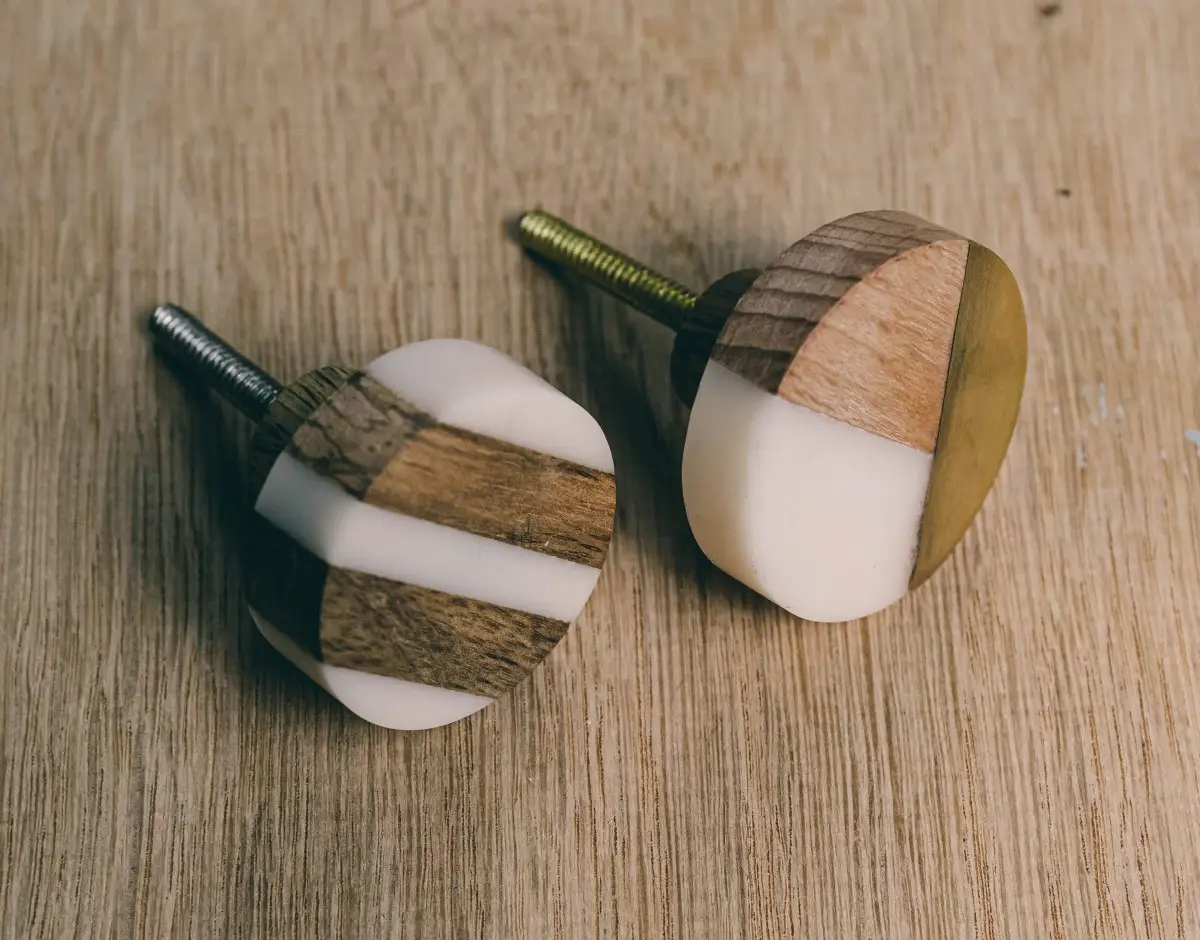
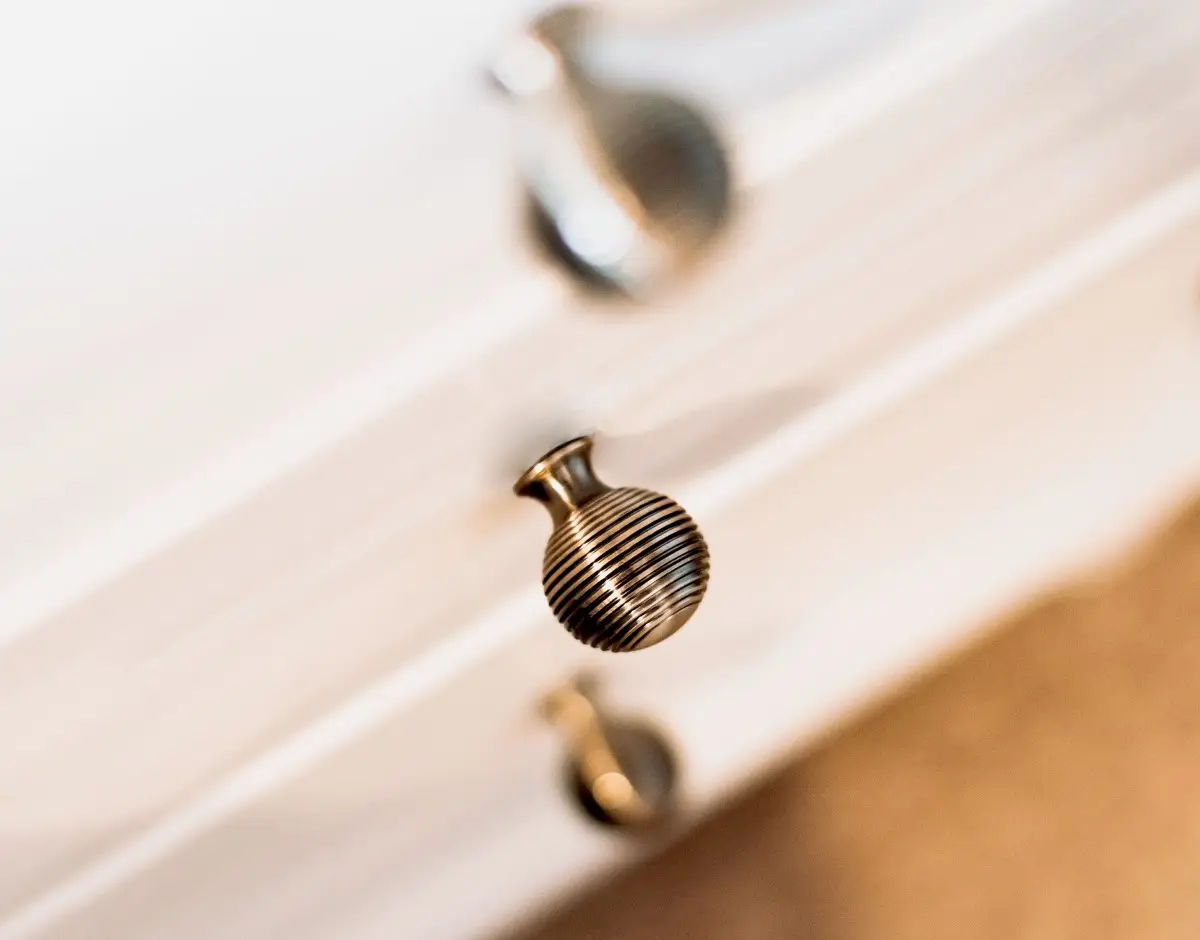
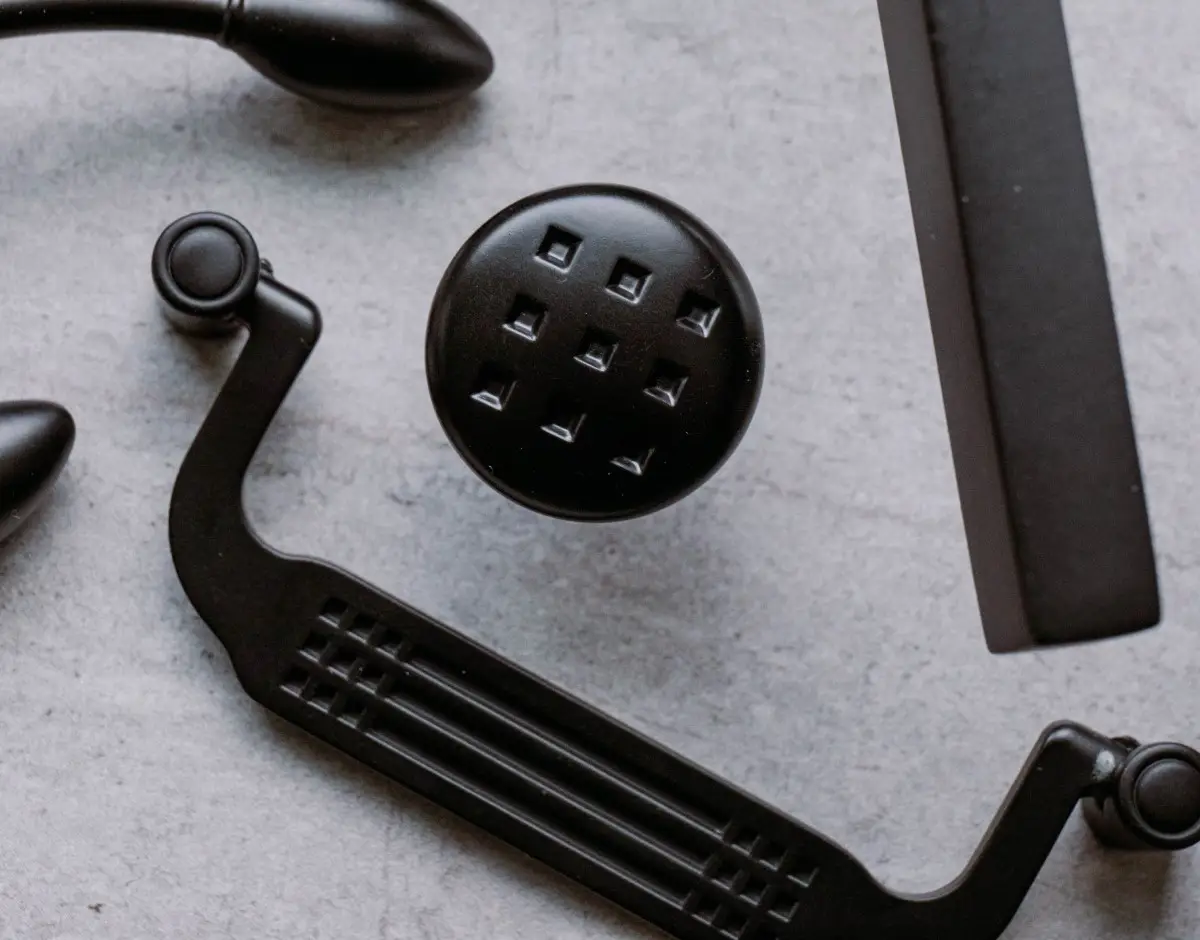
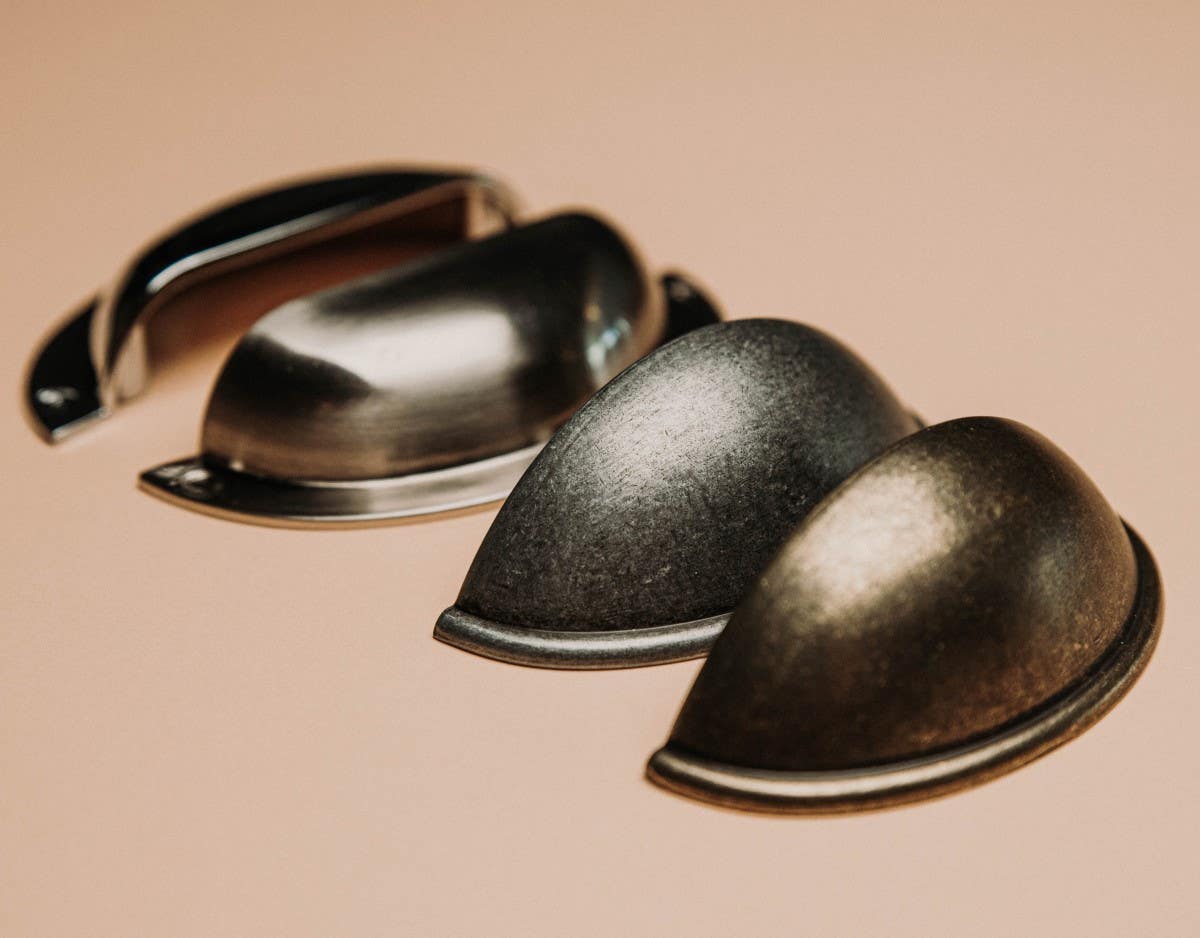
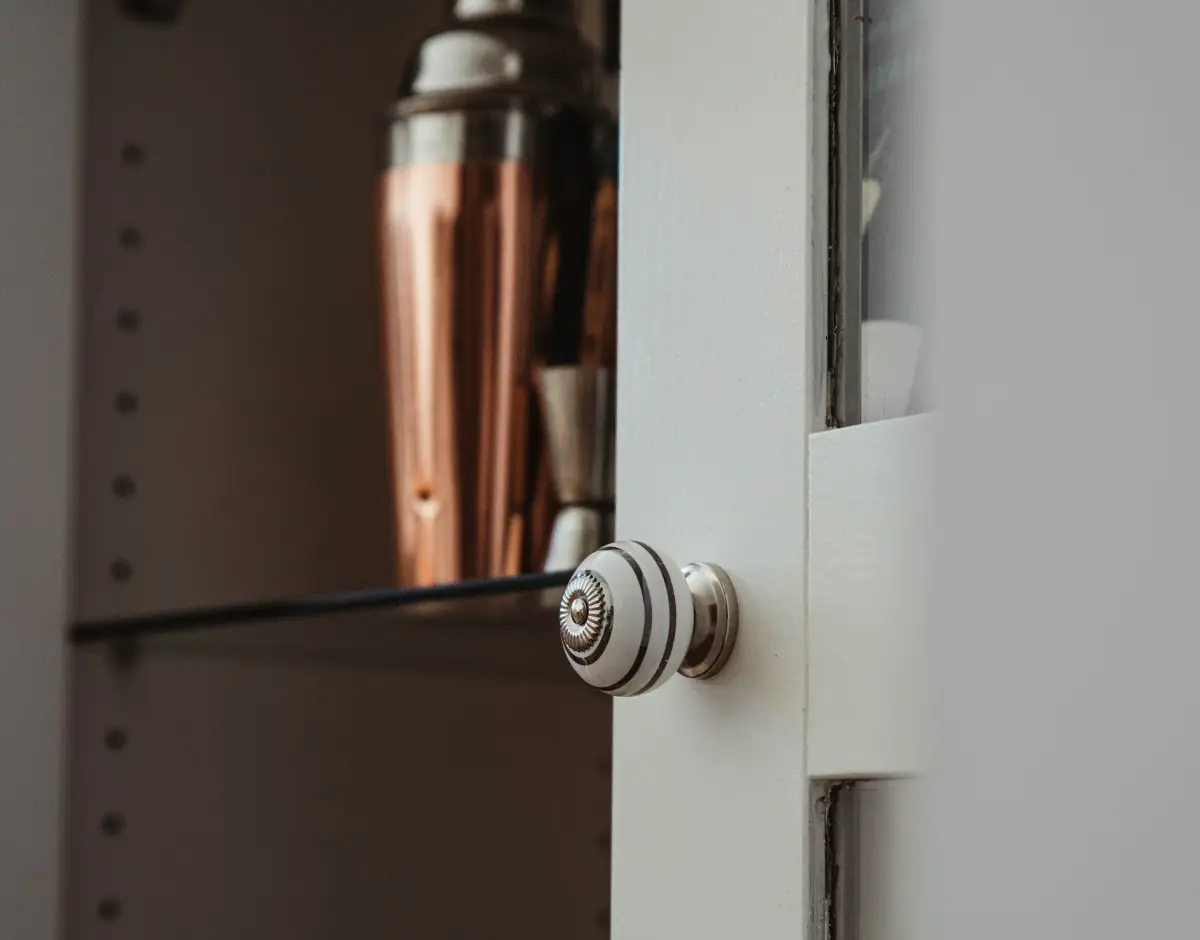
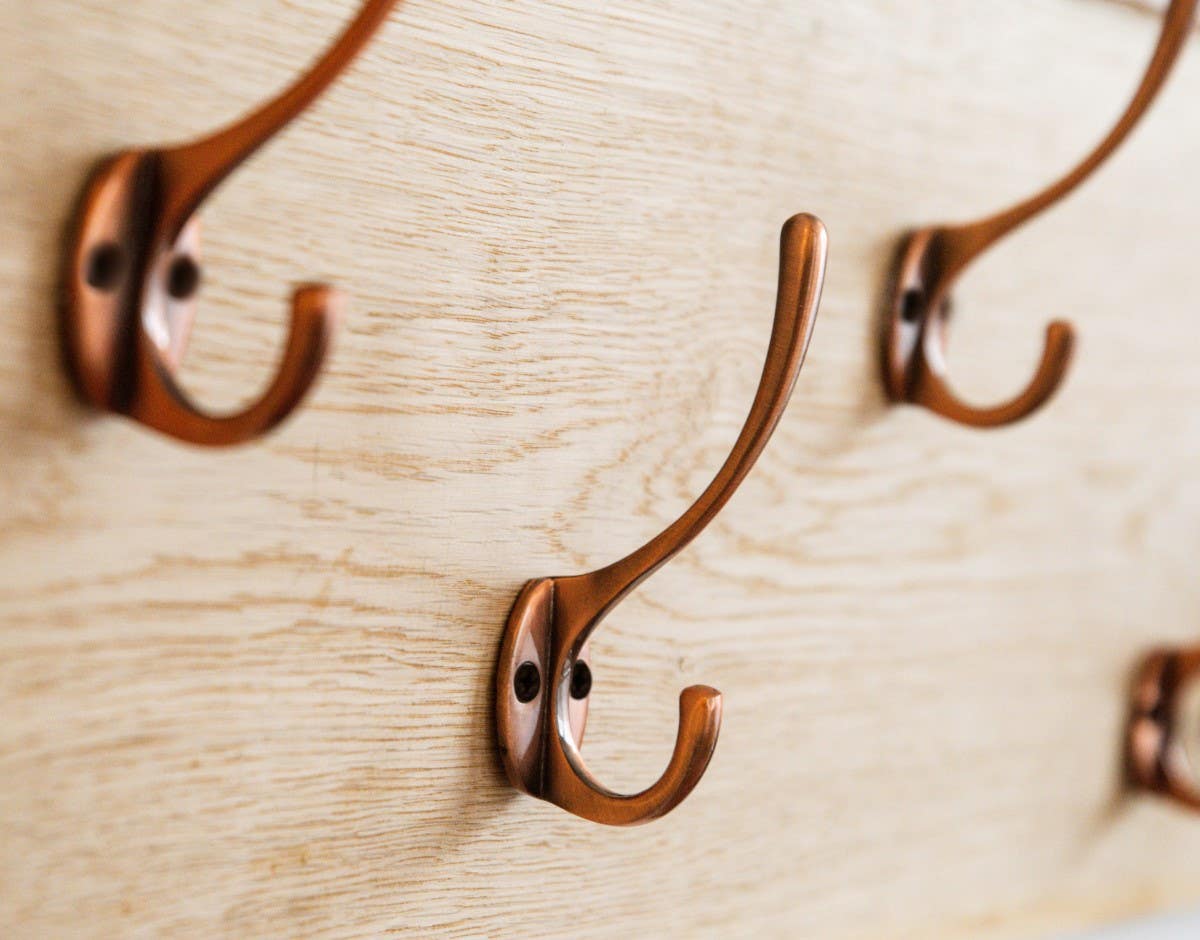
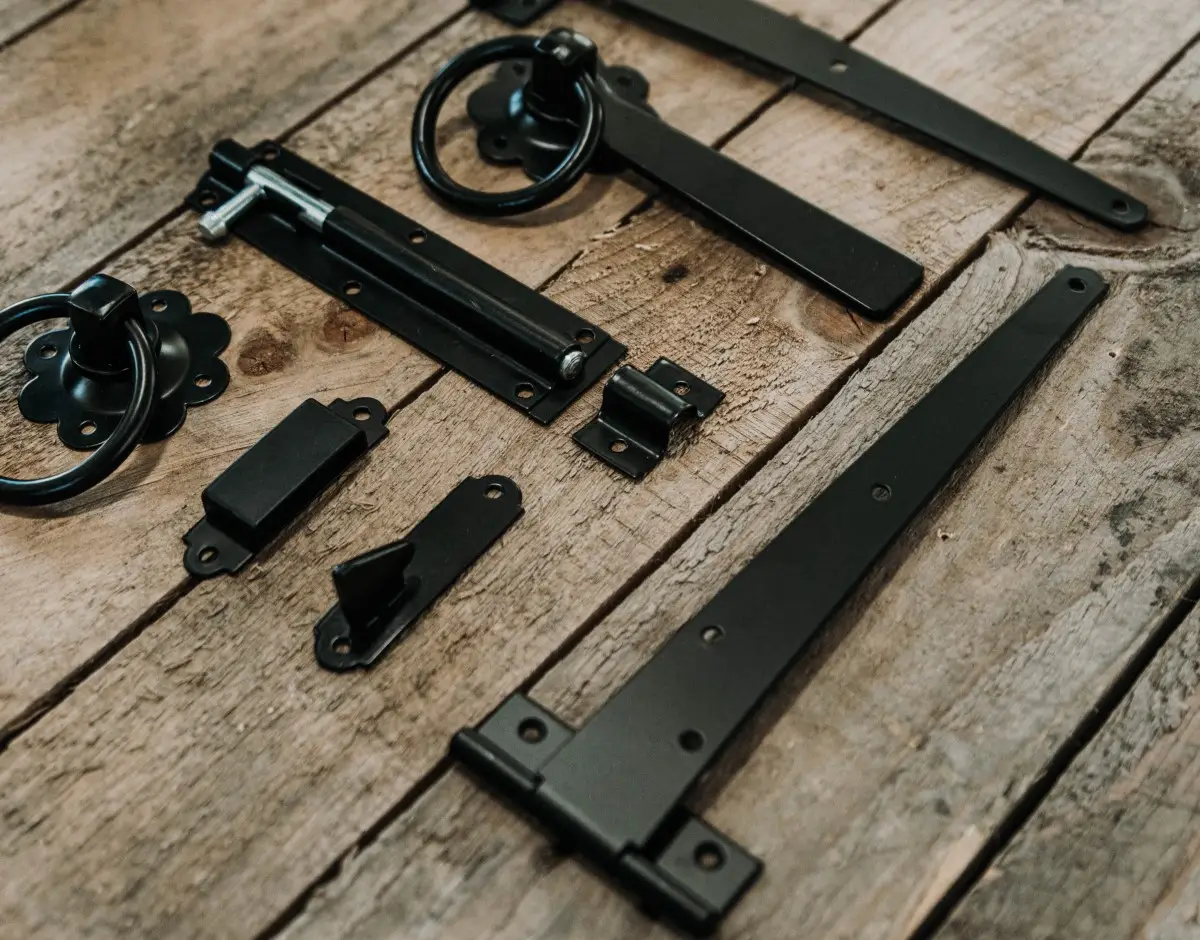
Step #3 - Choosing the Right Door Hardware
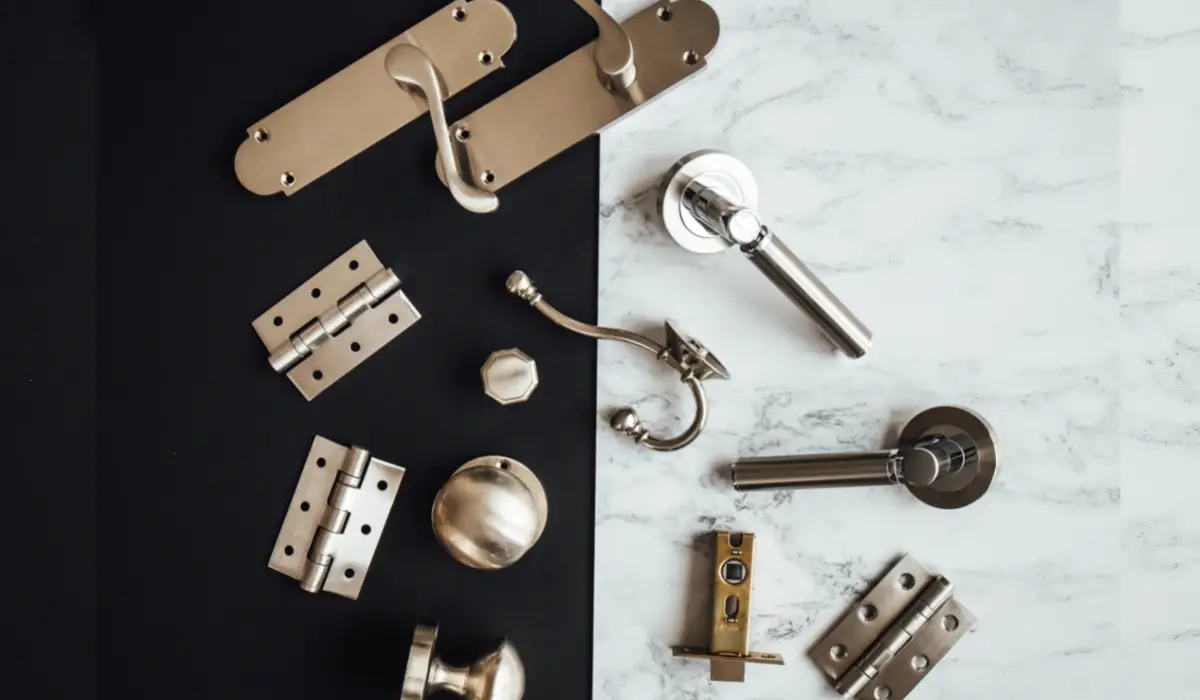
As well as choosing the right door, it's also important to get the right door hardware, as it's going to have an effect on how the door opens, as well as how good it looks. You might be able to use the existing ones, but new hinges and handles can make all the difference.
The good news is that there are many different types of high-quality hardware available for interior doors. This means there's a lot you can use to replace your existing door hardware, with a range of types of available that include:
There's also an incredible array of finishes available for this hardware, with antique brass, brushed nickel, polished chrome and knurled options on the market. Whatever your style requirements are, there will be choices available to suit.
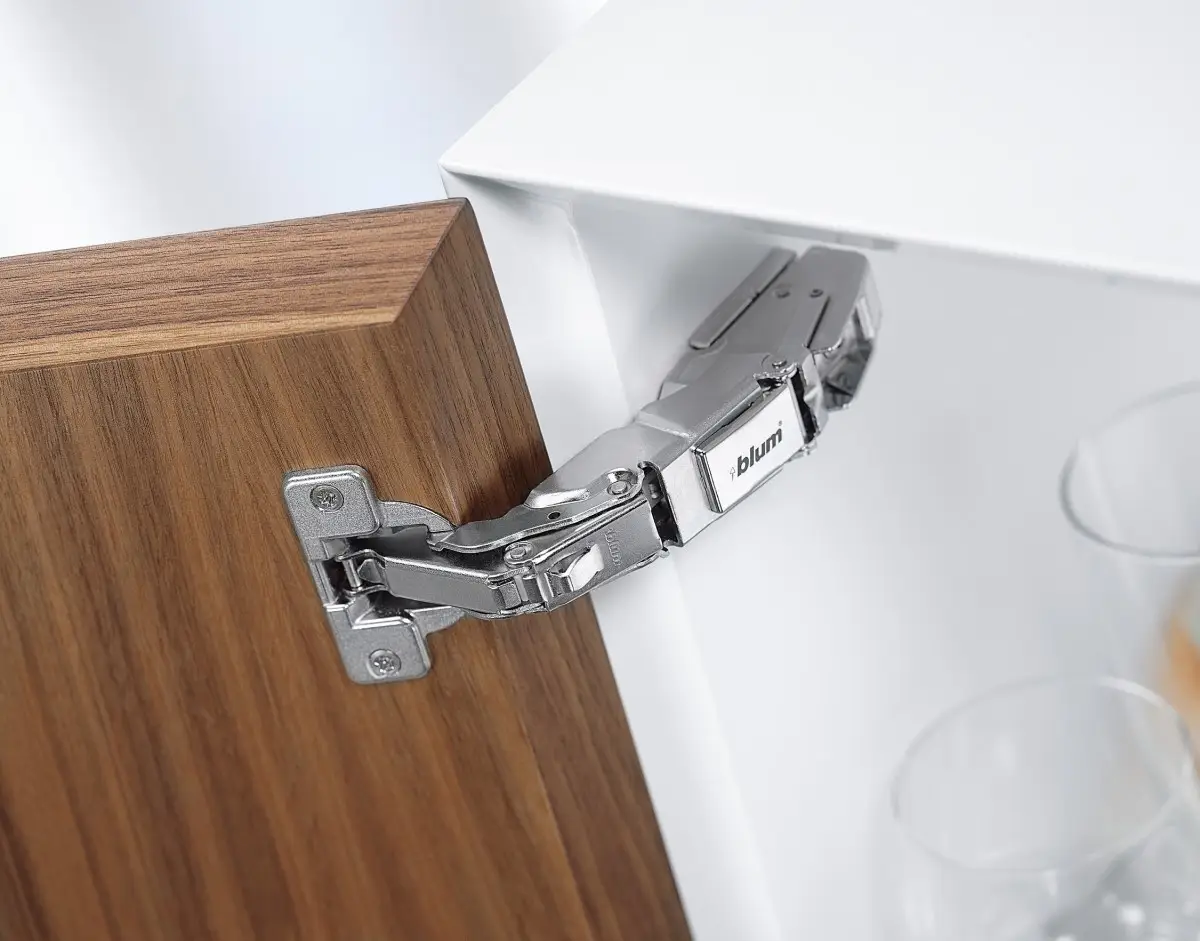
Step #4 - Working out your hinge positions
Again, if you're replacing old doors, you're going to be spared the job of finding the best hinge positions, as it will be obvious where each hinge plate goes because of the existing hinge recesses. As such, the door fits into those same recesses.
There should be no need to drill pilot holes, as the existing hinges will provide you with all of the guidance you need. In the event of any screws failing to bite, you may have to push some dowling into the hole to give them something to grab onto.
It's different for new door frames
Should you be dealing with a new door frame, the job is a little more tricky but still fairly easy. Instead, you need to hold the new door leaf inside the old frame, so that there's an equal gap between the door and the frame, all the way around.
This can be done with some wedges which you tap in between the door and the existing frame, to prevent the door from opening. It shouldn't need too much holding up, as many internal doors are lighter due to being hollow core doors.
mark positions with pencil lines on the hinge side of the door
You should then, with the door flat and flush in the frame, take your sharp pencil and mark the relevant positions. While some doors have three door hinges, they tend to be installed on external doors, as an extra middle hinge is need because of the extra weight
Mark the position of existing hinge cut-outs at both top and bottom (and middle if three hinges are used). If it is a new door frame, measure 5 inches from the top of the door for the top hinge and 10 inches away from the bottom for the bottom hinge.
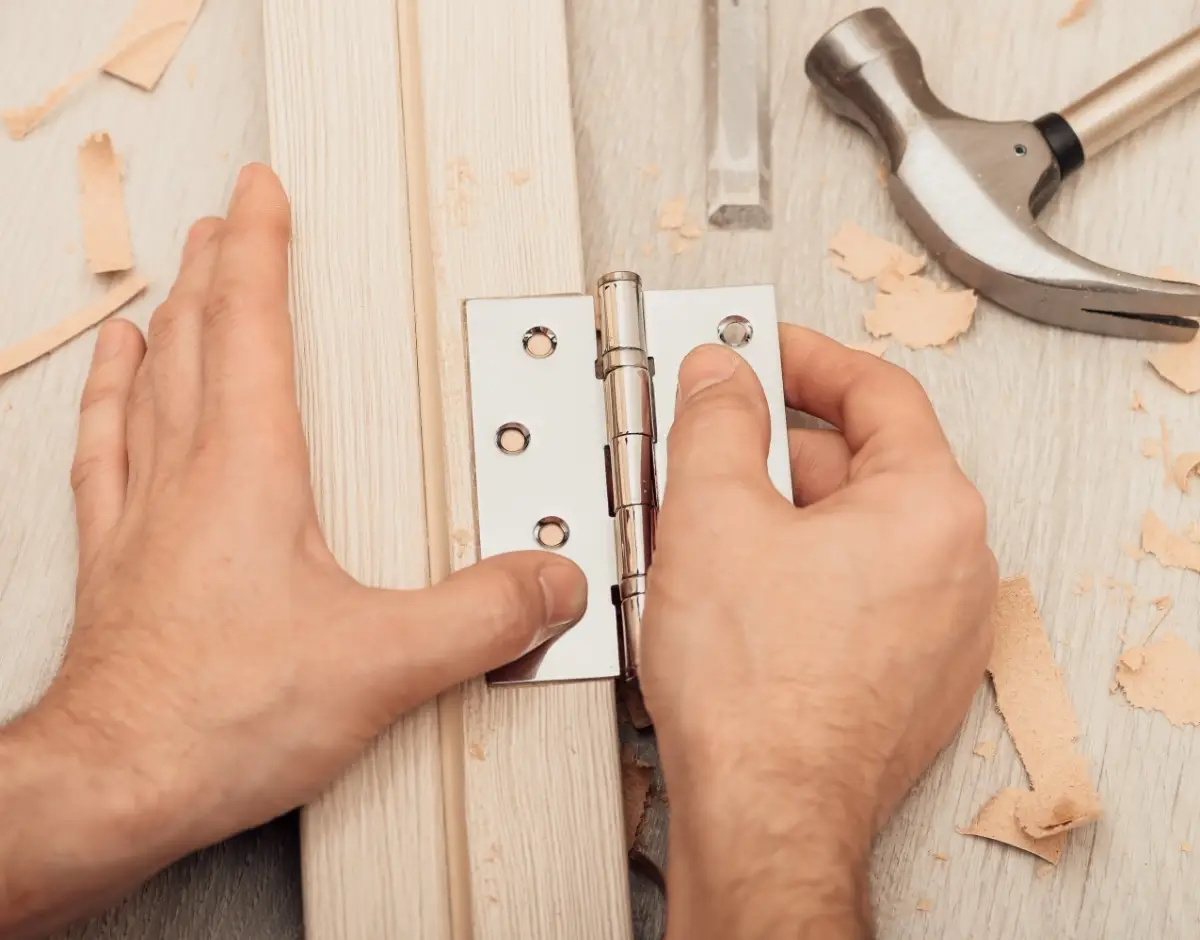
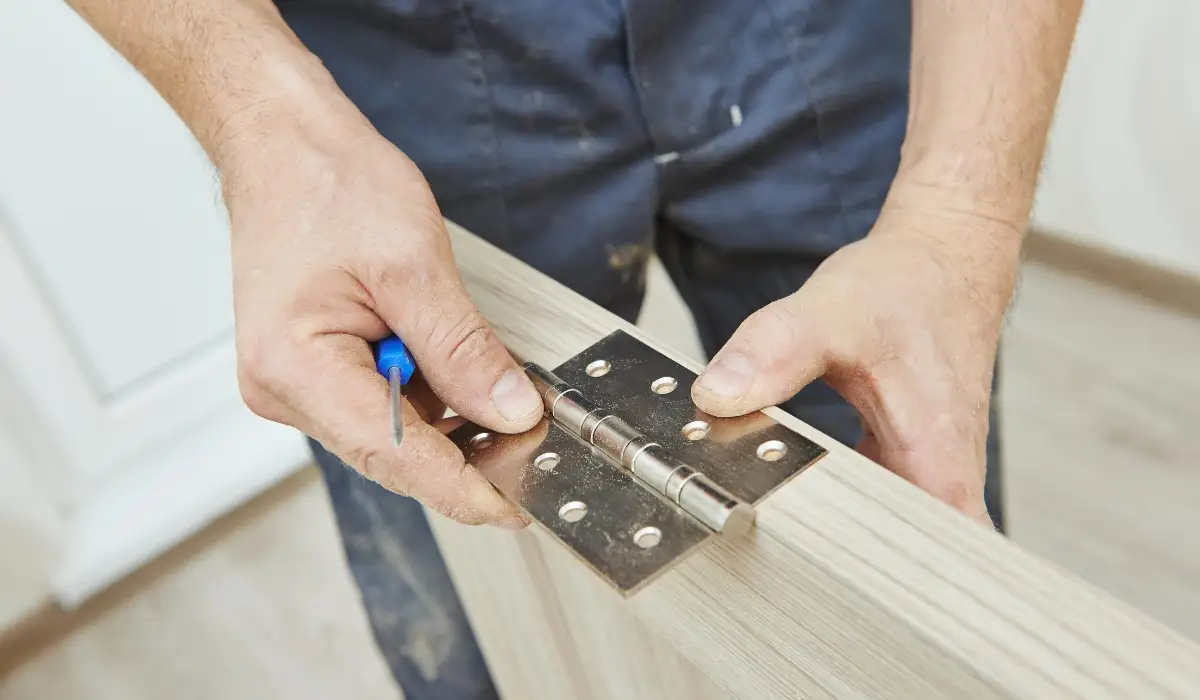
Step #5 – Fitting the hinges to the door

Naturally, the next part of the process is to actually fit your chosen door hinges, which may involve simply using the old ones, replacing the old ones, or having to use a sharp chisel to cut out the sections required on a new door frame. If it's the latter, it's done like so.
Using the marked position of the hinges, draw around the hinge with a pencil and measure the thickness of the hinge plate. Then, hold a sharp chisel at a 45° angle, at the marked hinge position, and make a series of stepped cuts recess into the door using the mallet. Ensure each cut is 5 mm apart and only up to the depth of the hinged metal plate.
Remove any excess wood from the recess and fit the hinges into position. Using the hinge as a guide, drill your pilot holes and screw holes. Using a screwdriver or drill, screw the hinges into the door and fully tighten.
Step #6 – Hang the door in the frame
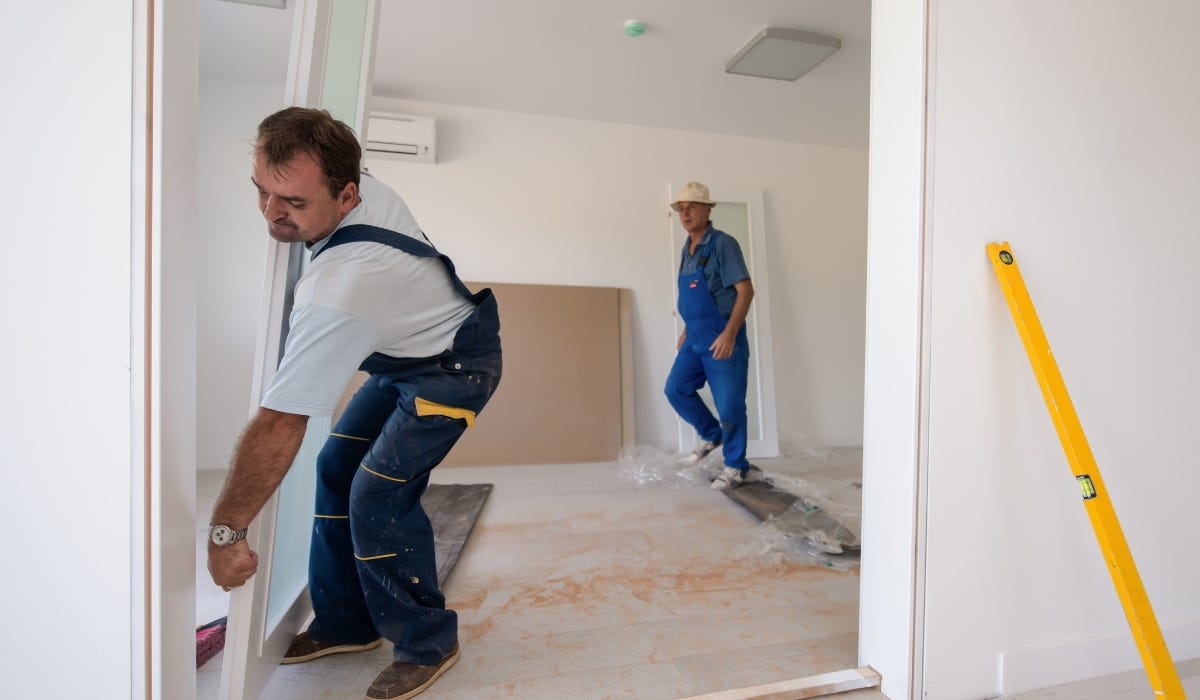
So, now we get to the nitty-gritty, where we actually get to hang the door. You need the face of the door to be held at 90 degrees to the frame, using some wedges pushed into place at the bottom of the door.
As you hold the door, you should carefully screw your first screw using the guide lines you made earlier. This test screw should go into the door without any resistance. If that is the case, the next step is to put the rest of the screws in.
Checking the door opens smoothly
Once all of the screws have been firmly affixed at the correct height, you need to check that the door opens and closes without any noticeable friction.
If you find that something's not right and it's either sticking or not hanging properly, you may need to take the door off again to make some adjustments.
Use a Plane or a Circular Saw
As we mentioned earlier, you need to have a consistently small gap all the way around between the door, the door frame, and the floor. It's quite common for this to be a bit of an issue in older houses, as warping can affect the frame over time.
If there is resistance or the door isn’t hanging correctly, try loosening one screw or a few screws slightly. If the door seems to be sticking at a point, it may need to be removed so you can give it a trim with a plane, sander, or circular saw.
A 10-Year Guarantee on All Door Handles & Accessories From Hiatt
So, there you are...if you've followed our steps to hanging a door to an old or new frame, you should now be looking at a door that fits neatly into the available frame width and opens without any trouble whatsoever.
Of course, the door opening smoothly is a must, but you shouldn't also forget the wealth of design options you have available to you. Take a look in the Hiatt online store and you'll find a dazzling array of hardware to make your internal door projects go well.
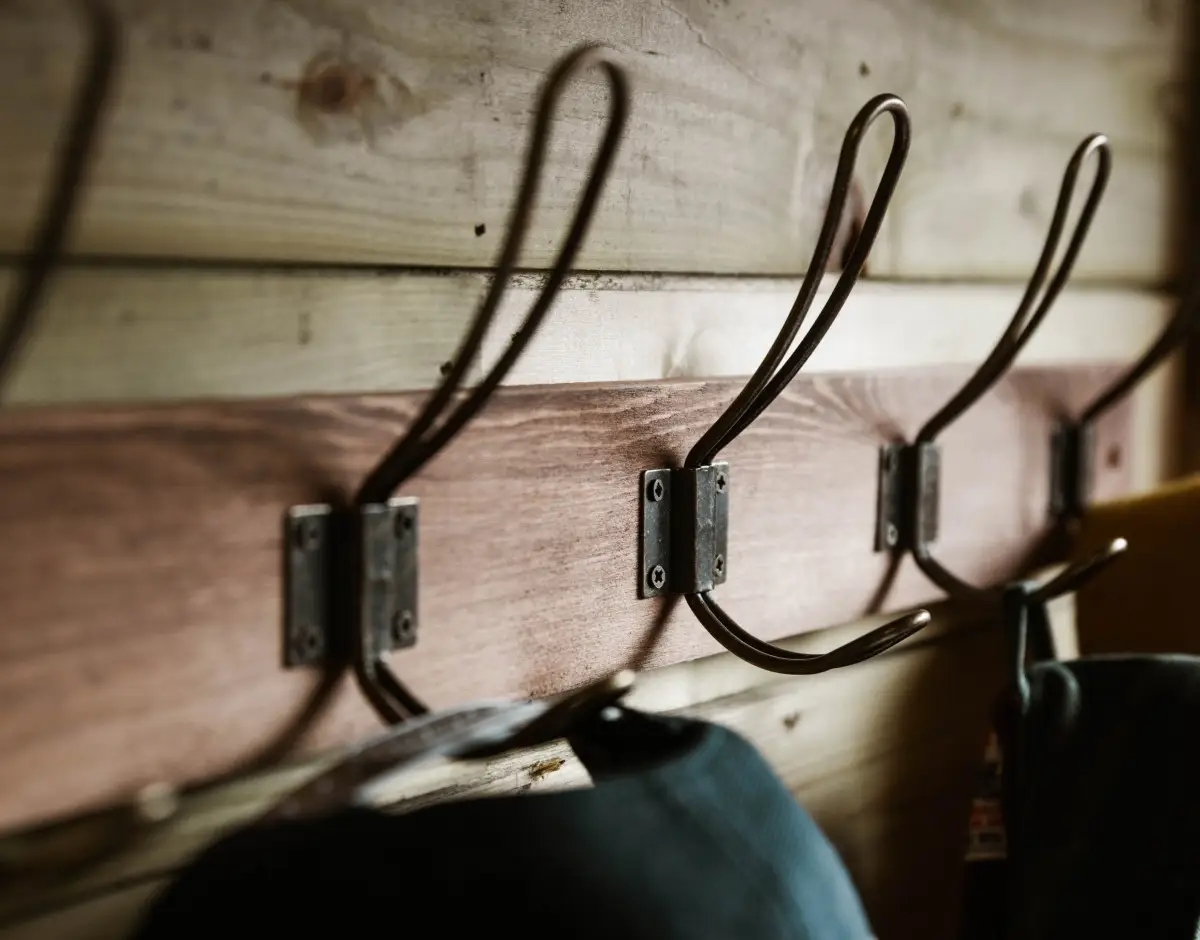
Adding door furniture to the door is a great way to upgrade its appearance, especially when you have matching door handles, hinges, escutcheons, and door stops.
Moreover, at Hiatt Hardware, all of our door hardware and accessories come with a 10-year guarantee, meaning once they're installed, they're built to last! So, head over there now and see the many designs we have in store.
That's it from us for this time. Check back with us again soon for more advice, tips, and guidance from the home of premium door hardware.