
What do you need to do? Before you embark on door painting, there are some basic instructions that you need to follow.
1. Decide On the Door Paint Color
The first thing that you should think of is the colour you are going to use on your door. Several colours will work pretty well with your entry.
You might consider painting your doors using different colours depending on your taste. You are spoilt for choice with the numerous door colours available in your local hardware.
2. Gather All The Painting Tools
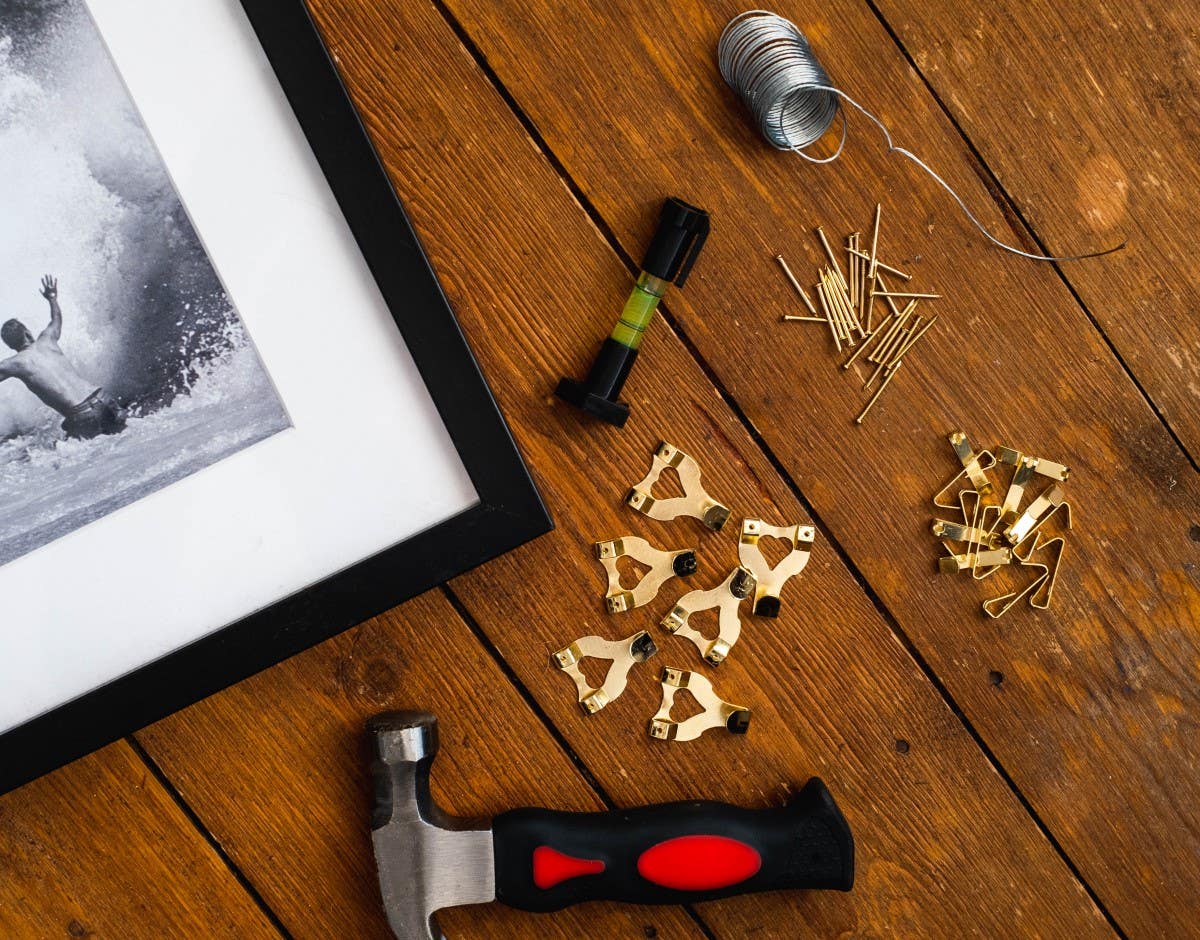
Before you begin your painting job, ensure that you have all the necessary tools. You may require using wood filler if your door is old.
Other items that you will need include canvas or plastic cloth to cover your floor, a roll of painter's tape, utility knife, paintbrush, woven rollers, roller handles, and roller tray.
Gathering the tools beforehand will save you time and energy.
3. Prepare Your Door For Painting
The results depend on proper preparation. You may decide to paint your door when it is in place, or you may need to bring it down. I would recommend that you remove your door and paint it on sawhorses. Measure the space between the frame and the door when it's still closed.
Taking measurements before you take down the entrance will guide you on the necessary action to take. If your door is tight, you will need to sand down the edges to give more paint. Please do not ignore this small step because it has a significant impact.
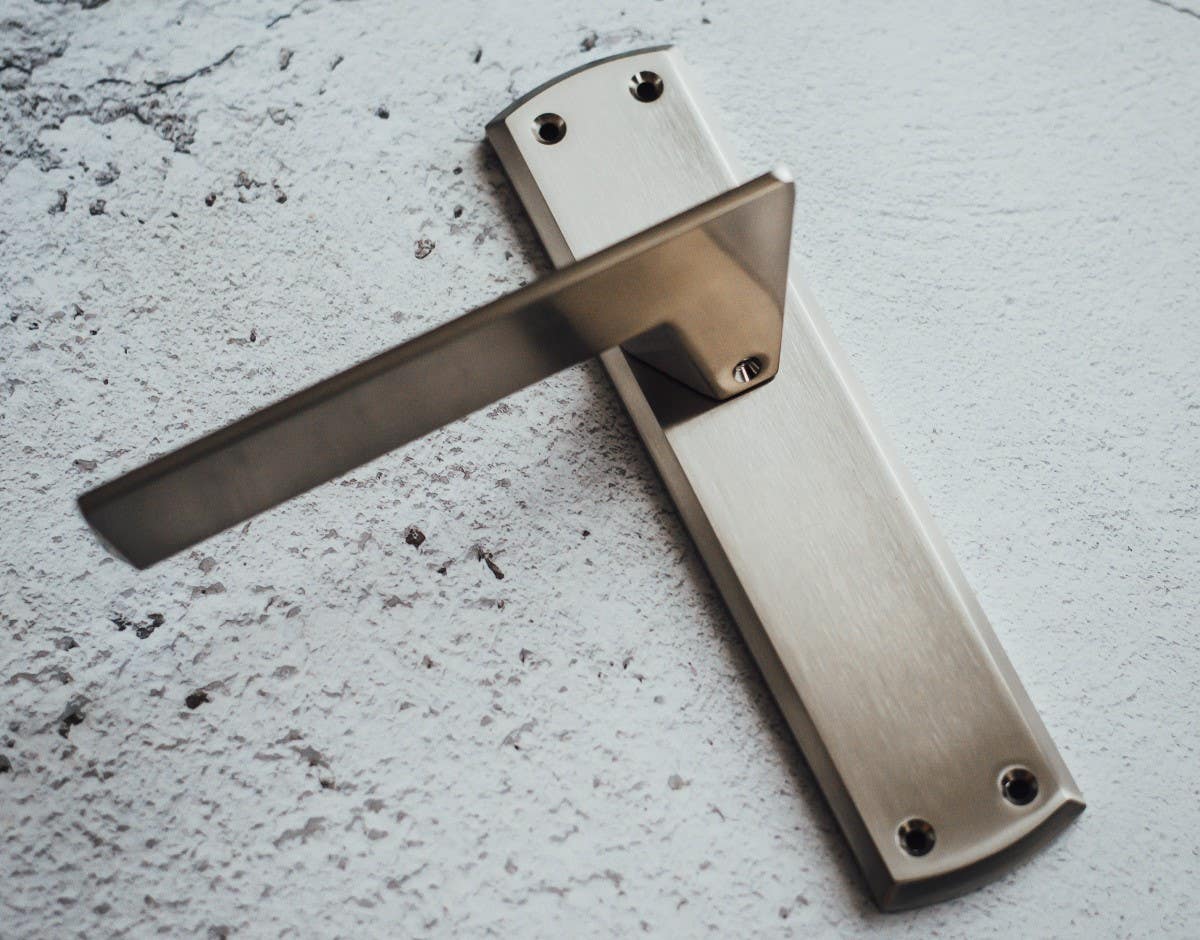
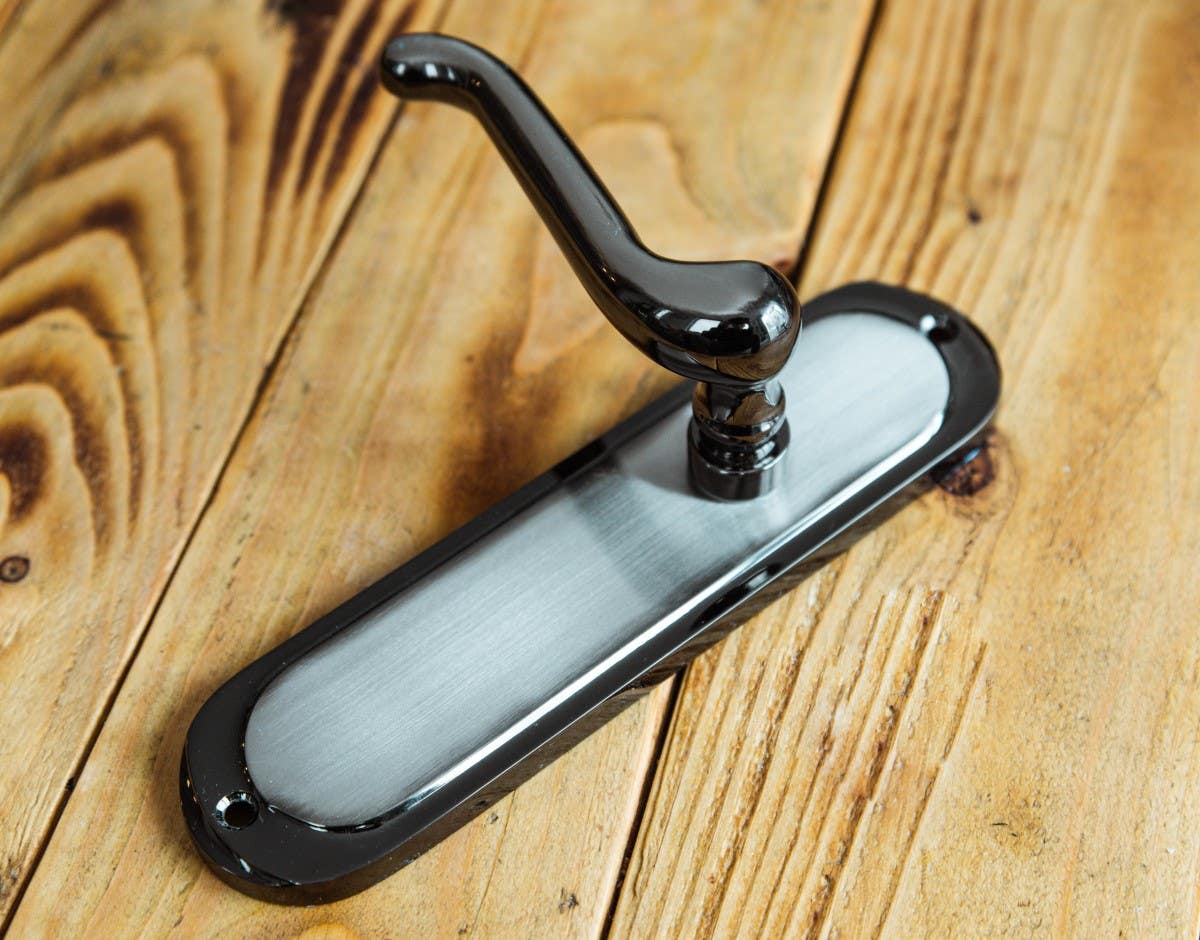
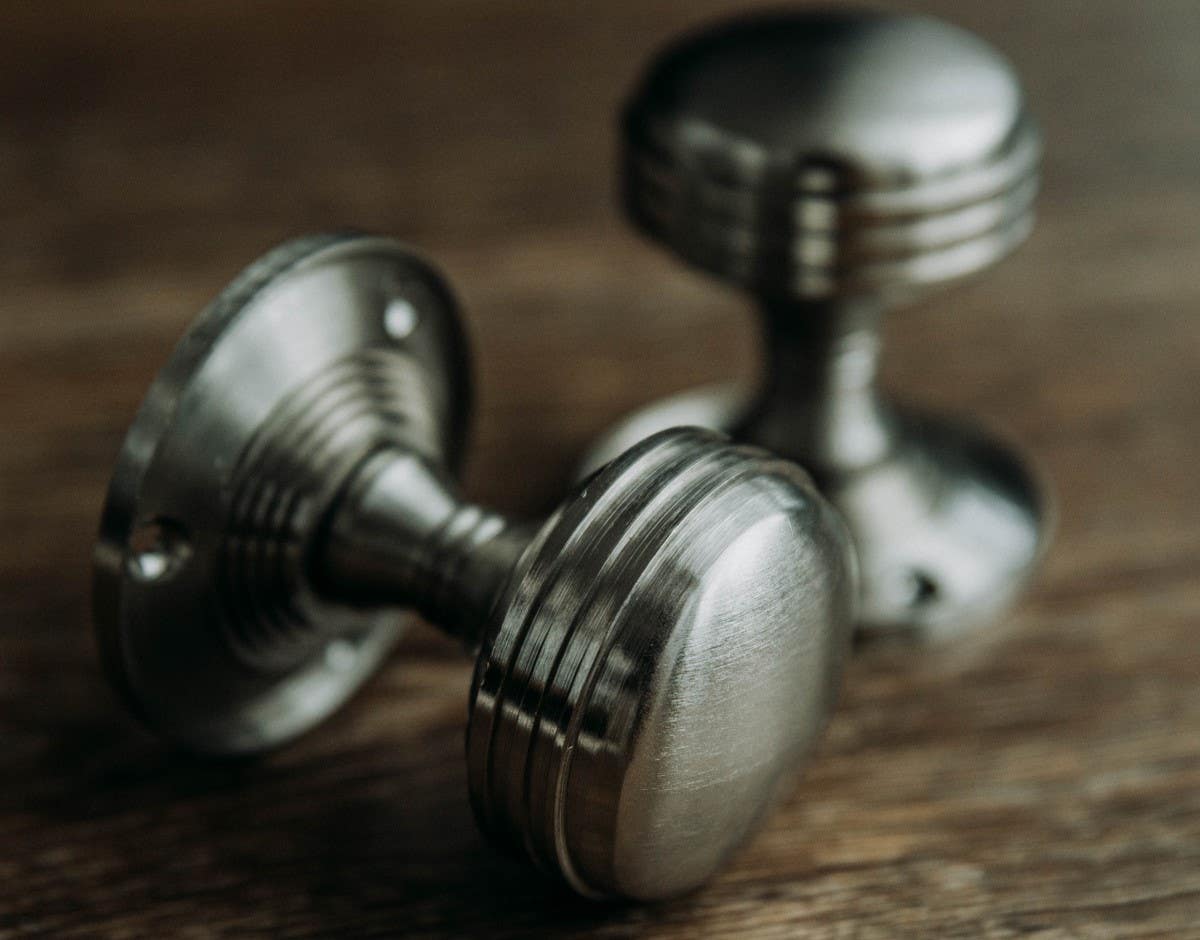
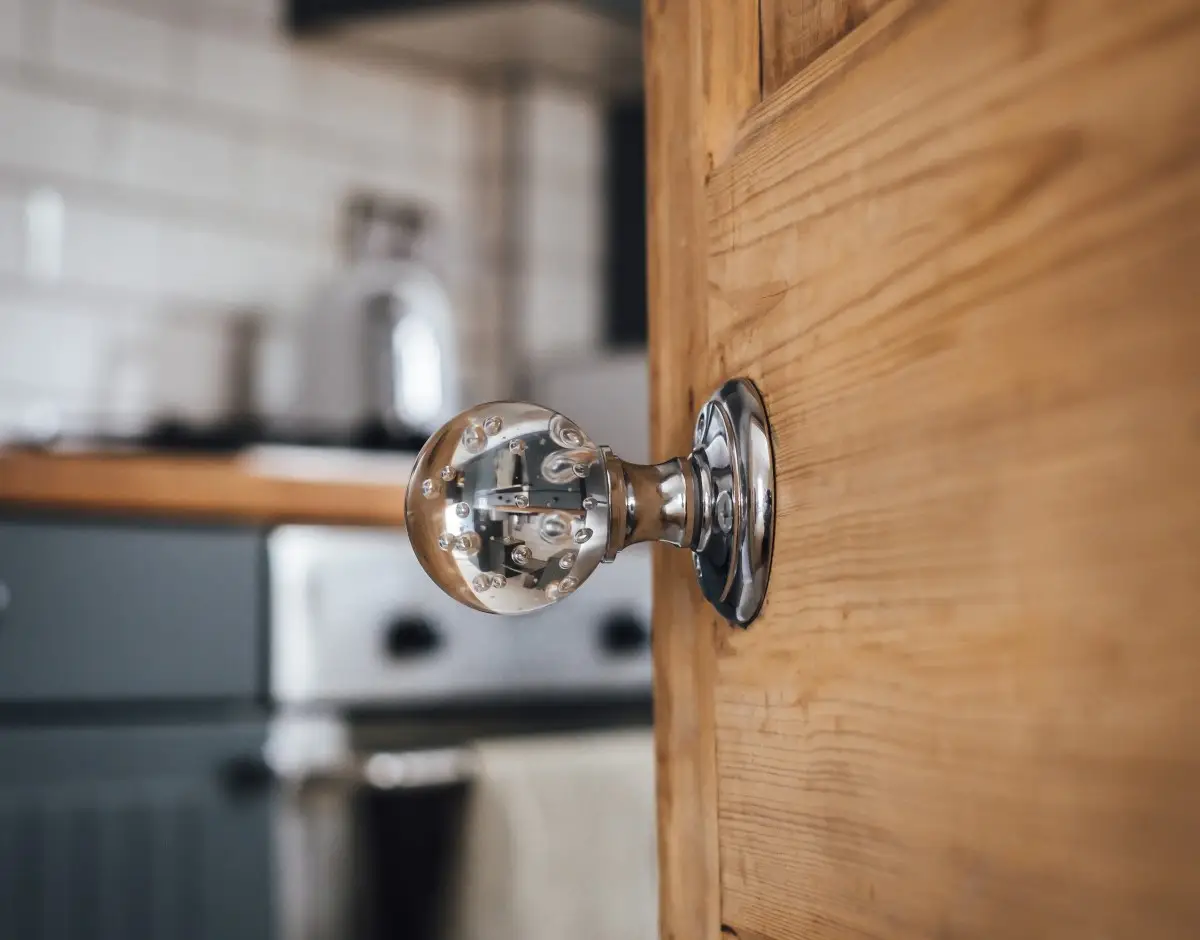
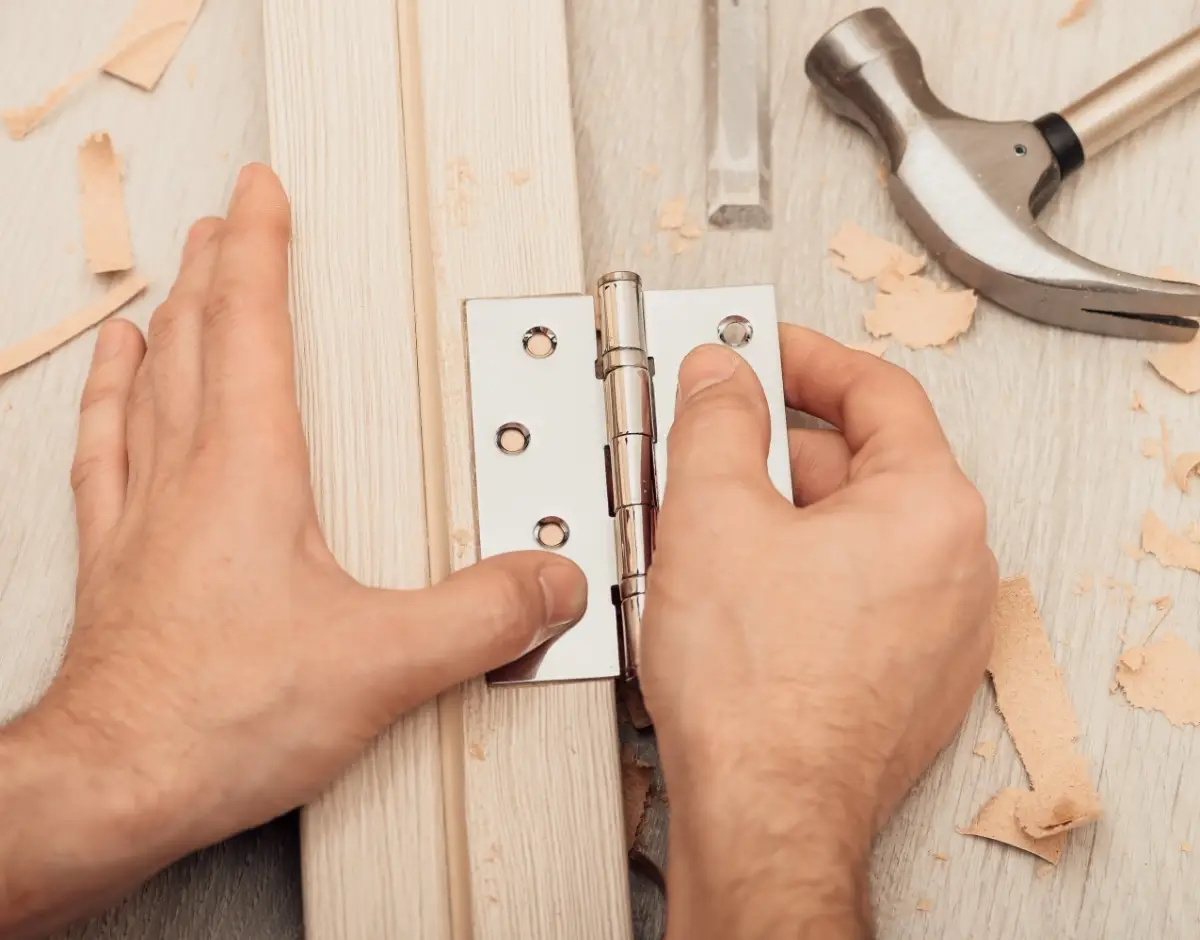
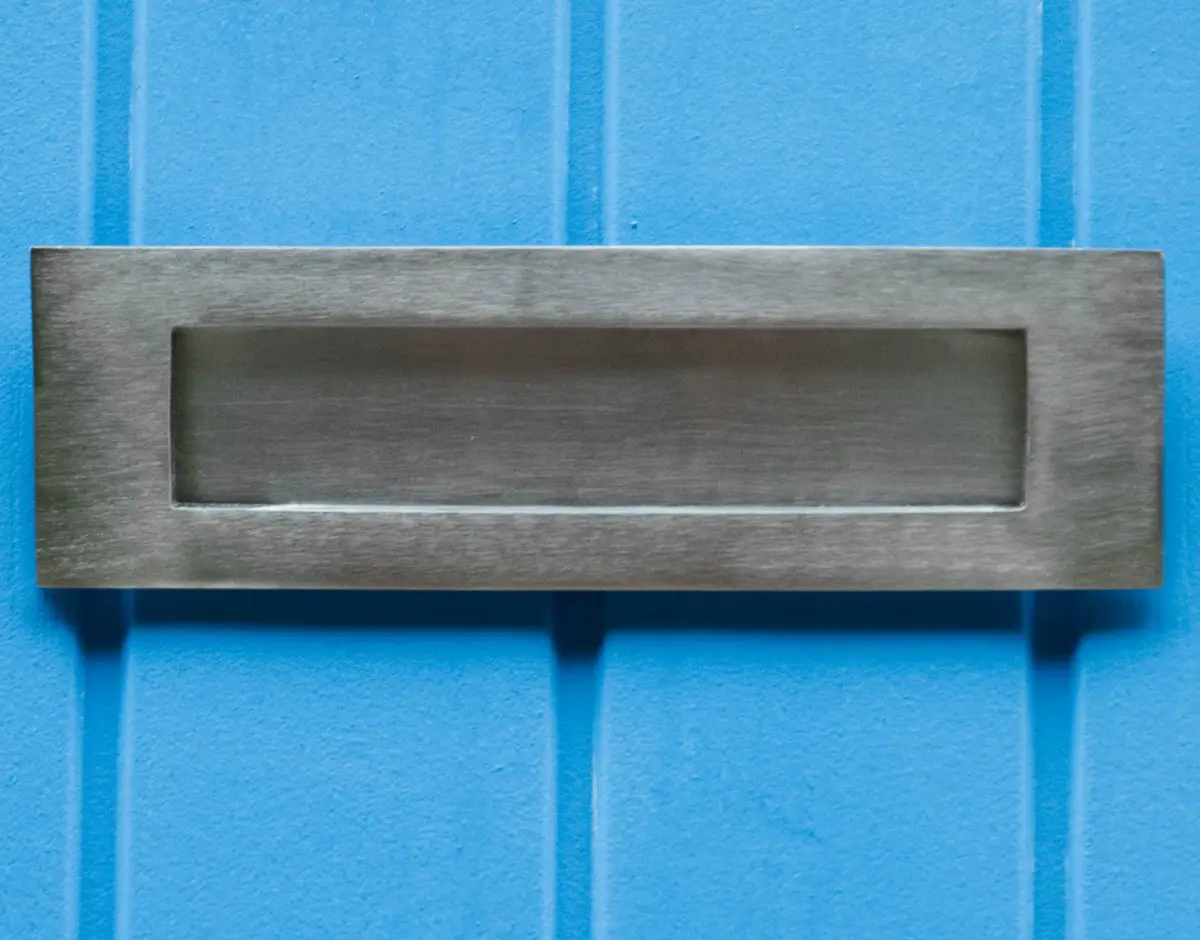
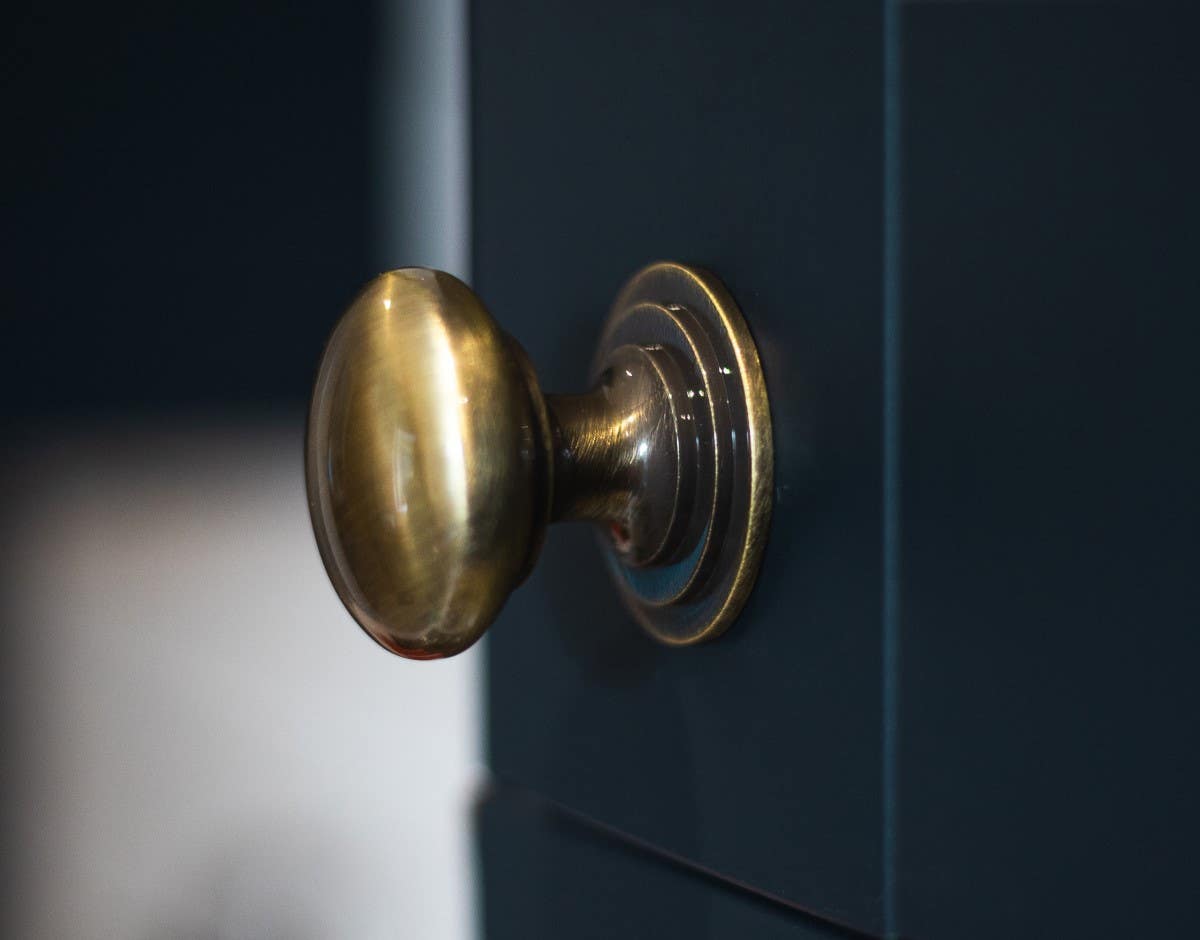
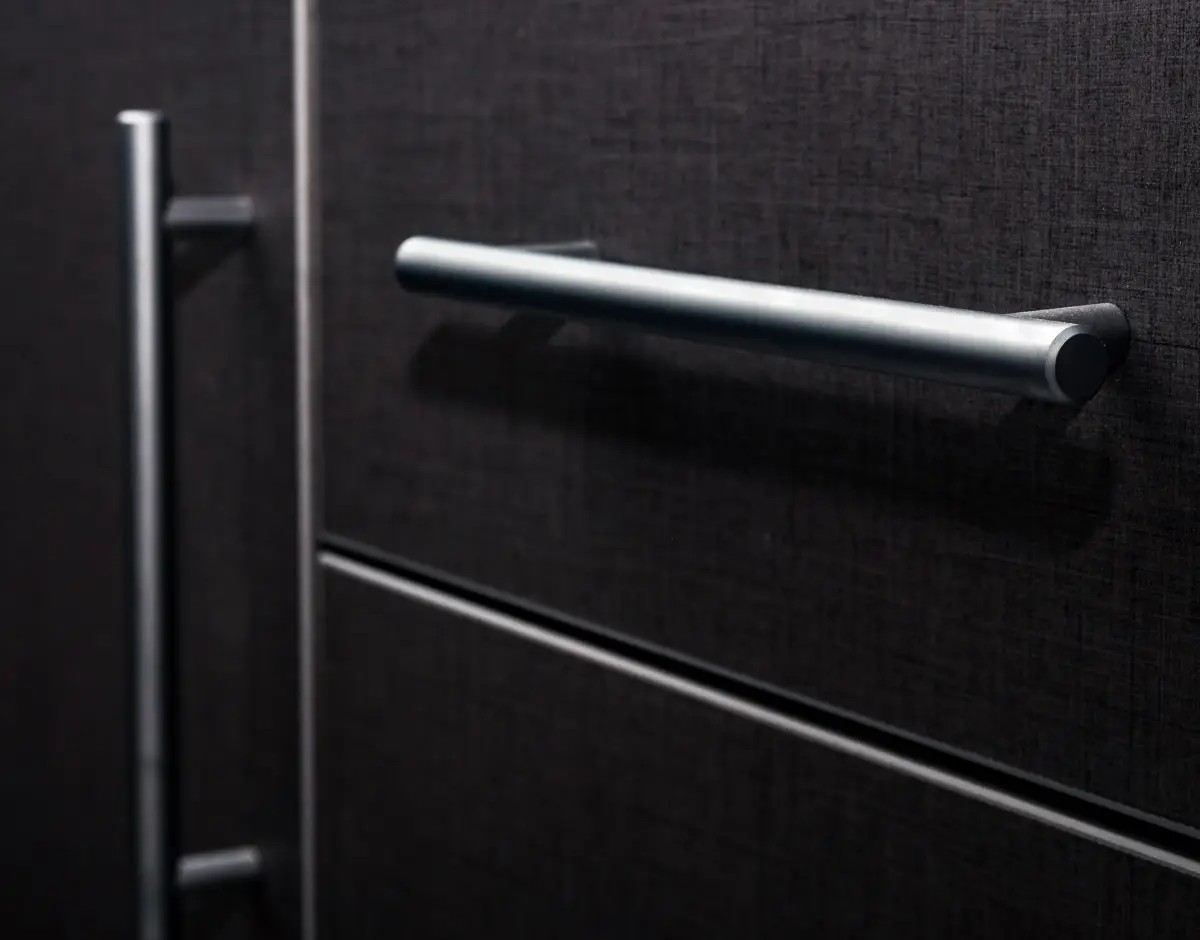
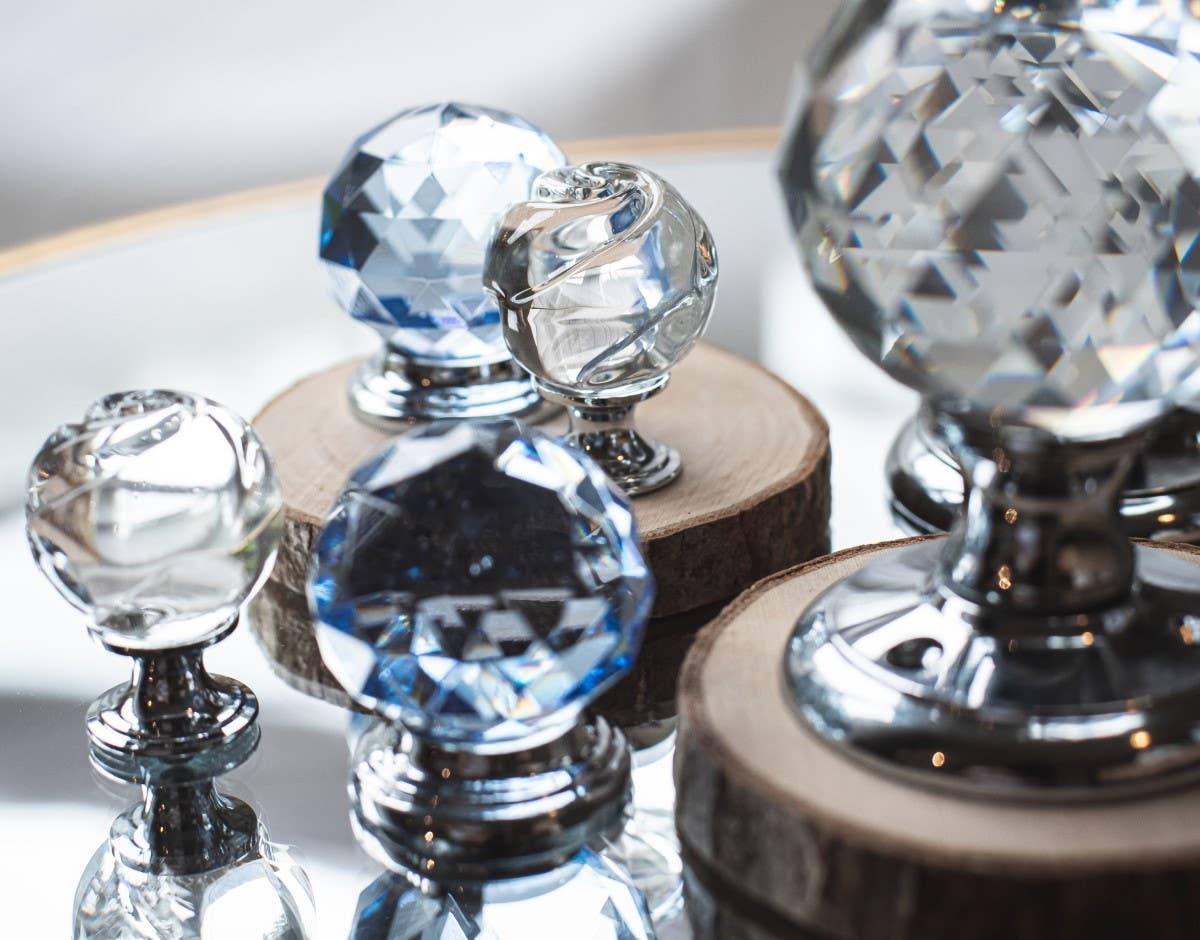
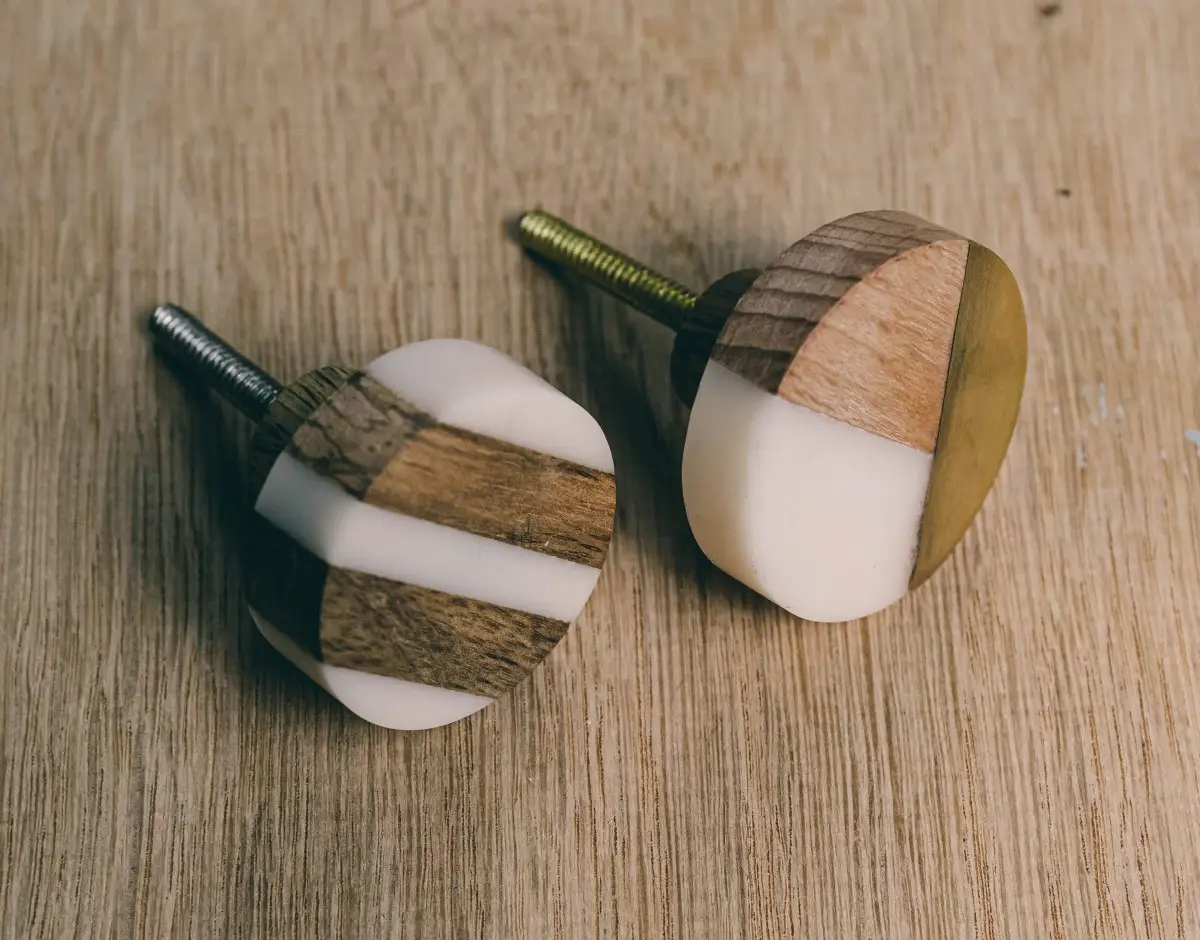
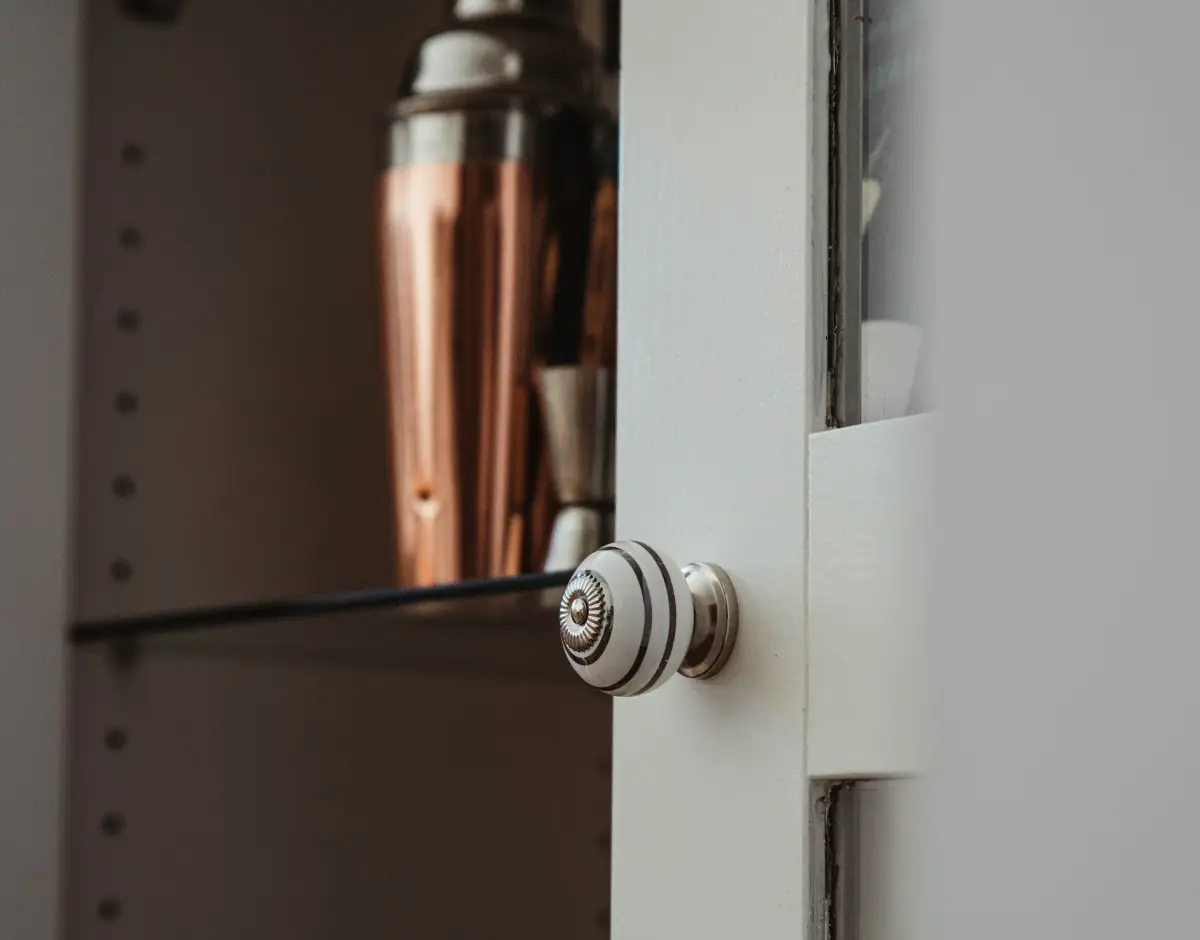
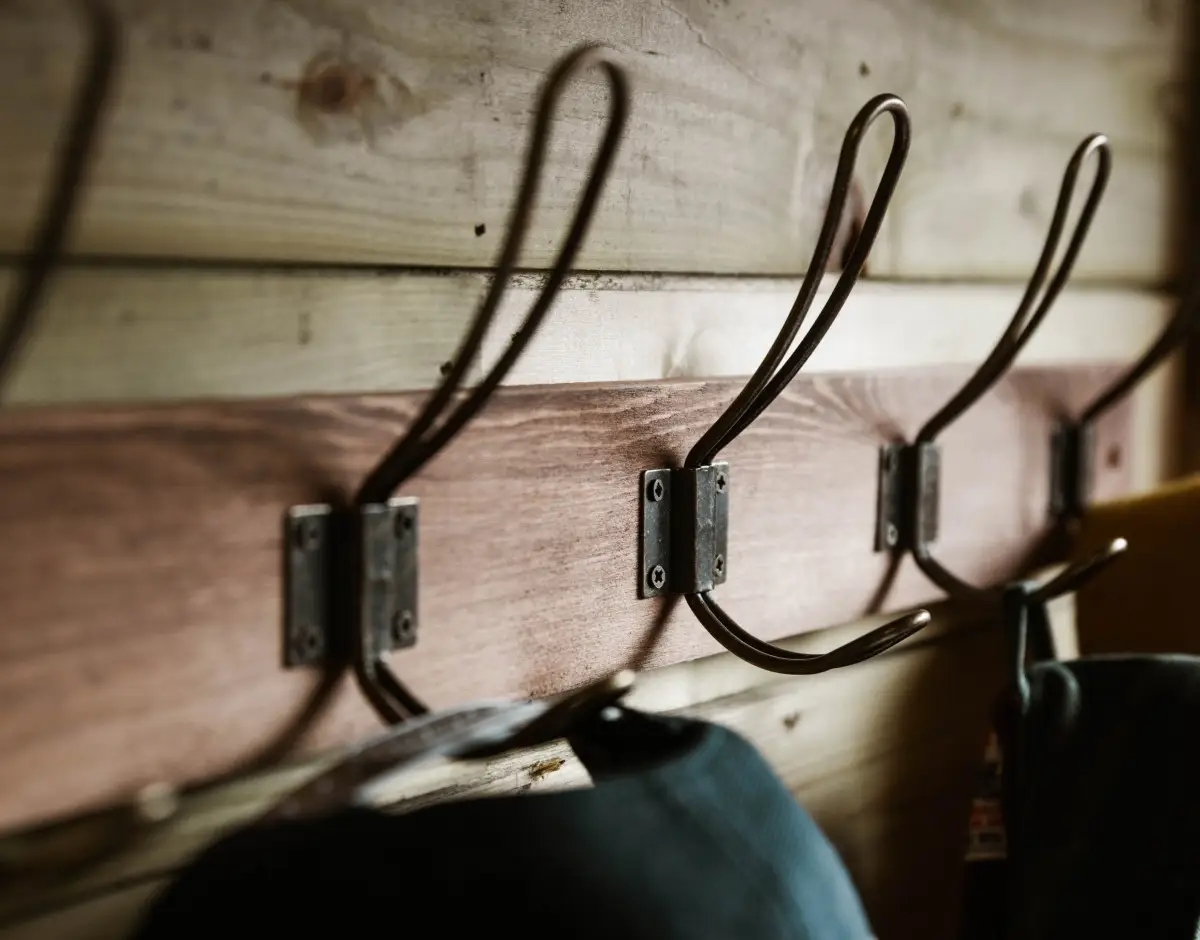
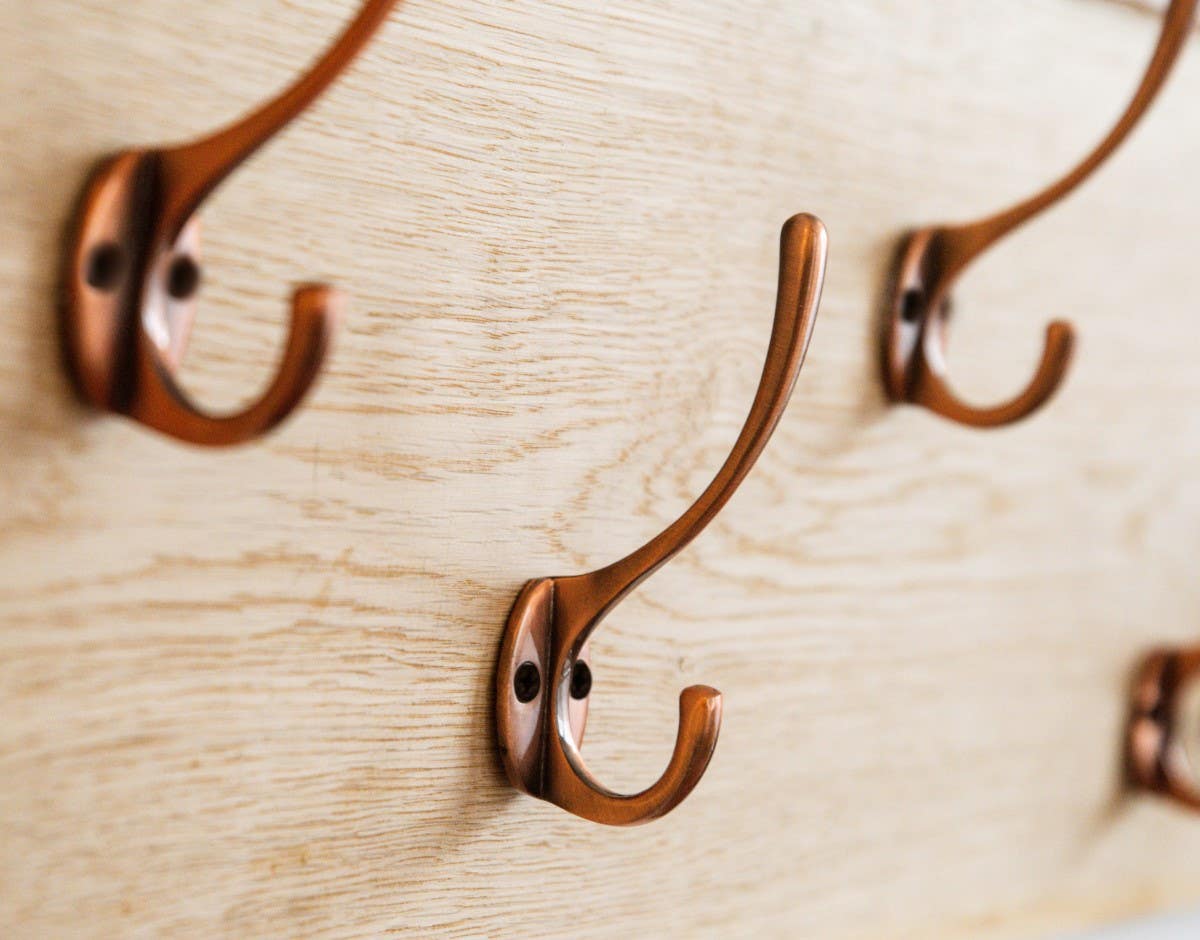
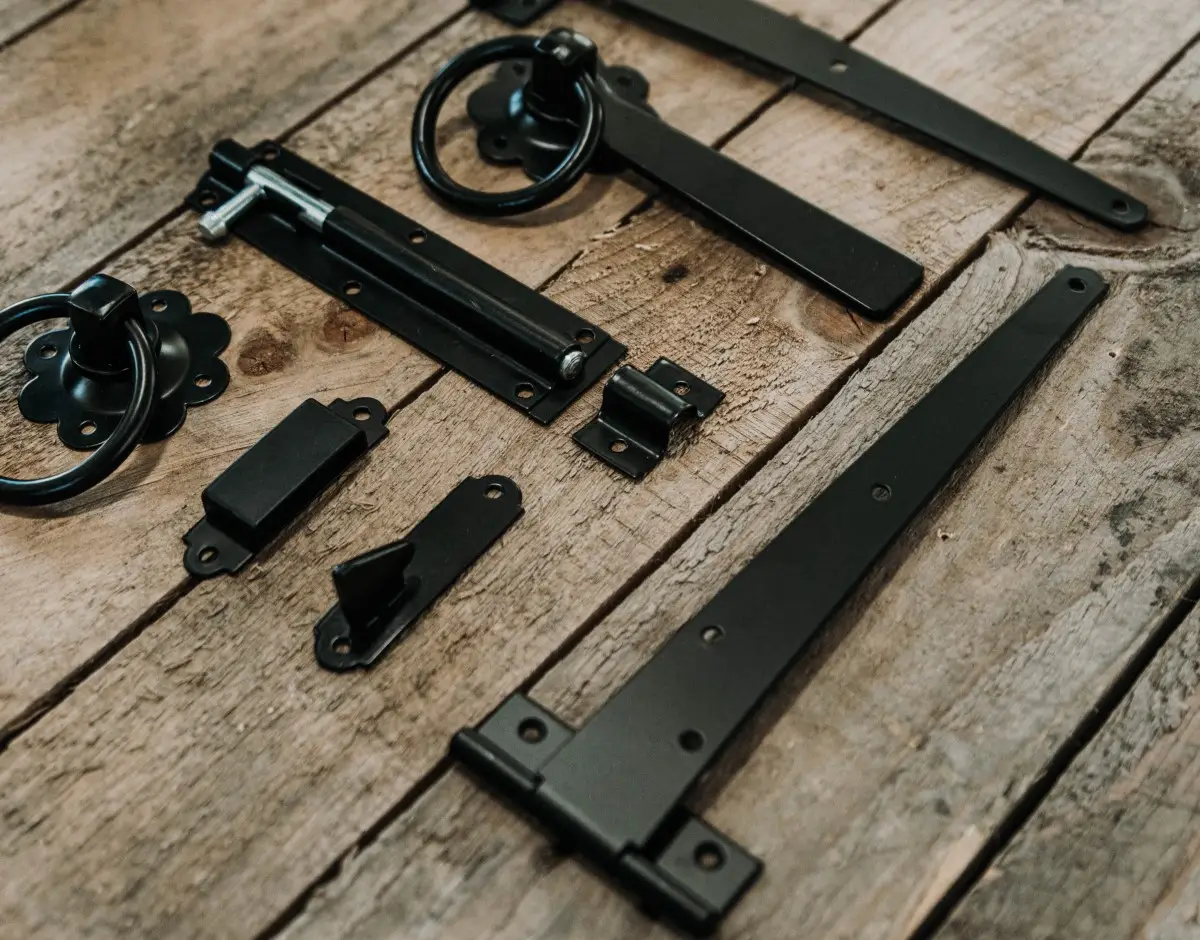
Once you are done, remove all the door handles, knobs, coat hooks, and anything else attached to it to make your painting easy. It is necessary to order door handle packs if you are painting interior doors. When removing the door hinges, use doorstops to keep your door securely in place.
TIP: Support the door’s weight by screwing on each door hinges. Using screws will make it easier to remove the door.
After removing the hinges, lay your door flat on a sturdy surface. Clean your door thoroughly using the sugar soap before you start the painting process.
If you are repainting an old door, fill in any gouges using the wood filler, then sand the areas to smooth.
If your door has enamel paint, sand it until the shine is no longer visible. Remember to remove the sanding dust using a cloth. Apply the Primer Sealer Undercoat to your door before applying the topcoat.
4. The Painting Process
Before you start the painting process, stir your paint can to give the paint a more even colour. You can use just a synthetic brush to paint your door. However, using a combination of a brush and a small roller will make your job faster, and you will get a smooth finish.
For good results, do not merely paint your door from top to bottom.
- Start with the mullions before you move to the main panels.
- Begin with the shorter boards and work your way up to the most extended panels.
- Next, paint the styles and the rails.
- Start with painting the three vertical strips down the centre, followed by the four horizontal rails.
Finally, paint the edges of the door. Remember to feather the sides of the moulding; you're brushing to remove the hard edges. After you are done with painting, leave your door to dry for at least 24 hours before turning it over to paint the other side.
TIP: To prevent streaks, paint your door as quickly as possible so that it won't dry during the process.
5. Applying The Second Coat
Before you give your door the second coat, lightly sand it down using 360 grit sandpaper.
Wipe the door down completely, and then remove the sanding residue using a tack cloth. Apply the second coat of paint and you are done.
When your door is dry, reattach it and reinstall the hardware to give it a new look. You will be mesmerized by your beautiful new entryway.