
How to Upcycle Second-Hand Furniture
When you're looking to add a touch of freshness to the furniture in your home, you've typically got two options; 1) buying new or 2) upcycling vintage furniture.
The second option is pretty much always the cheaper option, but it does require a good understanding of how to upcycle second-hand furniture.
It's not as hard as you might think
The good news is that upcycling furniture is something that everyone can learn how to do, as it's often just the right approach that's needed.
So, come with us now, as we examine the simple steps you'll need to take with your upcycled furniture projects to get the great-looking results you're after.
Step #1 - Finding Old Furniture to Work On

So, the first part of the process is to enter the preloved furniture market. This is essentially a euphemism for unwanted furniture that you'll typically find in your local charity shop, car boot sales or even simply being thrown out.
If you have your own bedside tables, old table or old chairs to upcycle, then great, if not there are plenty of places you'll find items you can give a new lease of life, often for a very low cost.
When searching in charity shops, what you have to do is look past the excess dust, rough edges, and chipped paint, so that you can get a vision of what the finished product will look like after a spruce and a fresh coat of paint.
Another good source of old furniture to work on can be found on the internet, with online sites like Preloved.co.uk listing hundreds of items.
Step #2 - Choosing the Right Style

When you upcycle furniture, you need to ensure that what you're going to be creating is something that will complement the decor of the room in which it's placed.
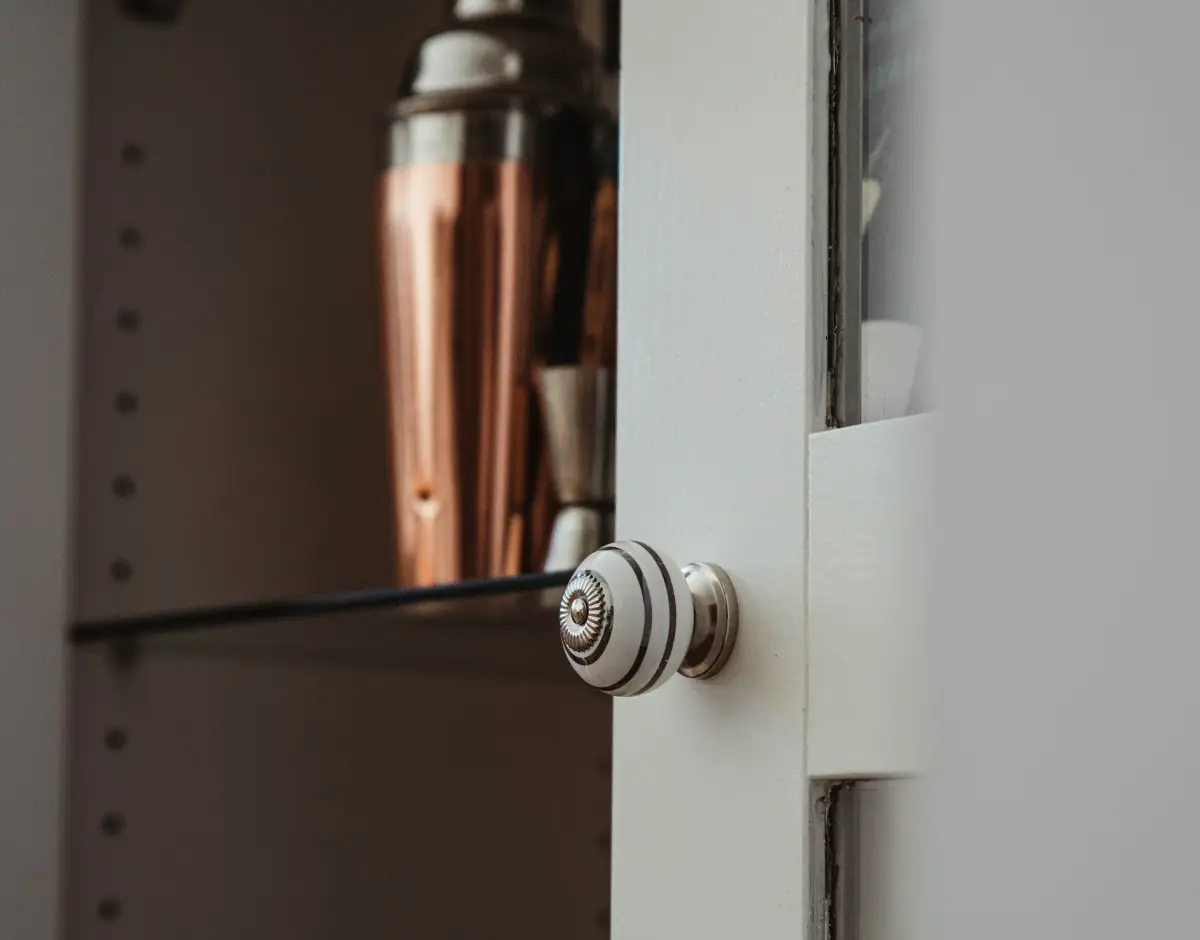
If you're aiming for an antique look, you should be looking for curved finishes and raised moldings, with their original cabinet door knobs and hinges.
Whether it's a cabinet or a coffee table, it has to fit!
Most upcycling furniture enthusiasts tend to go for an authentic look, however, if you prefer the contemporary look, go for items with simplicity and clean lines like straight legs and flat front drawers.
If you find that you're lacking some inspiration, a mood board is a great way to find some, as it allows you to see your vision clearly.
You can then top off the look with the perfect contemporary cabinet knobs. The key to this part of the process is ensuring that the piece of furniture you choose is in keeping with where it's going to be placed once complete.
Step #3 - Identifying a Suitable Space For the Job

By this point, you will have big ideas about how you're going to add a new lease of life to the furniture you've picked, but you'll also need to find a good place to do the job.
The space you're working in needs to be; a) well-lit b) spacious enough to work comfortably and c) well-ventilated (because of the varnishes and paint you may be using)
You need great access when upcycling furniture
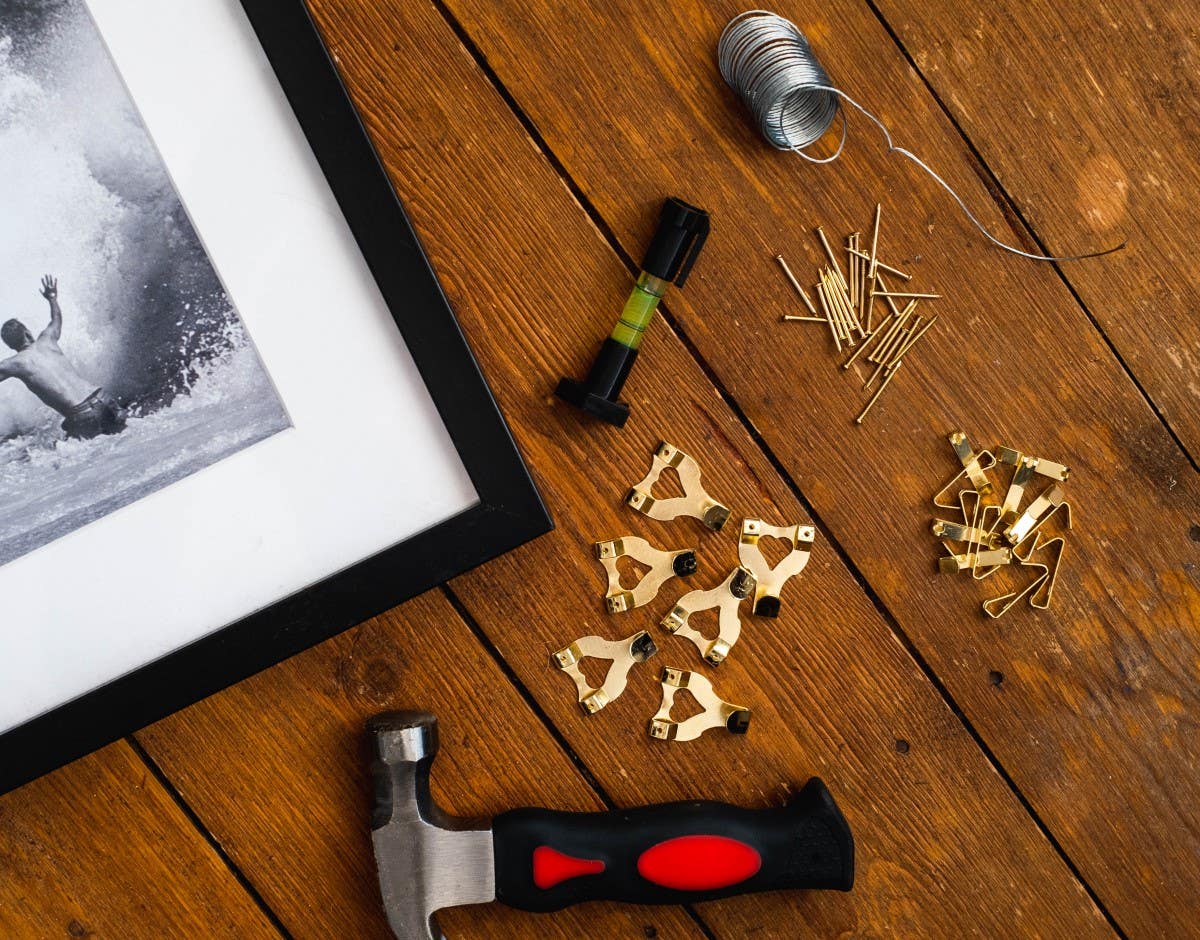
You'll also need the right tools, which include masking tape, some good quality paintbrushes, sandpaper, a tape measure, and a power drill (in case the job requires you to drill holes).
It's often a good idea also to get a couple of wooden planks to sit the furniture on at waist height, so you get the great access you need.
Step #4 - Prepping For Your Upcycling Projects

In order to properly breathe new life into whatever piece of furniture you're working on, its surfaces need to be fully prepped. This step is one of the most important to the end result.
Whether you're working on a coffee table or a magazine rack, the principle remains the same. If you don't remove all the dust, old paint, and grime that's built up over the years, anything you paint over the top isn't going to look its best.
A clean & even surface must be achieved
Before you can start adding your preferred paint or lacquer to the old furniture you're working on, most often you'll need to gently sand the wood down to the point where it feels smooth to the touch.
This is may take quite a bit of elbow grease!
However, once this sometimes painstaking job (when done by hand) has been completed and there's no more peeling painting or dents on the items, you can properly start getting creative on your DIY projects.
Step #5 - Painting the furniture
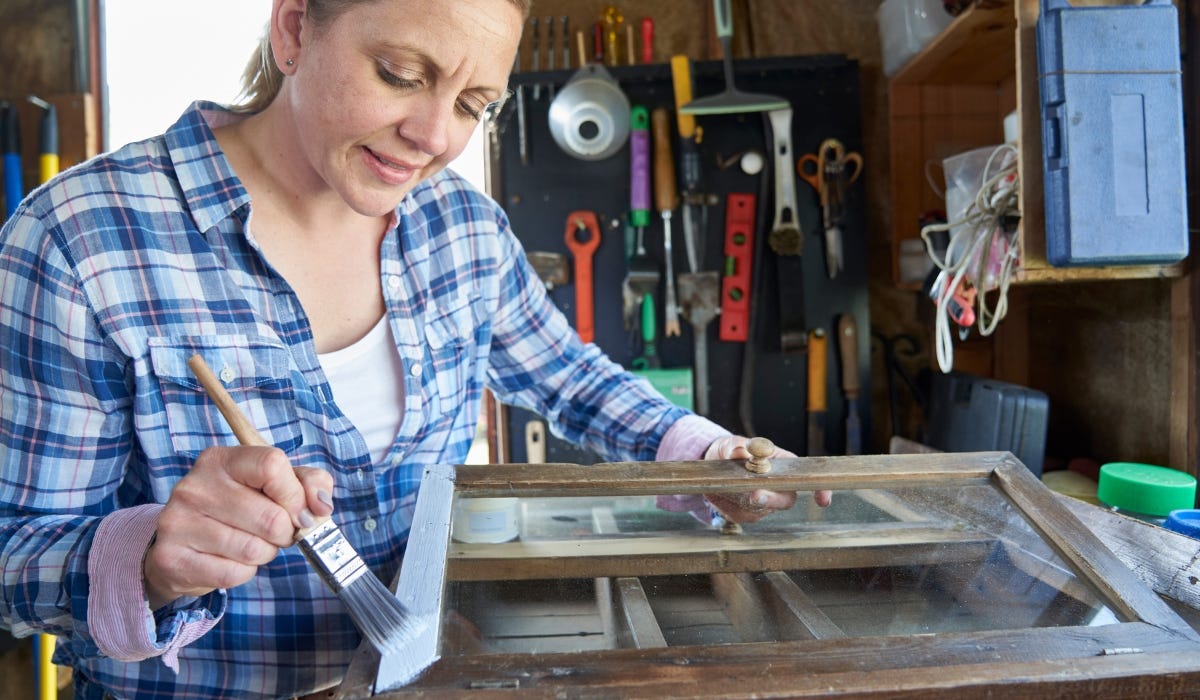
Ok, so now we get to the meaningful part of upscaling second hand furniture - the painting stage! Depending on your style goals, you'll be choosing either gloss or chalk paint.
There's a variety of DIY painting methods that can be used, but you don't have to be an experienced artist like Annie Sloan to do a good job, as there are a ton of YouTube videos available to guide you, as well as short courses online.
how many coats of paint will each piece of furniture need?
Typically speaking, your second hand furniture is going to need at least two coats of paint in order to look its best, as one most often doesn't quite cut it.
The first coat should be left on for 2-4 hours before applying the second coat and if you happen to be upcycling a cabinet, you should paint the drawers first.
The reason you should apply more than one coat with your brush is it's the only way to ensure that the colours you use are nice and even.
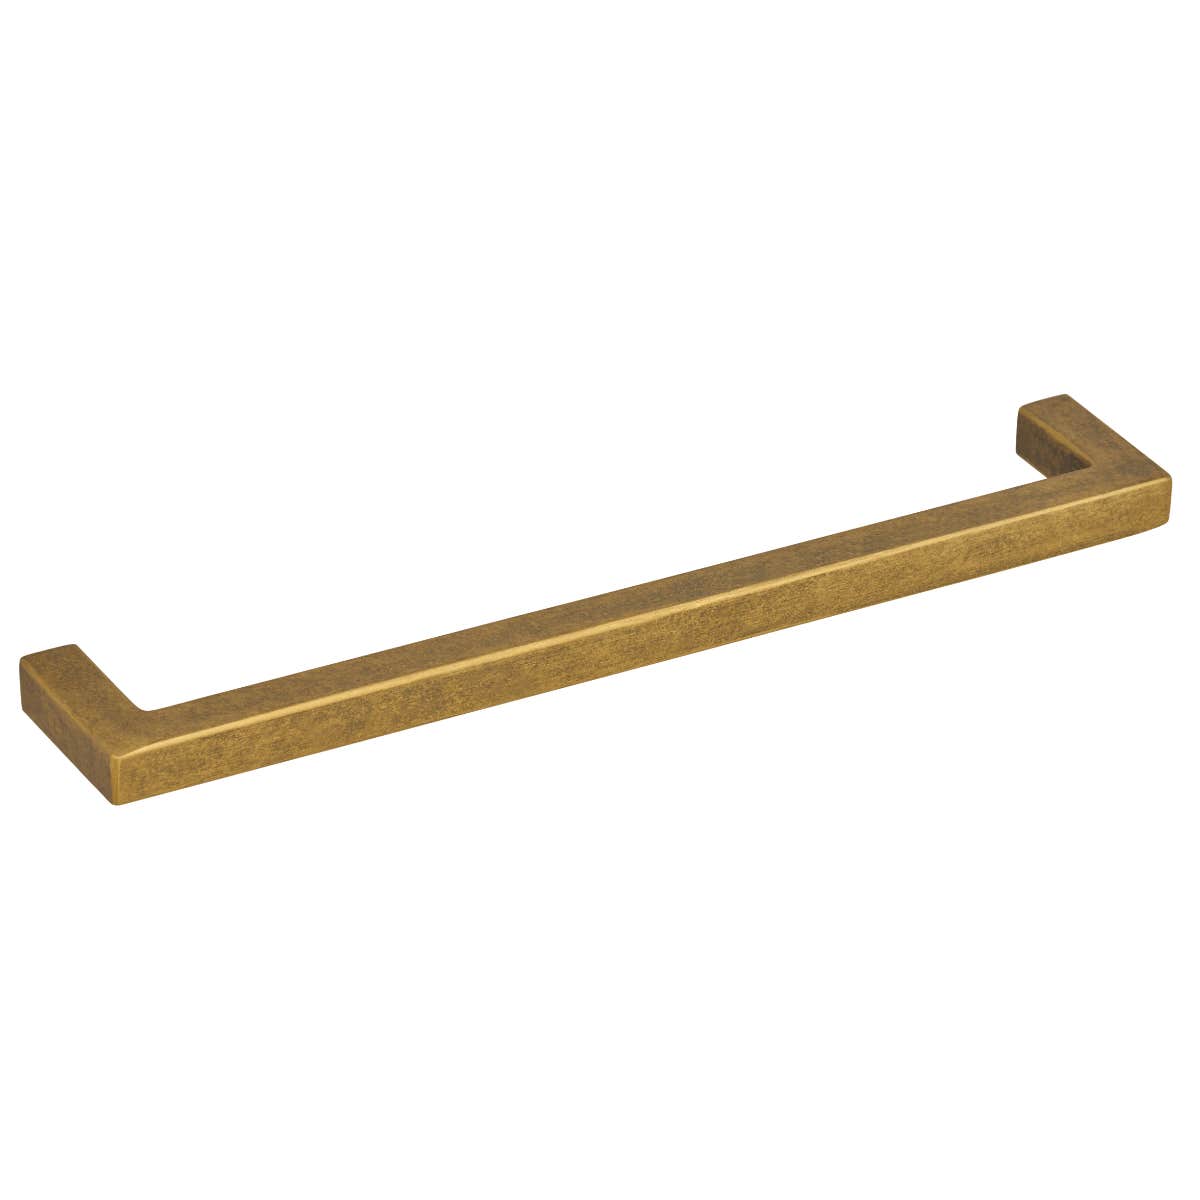
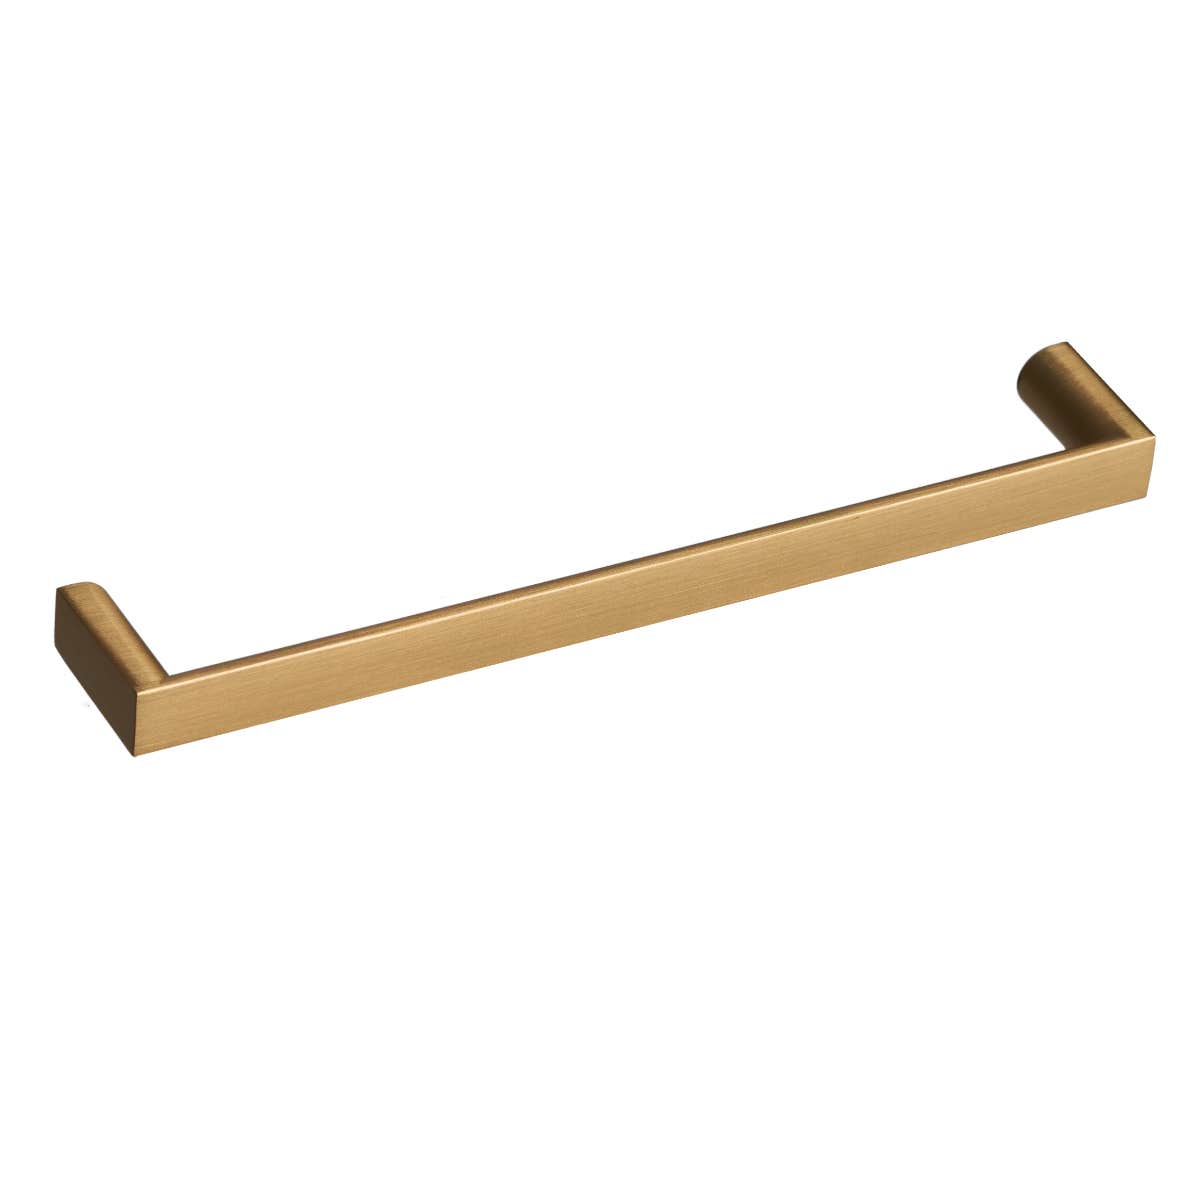
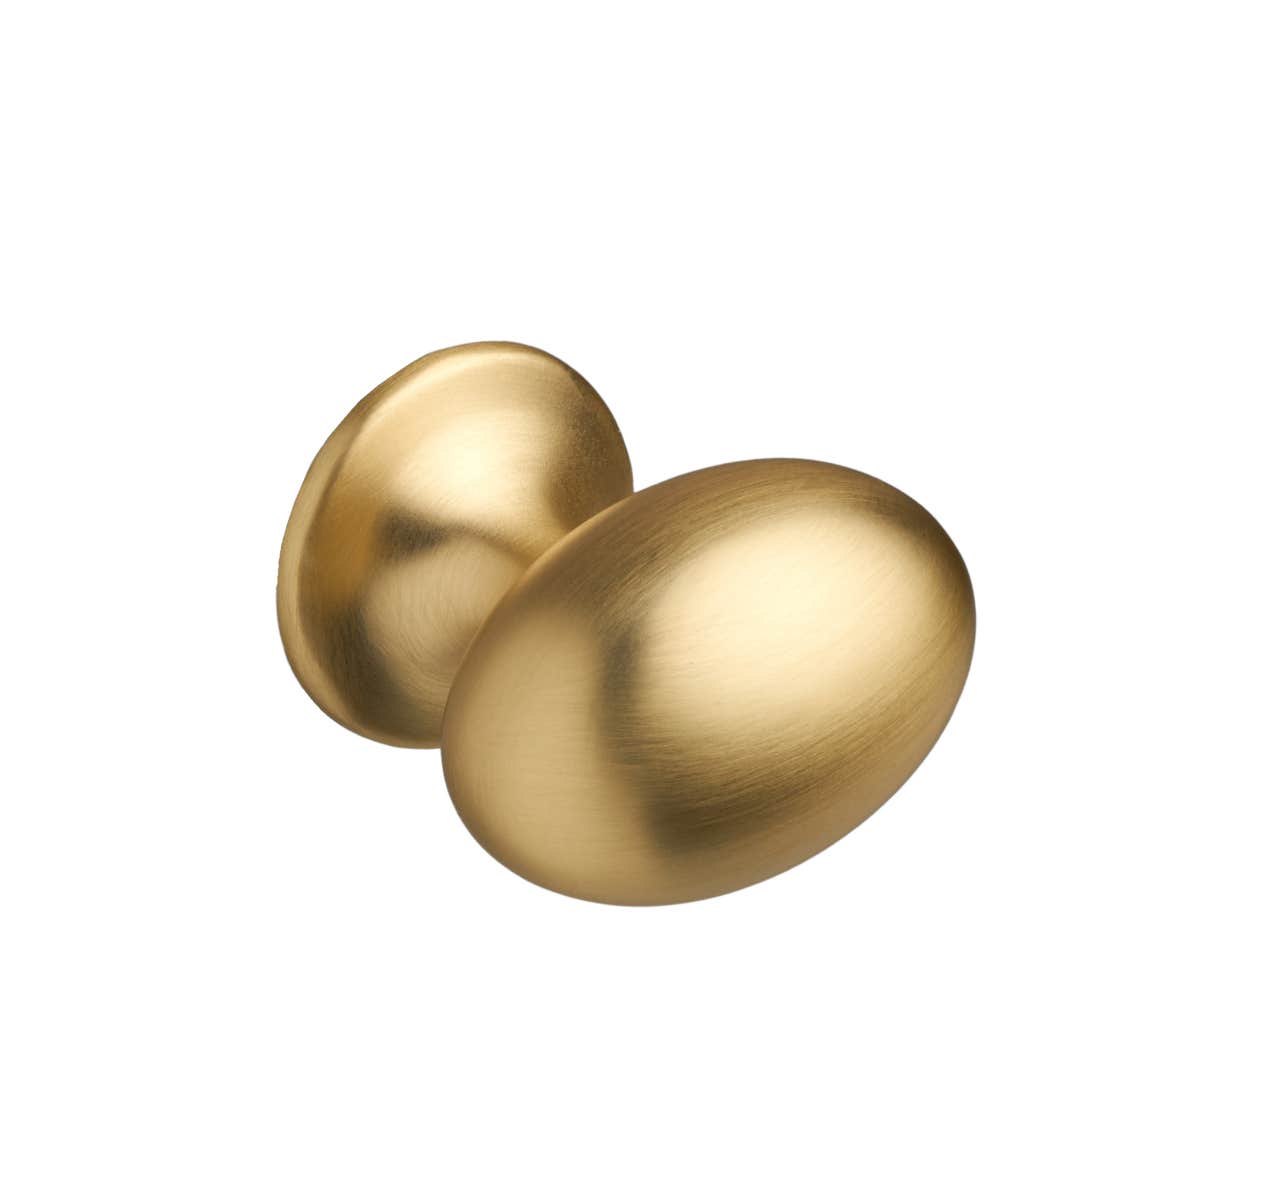
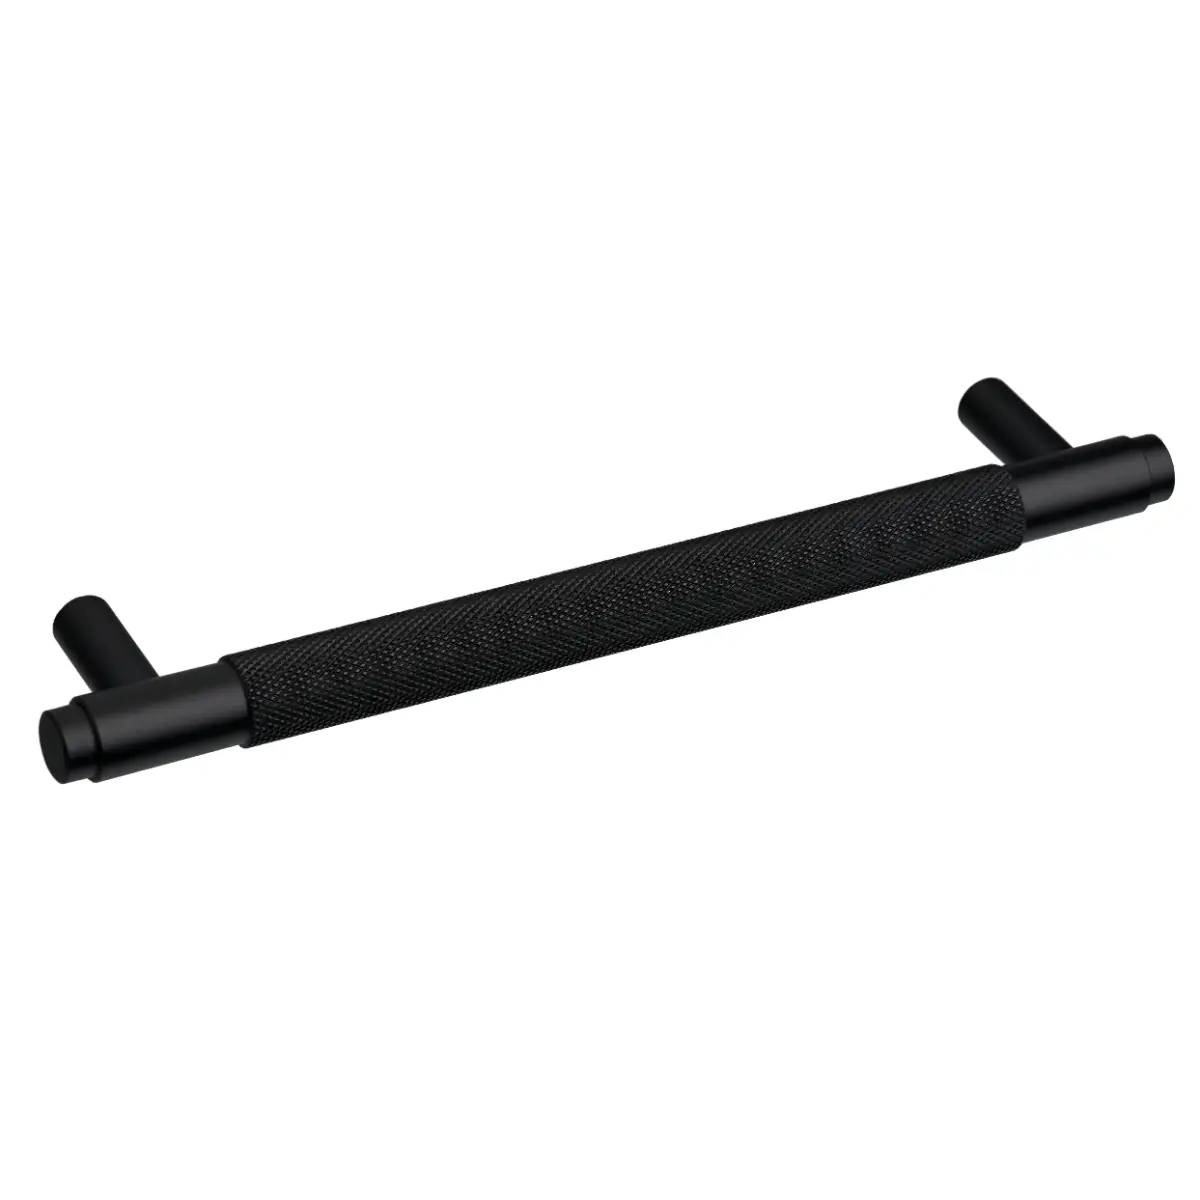
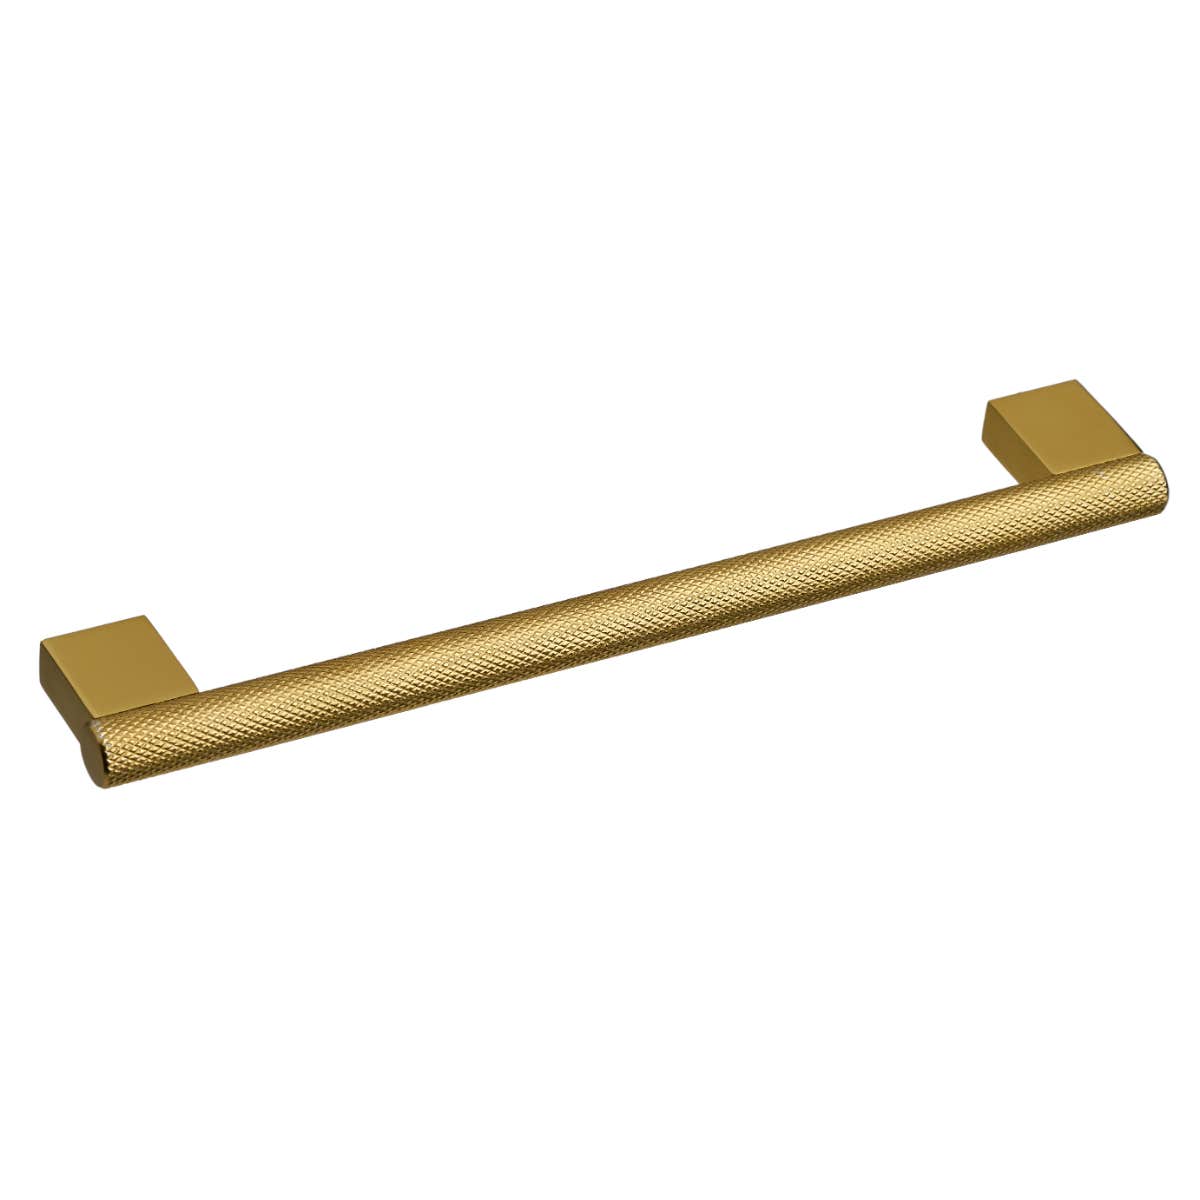
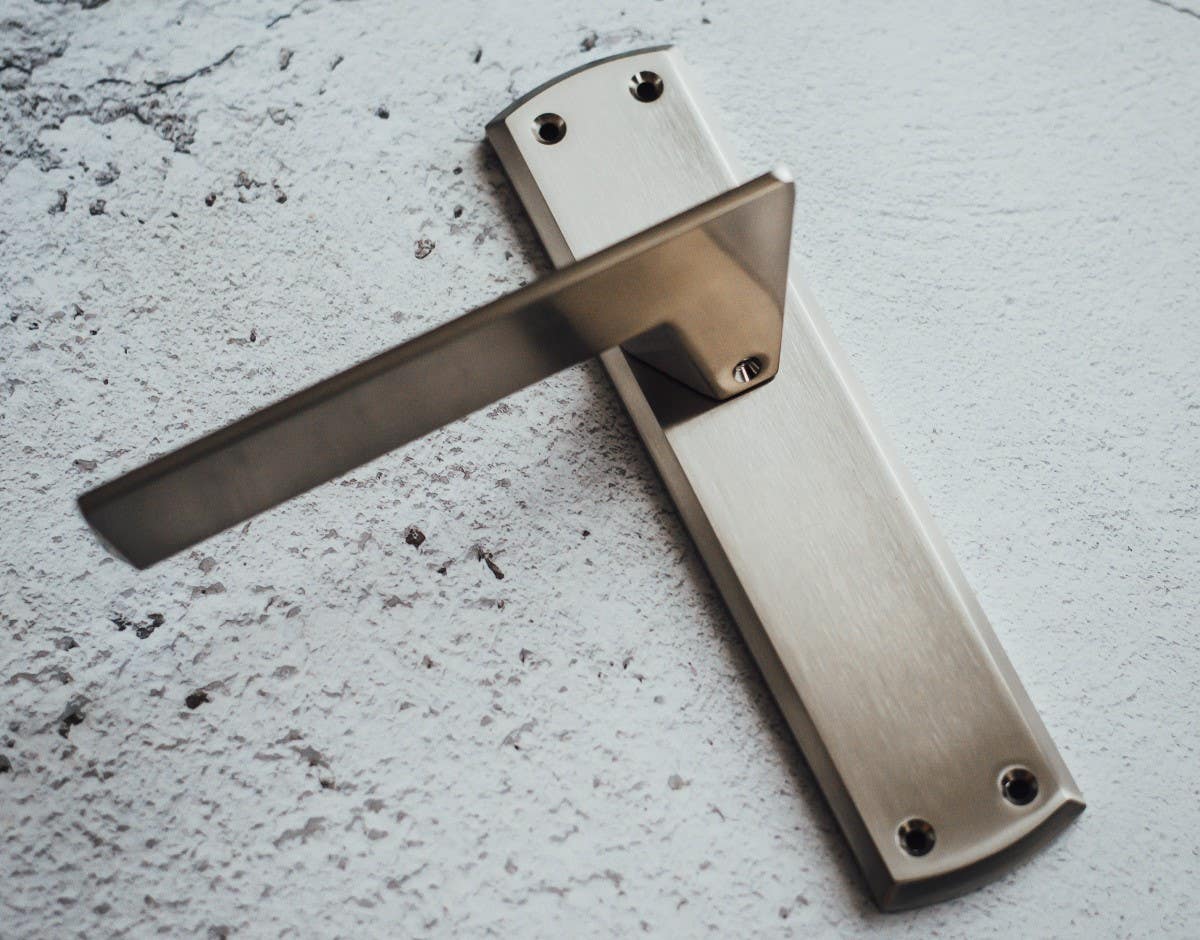
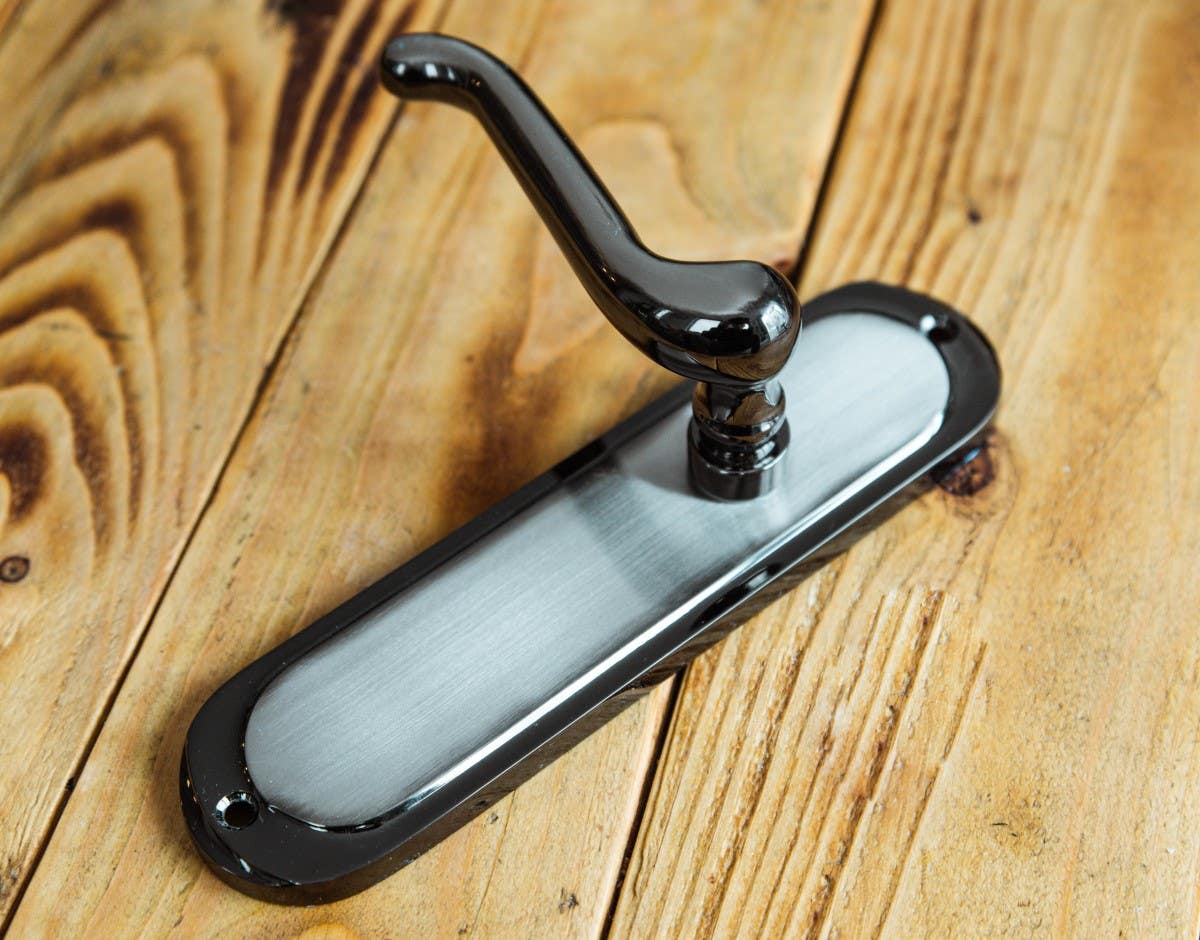
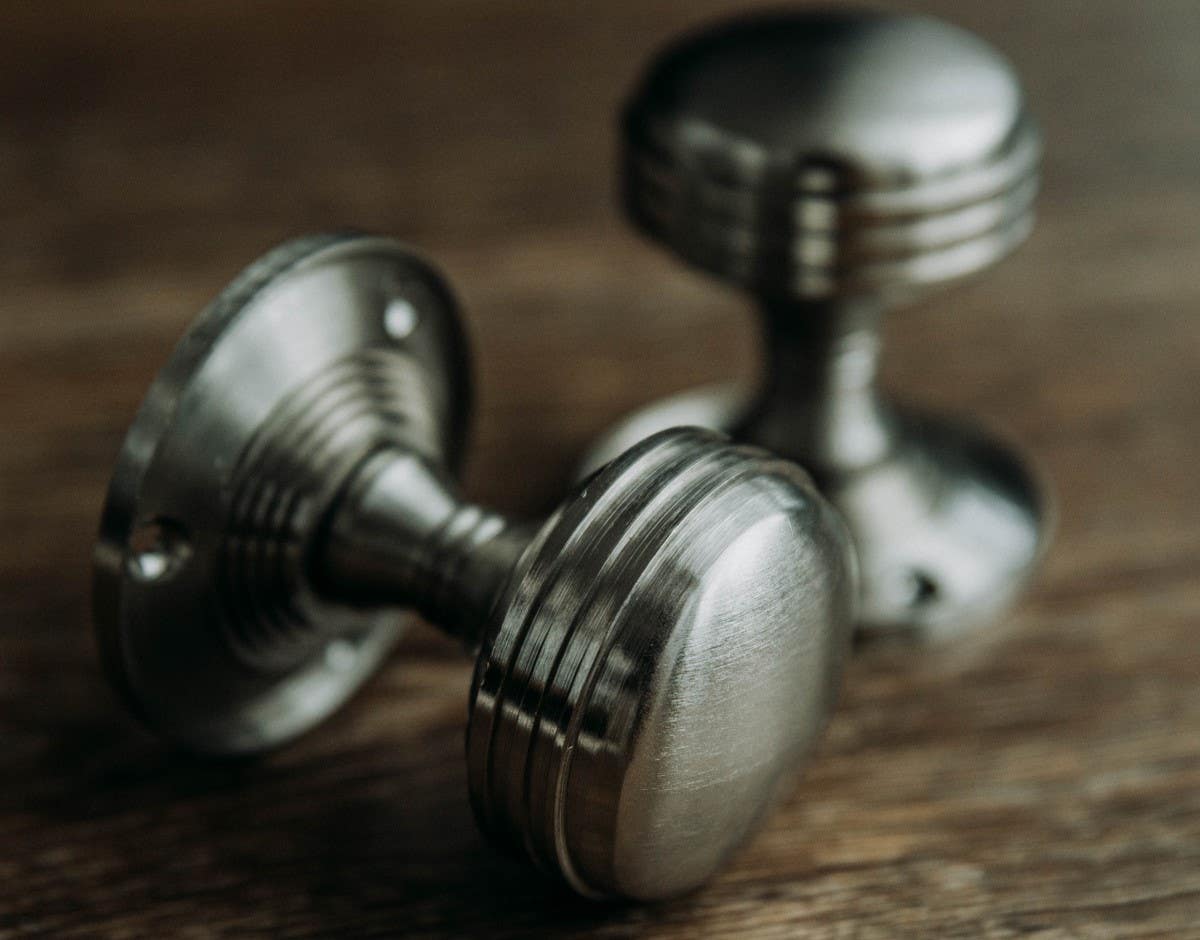
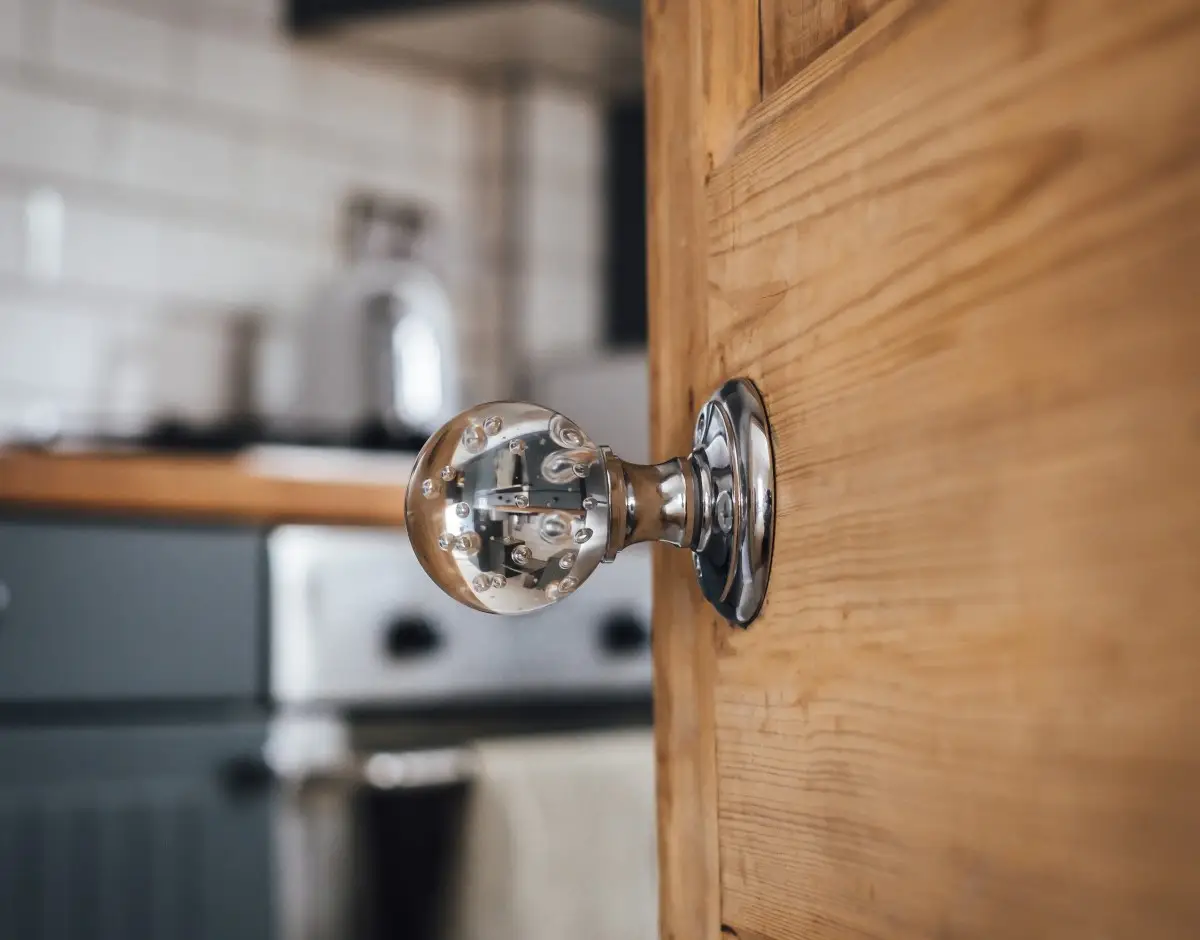
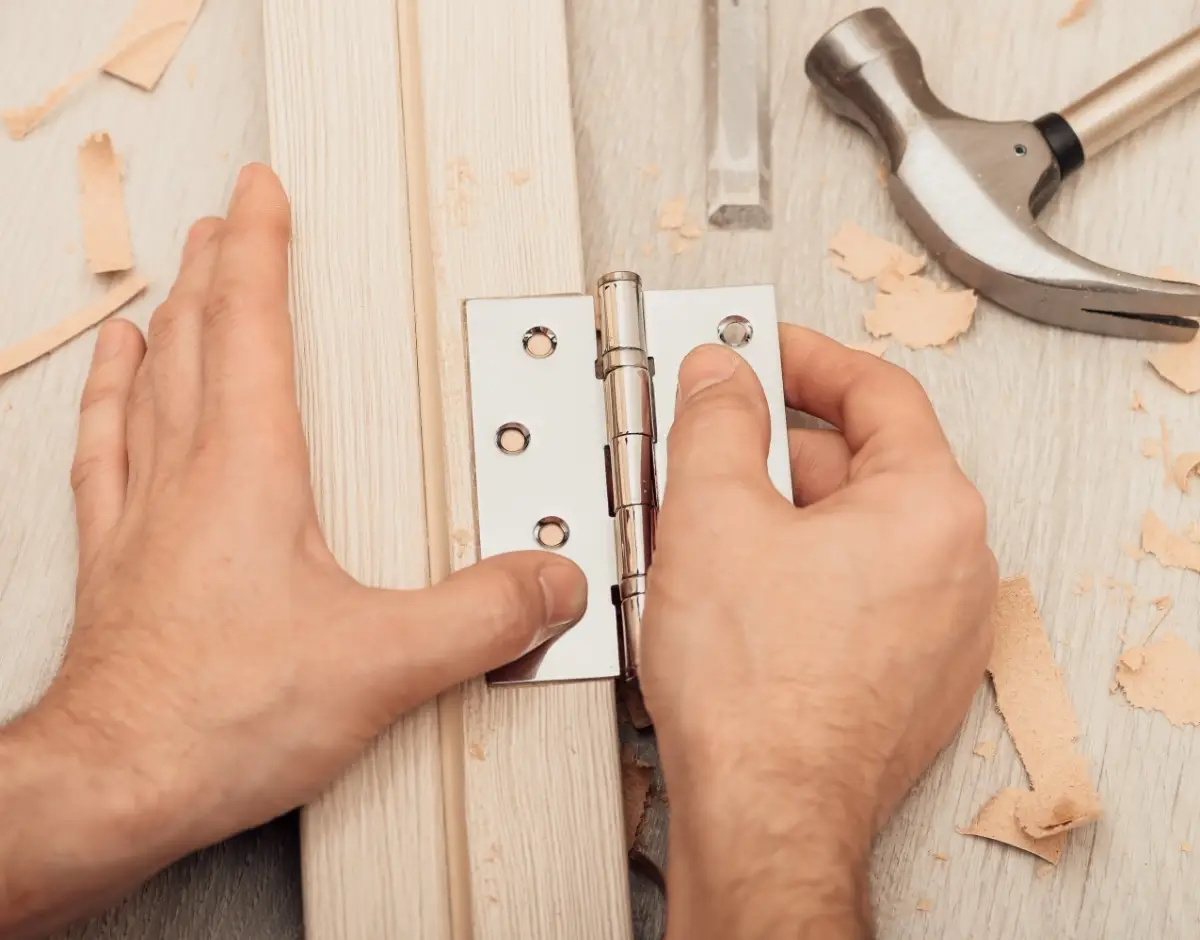
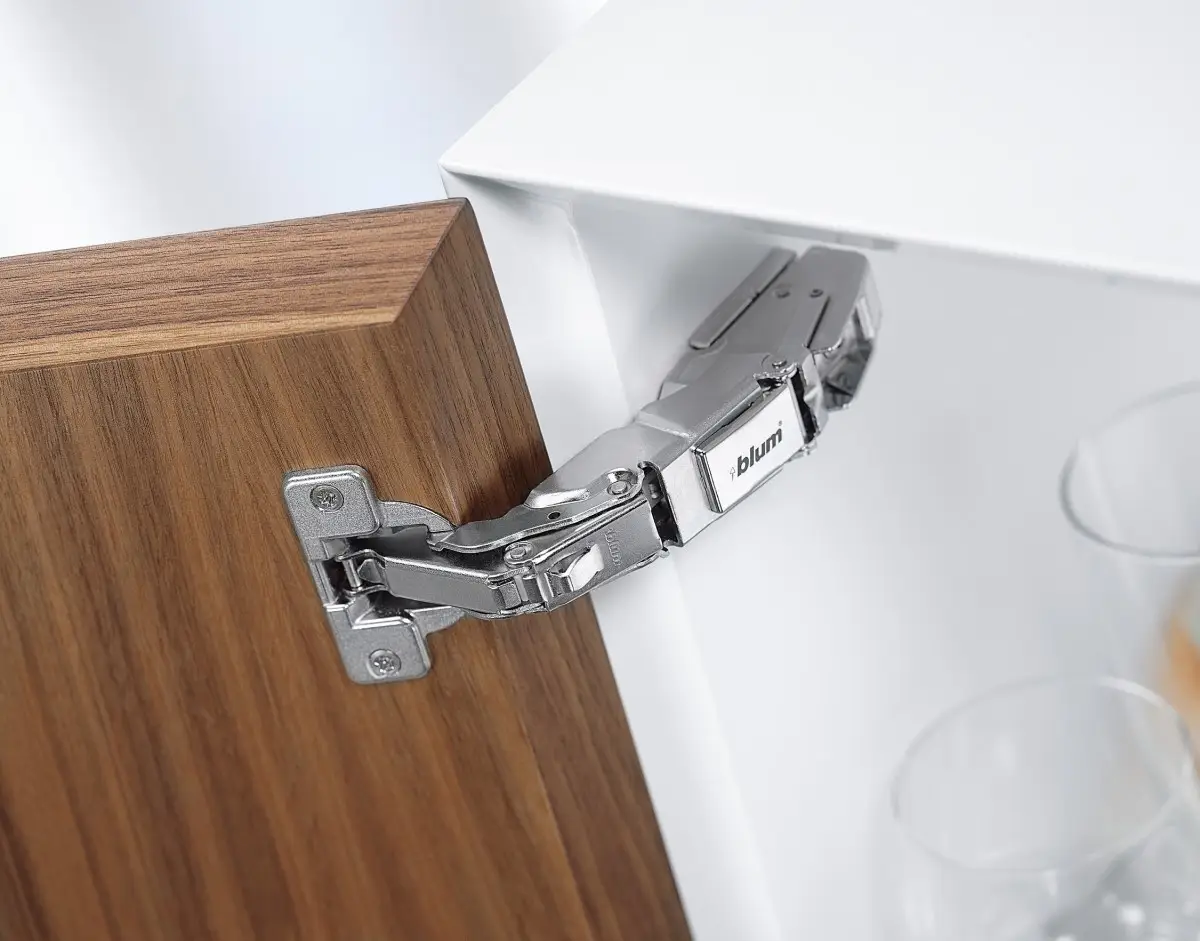
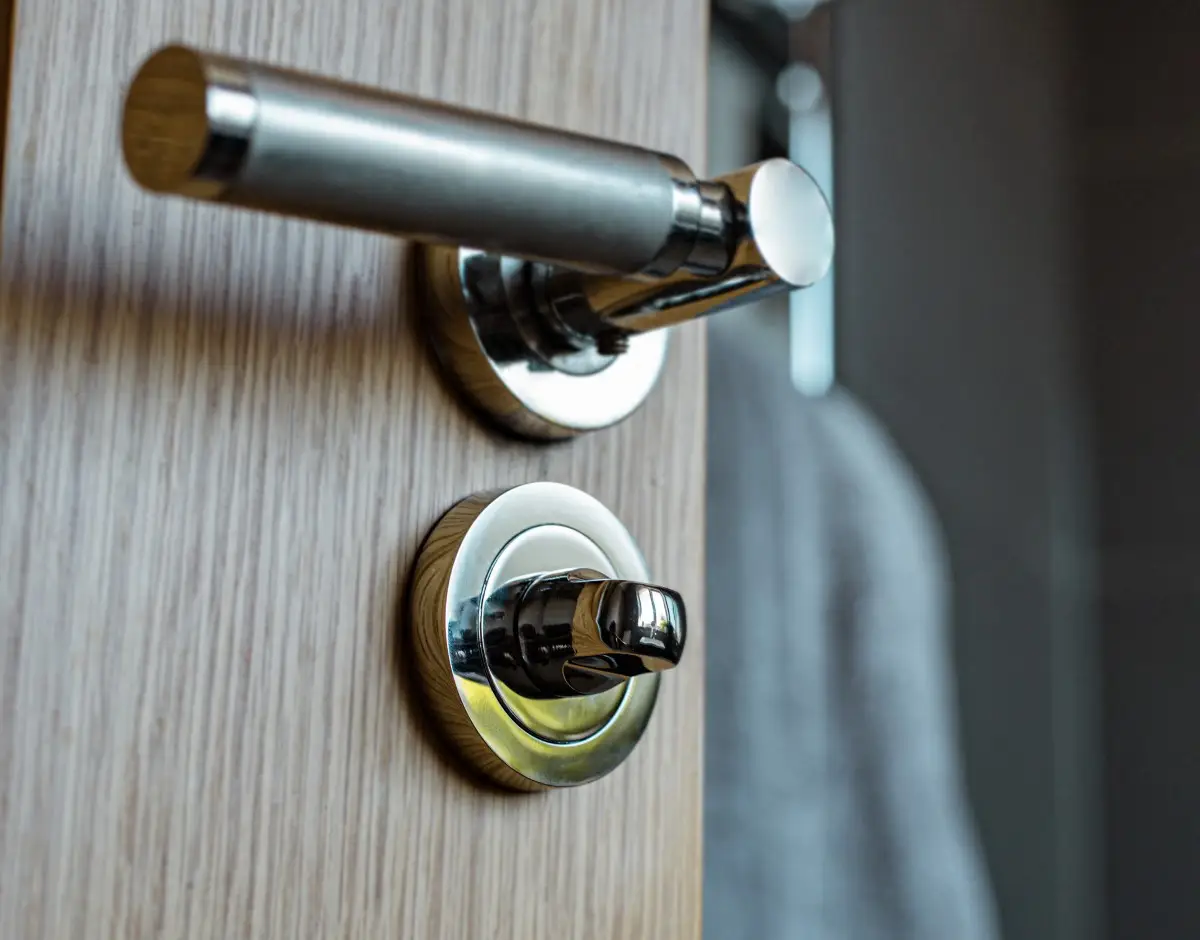
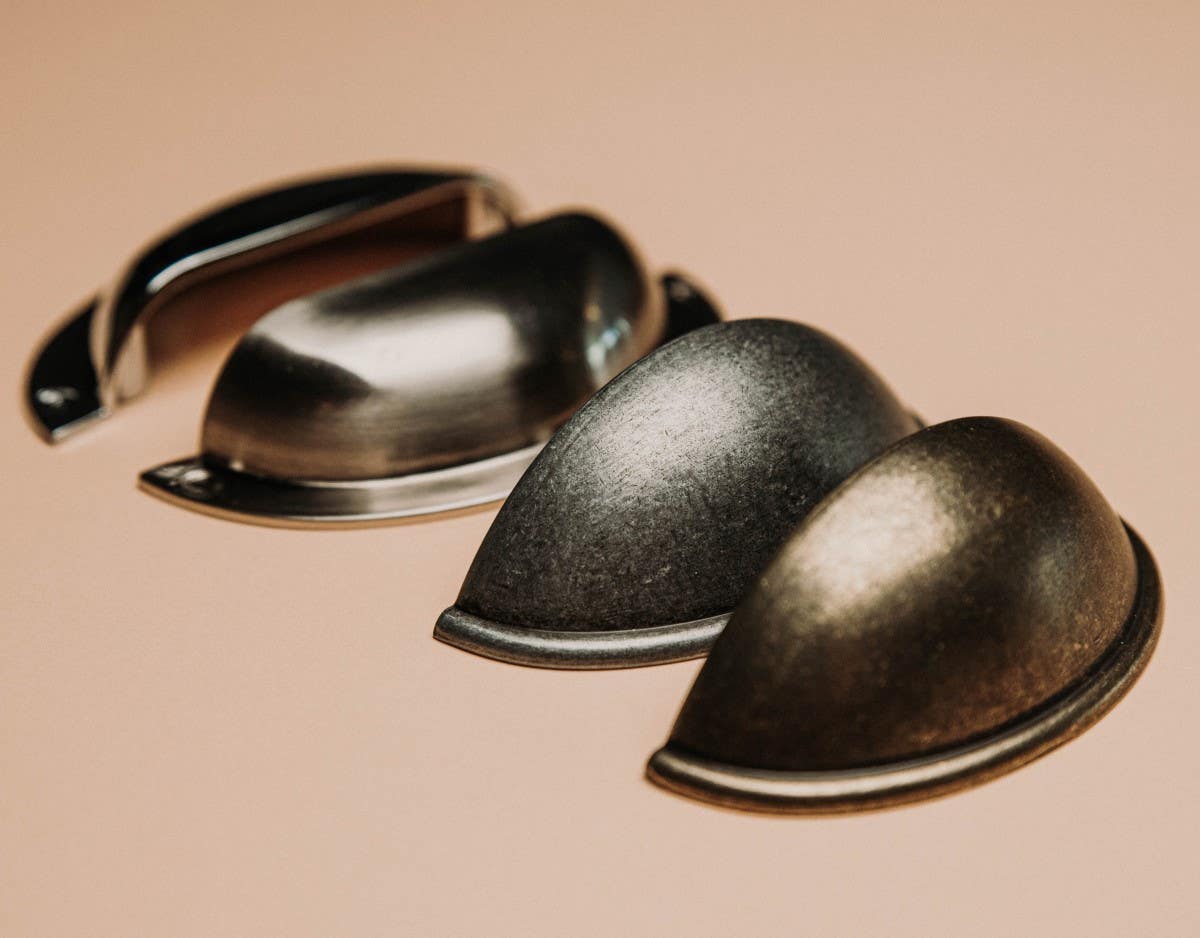
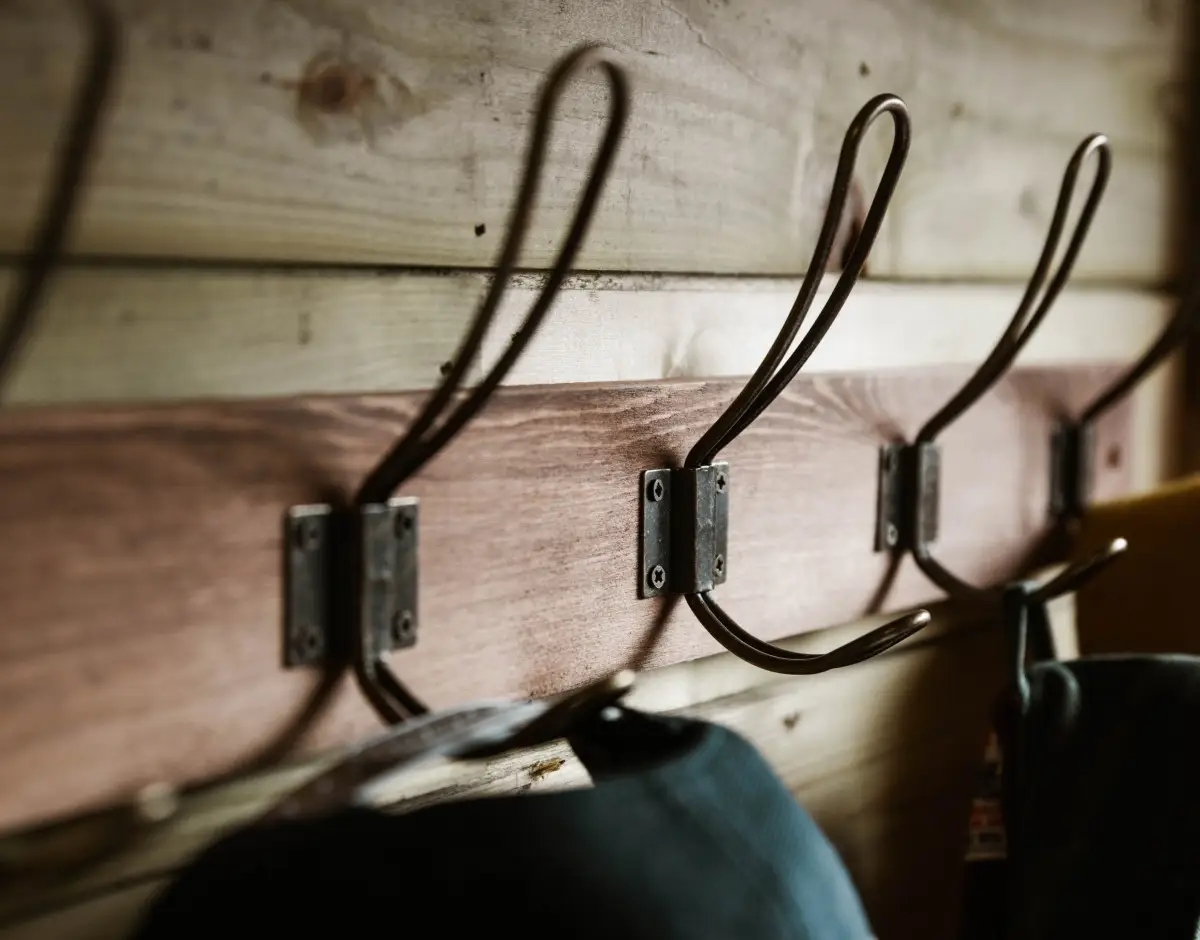
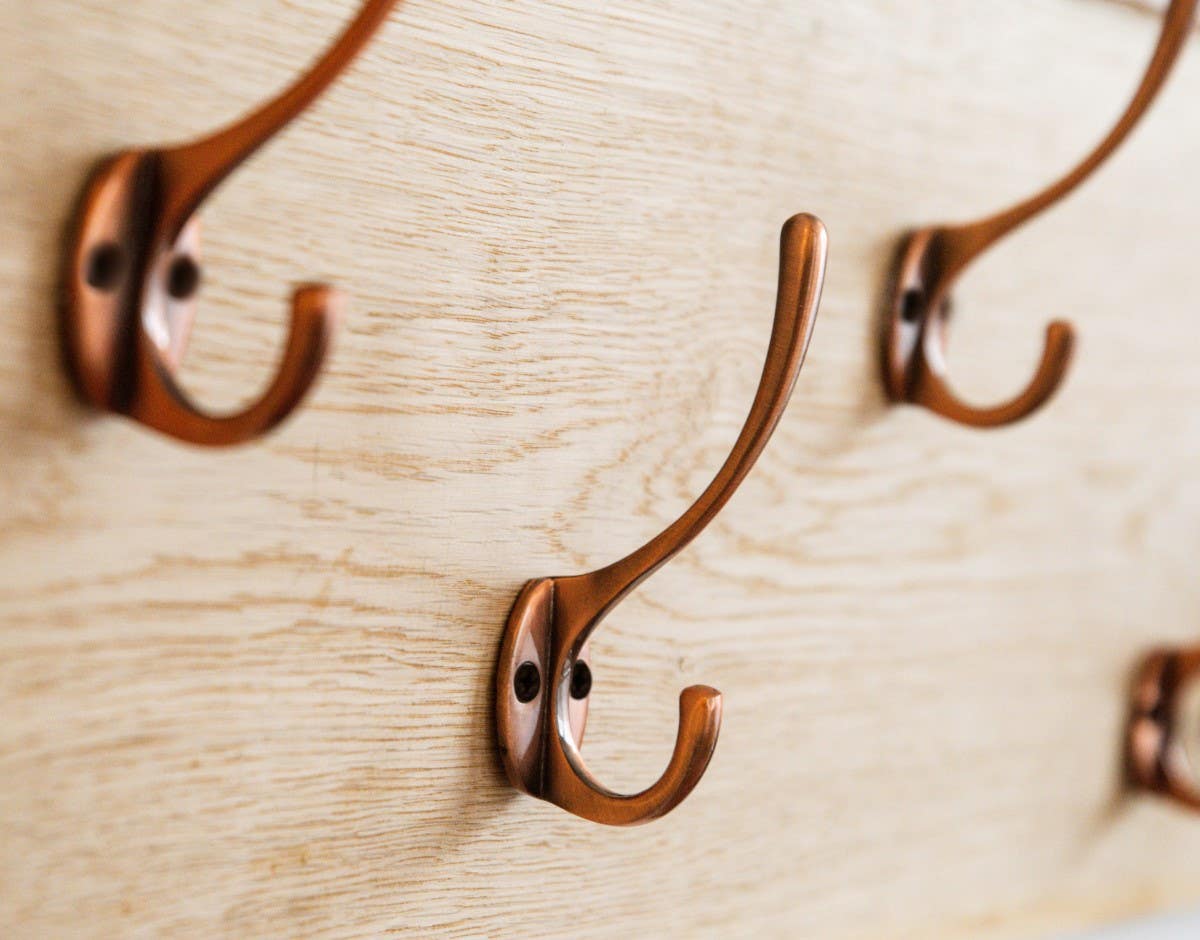
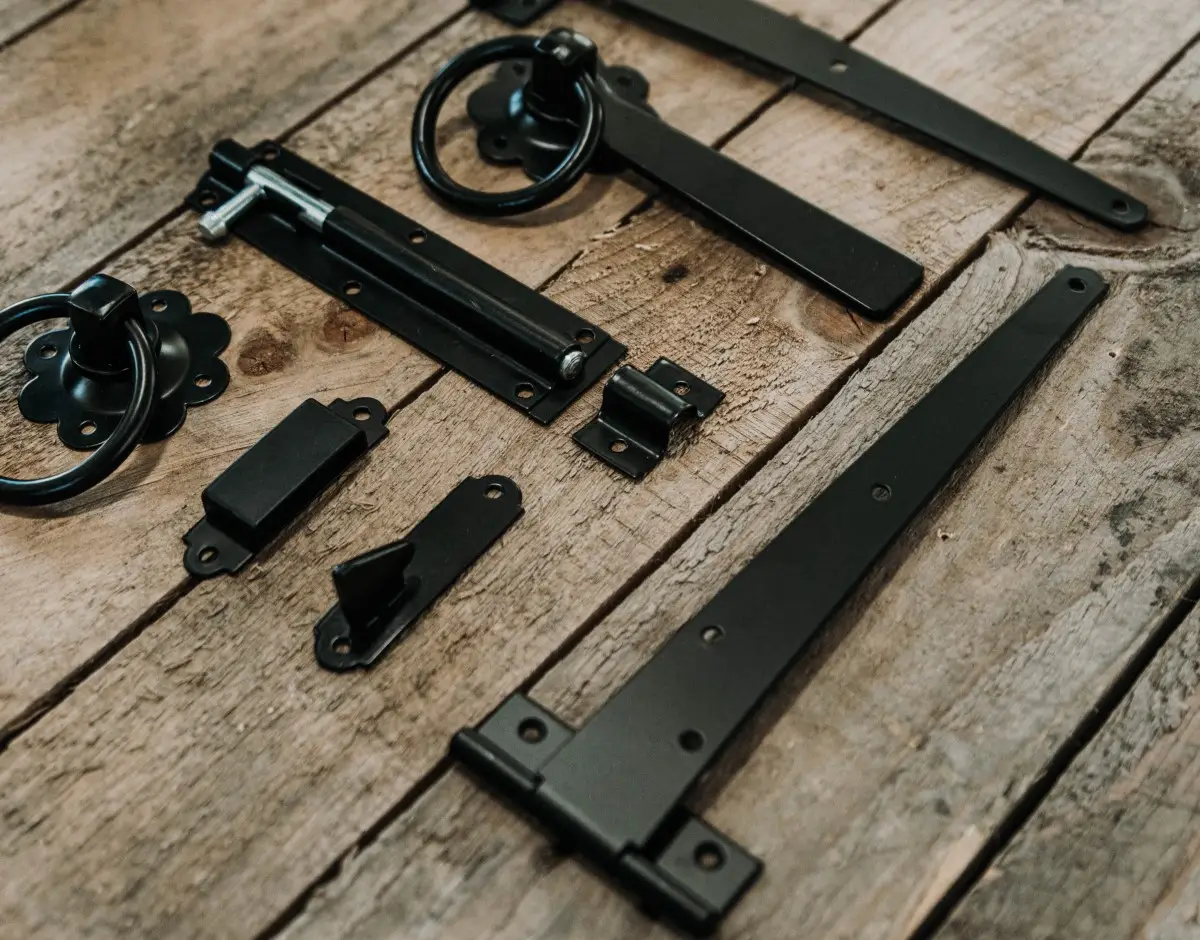
Step #6 - Finding the Best Metalware

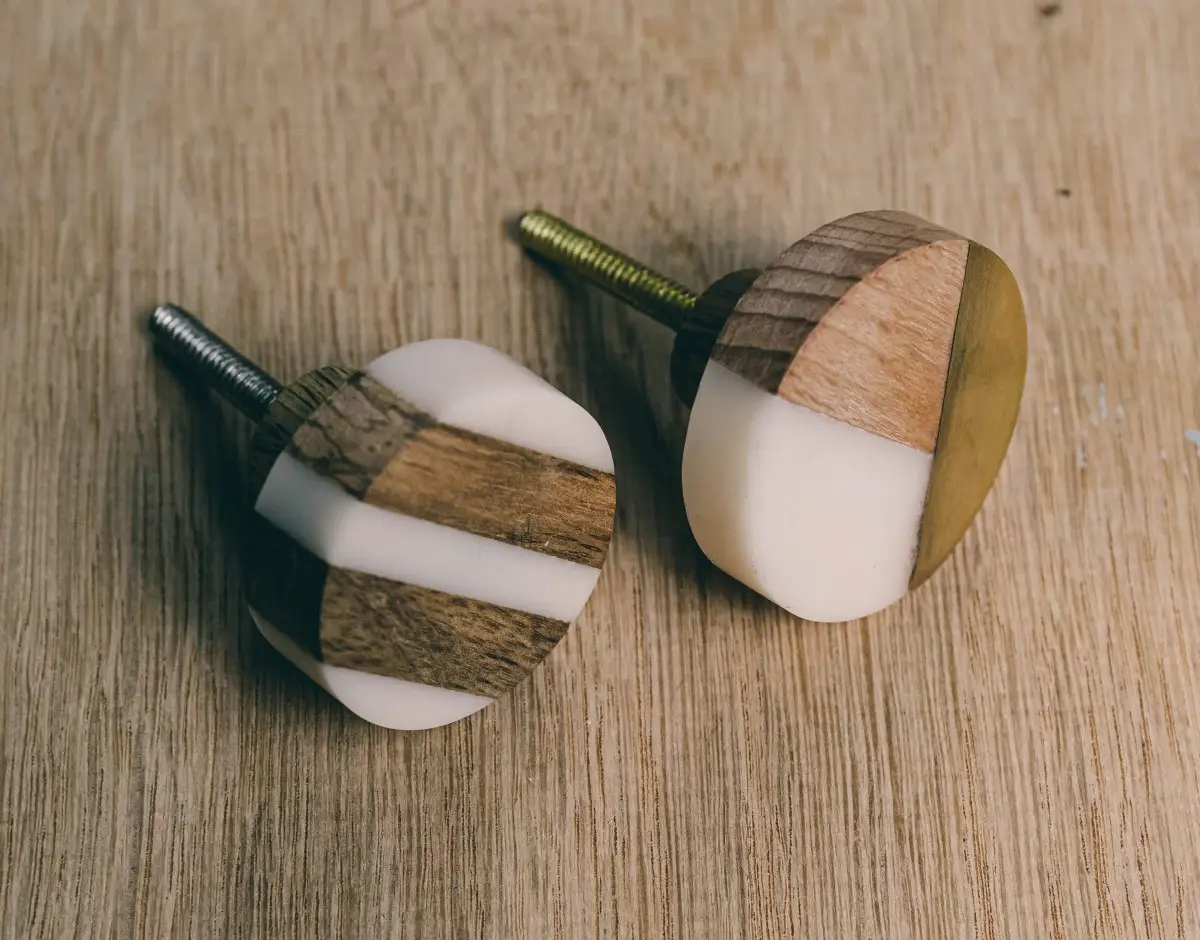
While a simple lick of paint can make second hand furniture look amazing, adding good quality metalware to your upcycled furniture project can truly be a wonderful thing.
Providing an extra level of style, well-chosen pull handles, hinges, and cabinet knobs can have a truly transformative effect on old pieces of furniture.
There's a wide range of finishes too, which include:
-
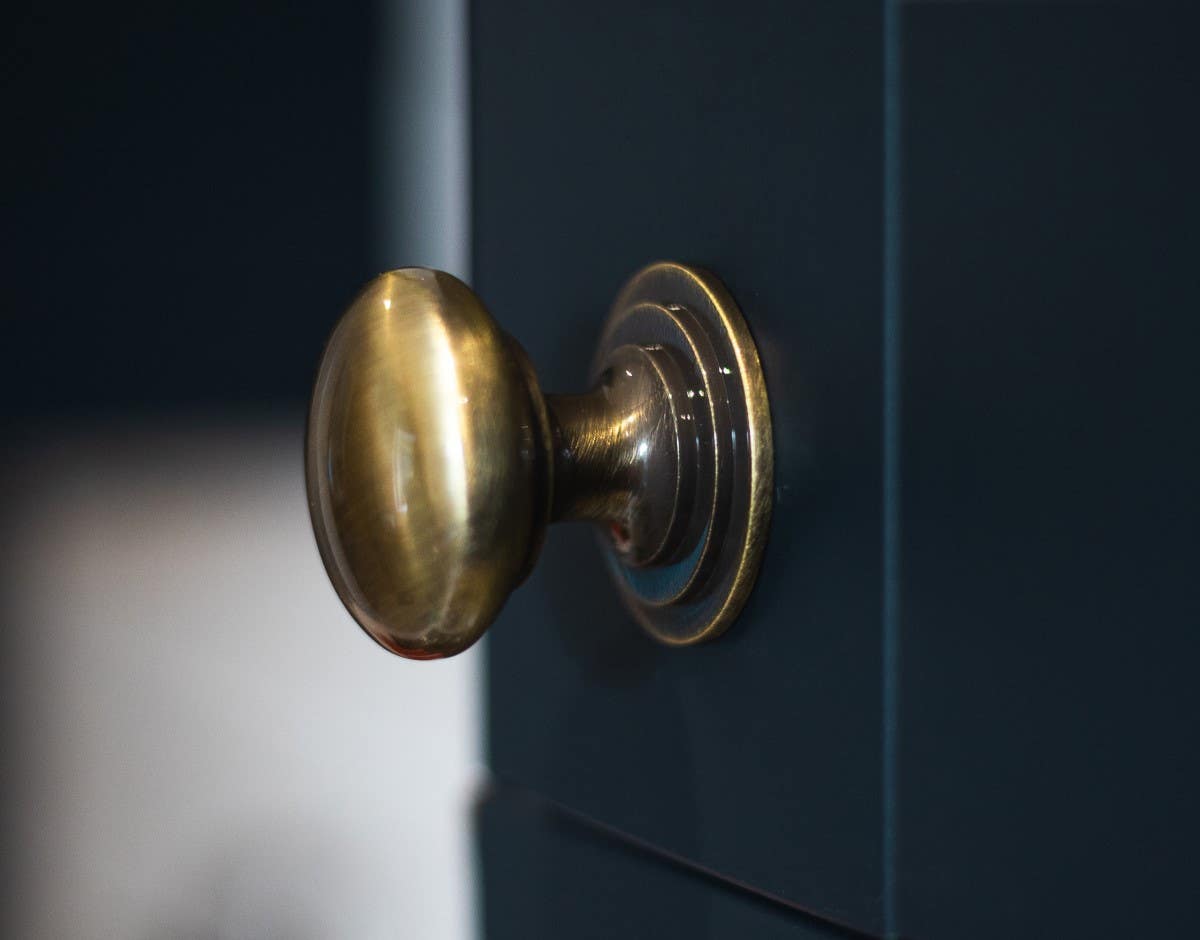
Antique brass - a wonderfully authentic choice
-
Brushed nickel - great for both contemporary and vintage looks
-
Satin nickel - a beautiful twist on brushed nickel
-
Polished chrome - a stunning modern option
-
Antique pewter - offering a unique aesthetic
-
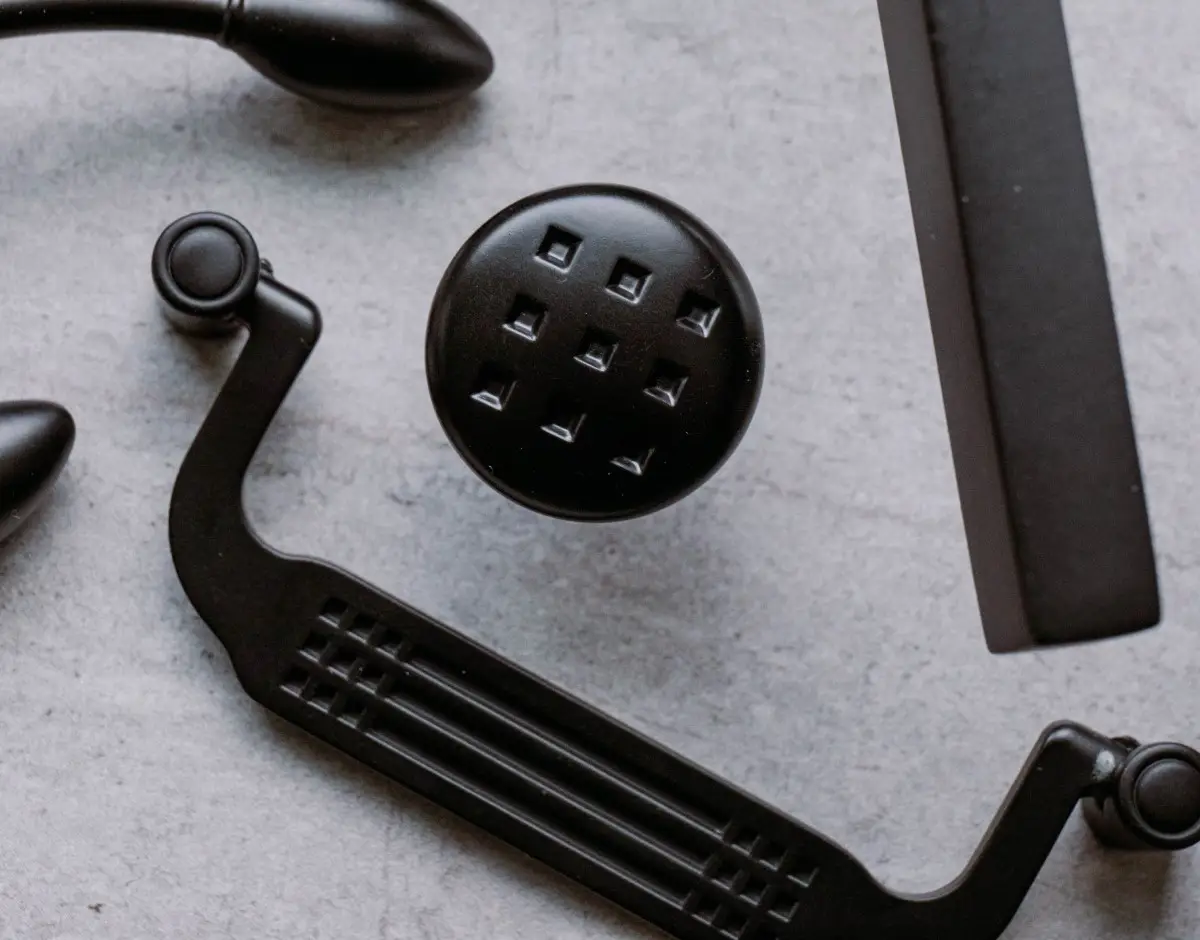
Pearl Black - providing a sumptuous & attractive appearance
Each offers its own unique characteristics, but that's not it when it comes to available style choices. In addition to attractive finishes, there are also a number of different cabinet hardware styles that can be utilised, such as:
-
Piazza cabinet knobs - a distinctively modern choice
-
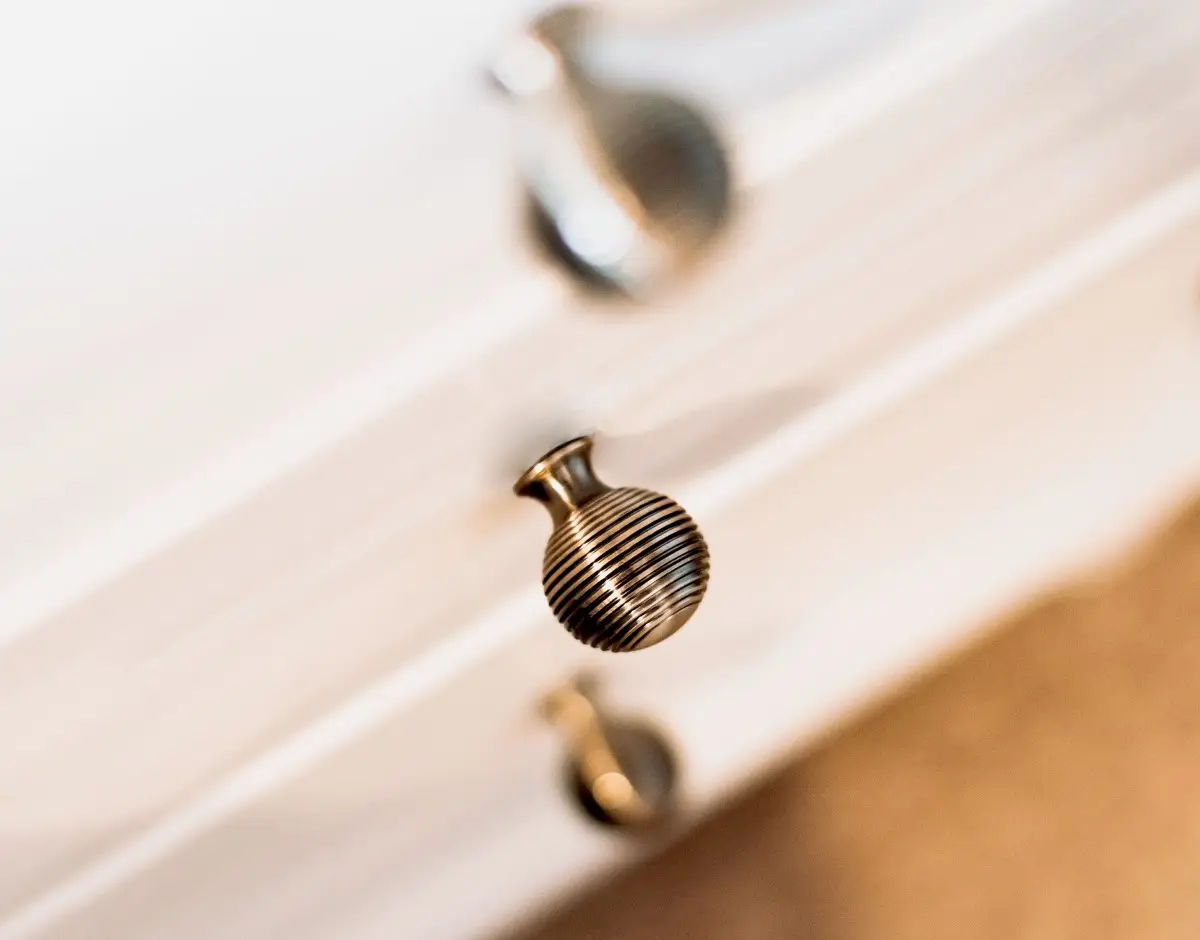
Reeded solid ball knobs - delivering a lovely traditional feel
-
Pyramid cabinet knobs - another delightful contemporary option
-
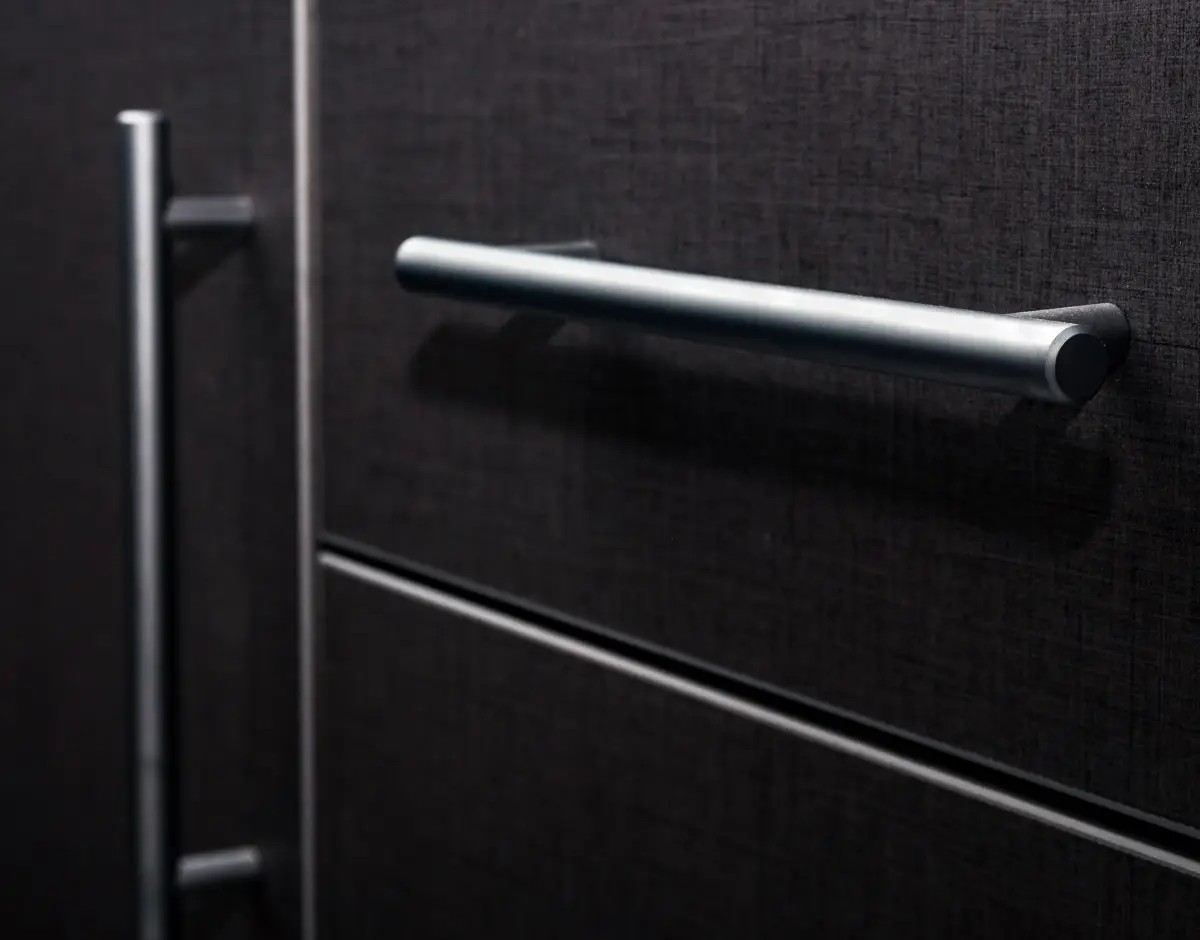
T-bar cabinet handles - functional yet stylish
-
Knurled cabinet handles - providing great looks & grip
-
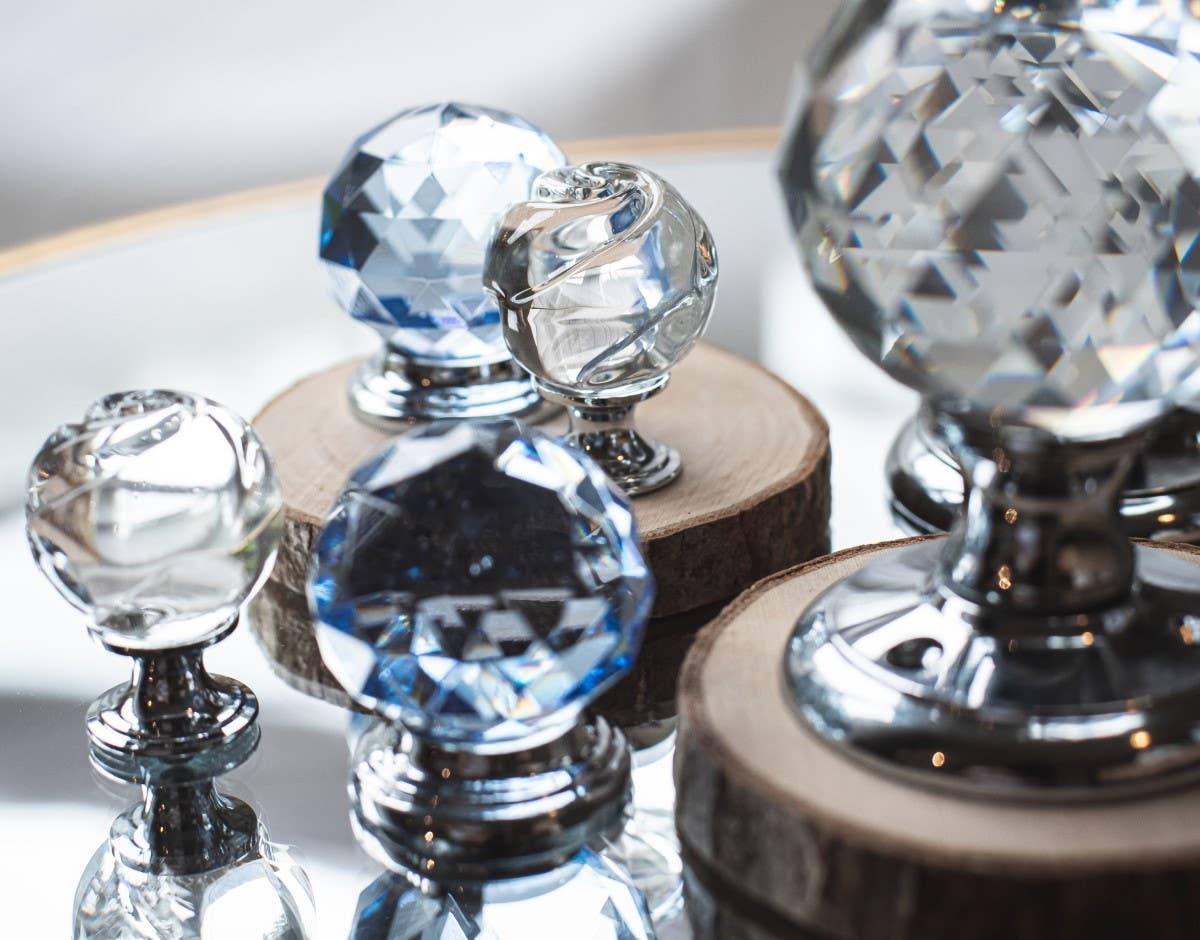
Faceted glass cabinet knobs - opulence at its most opulent!
The point is that you've got a massive amount of style choices when you attempt to upcycle a chest of drawers, bedside cabinets, or whatever your upcycling projects focus on.
What About Upholstery?

Just like top-quality cabinet hardware, adding new upholstery to your when upcycling can give your furniture a new purpose and a brand-new look.
Again, the colours you choose are pretty much limitless, so long as they complement the room the furniture is placed in. However, this is one of those jobs that you're most likely going to require that you reach out to a craftsman.
It can cost you a pretty penny to take this route, so you want to be sure that if you include it as part of your upcycling ideas, you may have to set aside a few hundred pounds. If you attempt a DIY job in a bid to save money, the likelihood is - it won't go as planned.
However, when you see the finished item, it may be worth the investment, but that's very much one for you to decide.
What Are You Waiting For? Go Out There & Get Creative!
One thing is for sure - upcycling furniture is great fun - and it allows you to tap into your creative side. It also gives you access to furniture you simply wouldn't find on the market.
With the right door hardware, tools, and a new coat of paint, your old wood furniture can enjoy a second life and give you years of function and enjoyment.
We hope that you find some inspiration in our words today for your next upcycling project and that you're sure to check out the Hiatt online store which contains a wealth of high-quality cabinet hardware that can take your work to the next level.
Also, make sure you check out our many other helpful blogs.
Until next time!