

If your front door does not quite cut the picture you want, maybe it is time to give it a new coat of paint. Fortunately, this is a project that you can complete in one day. All the same, there are a few steps you must follow to achieve the results you desire.
Getting Started
First, you must pick the colour of your door. Naturally, you want a colour that blends with your décor. Some colours go with everything. White is great as it gives your home a clean, fresh look. However, it easily gets dirty.
Matte grey is a lovely trendy colour. Black is also a great colour especially if your door faces north. It is believed to create protective solid energy. However, your choice of colour may be dictated by your existing décor.
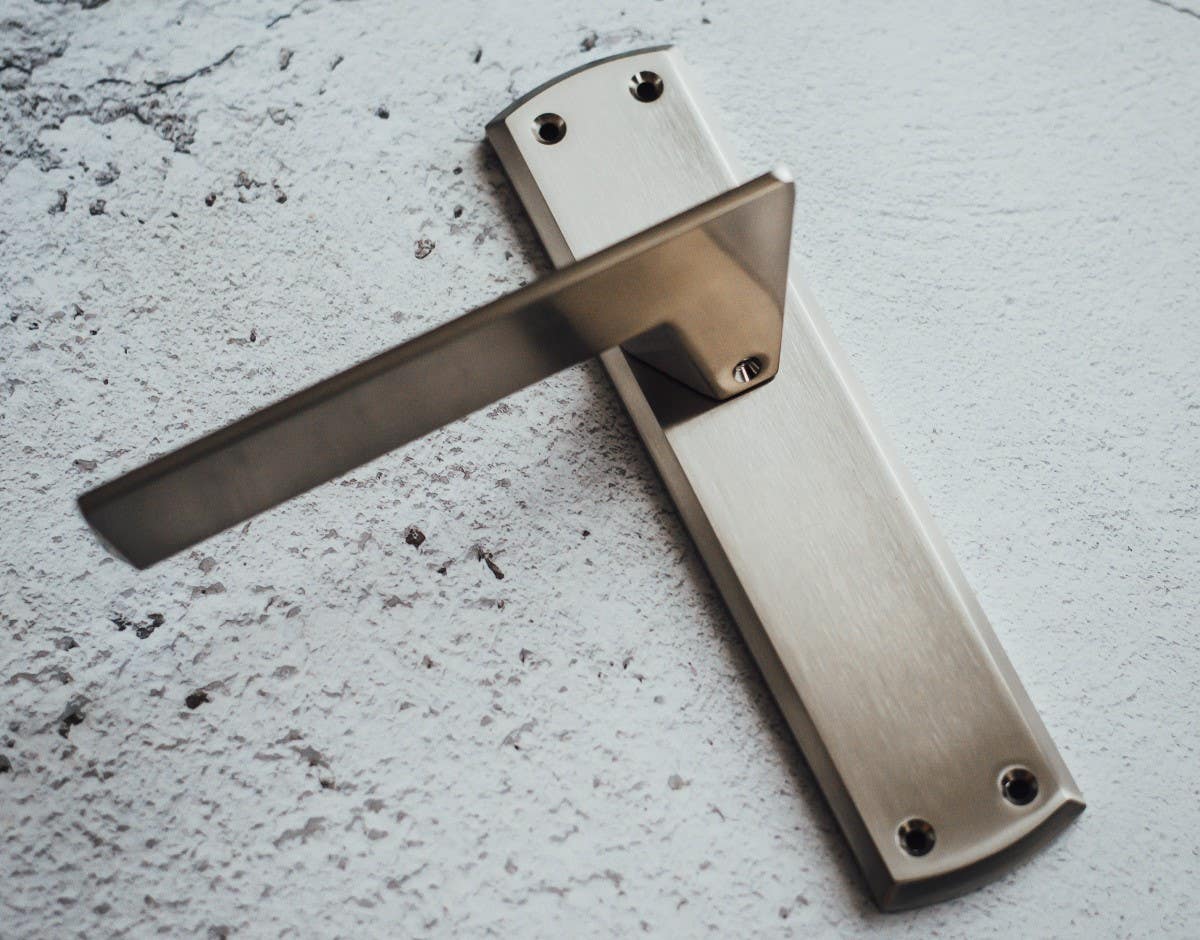
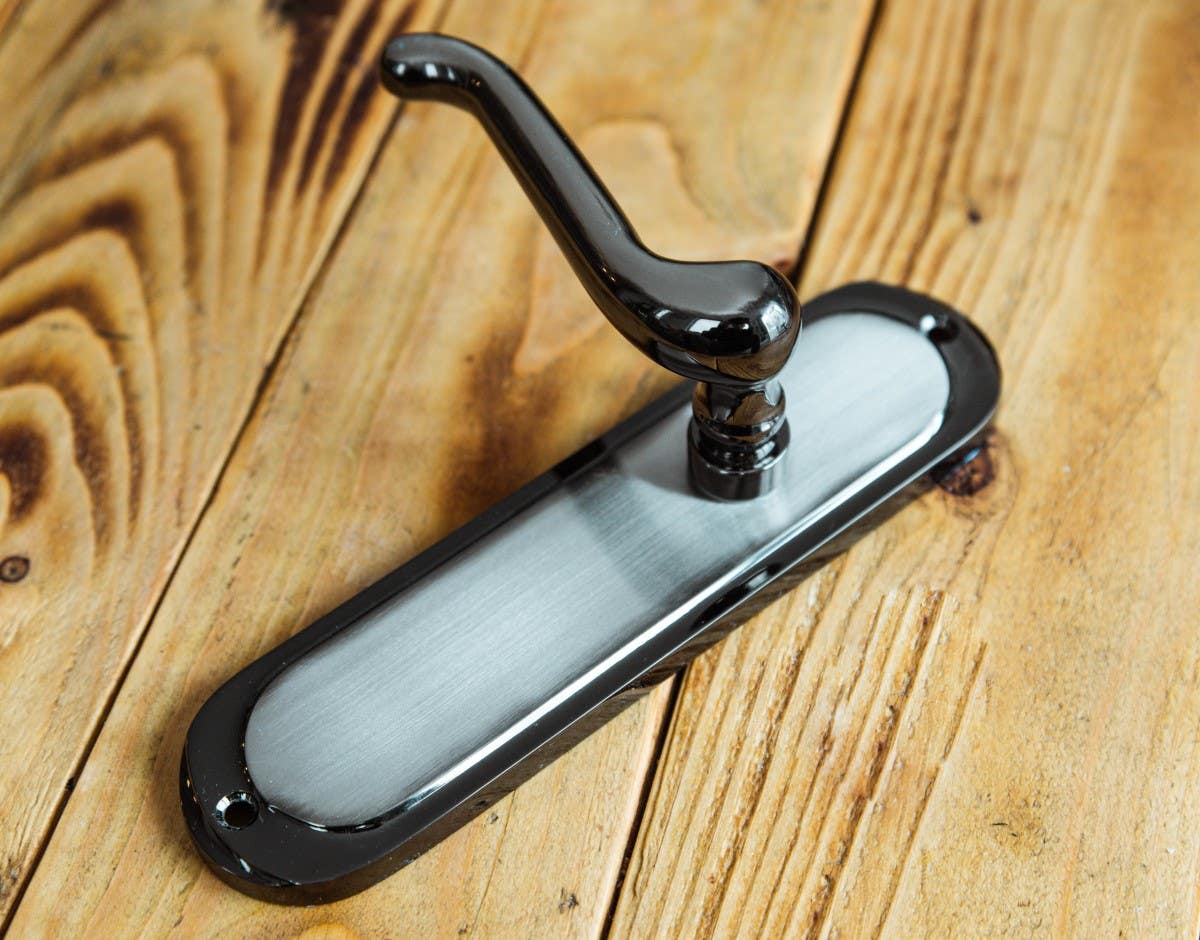
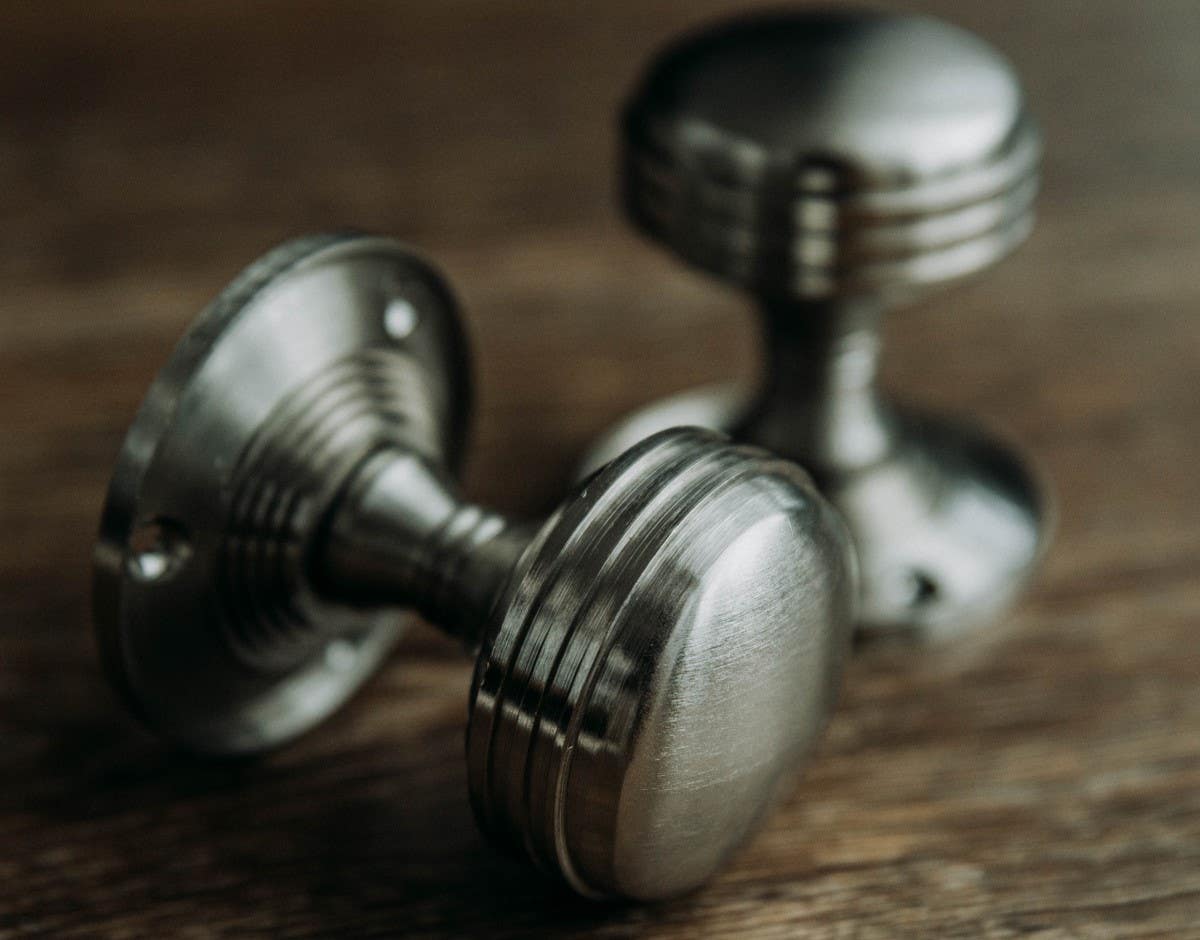
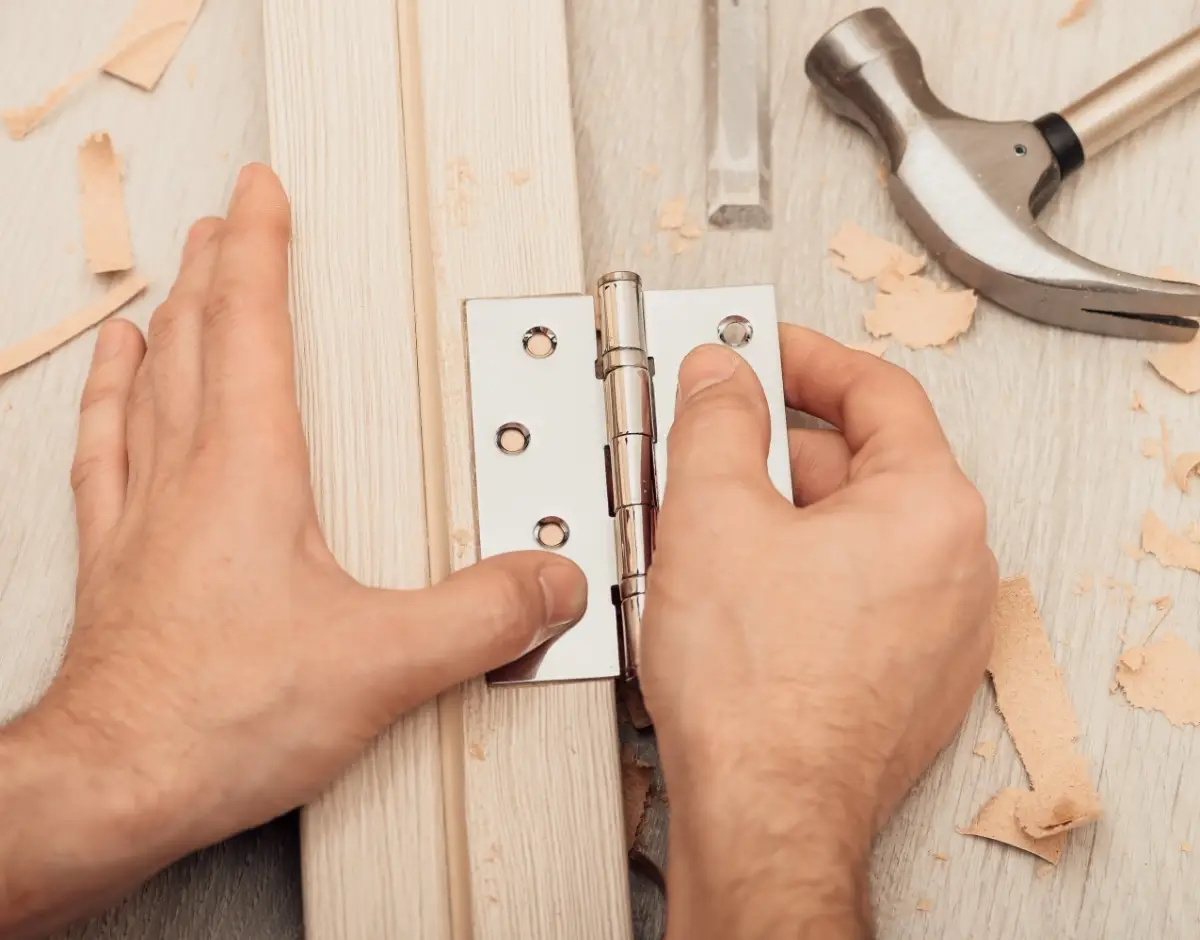
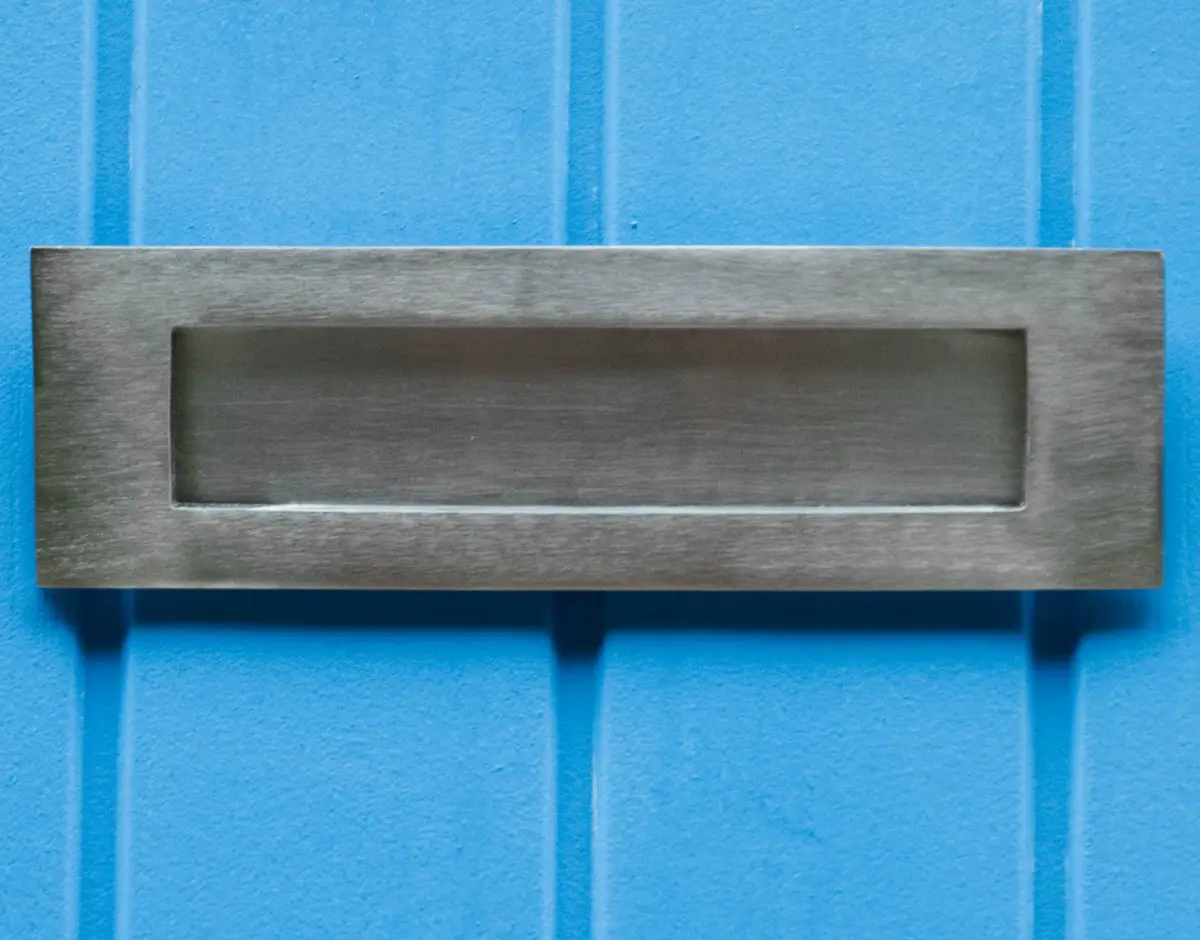
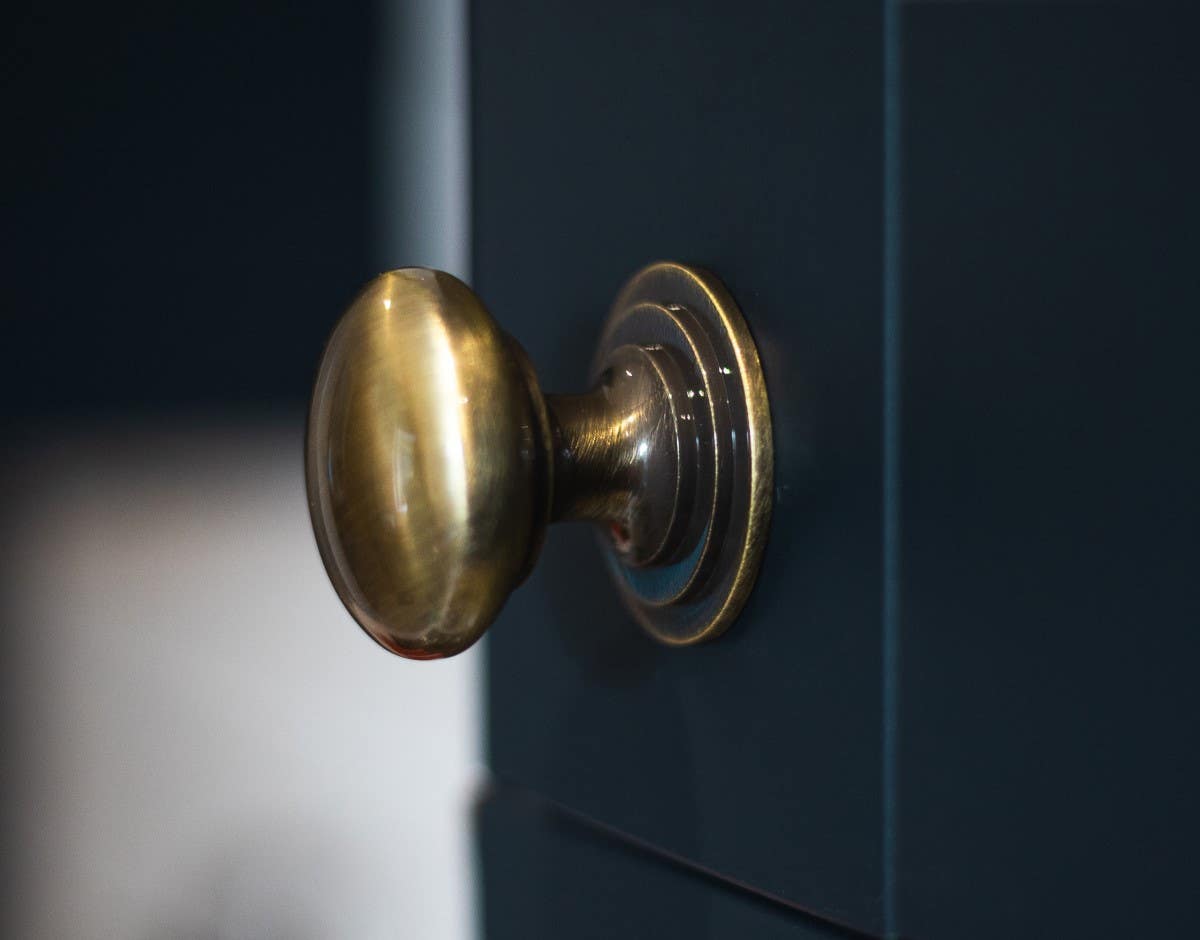
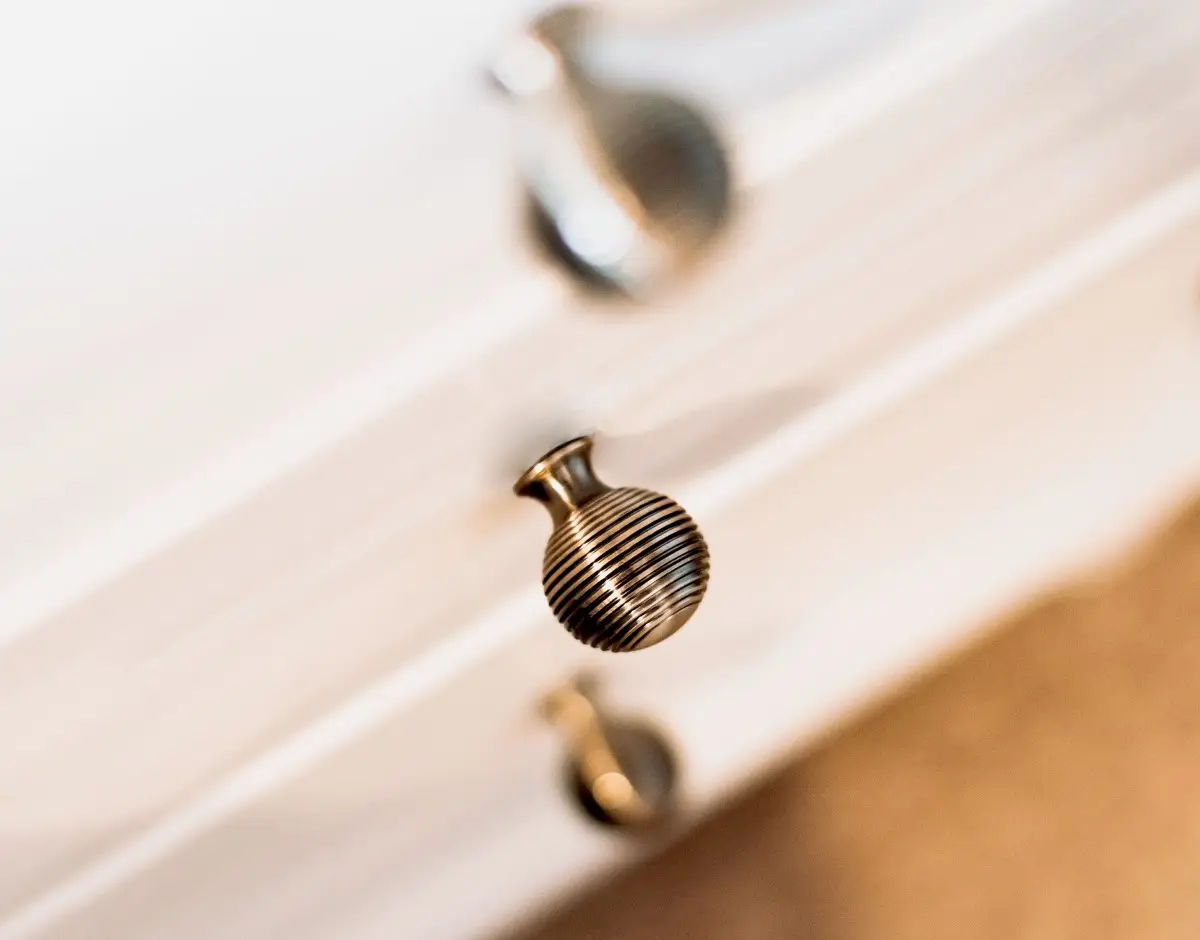
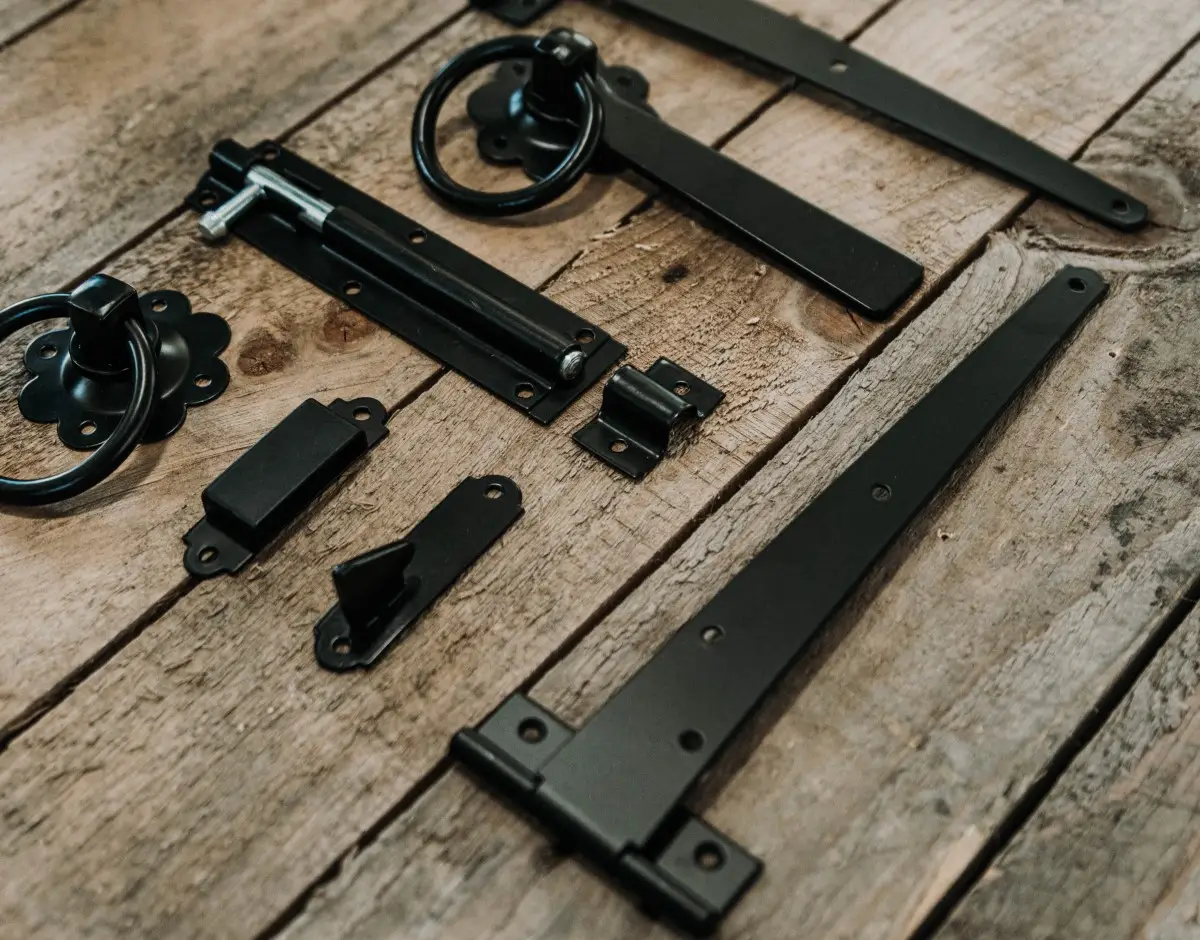
While you are considering the perfect colour, you may also consider replacing your locks with mortice door locks. They will give your door a fresh new look.
Once you have settled on the colour you want for your door, get the preparation going for the actual work. Preparing the surface is very important. The surface of the door must be smooth and devoid of chink and bumps.
These give your freshly painted door a lumpy finish that is quite unappealing. Hence, you should take as much time as you need to prepare the surface.
A Step by Step Guide to Painting Your Door
1. Start Early
Be ready to go as early as possible. 7:00 AM is a good time as the sun is out providing adequate lighting and warmth. Put on your protective gear, gloves, and goggles to protect your skin and eyes. Then, apply the paint stripper using an older brush.
Make sure you get the hard to reach areas such as corners and mouldings as you swish over the flat ones. Allow the paint to sit for the recommended time. The painted surface should begin to bubble. This means the chemicals are doing their job.
2. Scrape the Paint off
Once the recommended time is over, begin the scraping process using a flat blade scraper. This may take some time as paint applied in layers may require multiple applications of paint stripper. Also, this means more waiting time.
Once you have scraped all the paint off, you will expose the bare wood.
3. Remove All Traces of paint
Scraping is done but there may be a remnant of paint especially in crevices and mouldings. Use a shave hook to remove these traces until there is no trace of paint left on the door. Ensure that you have removed all bits and scraps for a smooth surface.
4. Neutralize the Clean Surface
Use clean water or white spirit to neutralize the smooth surface of your door. Use a brush to ensure that no water or spirit is left dripping.
5. Sanding the Door
Your door is ready for the sanding stage of the job. Use a dust mask and medium-grade abrasive paper to sand the flat surface of the door. If you do not have a sanding block, you can wrap your sandpaper around a piece of wood.
Always sand in the direction of the grain and do not alter the sharp corners or mouldings. Give it a second round of sanding with fine-grade sandpaper.
6. Time to Paint
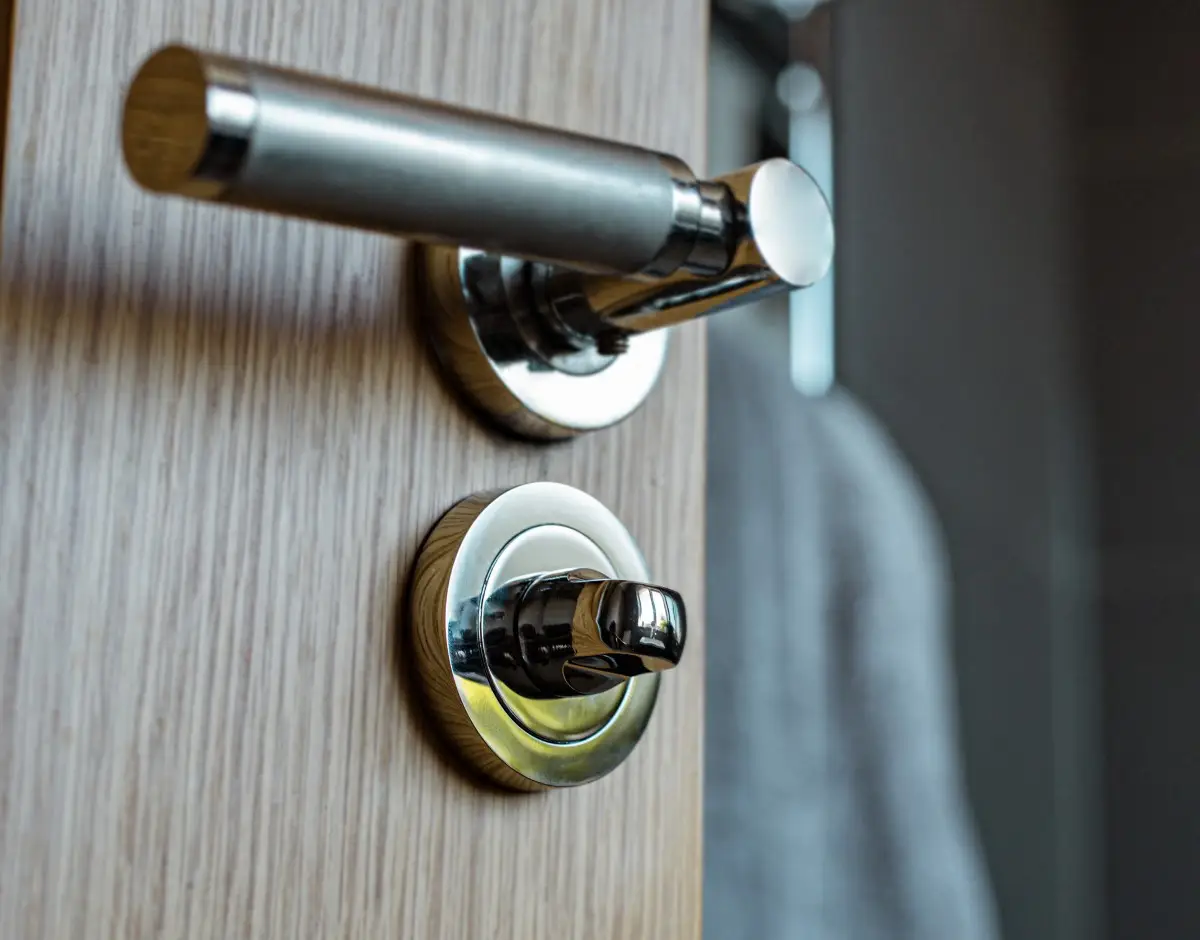
Once the sanding is done, it is time to start painting! Remove the door handles and if the door is still in its hinges, wedge it open. Ensure that the door stays open but keep the handle close in case it closes by accident. Here’s how to paint different types of doors:
Panel Door: The panels and surrounding mouldings should be the place to begin. Then proceed to paint the centre vertical and the crossing rails. Paint the top rail first then advance gradually to the bottom. Do the outer verticals and finish with the three exposed edges.
Glazed Door: put masking tape over the glass to protect it. Then begin by painting the mouldings around the glass using a cutting-in brush. The crossing rails come next beginning at the top and working your way to the bottom. Finally, paint the outer verticals and exposed door edges.
Flush Door: Divide your door into eight areas and start from the top advancing to the bottom right. Ensure that the competed are blends into the next one before the paint dries up. Follow the grain with vertical strokes and finish up with the door edges.
7. Leave the Door to Dry
Having started early, the work should be done by early afternoon. This gives your door ample time to dry. If your door is still on its hinges, leave it open to dry. If you had taken it off the hinges, take it outside and prop it up against something.
Conclusion
By evening, it should be dry and looking like a newly installed door. Enjoy the results of your work and the instant facelift it gives your home.