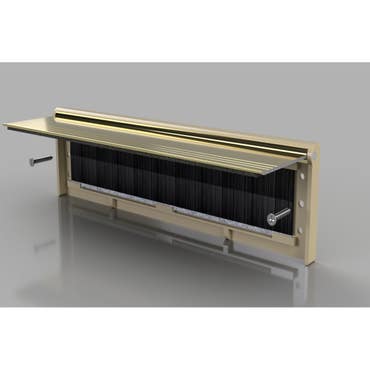
How to Insulate Your Letterbox and Keyholes for a Fully Draught Proof Front Door
When autumn arrives and temperatures begin to drop, it's a good time think about home insulation. Tackling draughts from exterior doors will improve thermally efficient, for better home comfort and to help to keep energy bills down. In this article we'll take a closer look at some simple and inexpensive ways to beat front and backdoor draughts this winter, and we'll give you step-by-step guides on how to fit door draught proofing solutions.
Topics:
- The Benefits of Draught Proofing External Doors
- Letter Plate Flap Draught Excluders
- Fitting Brush Strip & Hinged Flap Draught Excluders
- Keyhole Lock Covers
- Swinging Metal Disc
- Fitting Keyhole Brush Draught Excluder
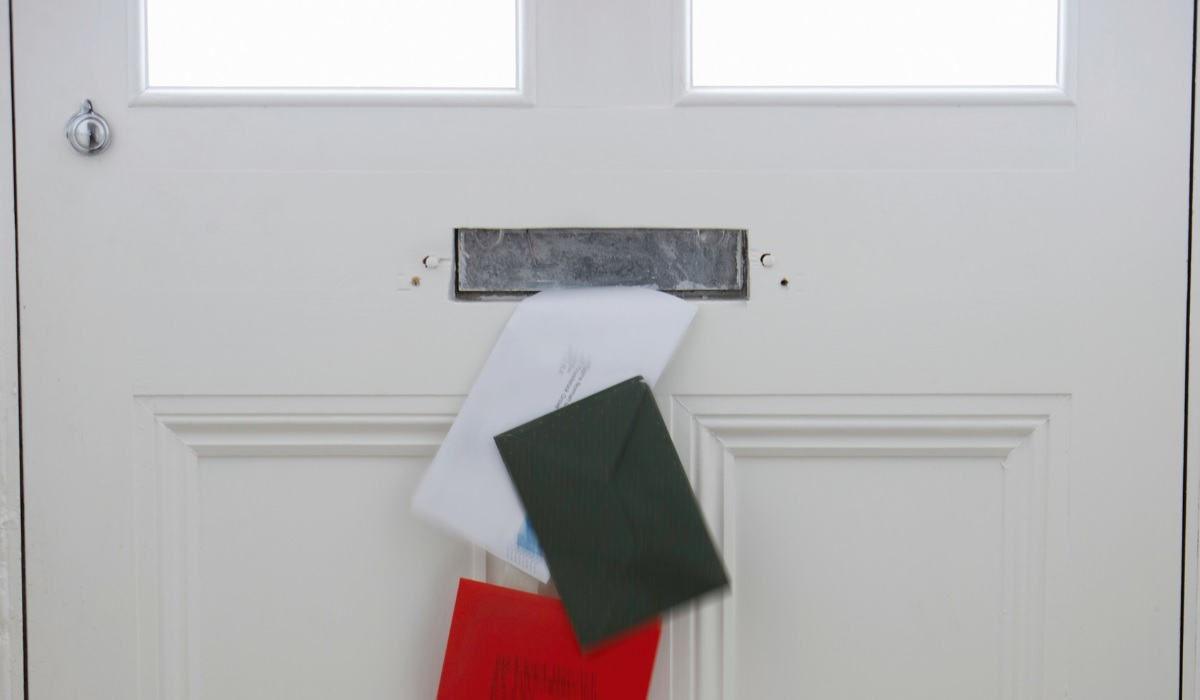
Draught proofing front and back doors, especially older and wood doors, often focuses on sealing the edges of the door, at the bottom of the door and around the door frame. And with good reason as gaps around your external doors will let cold air in and let warm air out. But it's equally important to pay attention to gaps in front door hardware too, the letterbox and keyholes in particular, as they can be responsible for persistent draughts in an otherwise draught proofed door.
Installing letterbox and keyhole draught excluders will help to ensure complete external door draught proofing. It’s a straightforward home improvement job that can make a big difference.
The Benefits of Draught Proofing External Doors
The main reasons for draught proofing are to improve living comfort and to save energy when heating your home. Being more energy efficient will help reduce home heating costs, energy bills and contribute to lower your carbon footprint.
Take a look at this article for an in-depth look at the benefits of draught proofing your home: How to Draught Proof Your Home.
Letter Plate Flap Draught Excluders
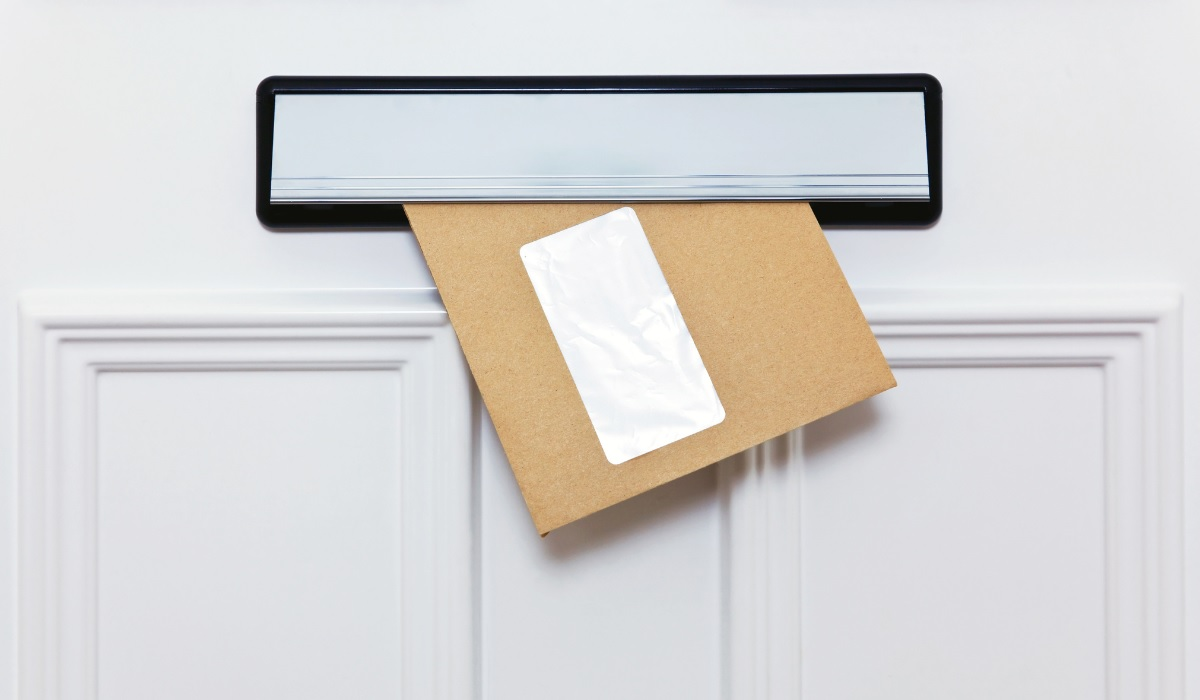
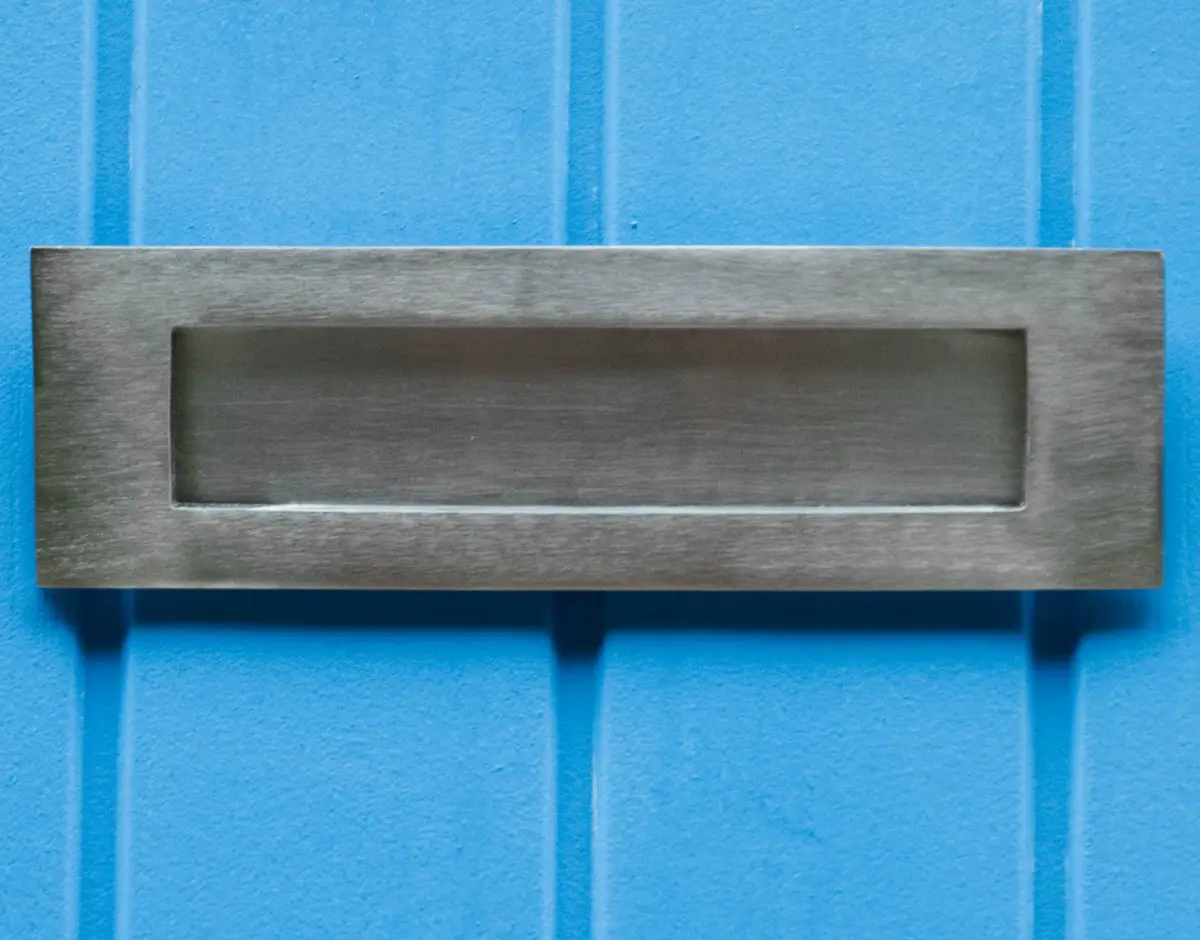
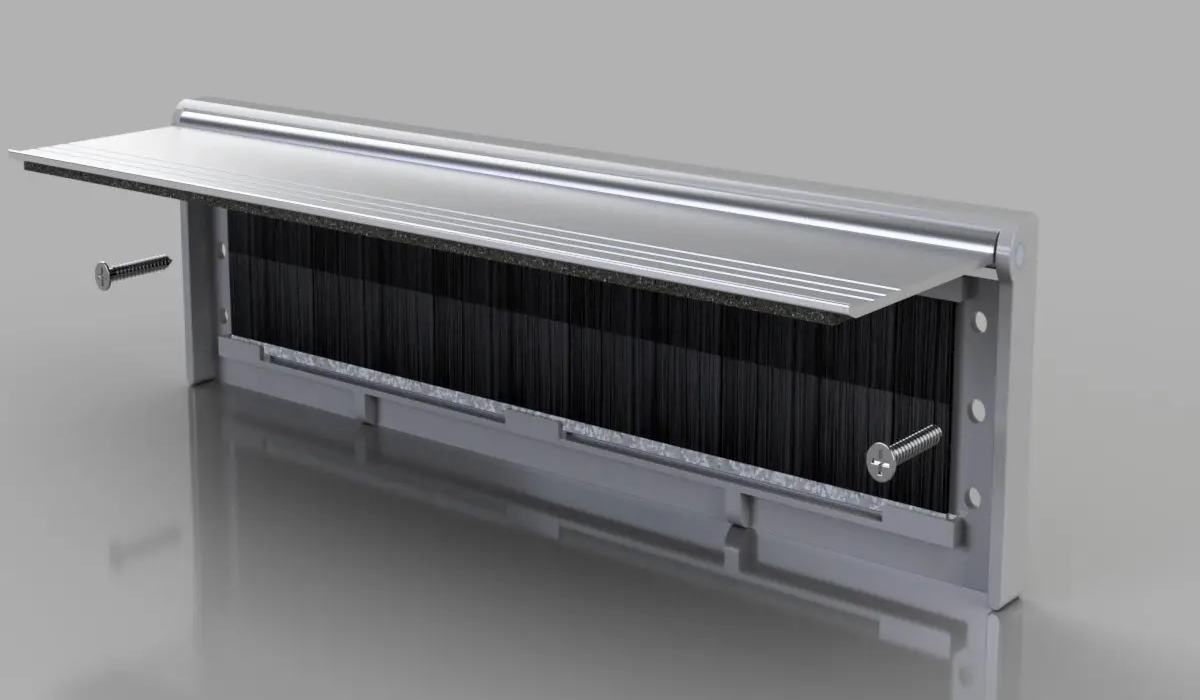
The interior hinged flap is perhaps the most common way to eliminate letterbox draughts. The aim is for the flap to act as a cover for the letterbox to stop draughts while allowing mail to be posted through. There are two main types.
The basic option is a single flap mounted on the interior side of the front door. It simply free-swings closed to keep draughts at bay, or might be spring loaded.
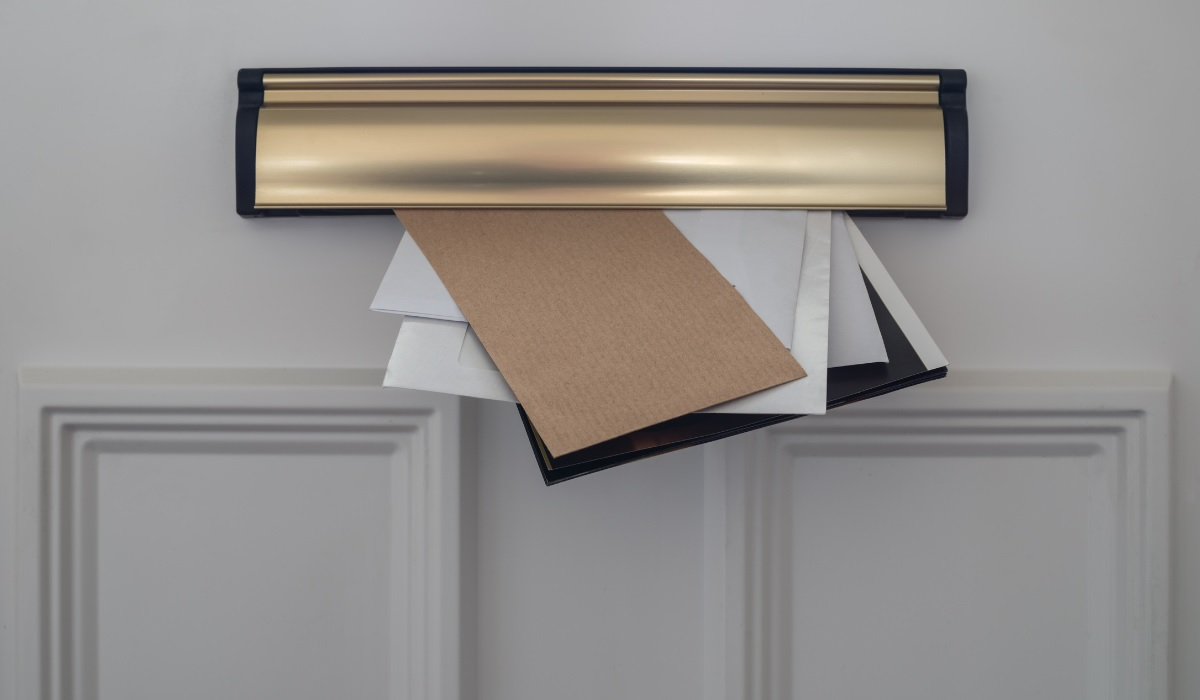
Another type of hinged flap draught plate has a magnetic flap. This can provide a better seal as the magnetic action ensures the flap is always tightly closed.
Often hinged plate flaps will include brush or wiper strips to offer an extra level of draught proofing.
Fitting Brush Strip & Hinged Flap Draught Excluders
Installing these two types of letterbox draught excluder is very similar, so most of the steps below apply to both methods.
Firstly, here are the tools you will need to get the job done:
· Drill (with small bit)
· Screwdriver
· Spirit level
· Pencil
· Tape measure
· Screws (if not supplied with your draught excluder)
Installation Guide
Step 1: Measure your letterbox
Use your tape measure to measure the dimensions of your letterbox, the width and height of the opening.
Step 2: Choose a brush strip or flap excluder
Buy a draught excluder that will accommodate the measurements of your letterbox. Remember, the flap or brush must be big enough to cover the letterbox gap and screw into the door.
Step 3: Prepare the draught excluder
Most brush strip and flap excluders come pre-assembled, but if any adjustments are necessary, follow the manufacturer's instructions.
Step 4: Position the brush strip or flap excluder
Align the draught excluder with the bottom of the letterbox opening. Make sure it covers the entire width of the opening and extends slightly around it.
Step 5: Level up
Hold the draught excluder in place and use your spirit level to ensure that it’s level.
Step 6: Mark screw hole locations
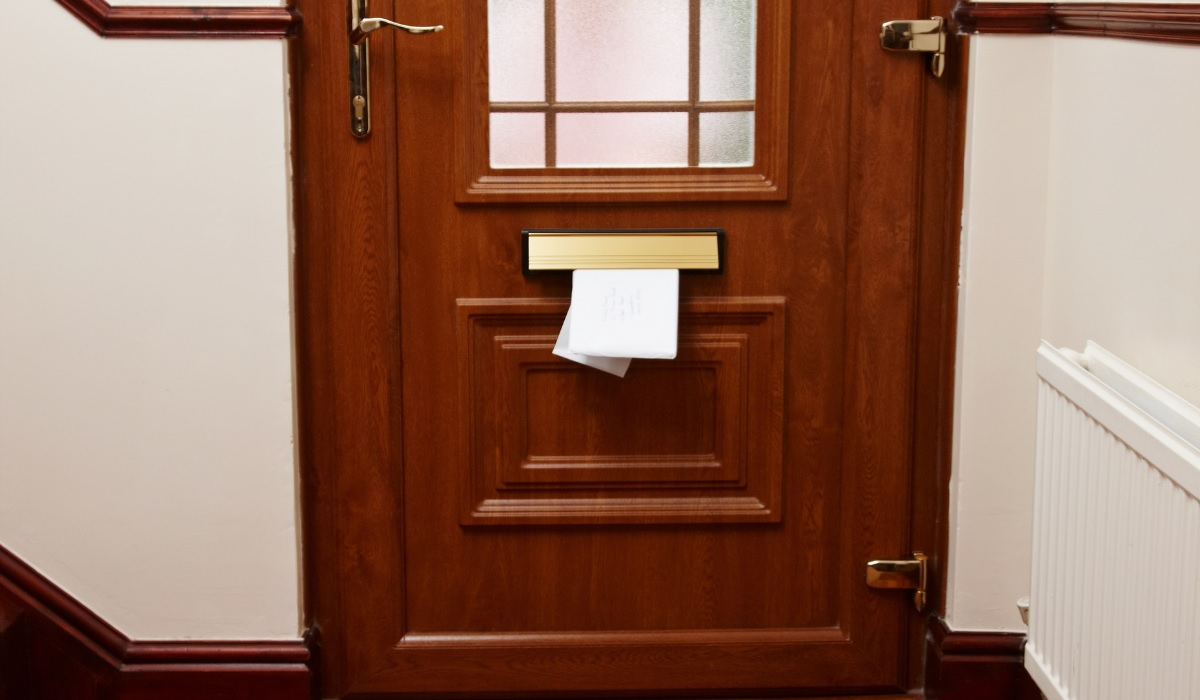
Use the pencil to mark the screw locations (through the draught excluder screw holes) on the door where the excluder will be attached, and then drill pilot holes.
Step 7: Screw into place
If screws are provided, use them to attach the draught excluder to the door. If not, select appropriate screws and use a screwdriver to secure the excluder in place.
Step 8:Test the flap
Ensure that the draught excluder covers the letterbox opening and that the flap closes to create a proper seal.
Keyhole Lock Covers
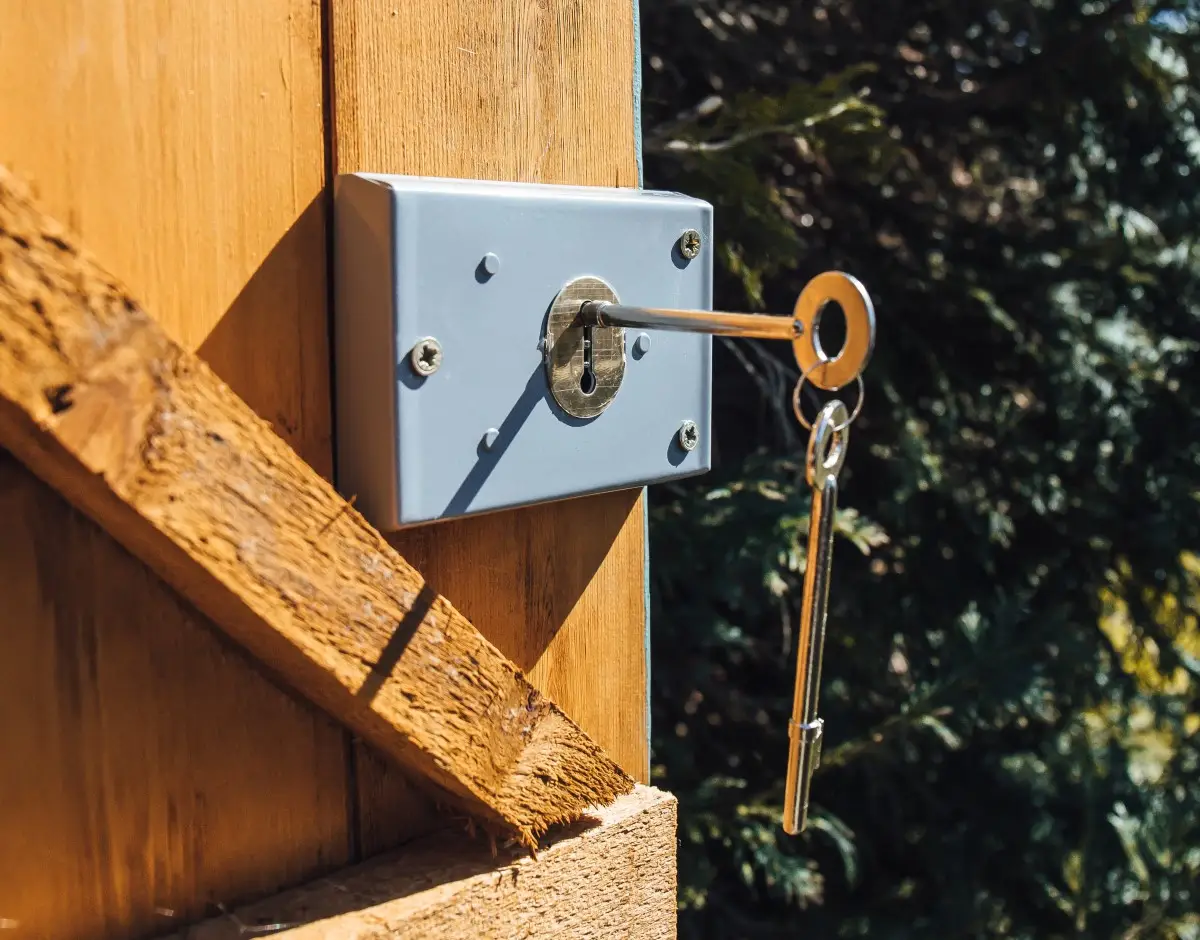
It goes without saying that doors with euro locks (such as uPVC doors) will not have keyhole draught issues. But more traditional front doors and back doors may well have a mortice lock, in conjunction with 'Yale type' night latch or dead bolts, that is letting cold air in.
The remedies for keyhole draughts are basically variations on a theme. The most popular method is the escutcheon swinging metal disc.
Swinging Metal Disc
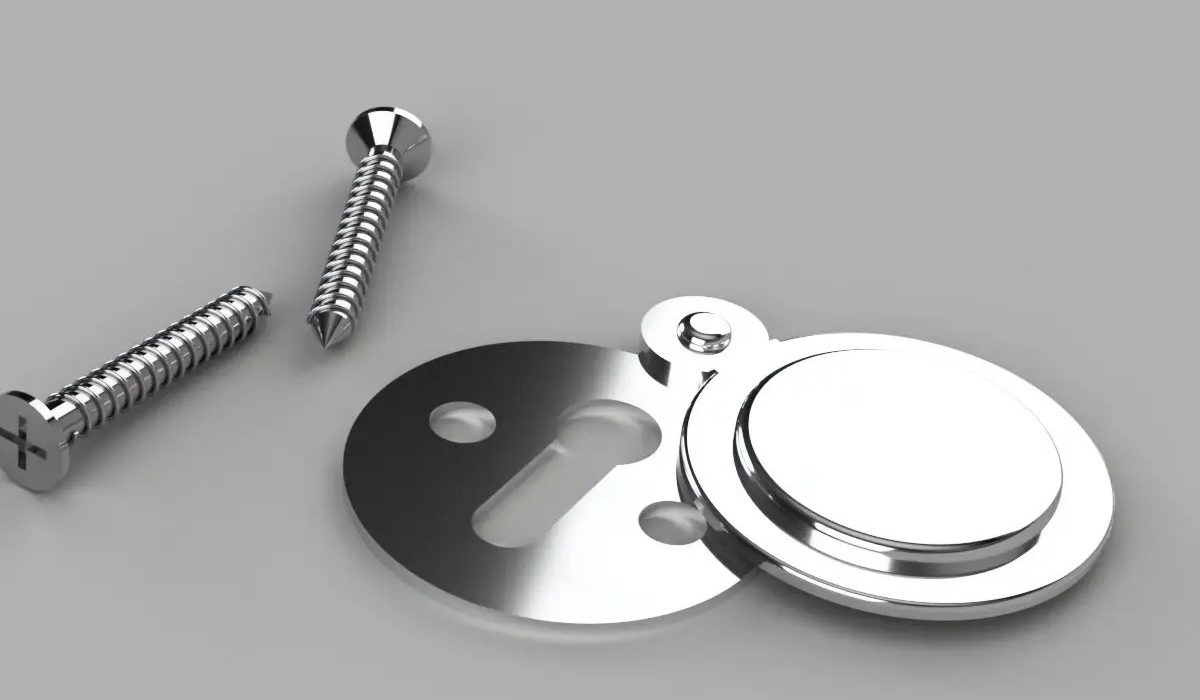
A simple solution, this swinging keyhole cover helps to prevent draughts caused by open keyholes. The disc hangs over the keyhole, swinging to one side to allow the door to be locked and unlocked.
All you need to do to fit a keyhole swinging disc is replace your existing escutcheon with a swinging keyhole cover of the same size.
If the screw holes are in the same position, then simply unscrew the old escutcheon and install your new keyhole cover.
If the screw holes don't line up, you may need to fill the old holes and make new ones.
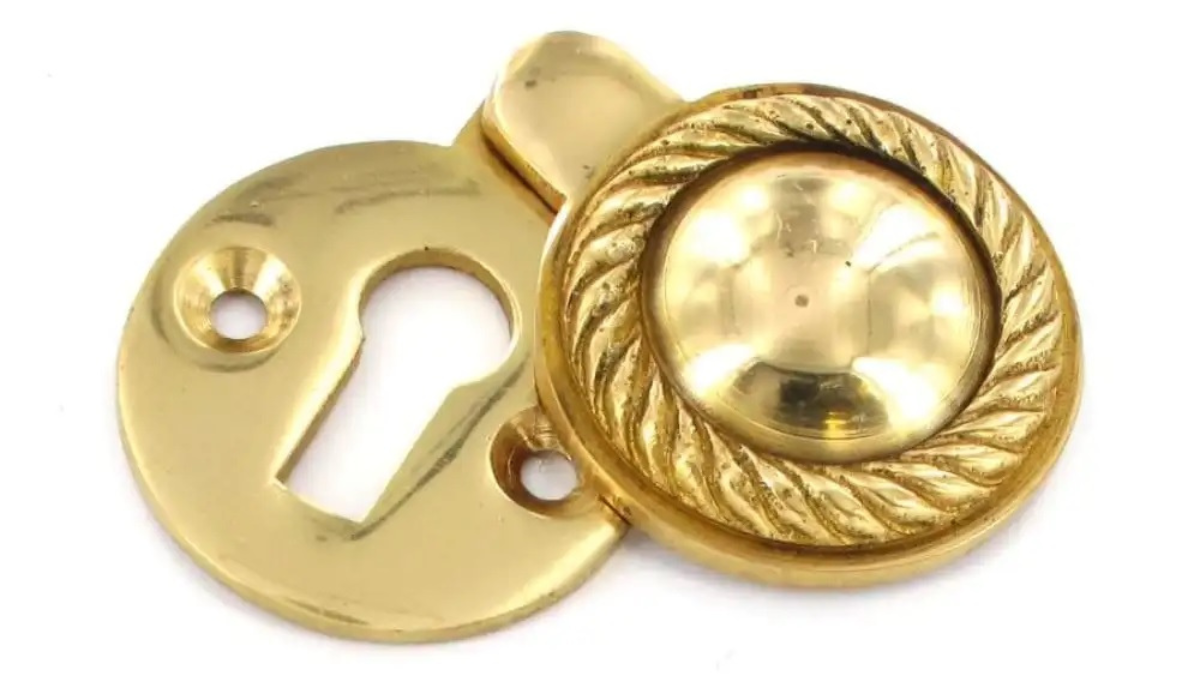
Sometimes, this keyhole draught prevention method doesn't make a complete seal, allowing some cold air to infiltrate your home in particularly bad weather. To make sure a tight seal is made, consider choosing a keyhole cover with a hinged magnetic escutcheon flap.
The hinged keyhole cover principle is the same as the swinging disc, but the keyhole cover is on a hinge to move up and down rather than swinging. The magnetic action in contact with the escutcheon keeps the cover in place.
In-Keyhole Brush Draught Proofing
The in-keyhole draught excluder works in a different way. Instead of covering the keyhole externally, a brush excluder fits within the keyhole itself. Note, this option will only work for external doors with a mortice lock as part of a lever handle.
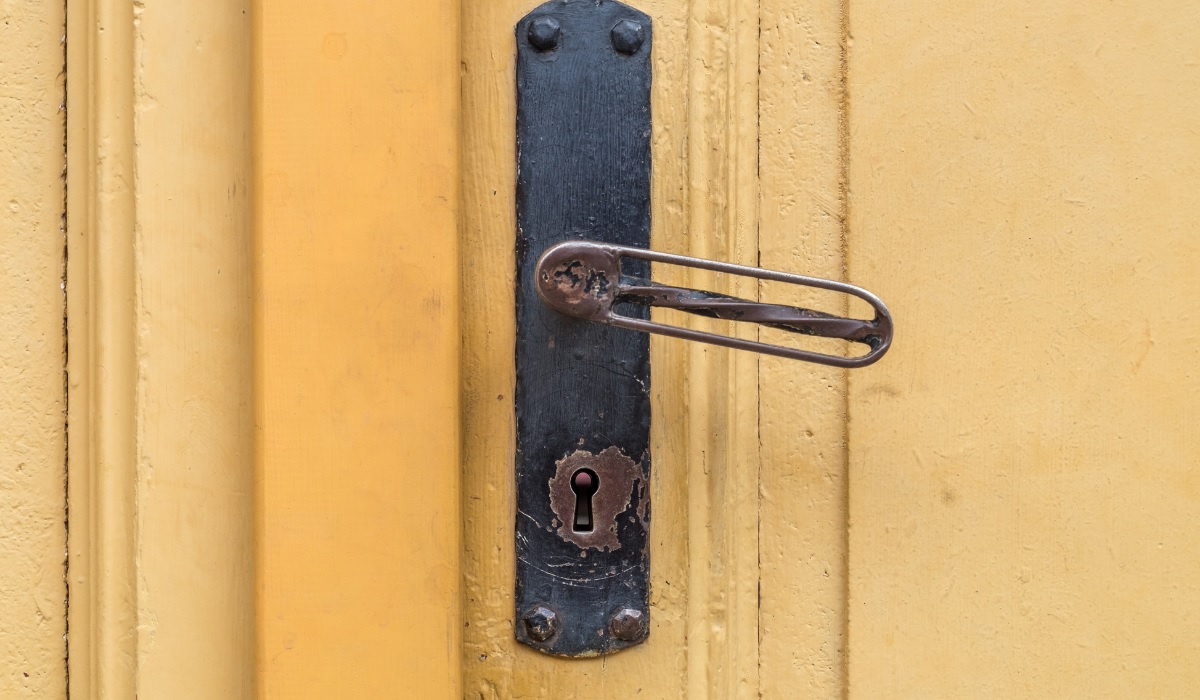
It works on the same principle as the letterbox brush strips, with overlapping bristles sealing the keyhole against draughts.
Fitting a Keyhole Brush Draught Excluder
It's fairly straightforward to install. Ensure you have the following tools:
· Drill (with small bit)
· Screwdriver
· Pencil
· Screws (if not supplied)
Installation Guide
Step 1: Remove door handle
Take the door handle off the door by unscrewing the backplate. Put it and the screws to one side.
Step 2: Mark up
Next, take your keyhole brush excluder and hold it in place over the keyhole. Be sure that it covers the keyhole properly. While holding it firmly, use your pencil to mark the door through the excluder where the screws will go.
Step 3: Attach the draught excluder
Drill pilot holes and then screw the excluder to the door. If you're confident, you may not need pilot holes. If screws are not provided by the manufacturer, be sure to choose an appropriate size and type.
Step 4: Checks
Check the excluder is securely in place, covering the keyhole. Ensure the key turns freely in the lock before replacing the door handle.
Step 5: Re-attach the handle
Screw the door handle back on, making sure the spindle is seated correctly.
Don't Neglect Your Internal doors
Don't forget, insulating the doors within your home will have an even greater impact on stopping draughts. Self-adhesive foam strips can be used in the same way as with exterior doors. And of course the traditional cushion 'snake' draught excluder can make a real difference in stopping under-door draughts.
Final Thoughts
Properly draught proofing your external doors will help increase your home's thermal efficiency during the winter months and could save you money.
If you want to find out more about draught proofing around windows and doors, and how to prevent chimney draughts, check out these dedicated how-to articles:
4 Easy DIY Tips For a Draught Proof Front Door
Your DIY Guide to Draught Proofing Windows
If your front door furniture is causing draughts, it might be time to consider replacing old for new. A new draught proof letterbox and new keyhole hardware are relatively inexpensive, easy fixes. For front door renovation ideas, take a look at this in-depth article: Front Door Makeover Inspirations.
Or browse the full range of door furniture and accessories at Hiatt Hardware.
