


Your DIY Guide to Draught Proofing Windows
Article Topics:
- How to Find Window Draughts
- A Word About Controlled Ventilation
- Common Window Draught Proofing Methods
- Self Adhesive Foam Strips
- Draught Insulation Film
- Silicone Sealant

Introduction
In this article we'll explore some common methods of draught proofing windows in your home. You'll find DIY step-by-step guides to window draught proofing to help make your home more comfortable and energy efficient this winter.

How to Find Window Draughts
To find the source of a draught might be easy. It may be obvious where it's coming from by the direction cold air is flowing. On the other hand it might not be immediately apparent and you will need to go looking for possible causes. If the draught is coming through your front door, look at this guide to find DIY ways to fix it. If a window is the culprit, read on.
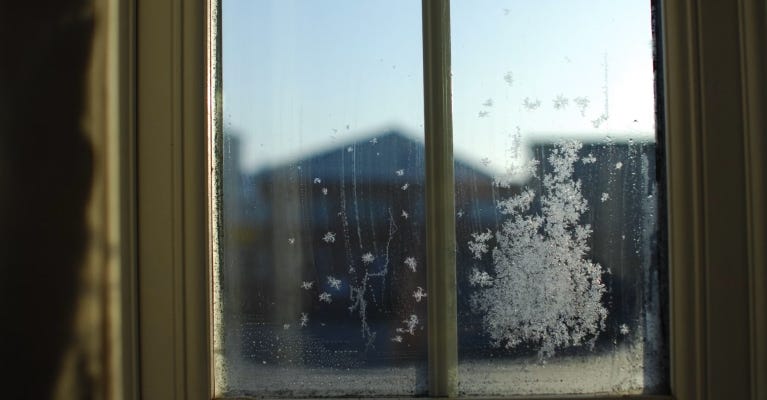
As you might expect, the first thing to do is look for gaps and cracks in your window, window frame and the surrounding wall. Use your hand to feel around your window for cooler air, especially when it's windy outside — a good tell for a draught is if a curtain or blind at the window moves during windy weather.
You could also use a gas fire lighter to help find draughts. Simply take the lit fire lighter and slowly move it around the frame and window edge. If the flame flickers there's a good chance you will have found the source of a draught.
A Word about Controlled Ventilation
Controlled ventilation does not cause draughts. Remember, not every gap around your window and window frame will be the source of a draught. It's important to understand that your home needs to ventilate moist air to avoid condensation and damp. This is especially so in rooms that naturally are higher in moisture, such as the kitchen and bathroom.
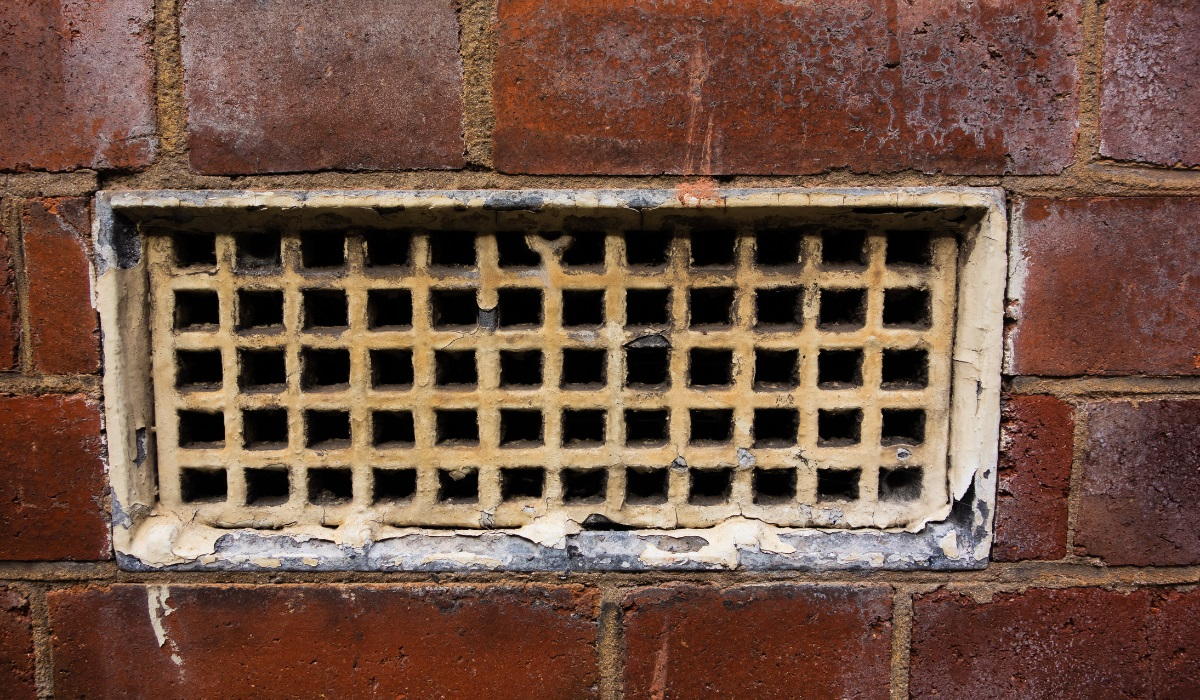
When draught proofing your home you must never block extractor fan outlets, air bricks or wall vents. Look out for window trickle vents too — these are vents in the frame that let fresh air circulate in a room. As the name suggests, air trickles through the vent and normally won't cause a draught.
Common Window Draught Proofing Methods
Let's look at three of the most common ways to stop or significantly reduce draughts from windows:
-
Self adhesive draught strips
-
Draught insulation film
-
Silicone sealant
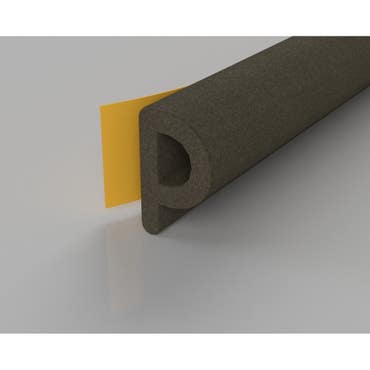
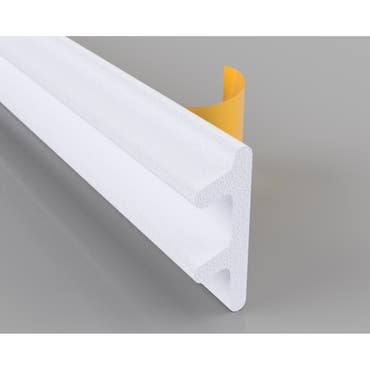
Self Adhesive Foam Strips
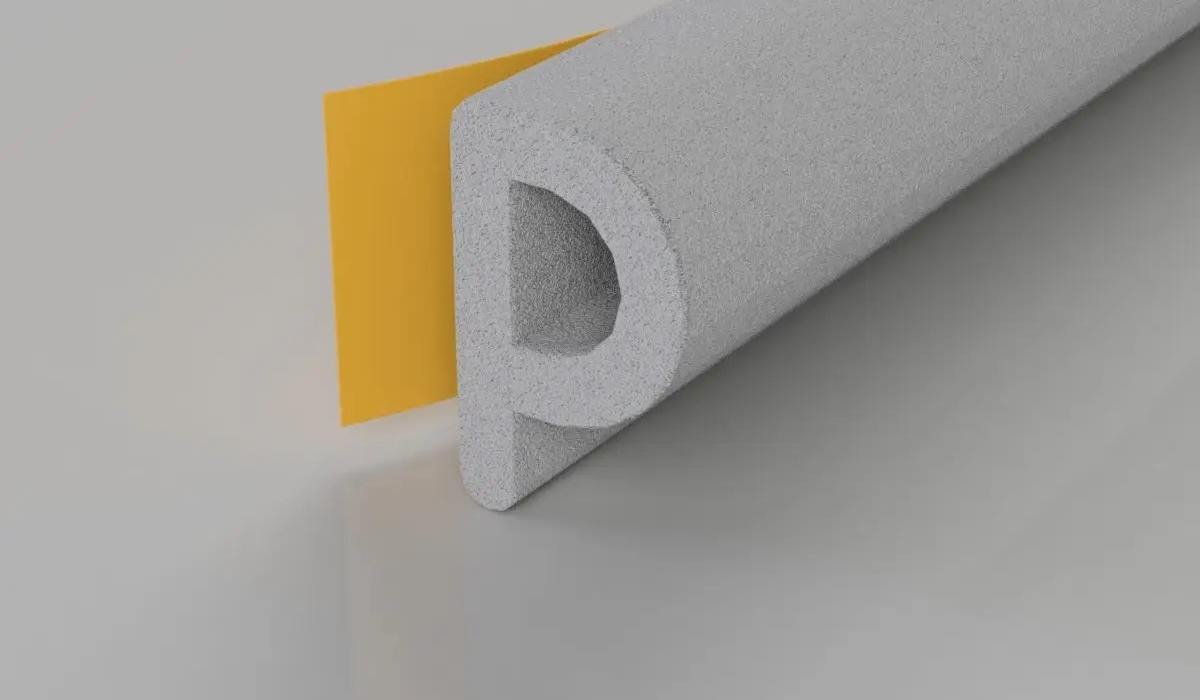
You can use self adhesive draught strips to draught proof your home. They help create a tight seal at the closing edges of your window. Strips are available with different profiles, thicknesses and in different colours.
Note that if your strip is too thin it won't stop the draught. If it's too thick, your window won't close properly.
You’ll need some basic tools and materials to get the job done:
-
Measuring tape
-
Scissors or utility knife
-
Clean cloth
-
Soapy water or white spirits
-
Pencil or marker pen
Step 1: Clean the window frame
Use a clean cloth dampened with soapy water or white spirits to clean the frame. Remove all dirt, dust and grease, and dry properly, to ensure a proper adhesive bond.
Step 2: Measure up
Measure the width and height of each frame where you plan to install the foam strips. Make sure to measure the top, bottom, and sides separately, as they may vary slightly.
Step 3: Cut the strips
Based on your measurements from Step 2, use scissors or a utility knife to cut the adhesive strips to the right length. Make sure to cut them slightly longer than the measured dimensions to ensure a snug fit.
Step 4: Apply the strips
The strip may be shaped like the letter P. If so, ensure that the protruding part of the P profile is facing up and outward. If you have square or E shape strips, there is no specific right way up.
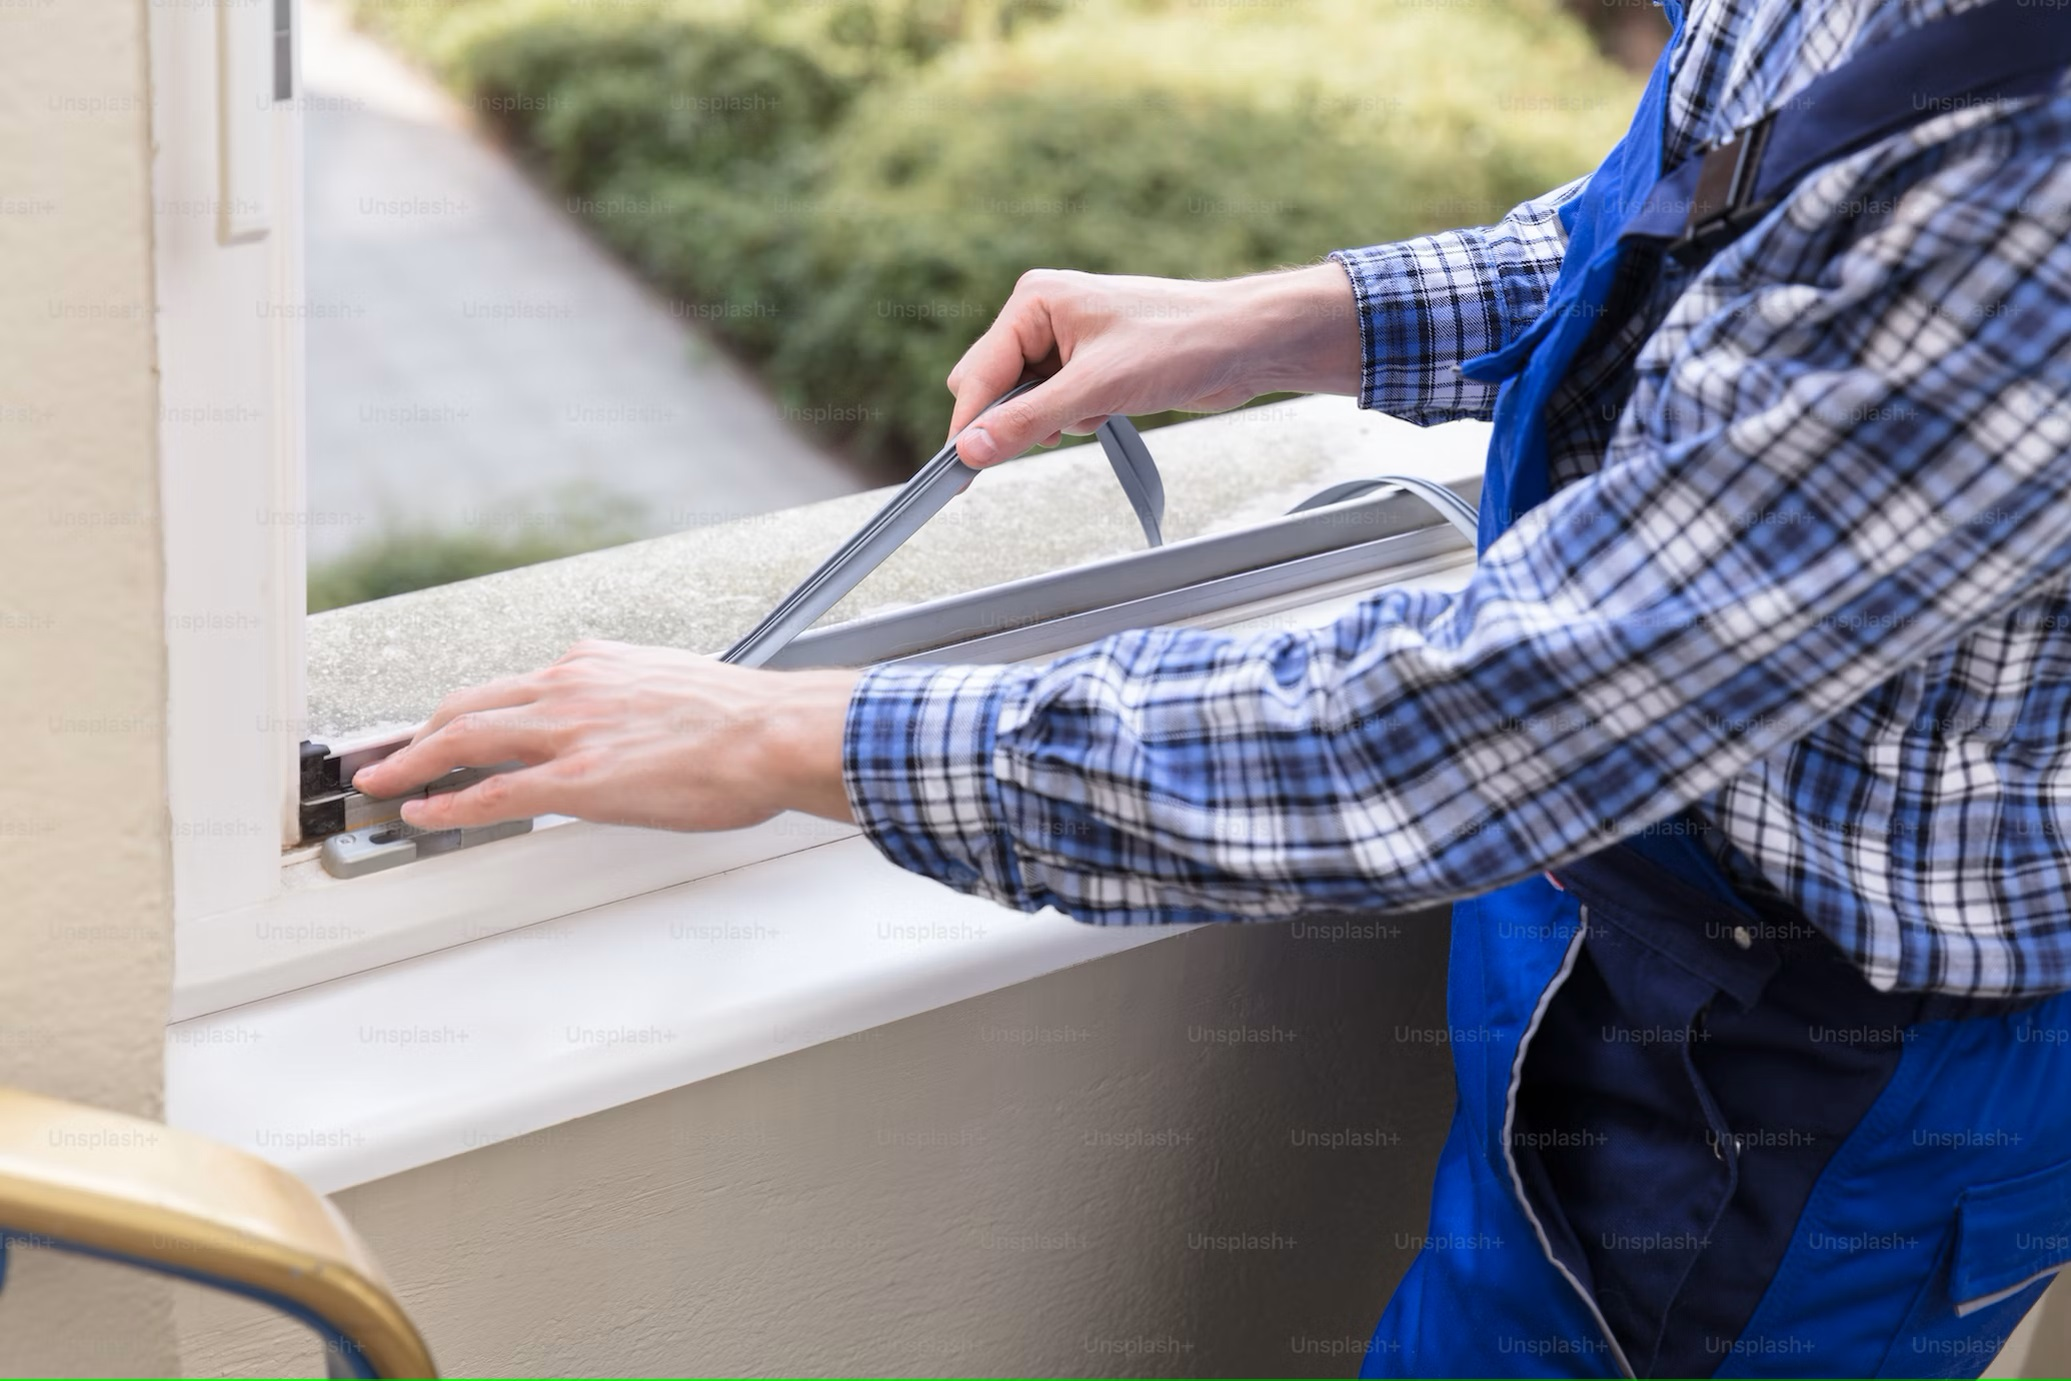
Peel the backing paper off one side of the foam strip to expose the adhesive. Start at the window corner and press the strip firmly against the frame, aligning it with the edge. Be careful not to stretch the strip as this may reduce its draught proofing efficiency.
Continue pressing and adhering the strip along the entire frame, making sure it's centred and straight. Trim any excess at the end.

Step 5: Repeat as required
Ensure that each strip meets at the corners to create a complete seal. Press down firmly to make sure the strip is secure. Note that foam draught strips can be used for sky lights and loft hatches.
Foam Strip Installation Video
Draught Insulating Film
Adding an insulating film to single glazing can be an excellent draught excluder to help keep cold air out. It acts as a kind of temporary secondary glazing. It's straightforward to fit and effective. Here's what you'll need:
-
Measuring tape
-
Hair dryer
-
Scissors or utility knife
-
Clean cloth
-
Soapy water or white spirits
-
Pencil or marker pen
Step 1: Prepare the working area
Clean the area where the film will adhere to the window frame. Use soapy water or white spirits with a clean cloth to thoroughly remove any dirt or grease. Ensure the area is completely dry before continuing.
Step 2: Measure and cut the draught proofing film
Measure and note the width and height of your window frame.
Unroll the window insulation film on a clean surface. Cut the film to size using your frame measurements, leaving an extra inch or two on each side to ensure it covers the entire window — you can trim it later.
If your film kit doesn't include a cutting tool, use scissors to make a clean, straight cut. You can also use a utility knife or box cutter for precision.
Step 3: Apply double-sided tape
Starting at one corner of the frame, apply the double-sided tape around the entire perimeter, ensuring that the tape is flush against the frame surface.
If your window is large, you may need to use multiple strips of tape. Overlap the ends of the tape slightly to ensure a continuous seal.
Step 4: Attach the film to the frame
Carefully peel the protective backing from the double-sided tape. Align one edge of the film with the top edge of the frame. Press it firmly against the tape.
Slowly unroll the film down, smoothing it out as you go to avoid wrinkles. Make sure the film is fairly taut, but not overly stretched.
Step 5: Seal the film
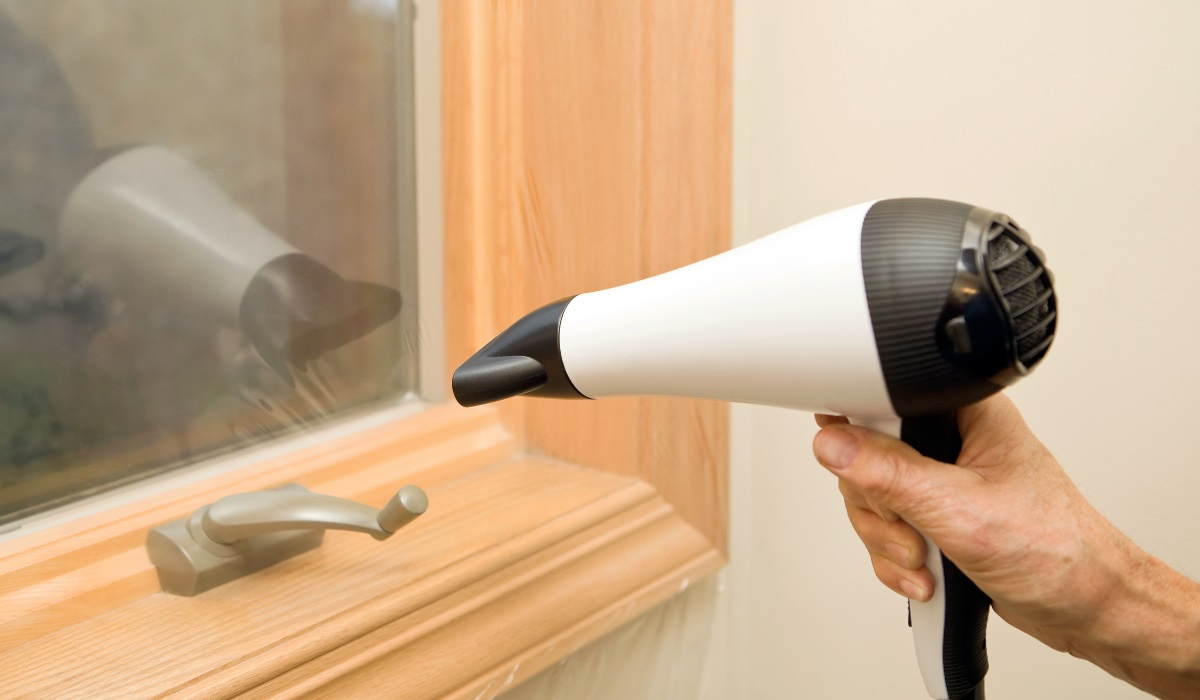
Once the draught excluder film is stuck into place, use a standard hairdryer on a low to medium heat setting to gently heat the film along the edges. As you heat the film, it will shrink and conform to the frame, creating a tight draught barrier.
Start on the lowest heat setting and keep the hairdryer moving to prevent overheating and potential damage to the film.
Step 6: Trim Excess Film
After you've heat-sealed the film, take a pair of scissors or the utility knife to trim any excess film hanging over the frame. Be careful not to cut too close to the tape, as this could compromise the seal.
Step 7: Final Touches
Inspect the draught excluder film to ensure it's securely in place. If you notice any gaps or areas that need extra attention, use the hairdryer to reheat and reshape the film as needed.
Silicone Sealant
If you have draughts coming through unwanted gaps between the frame and surrounding wall, silicone sealant is the perfect solution. You can use sealant to fill window and brickwork gaps indoors and outdoors.
To draught proof using sealant you’ll need a few simple tools and materials:
-
Utility knife
-
Scraper or putty knife
-
Masking tape
-
Warm soapy water or white spirits
-
A clean damp cloth or sponge
Step 1: Prepare the Area
Remove curtains or blinds from the window to ensure clear access. Clean the frame and surrounding area thoroughly to remove dirt, dust, and grease. Use a cloth or sponge with soapy water or white spirits to do this.
Allow the cleaned area to dry completely before proceeding.
Step 2: Find Draughts
Carefully inspect your window to locate any gaps where the frame meets the wall, as well as gaps between the frame and the glass. It's crucial to identify all the points where draughts might be coming through.
Step 3: Apply Masking Tape
To create neat, straight lines, and to prevent excess sealant from spreading, apply masking tape to both sides of the gap you intend to seal. This will also act as a guide when applying the sealant.

Step 4: Load the Sealant Gun
Insert the sealant cartridge into the gun (also known as a caulking gun). Cut the nozzle of the cartridge at a 45-degree angle, making sure the nozzle opening is large enough to fill the gap, but not so wide that the sealant is unable to properly fill the gap.
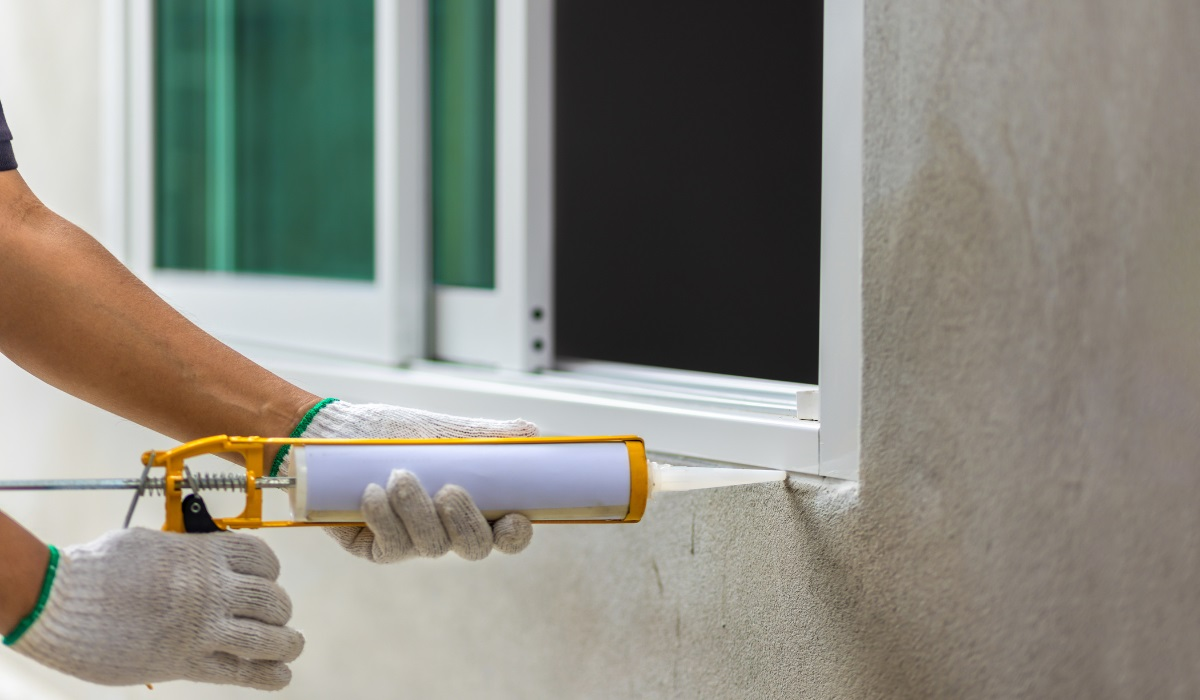
Step 5: Apply the Silicone Sealant
Hold the sealant gun at a 45-degree angle to the gap and squeeze the trigger gently and steadily, moving the gun along the gap as you go, from top to bottom.
Apply a continuous bead of sealant, completely filling the gap and ensuring it’s filled along its entire length.
Obviously you will need to apply less sealant for small gaps and more sealant in larger gaps.

Step 6: Smooth and Shape
After applying the sealant, use a scraper or putty knife to smooth and shape it — or if you don’t mind getting messy, use your finger — to completely seal the gap. Make sure that the sealant is smooth and even along its entire length and the gap is completely sealed.
Step 7: Remove the Masking Tape
Before the sealant dries, carefully remove the masking tape. This will leave you with clean lines.
Step 8: Allow to Dry
Give the sealant ample time to dry according to the manufacturer's instructions. This typically takes 24 hours or more, depending on the type and brand of sealant you use.
Once the sealant is fully dry, check to ensure that the draughts have been effectively sealed.
Final Thoughts
Draught proofing your windows is a practical and cost-effective way to enhance the comfort and energy efficiency of your home. Whether you choose foam strips, window film, sealant or other methods, the key is to ensure a proper seal, increasing home comfort and reducing your fuel bills.
These common draught excluder methods ensure that warm air in the home isn't compromised. They’re an easy fix for DIYers who want to fix draughty windows to increase energy efficiency and save money this winter. Discover more about how to fix draughts in How to Draught Proof your Home.
For more DIY inspiration, visit Hiatt Hardware and browse a broad range of how-to guides, related articles and insights.