


Expert DIY Tips for a Draught Proof Front Door
Article Topics:
- Finding Front Door Draughts
- Draught Proofing Methods
- Cushion Draught Excluders
- Brush Strips
- Self Adhesive Strips
- Silicone Sealant
Introduction
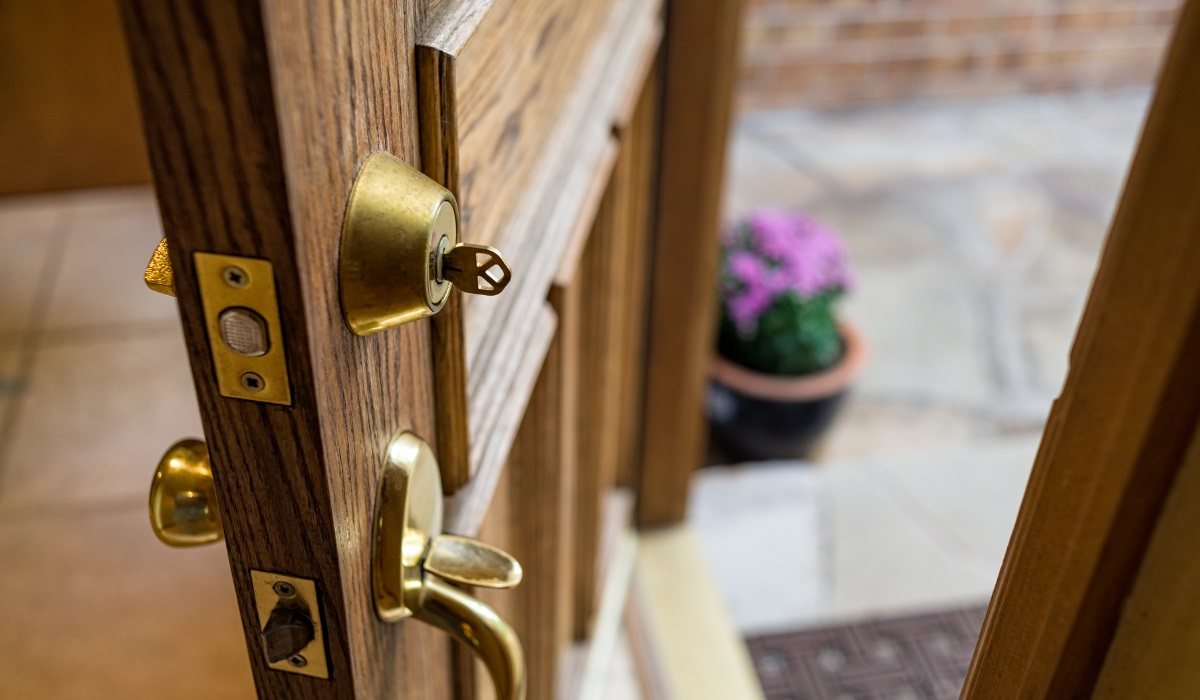
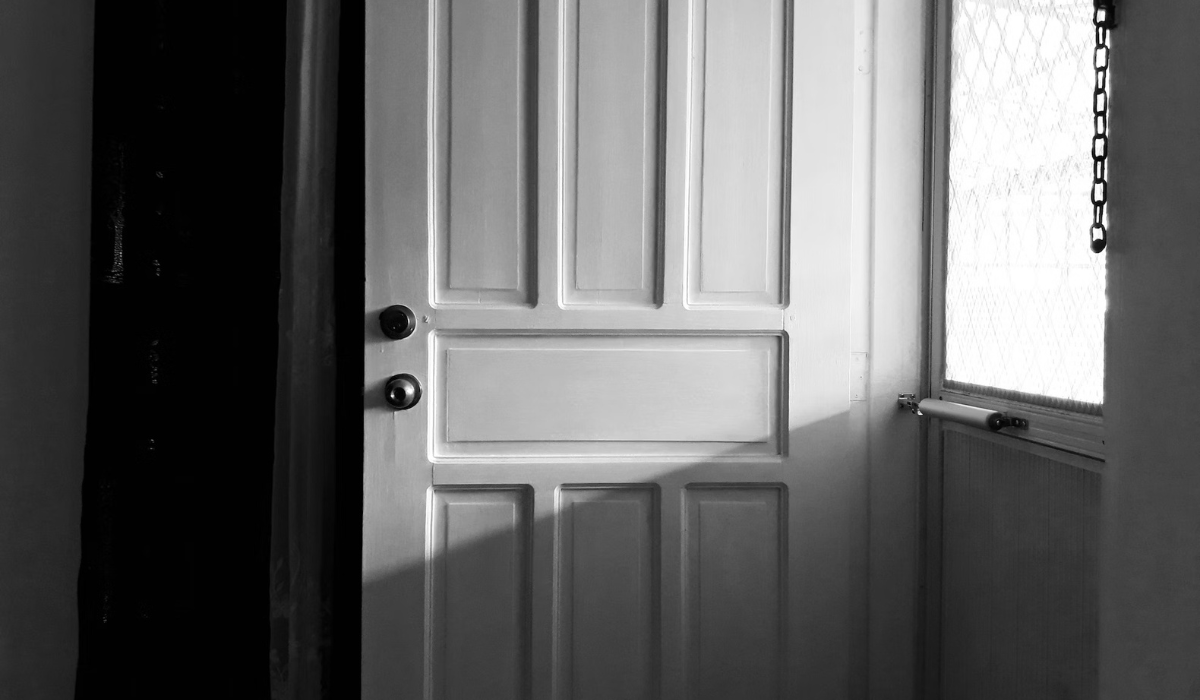
One of the main causes of draughts in the home is a poorly insulated front door. Gaps in the door, the letterbox hole, and key holes will let unwanted cold air in. Eliminating draughts from external doors is easier than you might think.
In this article we'll look at some common methods of draught proofing your front door and other external doors, to stop draughts and help make your home more comfortable and energy efficient during the winter months.
Finding Front Door Draughts
First, you need to find exactly where a draught is coming from. With your external doors look for any obvious gaps: around the door, between the door and the inner door frame, and between the outer frame and surrounding brickwork.
Don't forget to check the bottom of the door too, where it meets the lower sill. And bear in mind that a gap won’t necessarily be visually apparent.
A gas fire lighter can help find draughts. Simply take the lit fire lighter and slowly move it around the frame and over your door. If the flame flickers there's a good chance you will have found the source of a draught.

Remember to check the outside of the door, the external door frame, for gaps between the frame and masonry. If you find gaps or cracks outside, they'll need to be filled with silicone sealant — more on that later.
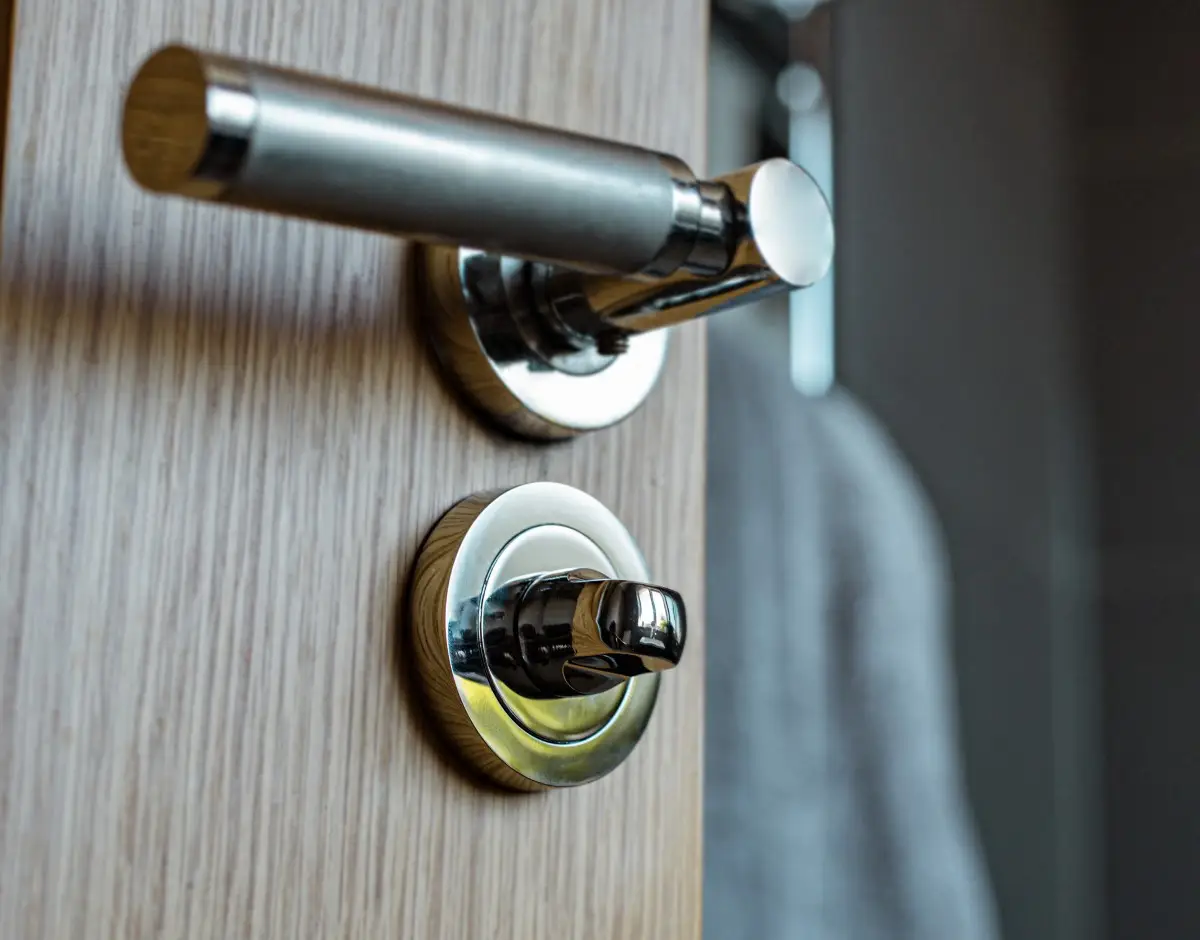
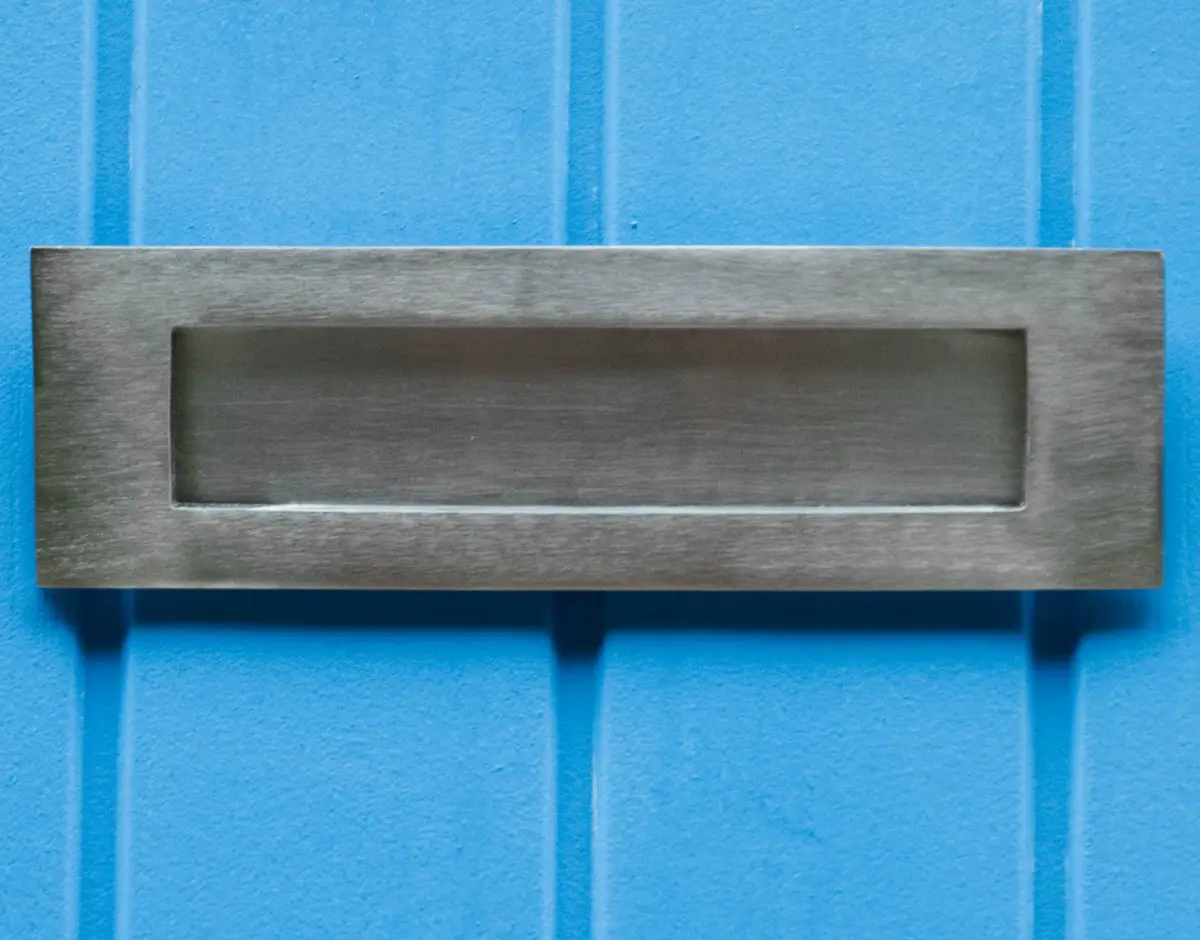
Don't forget to check keyholes and letterboxes for cold air flow. How to draught proof them is covered in a separate, dedicated guide here. And if windows are the culprit for your draught problem, then get Your DIY Guide to Draught Proofing Windows to find DIY remedies to the problem.

Front Door Draught Proofing Methods
Whatever's causing your front door or other external door draught will determine the remedy. Let's look at ways to fix door draughts, preventing cold air infiltration and heat loss, to improve home comfort, save energy and money on your energy bills.
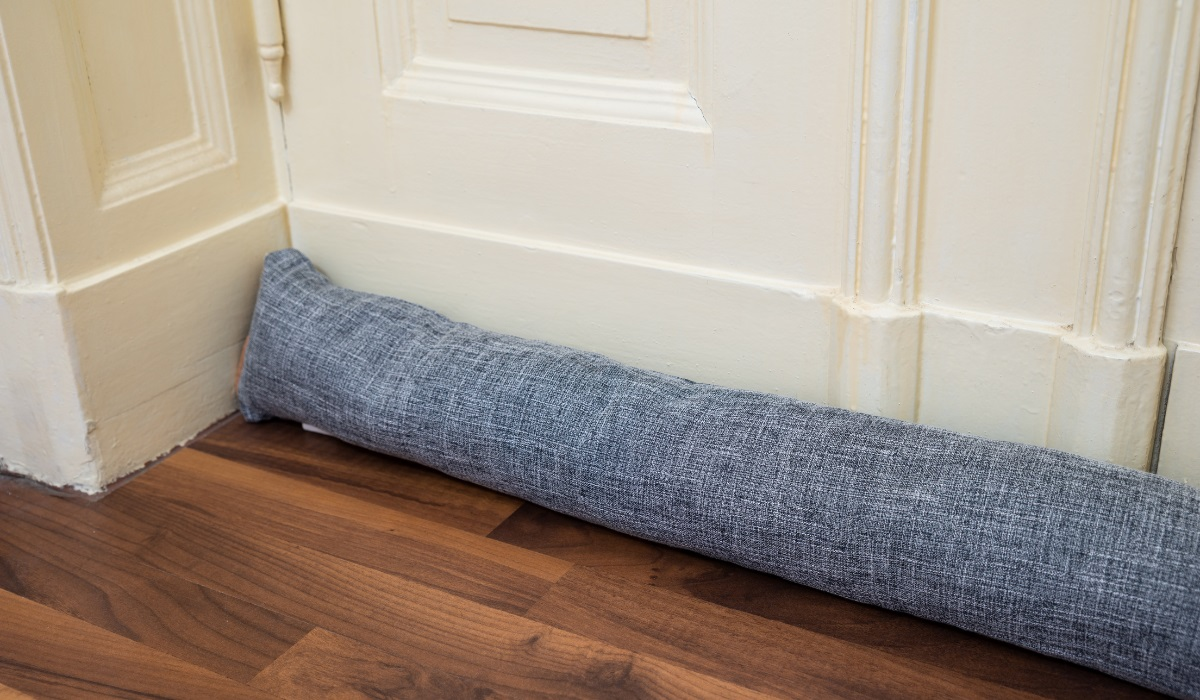
Cushion Draught Excluders
Perhaps the obvious and easiest way to manage draughts coming under external doors is with a long, soft cushion or soft pillow draught excluder. Most soft cushion excluders are relatively cheap and can be very effective.
They are simply made from a long fabric casing filled with hollow fibre stuffing or other soft material. These types of cushion draught excluders are often weighted to help them stay firmly in place at the bottom of the door. With other stuffing materials such a sand, rice or dried pulses, or even unused cat litter, no weighing down is needed.
To really save money, and especially if you enjoy handicrafts, why not make your own front door draught excluder? Find out how here.
Brush Strips
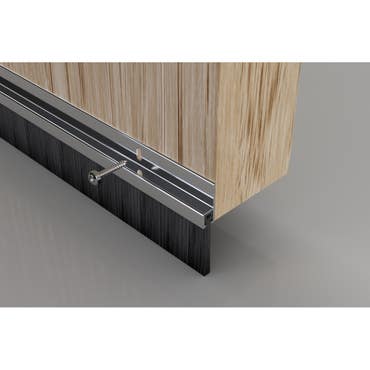
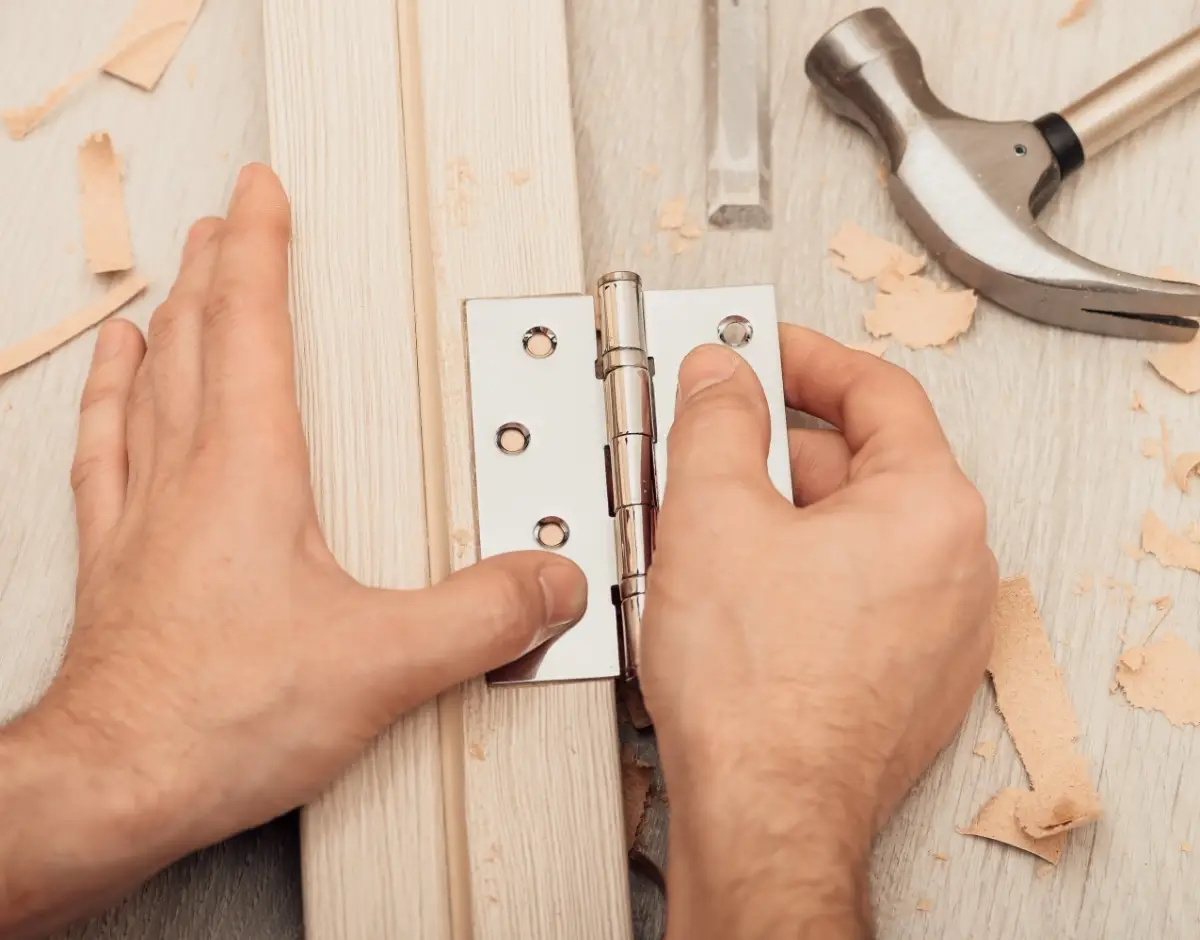
For a more permanent solution to draughts from underneath external doors, try installing a brush strip draught excluder on the bottom edge.
Brush draught excluders are a length of UPVC or metal that screws to the bottom of a door, with a tight, thin brush running along it between the door base and the floor. The bristles allow the door to open and close while creating a brush seal blocking air coming through the gap.
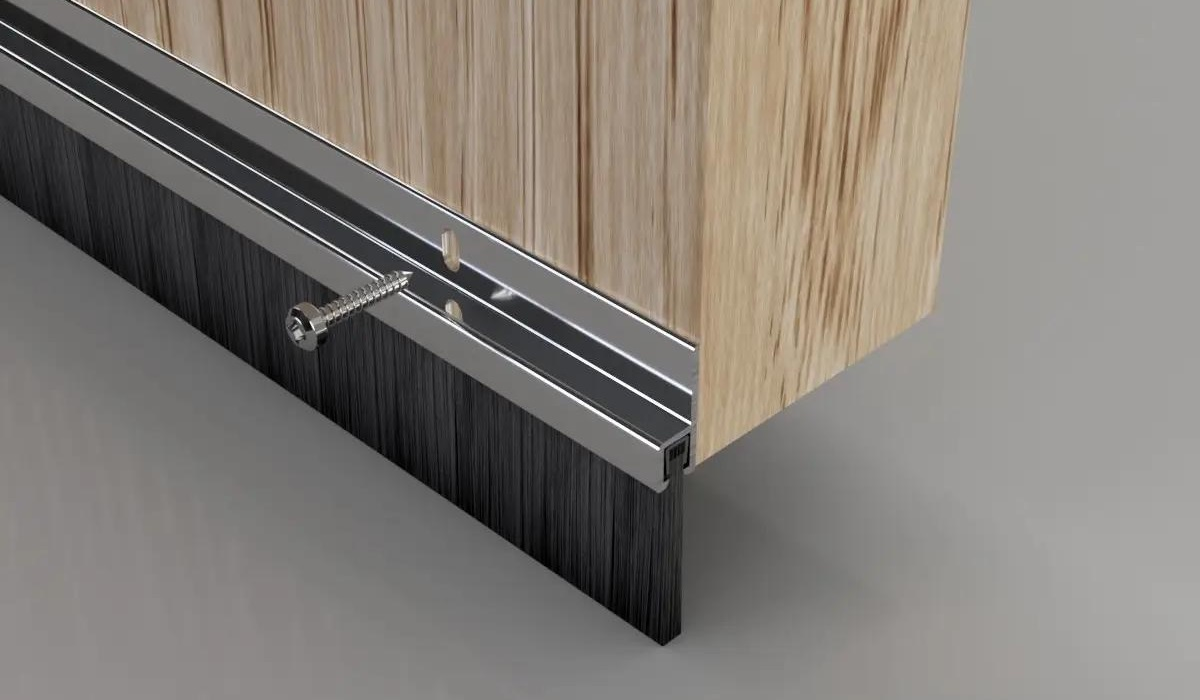
Installing a pre-drilled brush strip is a fairly straightforward DIY job. Let's run through how it's done.
Tools and materials:
-
Measuring tape
-
Hacksaw
-
Pliers
-
Marker pen
-
Screwdriver
-
Screws
-
Sandpaper
Step 1: Measure up
Start by measuring the width of the door. With a marker pen, mark the width on the brush strip.
Step 2: Cut to size
Slide the bristles out of the strip, and using the hacksaw cut to the measured length. Then take the cut strip and line up with the bristles, marking the strip length. Next take your pliers and cut the bristles at the mark.
Bend the bristle length slightly in the middle and insert them back into the strip — this helps keep the bristles firmly in place within the draught strip.
Step 3: Preparation
Inspect the cut edges of the draught strip. If they are rough or uneven, smooth them out using sandpaper. This will ensure a better seal.
Step 4: Position
Place the cut draught strip along the bottom of your front door, ensuring it is centred and the bristles are snug against the floor.
Step 5: Attach
Screw the draught strip to the door. Make sure the screws are tight, but be careful not to overtighten them, as this might cause the strip to warp or crack.
Step 6: Test
Now your draught strip is fitted, close the front door to check the seal along the bottom. Look for any gaps or areas where the draught strip may not be making proper contact with the floor. If needed, loosen the screws, adjust the strip and re-tighten.
Self Adhesive Strips
Self adhesive foam draught strips are perhaps the most common DIY solution to draught proofing front doors. They help create a tight seal at the closing edges of your door where it meets the frame.
Note that if your strip is too thin it won't stop the draught. If it's too thick, the door won't close properly.

You’ll need some basic tools and materials to get the job done:
-
Measuring tape
-
Scissors or utility knife
-
Clean cloth
-
Soapy water or white spirits
-
Pencil or marker pen
Step 1: Clean the door frame
Use a clean cloth dampened with soapy water or white spirits to clean the frame. Remove all dirt, dust and grease, and dry properly, to ensure a proper adhesive bond.
Step 2: Measure up
Measure the width and height of the frame where you plan to install the foam strips. Make sure to measure the top, bottom and sides separately, as they may vary slightly.
Step 3: Cut the strips
Based on your measurements from Step 2, use scissors or a utility knife to cut the adhesive strips to the right length. Make sure to cut them slightly longer than the measured dimensions to ensure a snug fit.
Step 4: Apply the strips
Peel the backing paper off one side of the foam strip to expose the adhesive. Start at the top corner of the door frame and press the strip firmly against the frame, aligning it with the edge and facing the door. Be careful not to stretch the strip as this may reduce its draught proofing efficiency.
Continue pressing and adhering the strip along the entire frame, making sure it's straight. Trim any excess at the end.
Step 5: Repeat
Ensure that each strip meets at the corners around the door frame to create a complete seal with the door. Press down firmly to make sure the strips are secure. Note that self adhesive foam strips can be used to draught proof loft hatches.
Step 6: Test
Once you've applied the strips, close the window and check for any gaps or draughts. If you find areas where the seal isn't tight, replace the strip that has come loose.
Self Adhesive Strip Draught Excluder Installation Video
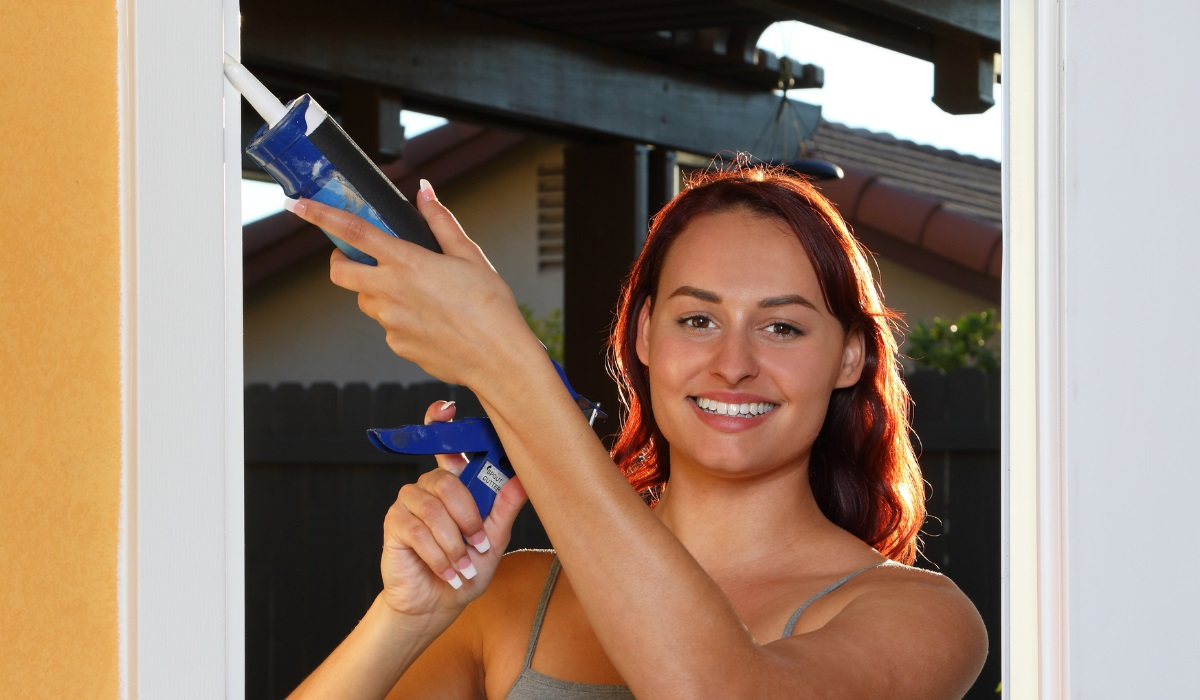
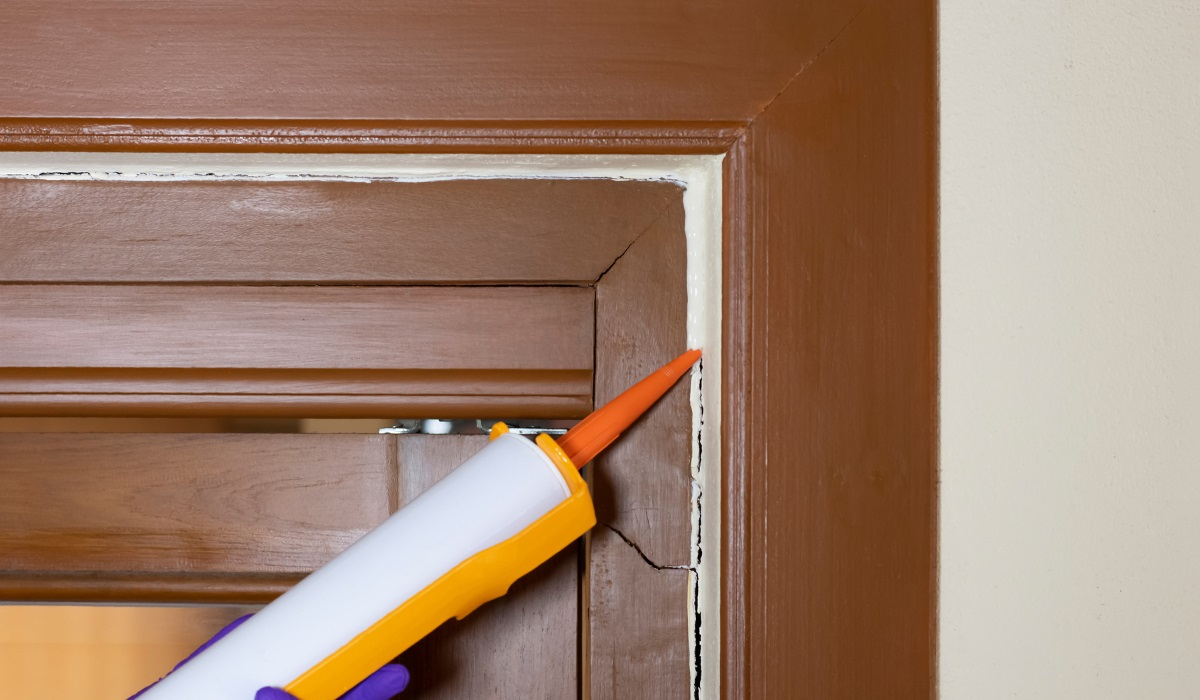
Silicone Sealant
If you have draughts coming through gaps between the door frame and surrounding brickwork, sealant can be the perfect solution. You can use sealant to fill gaps on the indoors frame and on the frame outside.
To draught proof using sealant, gather a few simple tools and materials:
-
Utility knife
-
Scraper or putty knife
-
Masking tape
-
Warm soapy water or white spirits
-
A clean damp cloth or sponge
Step 1: Prepare the area
Clean the door frame and surrounding area thoroughly to remove dirt, dust, and grease. Use a cloth or sponge with soapy water or white spirits to do this.
Allow the cleaned area to dry completely before proceeding.
Step 2: Apply masking tape
To help create neat, straight lines, and to prevent excess sealant from spreading onto paintwork, apply masking tape to both sides of the gap you intend to seal. This will also act as a guide when applying the sealant.
Step 3: Load the sealant gun
Insert the sealant cartridge into the gun (also known as a caulking gun). Cut the nozzle of the cartridge at a 45-degree angle, making sure the nozzle opening is large enough for sealant to flow, but not so wide that the sealant is unable to properly fill the gap.
Step 4: Apply the sealant
Hold the sealant gun at a 45-degree angle to the gap and squeeze the trigger gently and steadily, moving the gun along the length of the gap as you go, from top to bottom. This could be a small gap, or a gap that runs the full length of the door.
Apply a continuous bead of sealant, completely filling the gap and ensuring it’s filled along its entire length.
Step 5: Smooth
After applying the sealant, use a scraper or putty knife to smooth down the sealant bead — or if you don’t mind getting messy, use your finger — to completely seal the gap. Make sure that the sealant is smooth and even along its entire length and the gap is completely sealed.
Step 6: Remove the masking tape
Before the sealant dries, carefully remove the masking tape. This will leave clean lines along the sealed gap.
Step 7: Allow to dry
Give the sealant plenty of time to dry, according to the manufacturer's instructions. This typically takes 24 hours or more, depending on the type and brand of sealant you use.
Once the sealant is fully dry, check to ensure that the draughts have been effectively sealed.
Internal Doors
Remember, to help improve the thermal efficiency of your home, keep internal doors closed where possible. Also, cushion draught excluders and brush strips used for internal doors may help to warm rooms more quickly, making your home more energy efficient.

Final Thoughts
Whether you need a simple solution to eliminate draughts such as a cushion draught excluder, or you're more of a DIY dab hand with fitting brush strips, self adhesive strips or using sealant, ensuring external doors are draught free will help make your home more comfortable and energy efficient.
Discover more about how to fix draughts in this article: How to Draught Proof your Home.
For more DIY inspiration, visit Hiatt Hardware and browse a broad range of how-to guides, related articles and insights.