


How to hang a gate on brick wall
When you want to add extra security to your home and garden, a well-installed garden gate offers the kind of deterrent needed to keep burglars and intruders away.
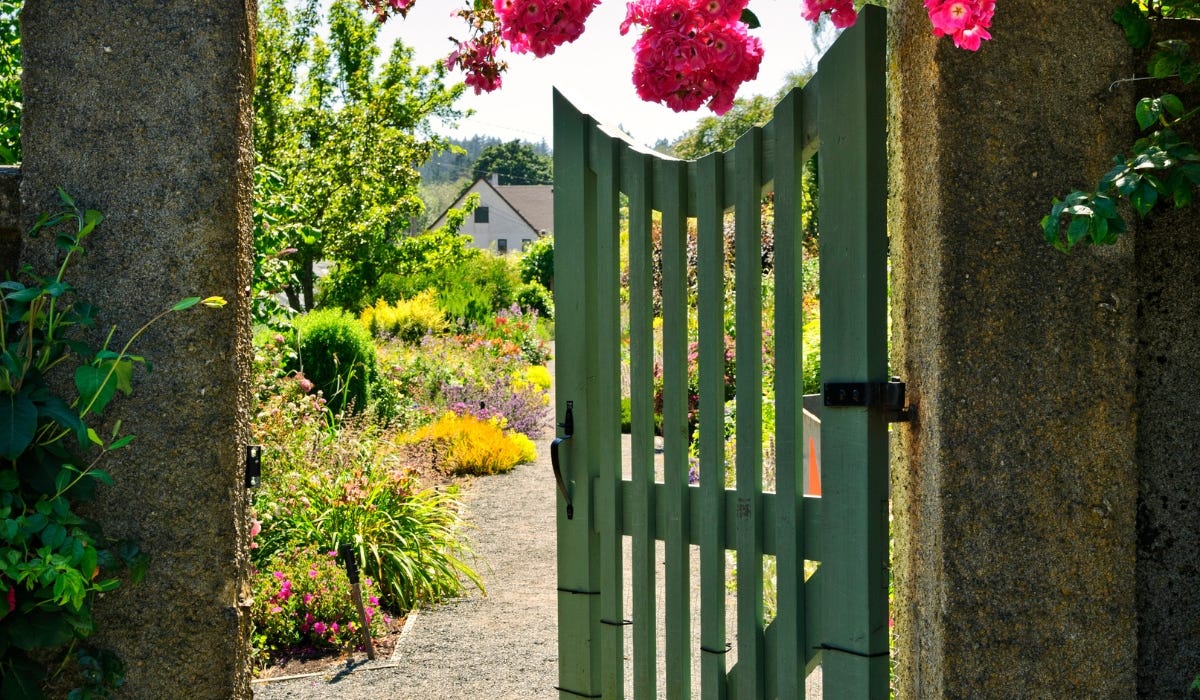
Most often, you'll find wooden or metal garden gates used for this purpose, typically fitted to a wooden fence. However, what happens when you need to fit a garden gate to a brick wall? How is it done? That's what we seek to answer here.
How do you secure fence hinges to a wall?
What we look at in some detail here is how to secure gate or fence hinges (Typically T-hinges) to a brick wall. Sometimes your fence gate will be down the side of your property, meaning you have no other option.
The same applies if you have a brick wall around your property, rather than a wooden fence. So, we'll start our blog by looking at the kind of tools you're going to need to get the job done. So, let's dive into our DIY guide!
A Hammer Drill, Masonry Wall Anchors & More

Ok, so when you're looking to add a garden gate to existing brickwork, you're going to need certain things to get the job done. They include the following tools:
-
Hammer drill & masonry bit (1/4 inch)
-
Hammer drill equipped with a screwdriver attachment or manual screwdriver
-
Spirit level
-
Tape measure
-
Pencil or felt tip marker
-
Socket set (in case of any hex headed screws)
You'll also need the right products to install, which will usually include the following:
-
Your new gate
-
2 x wooden gate posts
-
Masonry wall anchors (2 or 4 depending on gate size)
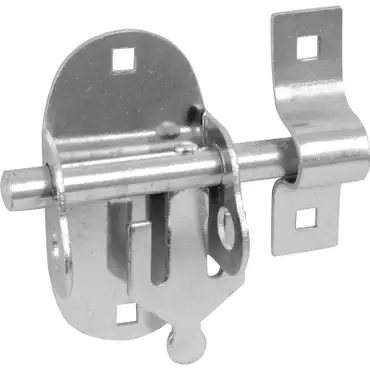
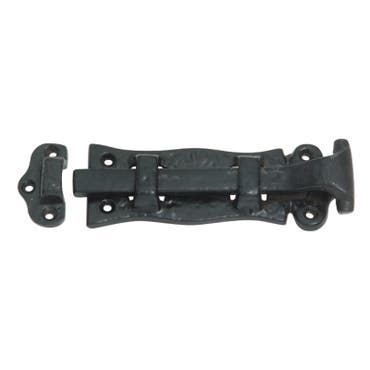
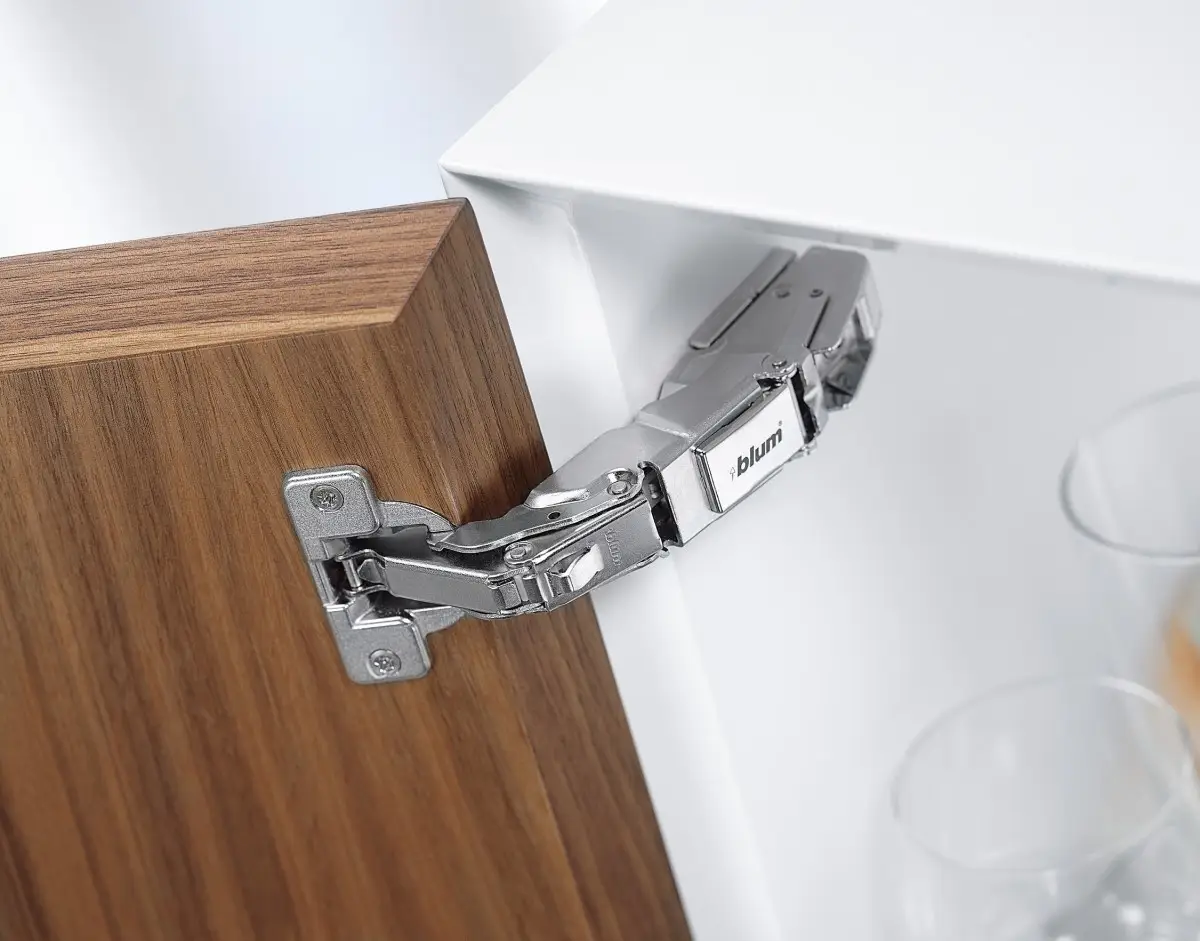
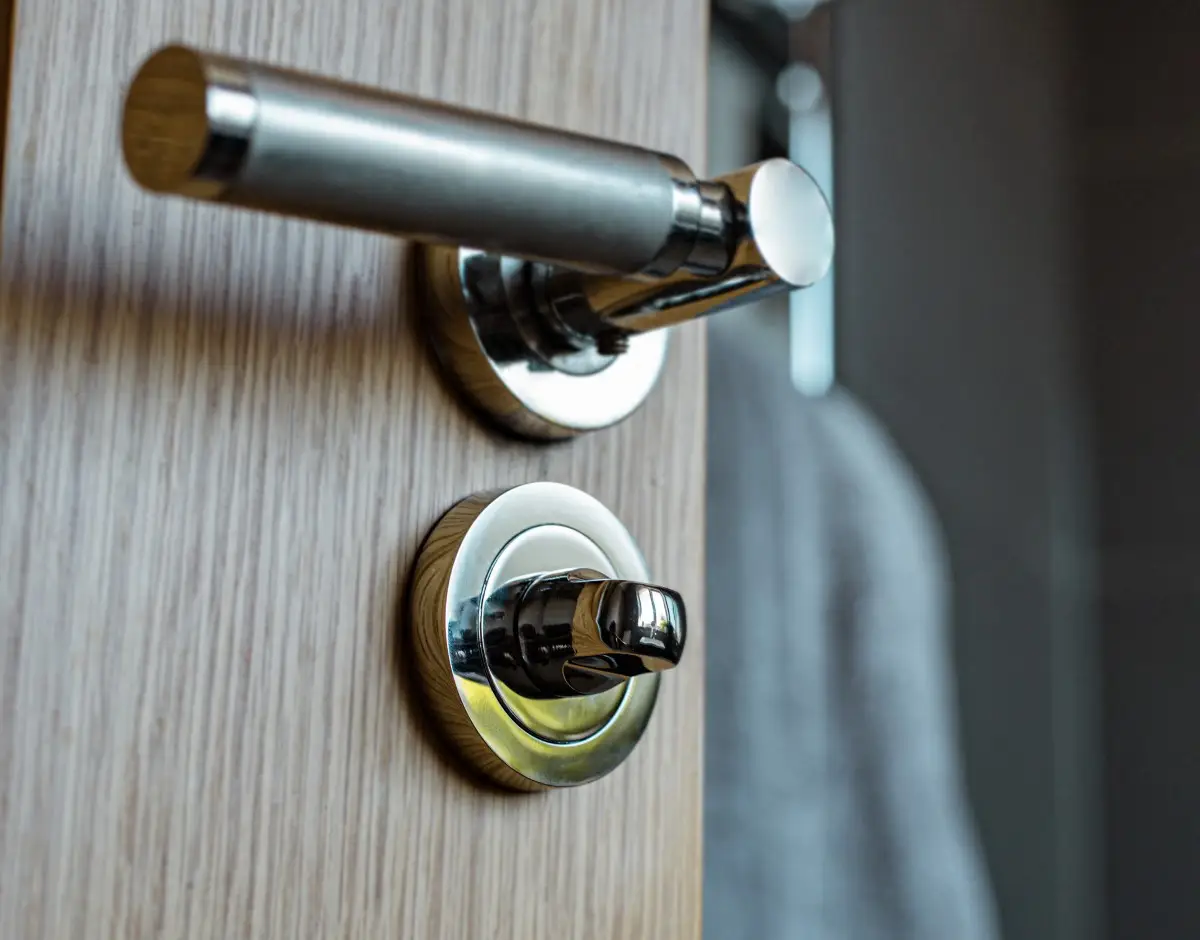
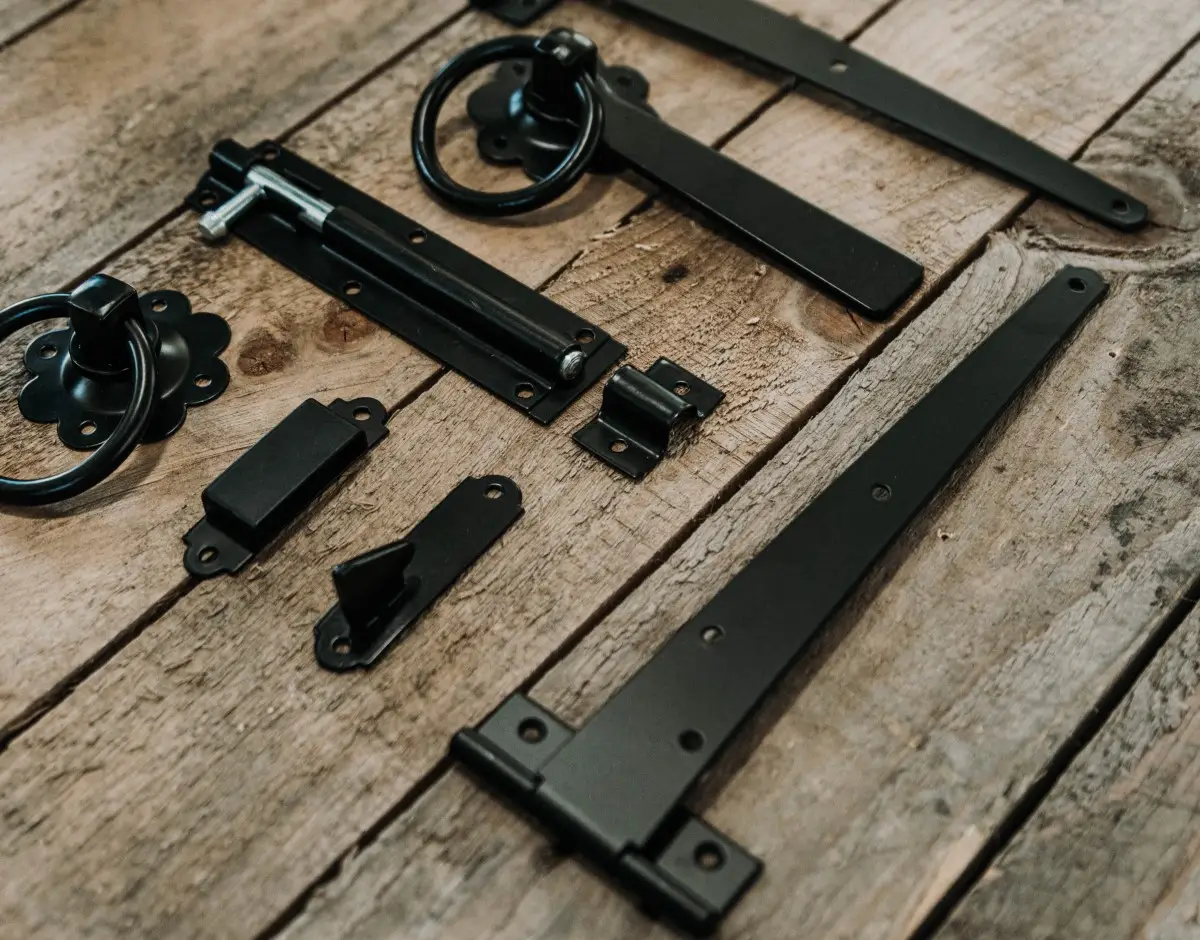
You get quite a bit of choice in terms of gate hardware, as the gate bolts, latches, spring closers, and gate hinges come in an array of metal finishes, such as galvanised steel, black powdered-coated steel, or even zinc plated.
Get some help if you can find some!
It's a good idea to get a friend or family member to help provide a secure hold on everything. When you get a helper hold things when required - something that will be particularly useful when measuring the drill holes for your wall anchor bolts and gate hinges.
Also, if you don't own a masonry drill - don't fret. Just try your local home equipment rental facility, such as HSS Hire or Jewson. They're available for a reasonable cost.
Fixing Your Gate Posts to Your Brick Wall
The good news is that you don't have to be an experienced structural engineer to fit your gate posts - you just need a little know-how, which we aim to give you here.
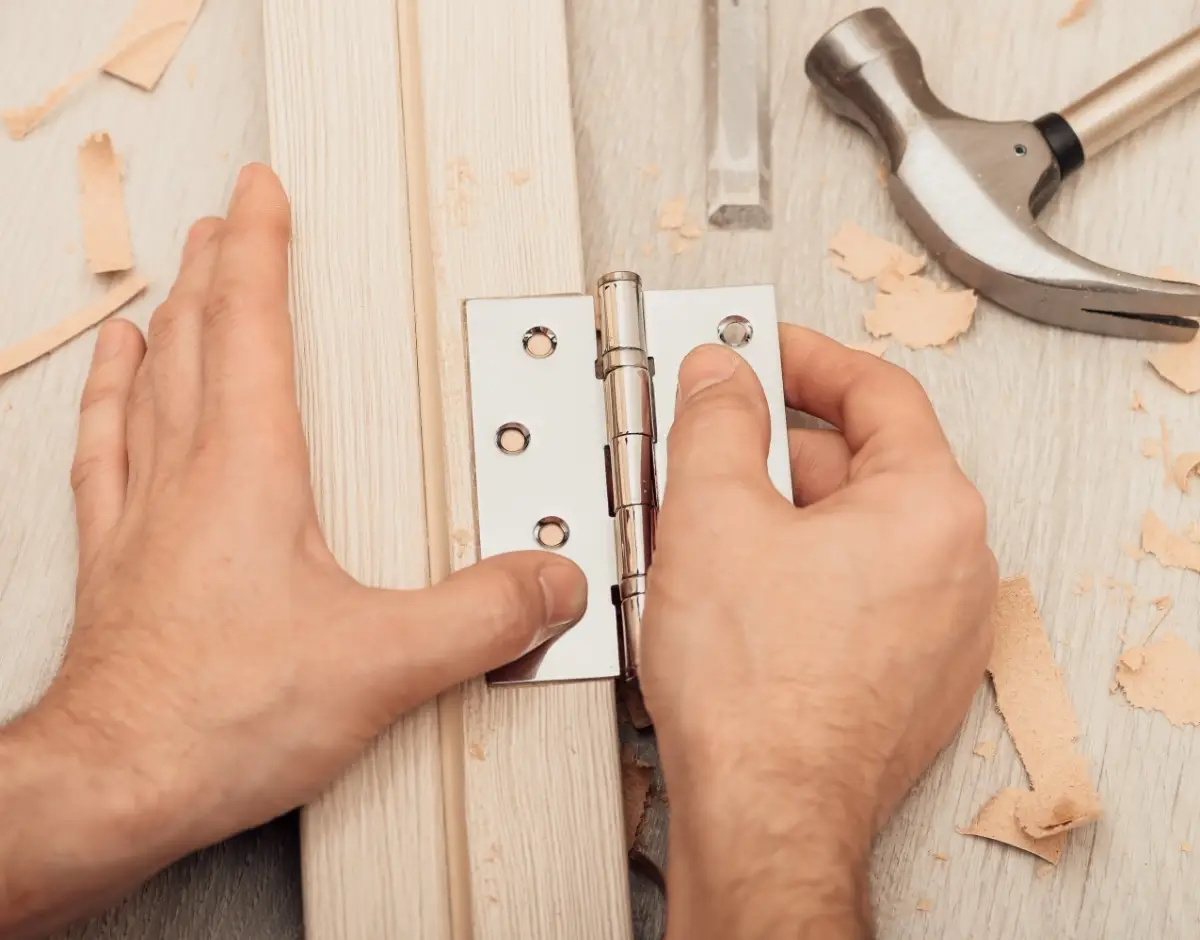
First, you'll need to install a wooden gate post that's typically made from softwood, meaning that your fixings should be of a suitable kind. That said, metal posts and other woods are available on the market.
Heavy gates sometimes require stronger solutions
The other option, of course, is to set the gate posts into concrete into the ground, however, it can be much more complicated, as you need to take into account issues like tree roots.
Stronger foundations are required in these instances to support the additional weight of heavier gates. However, in this article, we're just going to focus on attaching gate posts to brickwork.
Step #1 - Measuring/marking Your Drill Holes

So, the first part of the job is to place the gate and gate posts into the desired position. Also, if you're intending to apply paint or staining to your wooden gates, be sure to cover your posts fully, both on the side you'll see and the other side before installation, as it will be too late once fitted.
What you're aiming for is a 2-inch gap under the gate, so it can move smoothly from being closed to an open position and vice versa. Once in place, you should do a bubble level check to ensure proper vertical alignment once hung.
You also need to measure & mark where your fixings will go
When you're happy that you've in the right place, make your marker spots, so you know where your mounting holes are going to be.
This is where an extra pair of hands comes in really useful, as you'll need to hold your gate and the posts in the closed position, showing you exactly where the hinges and locking bolt need to be installed.
A pencil or felt tip marker should be enough to make enough of a mark on most types of walls. Just be sure to avoid drilling into any mortar joints when tackling the wall itself, as you won't get the same secure fitting.
Step #2 - Drilling Holes in Your Brick Wall

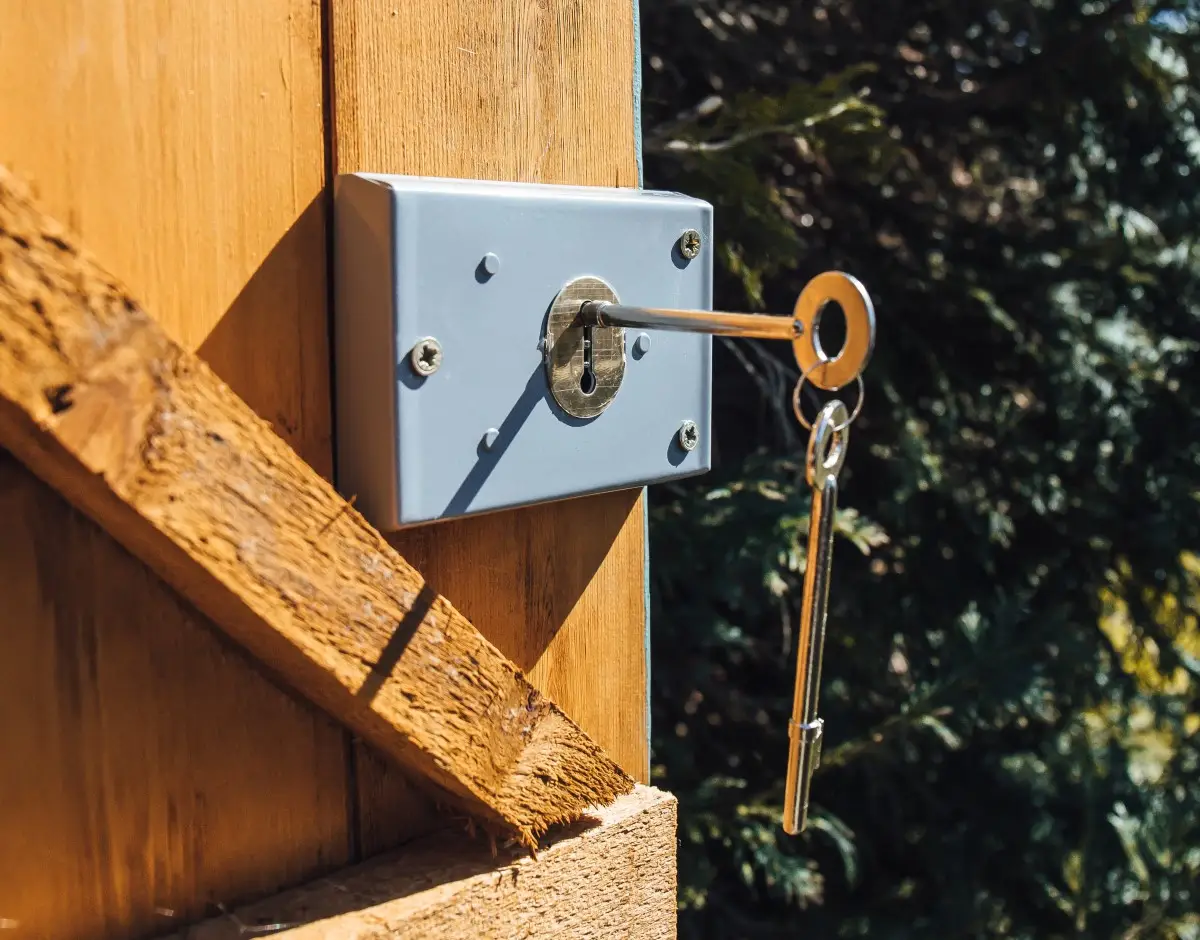
In order to secure your posts to the wall, you need to take your masonry drill bit and drill 2 holes in the wall for a small gate and 4 for a 6ft gate post. These are for installing anchor bolts, which provide rigidity to the whole structure.
Now take your wood drill bit and make your countersink holes in your posts. When drilling holes in your bricks with your masonry drill bit, you need to make each hole deep enough for each entire anchor to fit through the post and lock securely into place.
This obviously needs to happen on both sides of the gate - regardless of whether installing single or double gates - so as to have something to hang the gates on at each end.
Anchor bolts aren't simple screws
By using masonry wall anchors designed to bring the post more tightly against the bricks it's attached to, you'll get a super-secure fit that offers the security you're looking for.
These types of anchors dig into the bricks on the other side, grabbing them evermore securely as you tighten them. All you need to do is screw each of your anchor bolts into place. Now, you have your posts where they need to be.
Step #3 - Hanging Your Garden Gate
We're getting closer now, as it's time to actually hang the gate. In order to do so, you'll be measuring up where your gate hinges are going to be fitted. You'll also need to mark holes for your gate latch and gate bolt on the other side of the gate.
Remember that we're looking for a 2-inch gap at the bottom of the gate, so get your helper to hold the gate at the right height and make your pencil marker spots for your gate hinges.
Drill Out Holes & Screw In Tightly
The last job to complete is to fix and tighten all the mounting screws for your gate hinges, gate bolt, and gate latch and you should be finished.
Be sure to get out your bubble level again and make sure everything's on the level. If it's not, it should only take a little adjustment to rectify.
After you've reached this point, your house and garden should now be fully secure, with the addition of a good-quality padlock!
Offering All the Gate & Door Hardware You Need
While the job of hanging a garden gate on a brick wall might seem daunting, as we've seen here, all it requires is the right equipment and gate hardware.
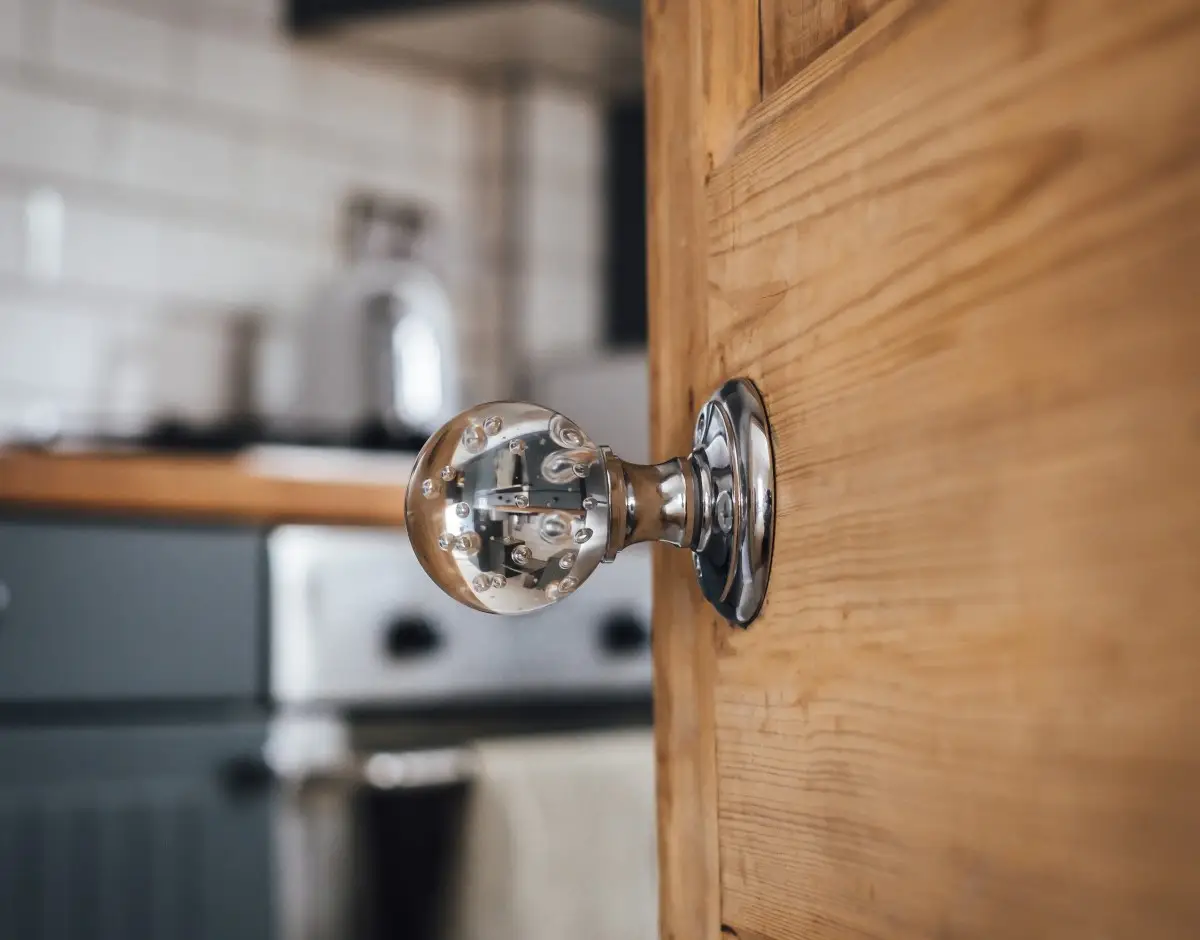
At the Hiatt online store, you'll find a dazzling array of premium quality gate hardware, as well as door handles, door locks, and more.
We hope that reading our article has made the job seem a little bit easier to handle and it gives you the confidence to go out there and get it done!
That's it from us for this time. Just be sure to check back with us again soon to avoid missing out on the hints tips and advice we offer to all our customers.
Until next time, happy DIY-ing!