Kitchen Summer-Colours Makeover: Painting Your Kitchen Cabinets for Spring & Summer
Article topics:
-
Why Paint Kitchen Cabinets Yourself?
-
Choosing the Right Summer Colours for Your Kitchen Cabinets
-
How to Paint Kitchen Cabinets
-
Kitchen Summer-Colours Inspiration
Introduction
As brighter, warmer weather approaches, it's the perfect time to think about giving your home a summery feel. Why not breathe new life into your kitchen with a summer colours makeover. A colourful kitchen not only brightens up the space but can also create a lively and inviting atmosphere.
In this article we'll look at some exciting colours and colour combinations for painting your kitchen cabinet doors, draw fronts and fixed cabinetry framework. And we’ll provide a guide for advice and tips to help you paint your cabinets like a pro.

Why Paint Kitchen Cabinets Yourself?
Painting cabinets, cupboards and drawer fronts, really affects the vibe of your kitchen. Fresh colours can impact the mood of those in your kitchen space, especially with lighter, breezier or bolder summer colours.
But a professional kitchen renovation can be expensive, so if you’re a keen DIYer with the time to spare, painting, or re-painting, with summer-colours yourself is certainly something to consider.
It's important to note that a large-scale paint job like this will be time consuming. It’s not going to be a relaxing weekend afternoon activity. But the rewards when it's finished will be satisfying, both financially and in the sense of achievement in a job well done.

Choosing the Right Summer Colours for Your Kitchen Cabinets
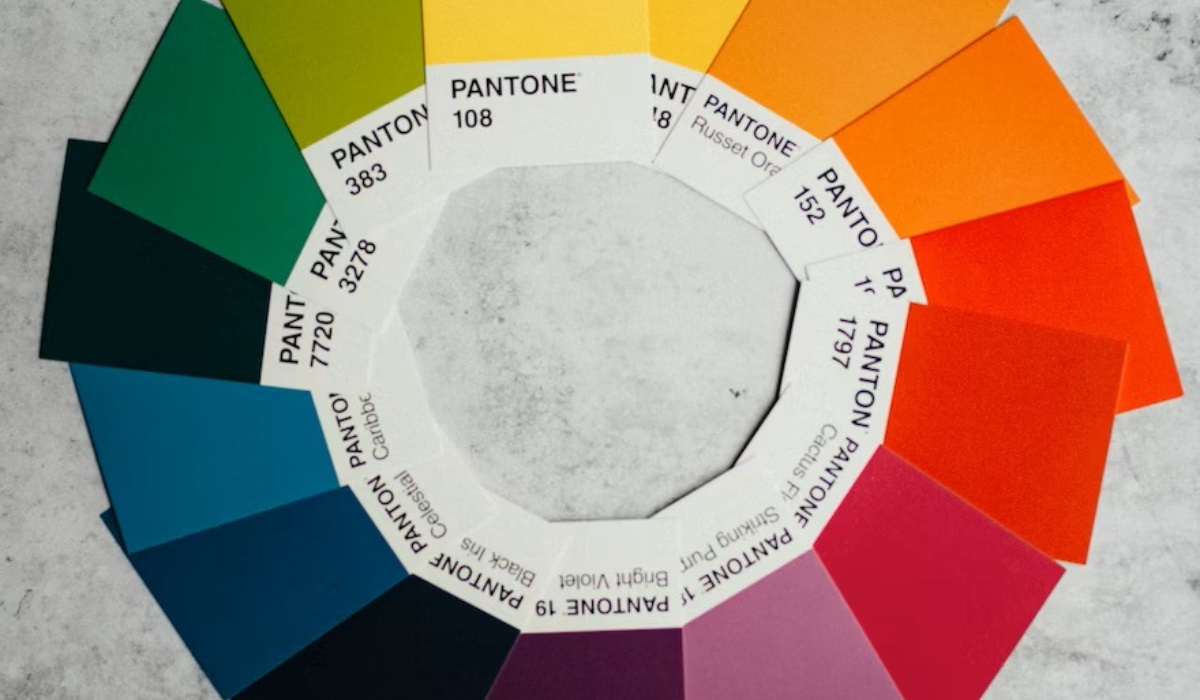
The best way to explore summer colours is by using the Pantone chart. This will help you find potential colours, shades and put together palettes with the corresponding Pantone number to easily identify them. Why not download a colour visualizer app to help you make your summer kitchen colour choice?
When choosing a new colour, or colours, for your kitchen you should bear a few things in mind. Look at existing colours in areas you will not be painting, such as cabinet knobs and handles, countertops, backsplash, appliances and flooring. Consider taking cues from them, being mindful not to clash with these colours and tones. Pick summer colours that will harmonise and compliment what you already have.
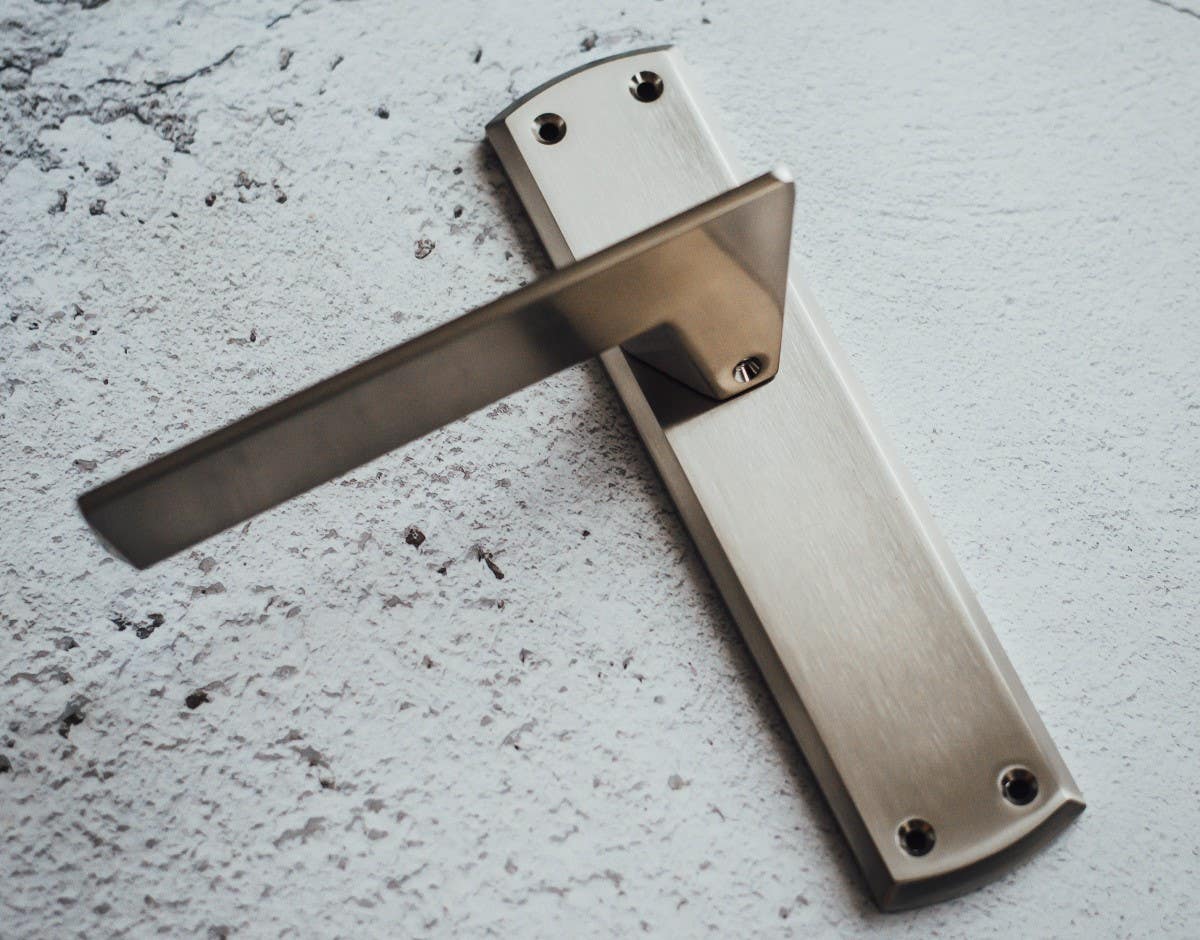
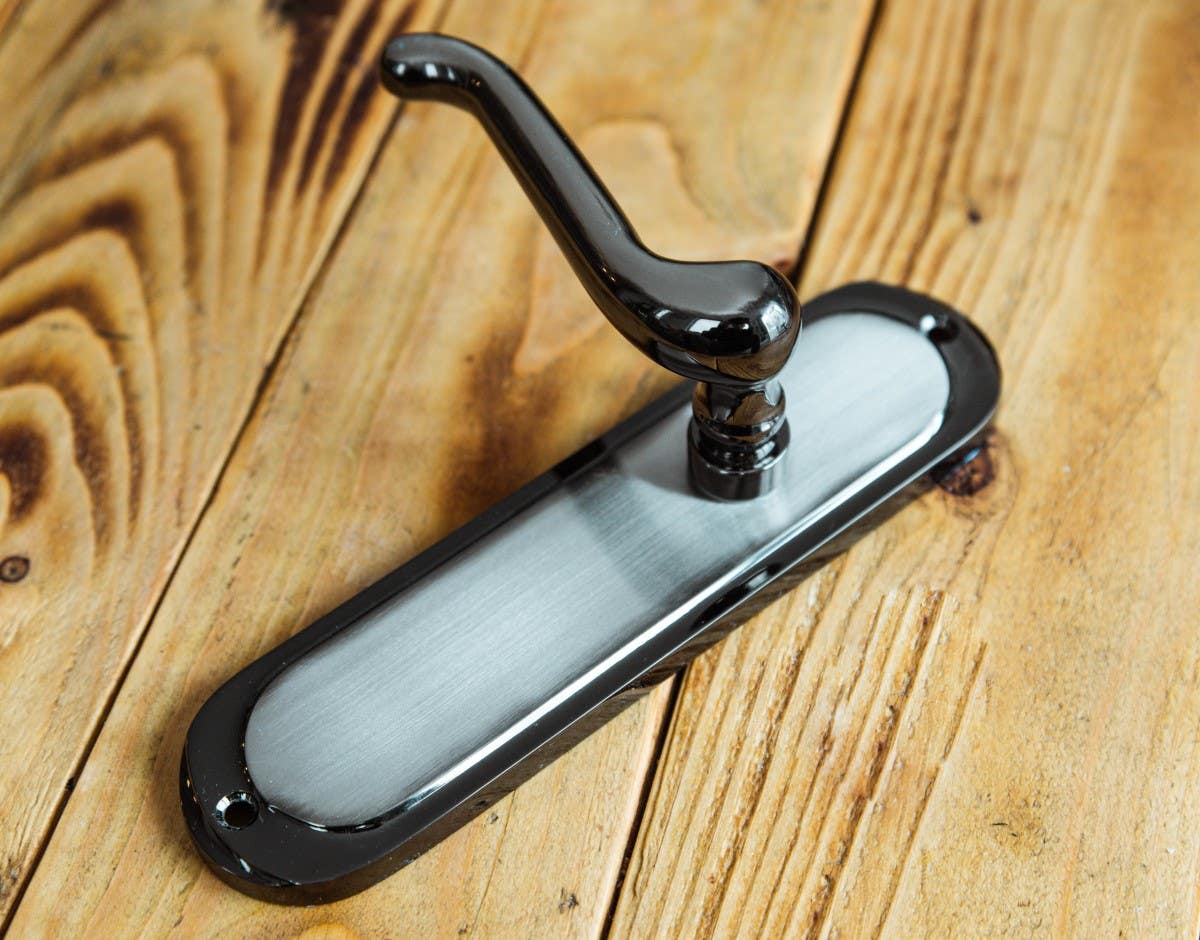
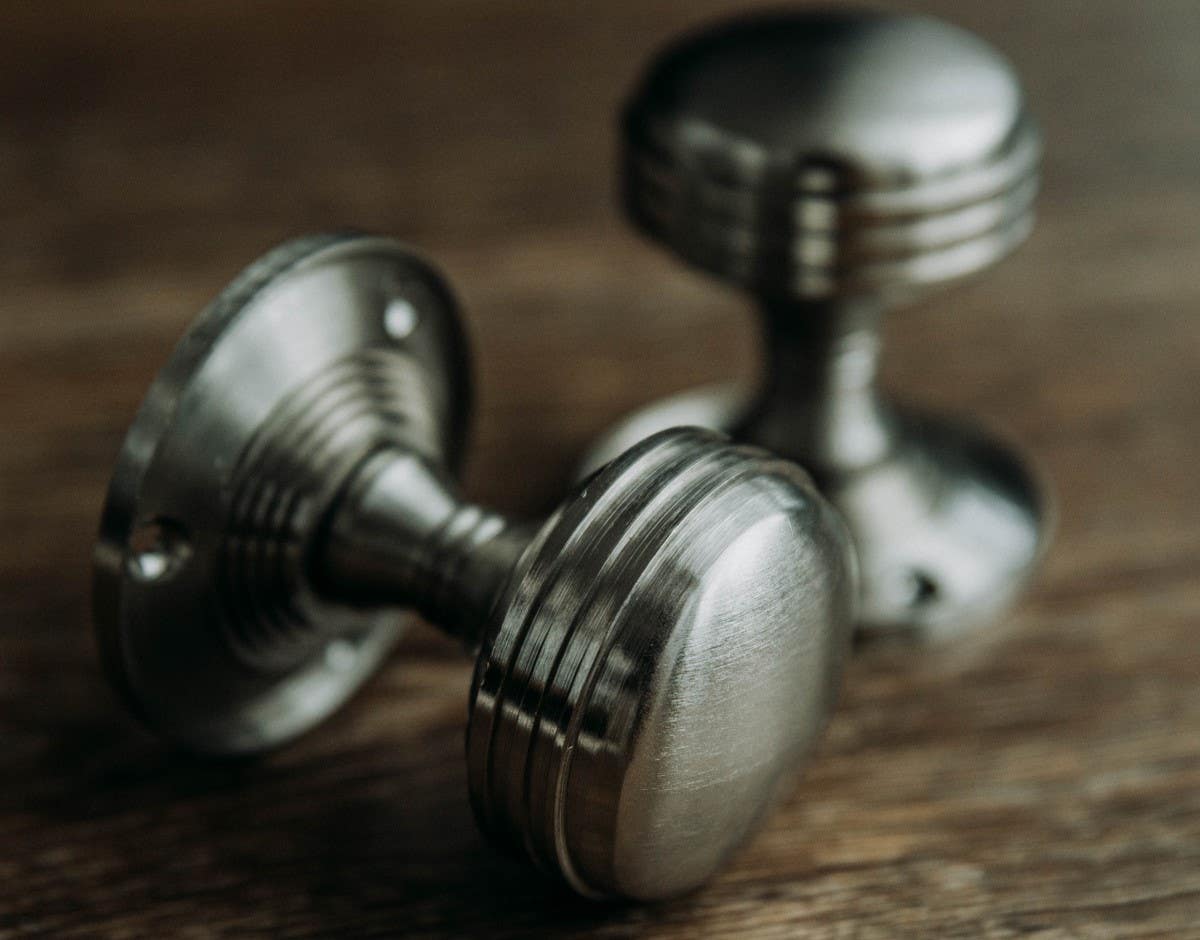
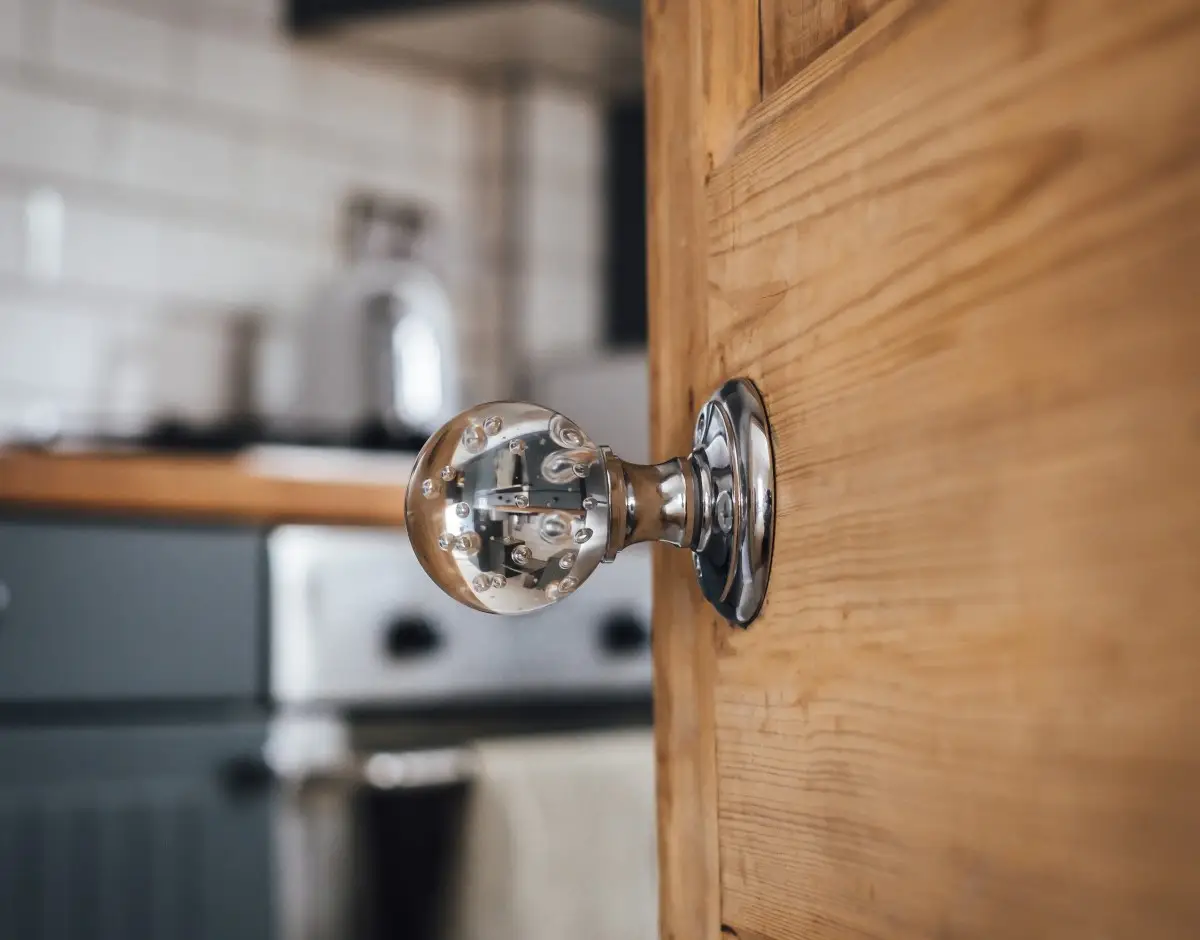
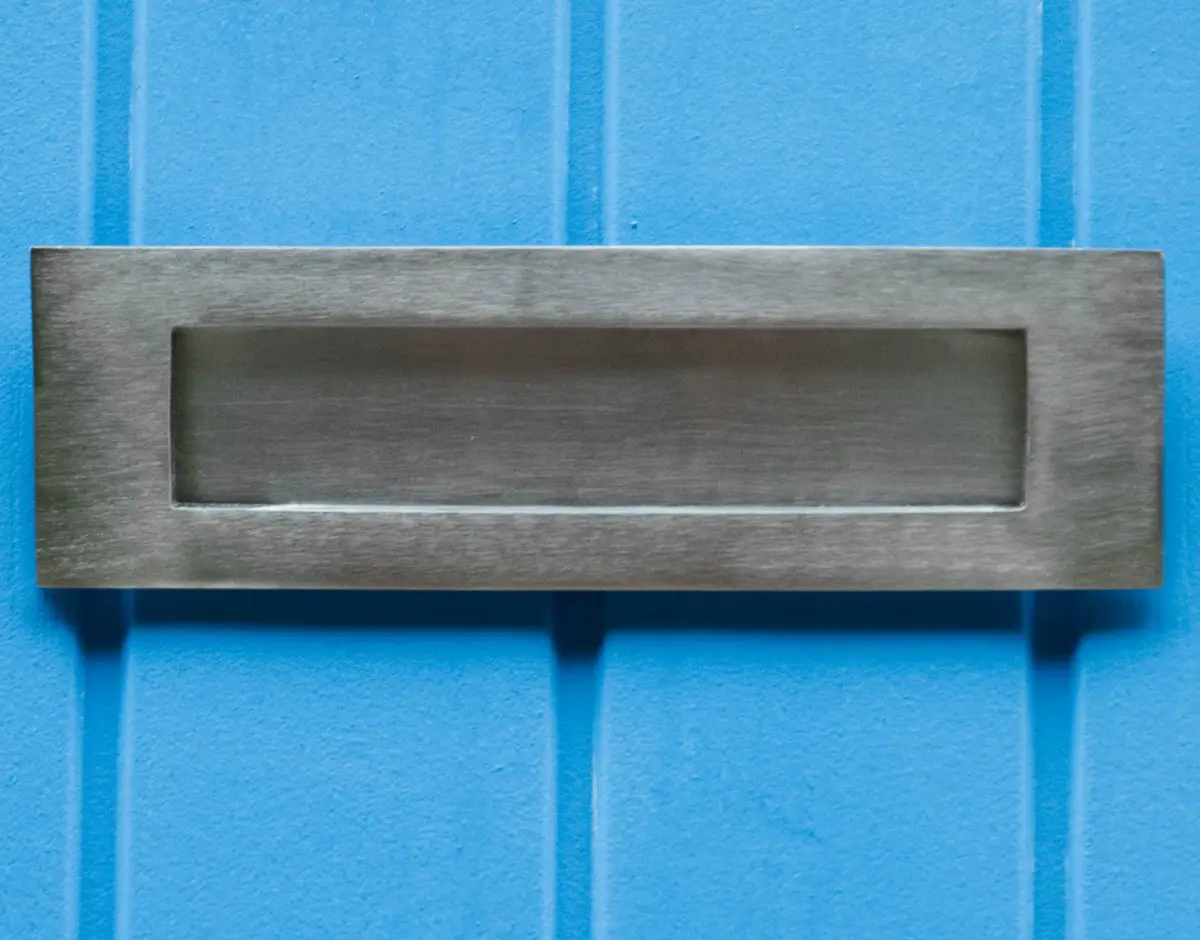
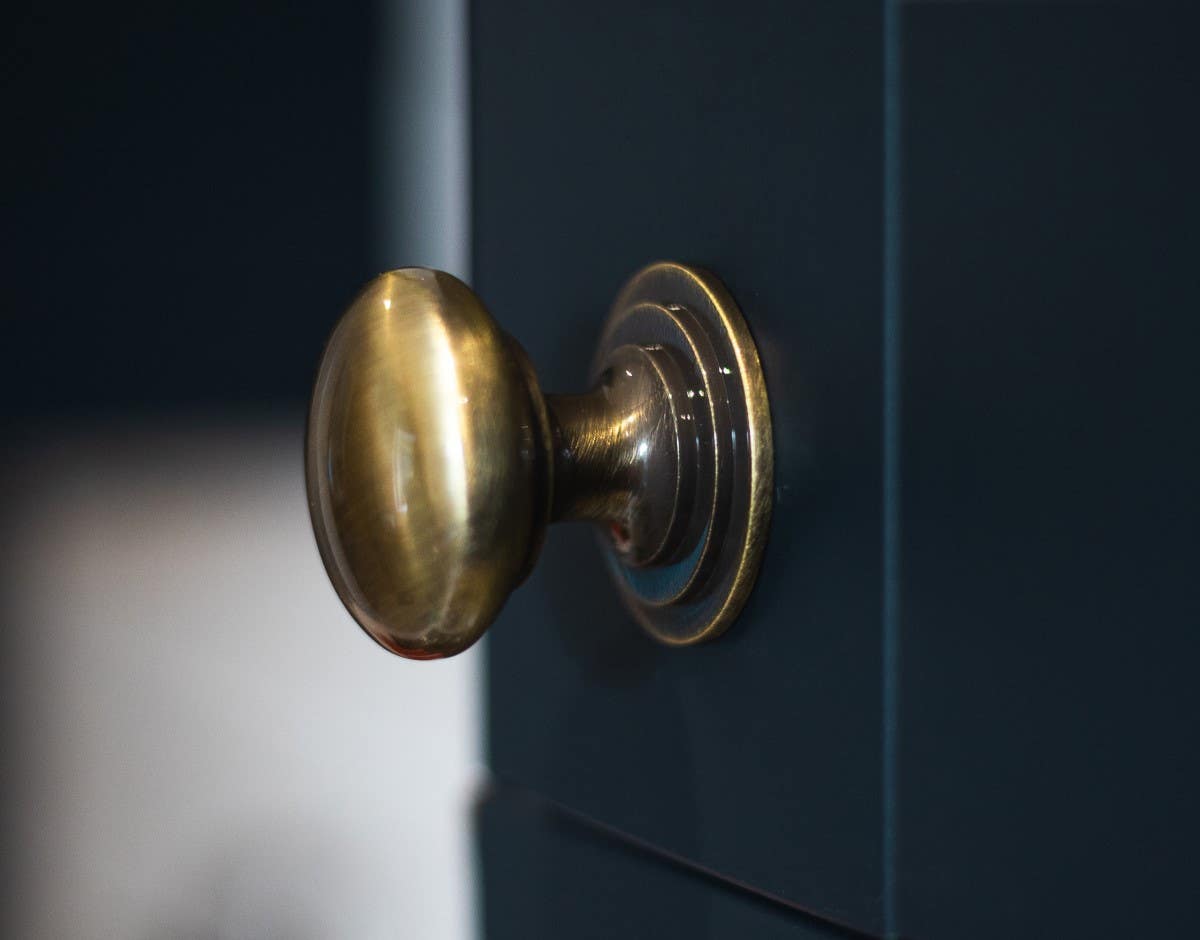
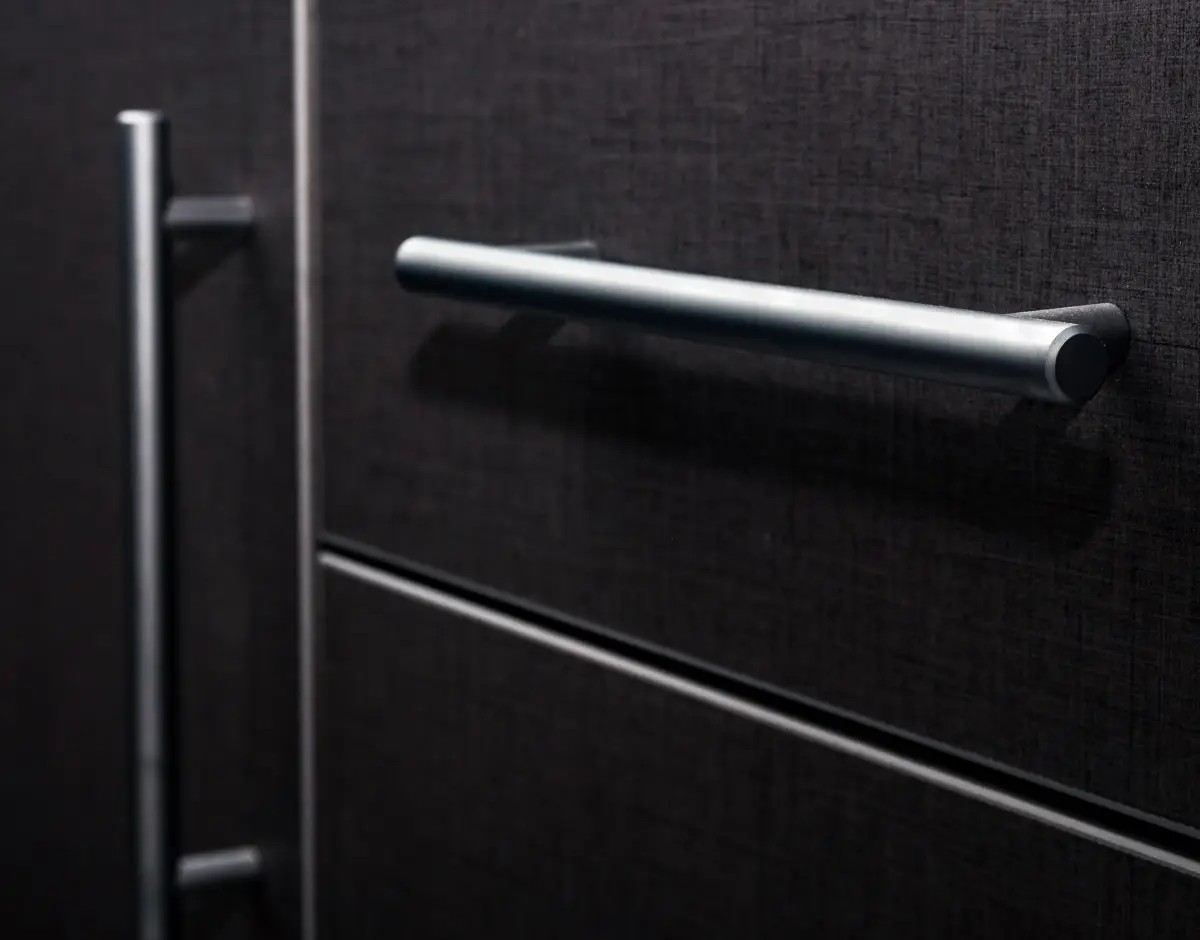
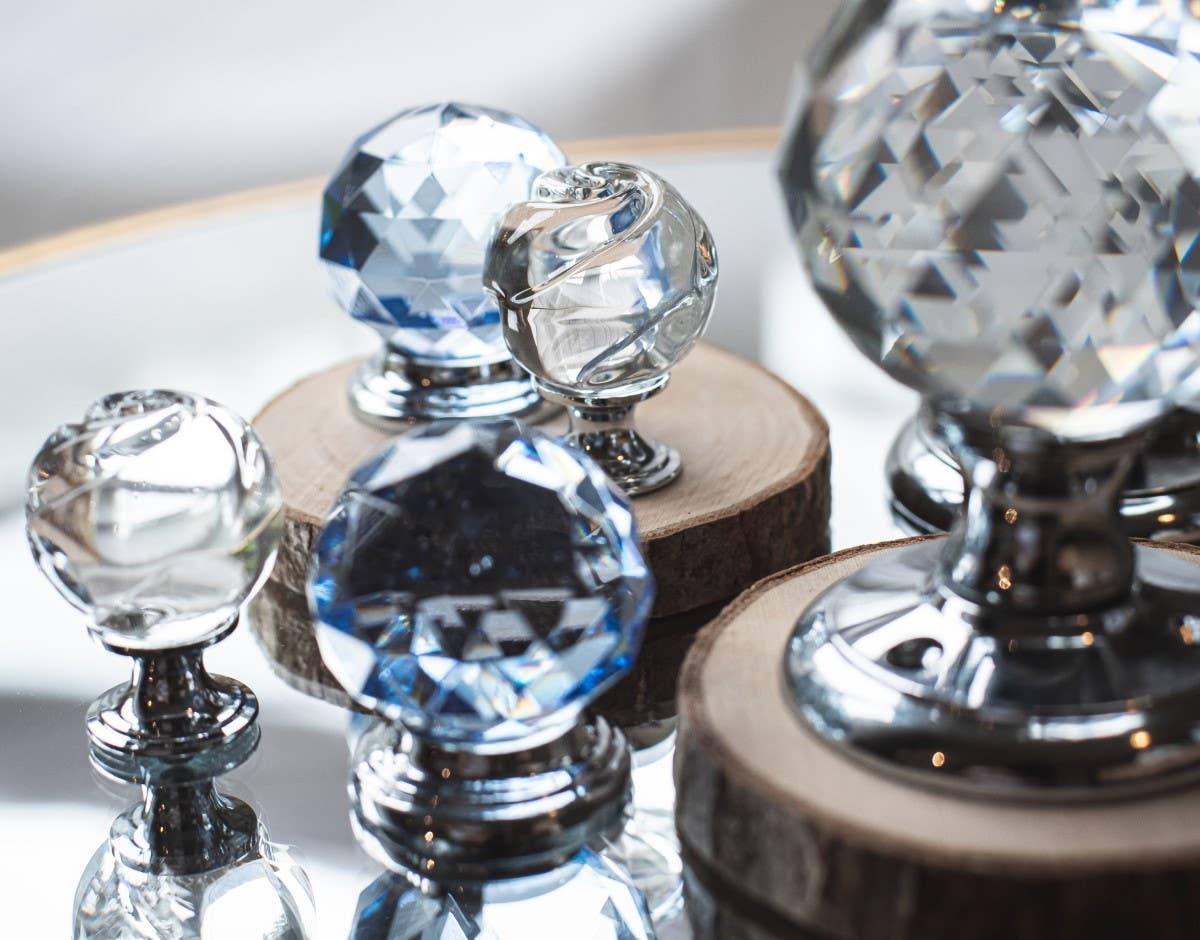
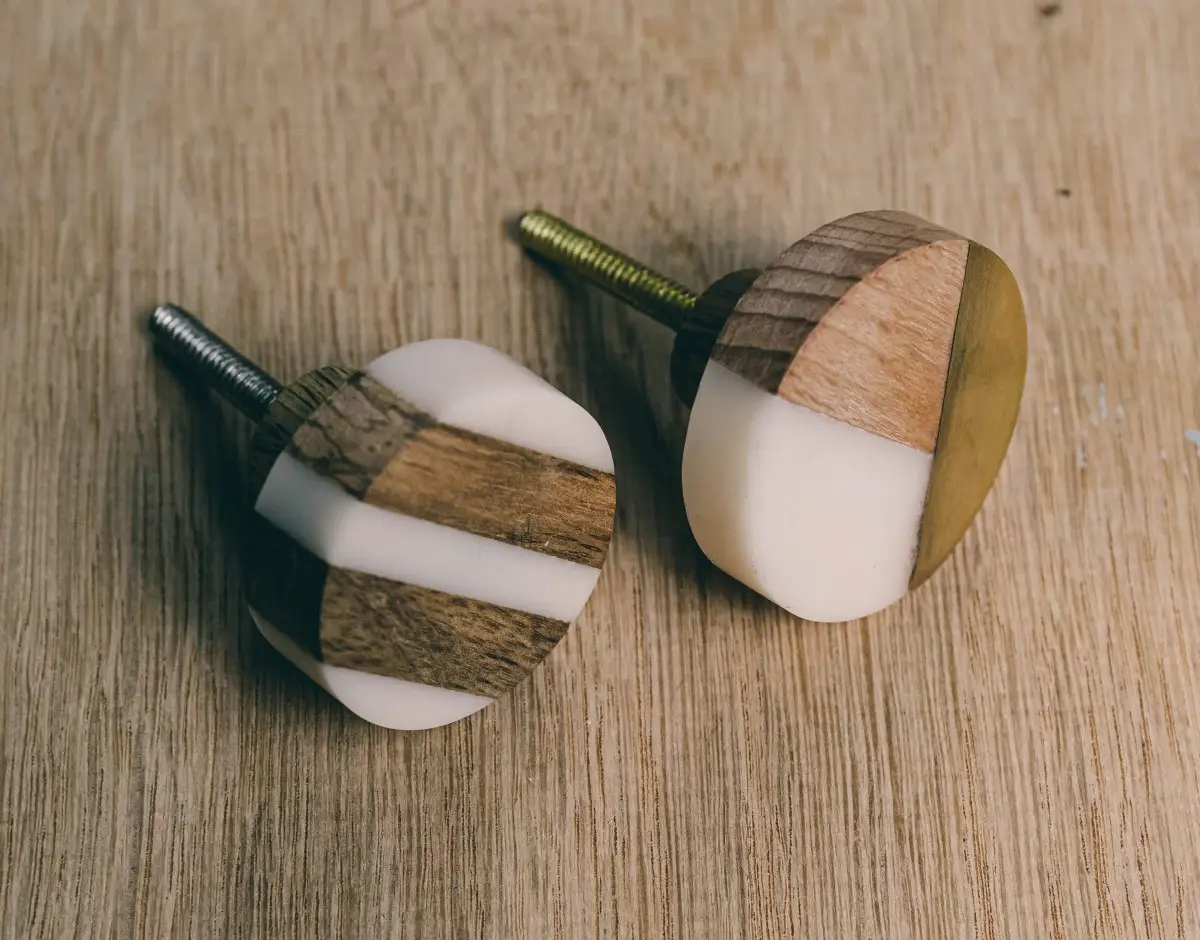
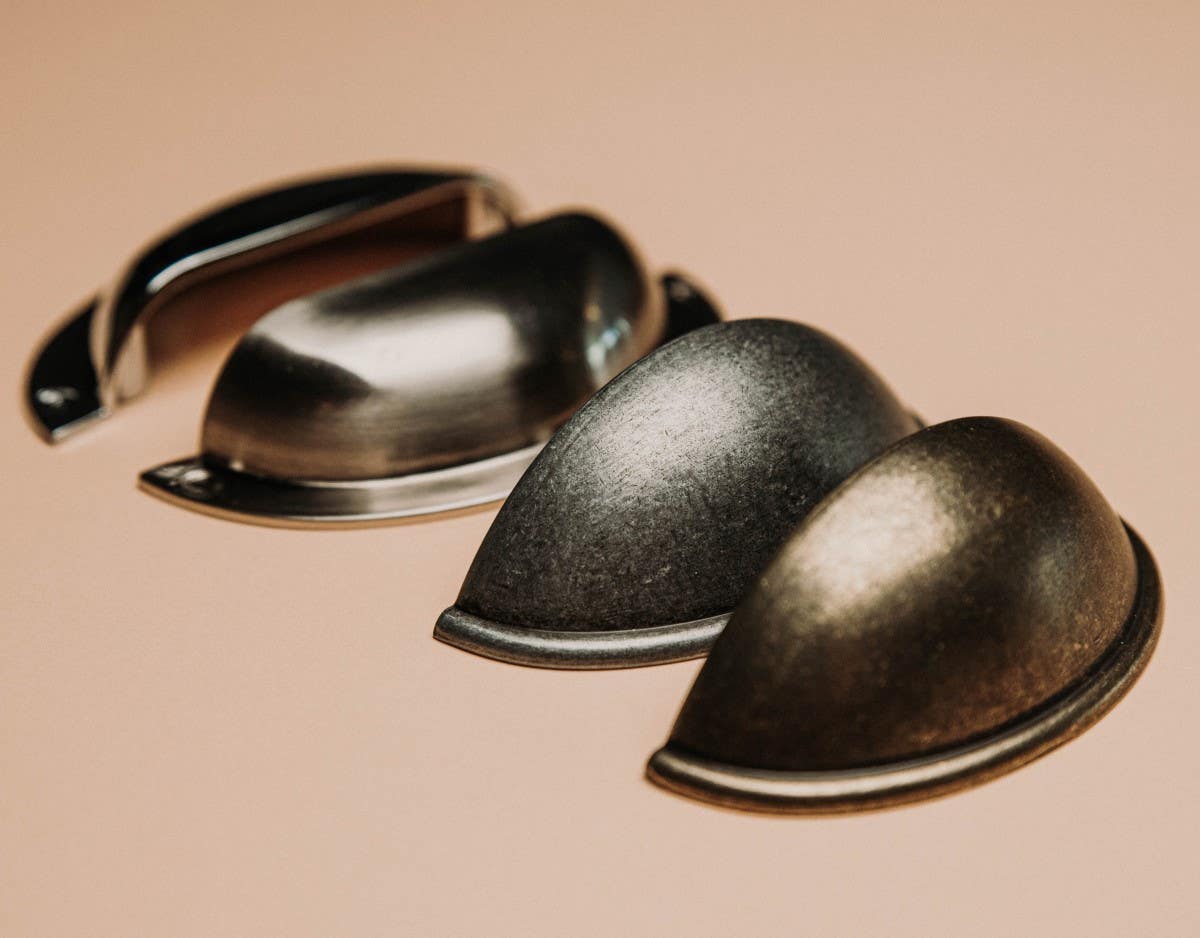
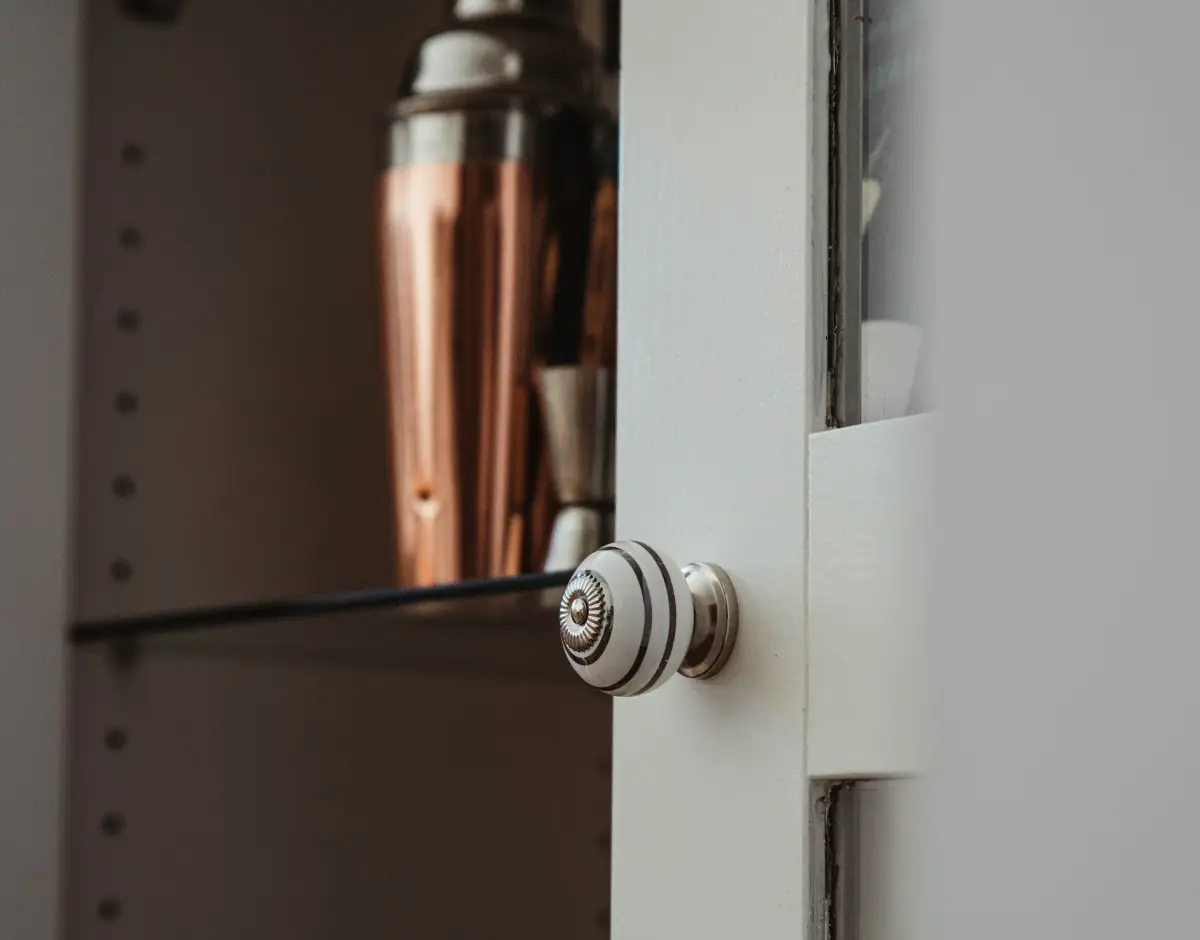
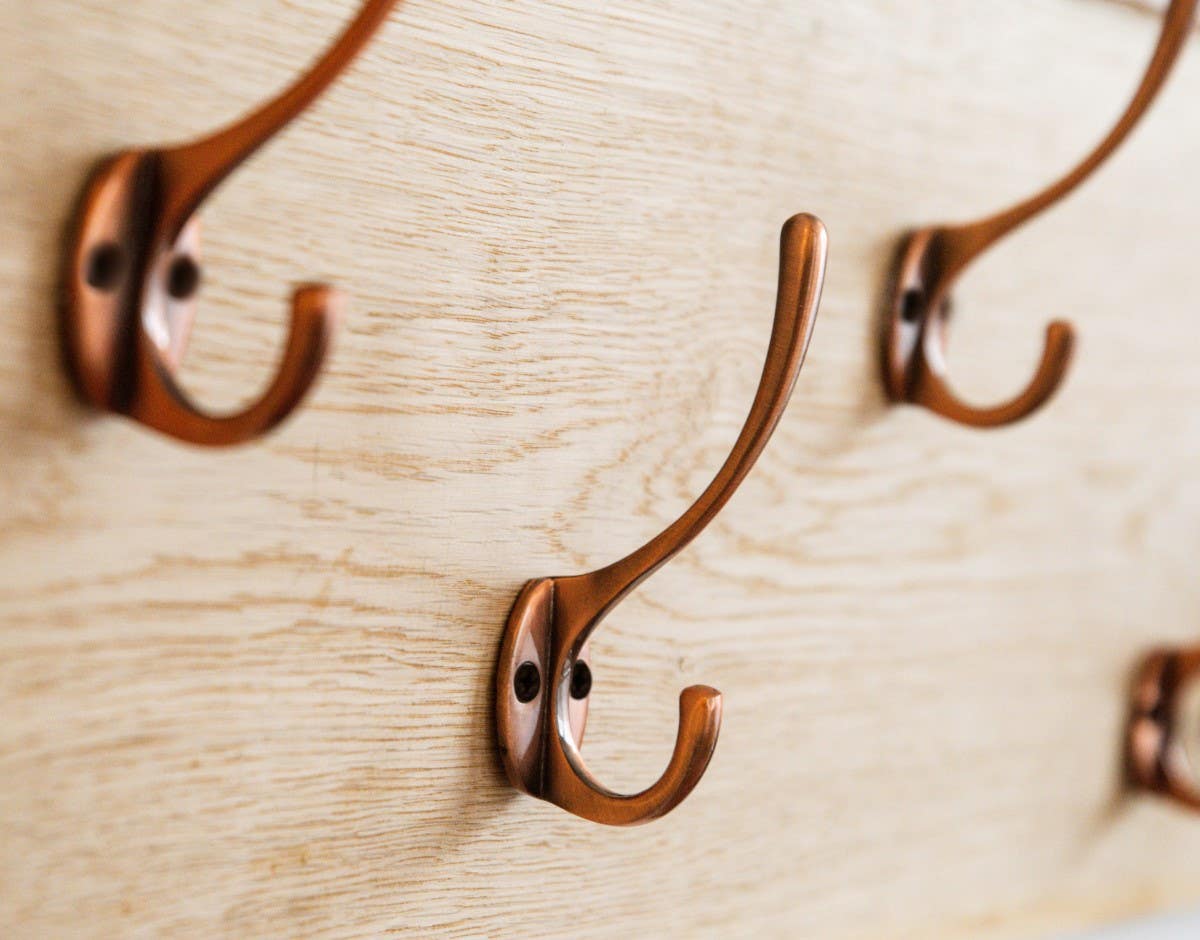
This could be the perfect opportunity, as you will have removed your cabinets' handles and knobs, to consider upgrading them to better match your new summer kitchen look.
How to Paint Kitchen Cabinets
Let's move to the practical side of things and explore how to go about painting your kitchen cabinetry. We'll begin with the tools and materials that you'll need to get the job done:
-
Screwdriver
-
Bucket, detergent and non-abrasive sponges
-
Damp cloth
-
Sanding block or paper (fine grit)
-
Wood primer
-
Paint in your chosen colour(s)
-
Paintbrushes and/or foam rollers and/or paint sprayer
-
Painter's tape/masking tape
-
Drop cloths or plastic tarps
-
Wood filler (optional)
Step 1 - Remove Cabinet Doors and Drawer Fronts
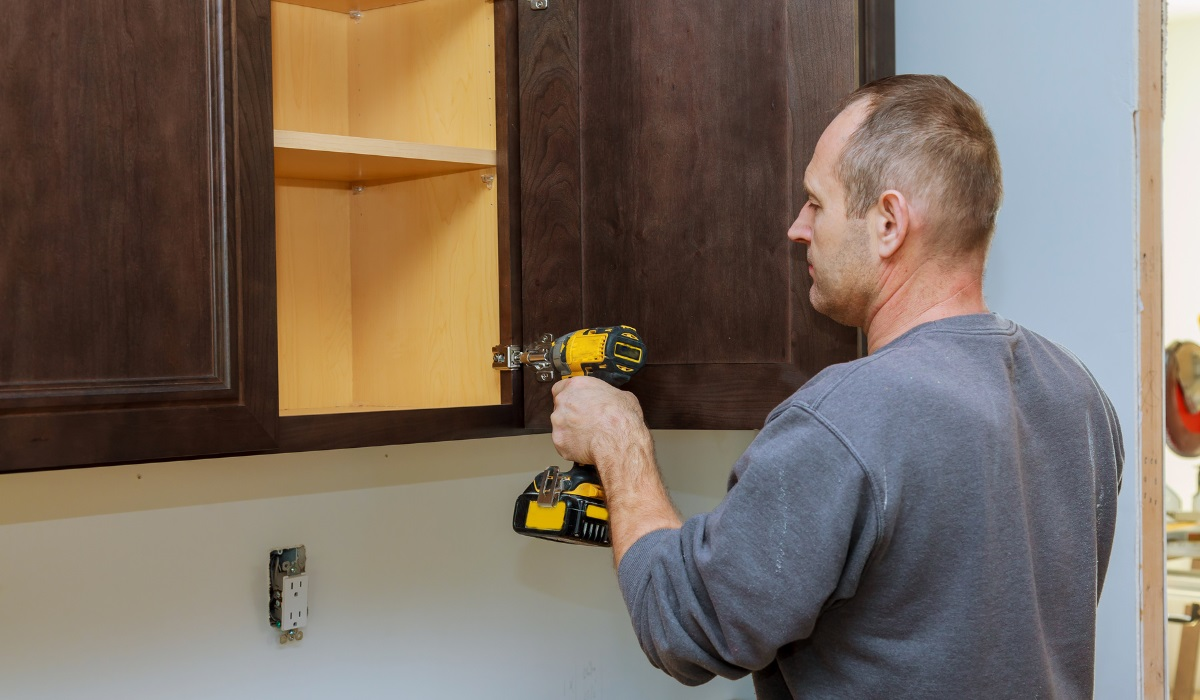
Using a screwdriver remove cabinet doors, and remove drawers from fixed unit framework. To save time, be sure to label each door and drawer so you know where it came from. Number each one in a place that won't be painted, such as hinge recess or drawer side or back.
Step 2 - Cleaning Kitchen Cabinets
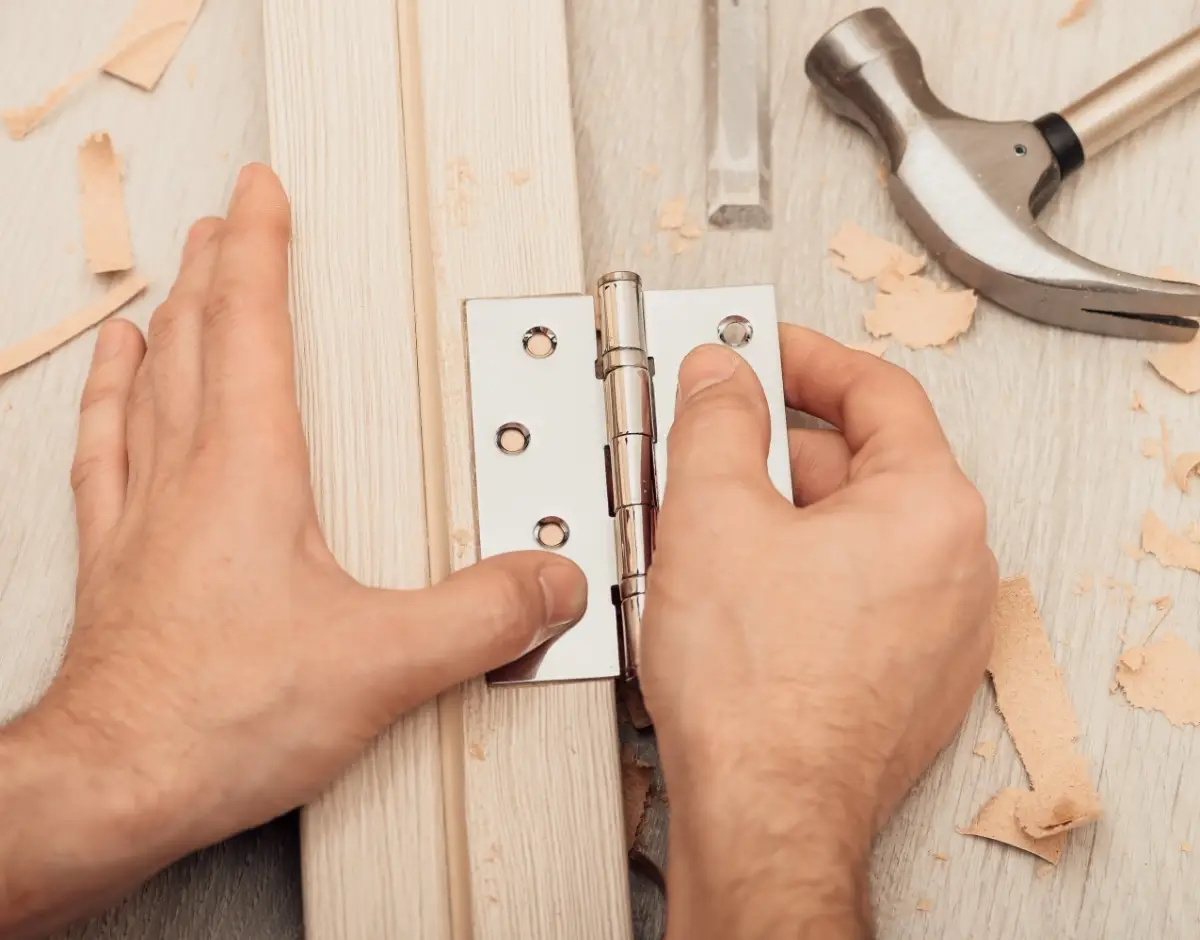
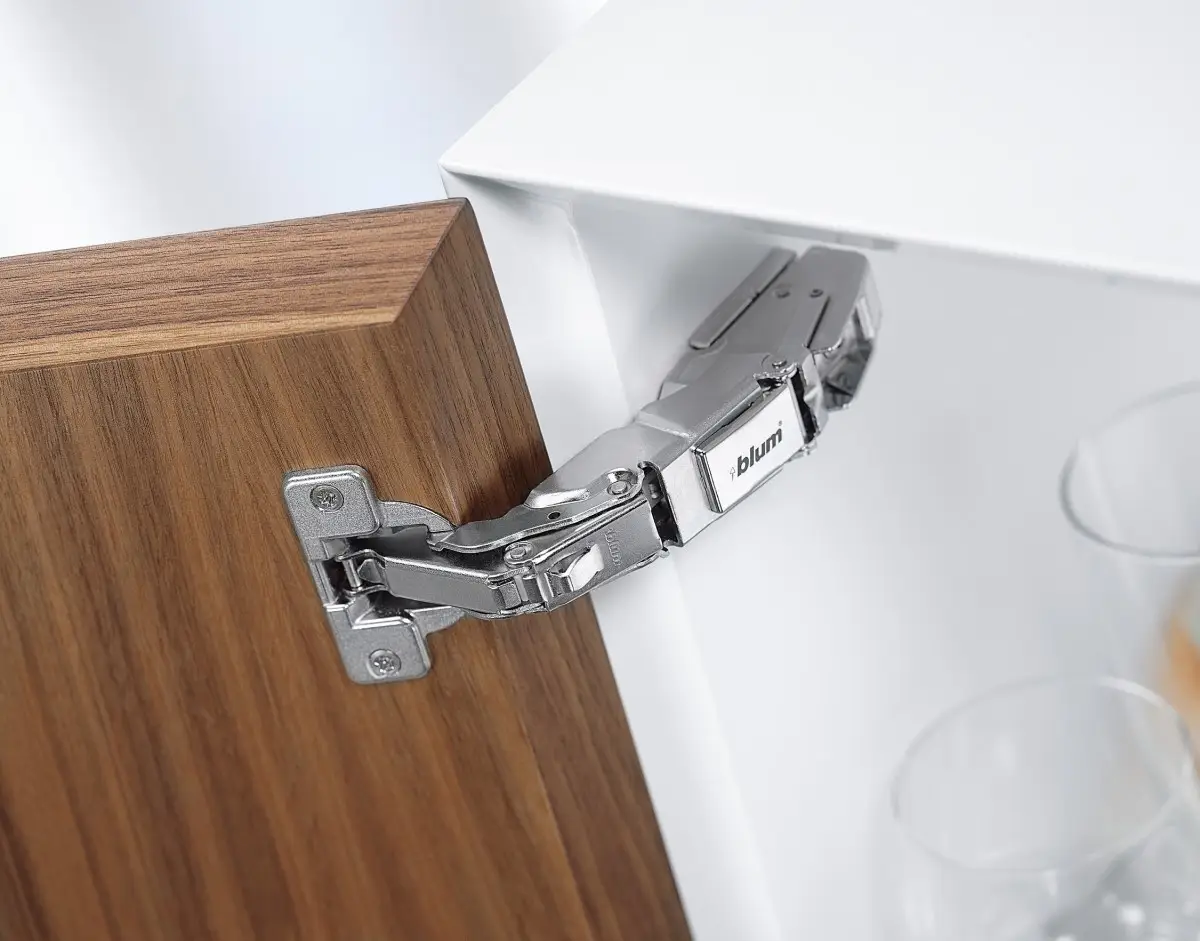
Take your doors and draws to where they'll be painted, a garage or outdoor space, and remove hardware: cupboard handles, knobs, hinges, drawer handles, runners, catches and anything else that you don't want to paint that can be removed (mask anything else).
Clean each door and drawer front thoroughly with warm soapy water to remove all grease and grime. Do the same with your wall cupboards and fixed cabinet framework in the kitchen.

Deep cleaning is important to remove grease and grime, to ensure that the primer adheres properly.
Step 3 - Prepare Your Working Area
Mask off the areas on your cabinet doors and drawers the won't be painted, such as hinge holes or recesses and drawer sides and backs. Use painter's tape or masking tape for this. For larger areas tape plastic sheeting to the surfaces.
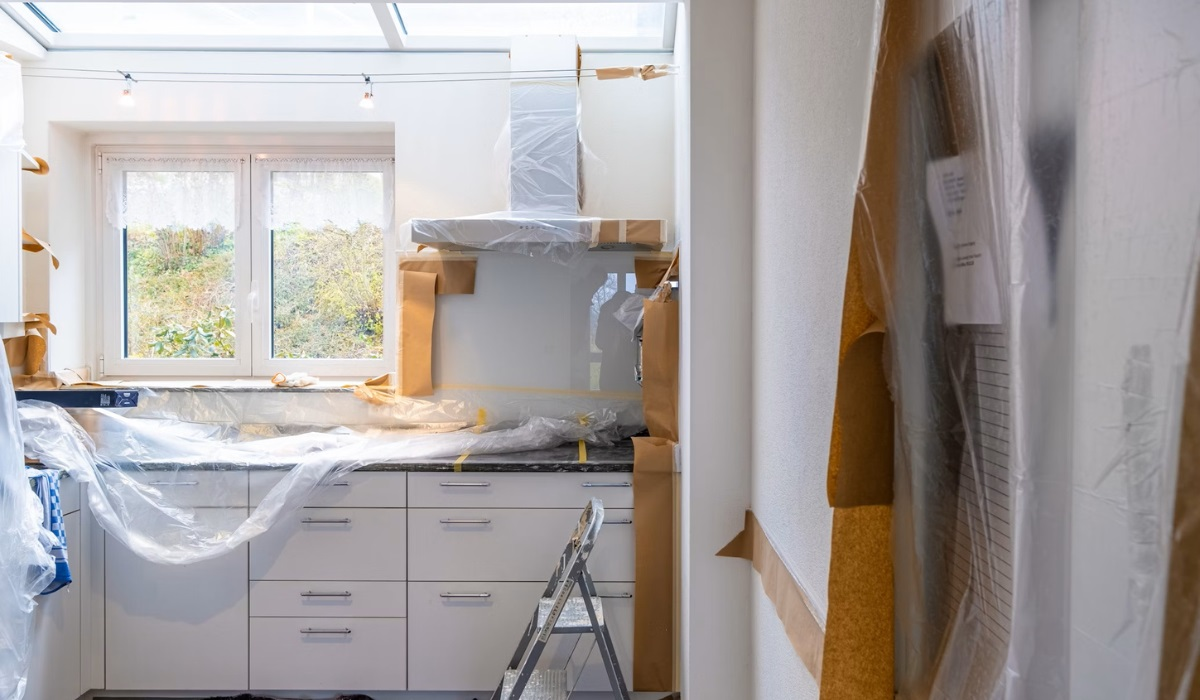
In the kitchen, mask off areas around cabinetry that won't be painted, such as the edge of counter tops and the walls around upper cabinets. Also cover the kitchen floor and appliances with sheets or plastic tarps.
If your cabinet doors or drawers are damaged, now is the time to use wood filler to repair them — always follow manufacturer's use instructions. You can buy wood filler from any DIY or paint store.
Step 4 - Apply Primer to the Wood
Next apply a coat of primer. For hard-wearing properties, an oil-based primer is best for kitchen cabinetry — use white primer to be sure to cover dark colours and dark wood. And using an oil-based primer usually means you won't need to sand cabinets before application.
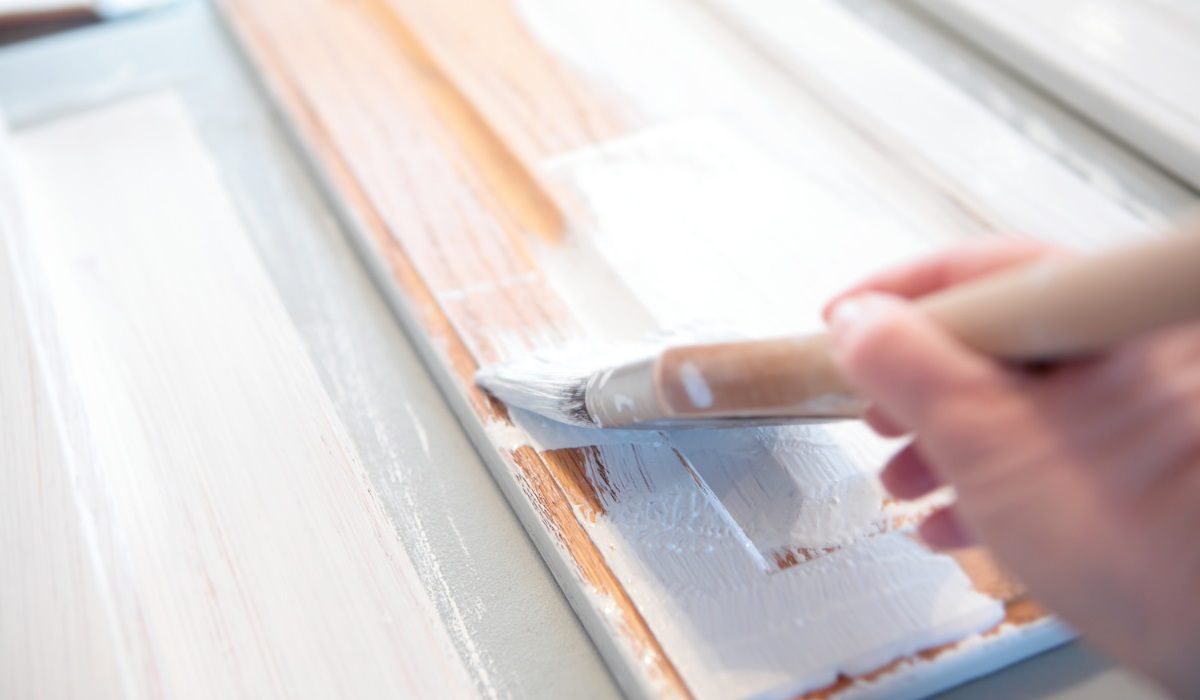
For best results apply primer evenly with a paint brush, not a roller. Leave to dry and then sand lightly with a fine grit sanding block or sand paper for better paint adhesion, then wipe down with a damp cloth to remove sanding dust. Always follow the primer manufacturer's instructions.
Step 5 – Choosing Your Paint
Water-Based Paint
Once your kitchen cabinets are primed, and you've chosen your paint colour(s), it's time to start painting. Which type of paint you choose will depend on the finish that you want to achieve, ideally latex paint (acrylic or polyvinyl) in eggshell, satin or semi-gloss finish.
Latex paint is water-based so it’s easier to work with than oil paint. Any water-based cupboard paint should be fine to use.
Note, some kitchen paints say they don't need primer. Trust us, for optimum finish you need to apply a primer undercoat.
Enamel Paint
If you’re looking for a really hardwearing, heat and stain resistant finish, consider using enamel paint. Bear in mind that enamel paint is oil-based, so will have a significantly stronger smell than water based paints, may require the use of thinners, and it’s more difficult to clean up brushes, paint tray etc. when the job is done.
If your kitchen gets humid or damp, it might be worth considering a mould resistant paint.
Always follow manufacturer instructions on how to prepare and apply your paint.
Step 6 - Painting Kitchen Cabinets
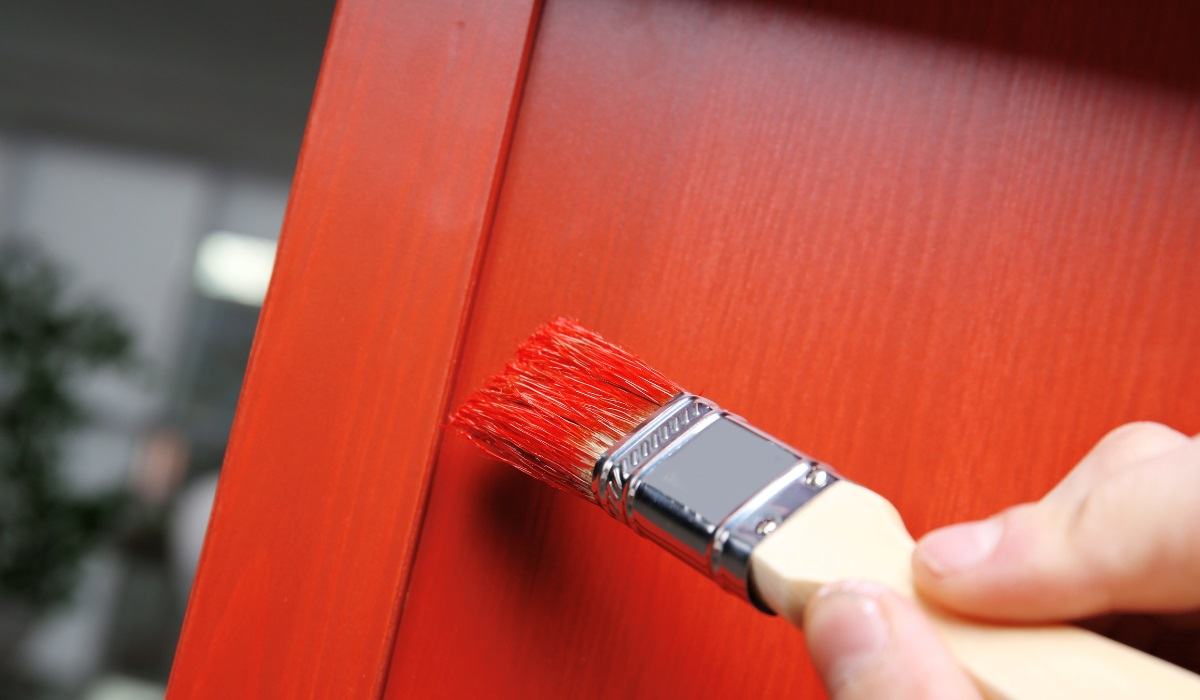
First, use a good quality paint brush to paint the surfaces of your kitchen wall cupboards and fixed cabinet framework, taking care not to paint outside masked areas.
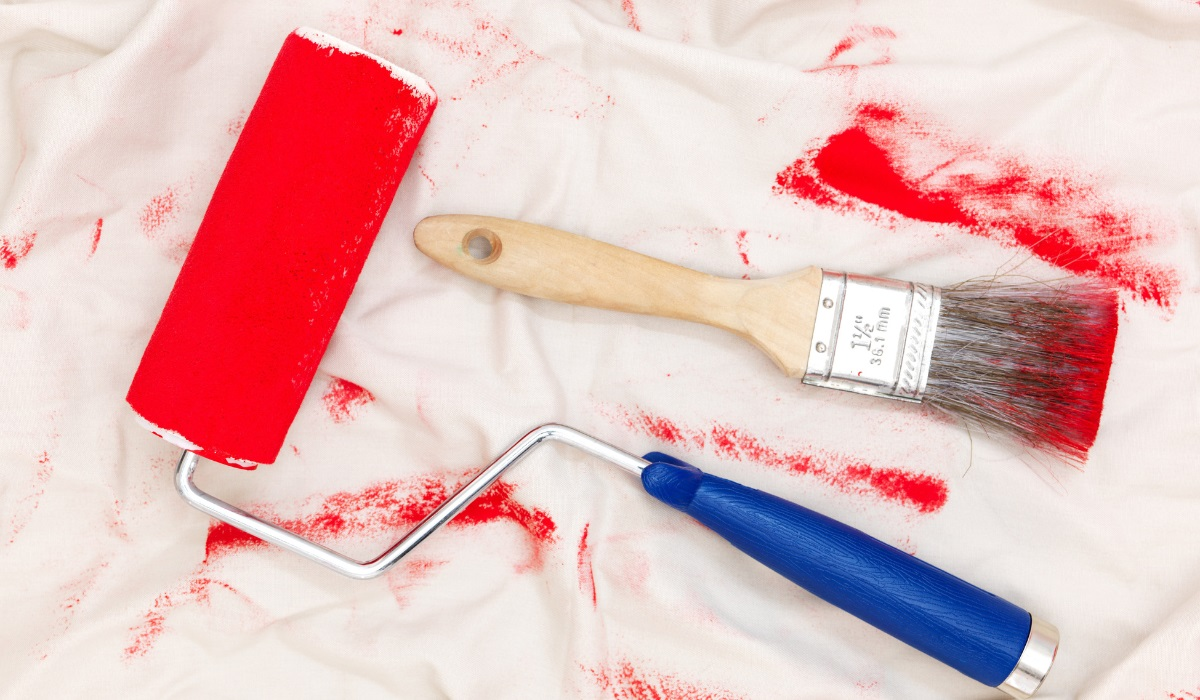
When it comes to painting cabinet doors and drawer fronts, again use a brush first to coat more detailed and intricate areas, then use a roller for flat surfaces.
If you have a paint sprayer you can use that for doors and drawers. Always apply spray paint in an even back and forth motion.
A good tip is to paint in several thinner coats rather than one thick coat.
Let the first coat dry completely (usually overnight) before applying the second coat or third coat of paint. Where possible let doors and drawer dry flat to help avoid paint runs. This of course isn't possible for wall cabinets and fixed unit framework. If you do find any paint runs, sand them smooth and reapply paint to the area.
Total painting time will vary a lot, depending on the number of kitchen units you have and whether you're a lone DIYer or have help from family or friends.
Step 7 - Putting it All Back Together
When you have finished painting your kitchen cabinetry, the final job is to put it all back together again. This should be straightforward if you numbered or marked each item to easily identify where it came from.
When reinstalling your cabinets attach the hinges, handles, and any other hardware first, allowing you to simply screw cupboard doors into place and insert drawers back into the cabinet framework.
Summer Kitchen Colours Inspiration
Choosing colours for your kitchen summer makeover is a creative process. And as such may require a little inspiration. Here are some summer colour palette suggestions that you can use, or to give you some ideas about which colours or shades you will choose.
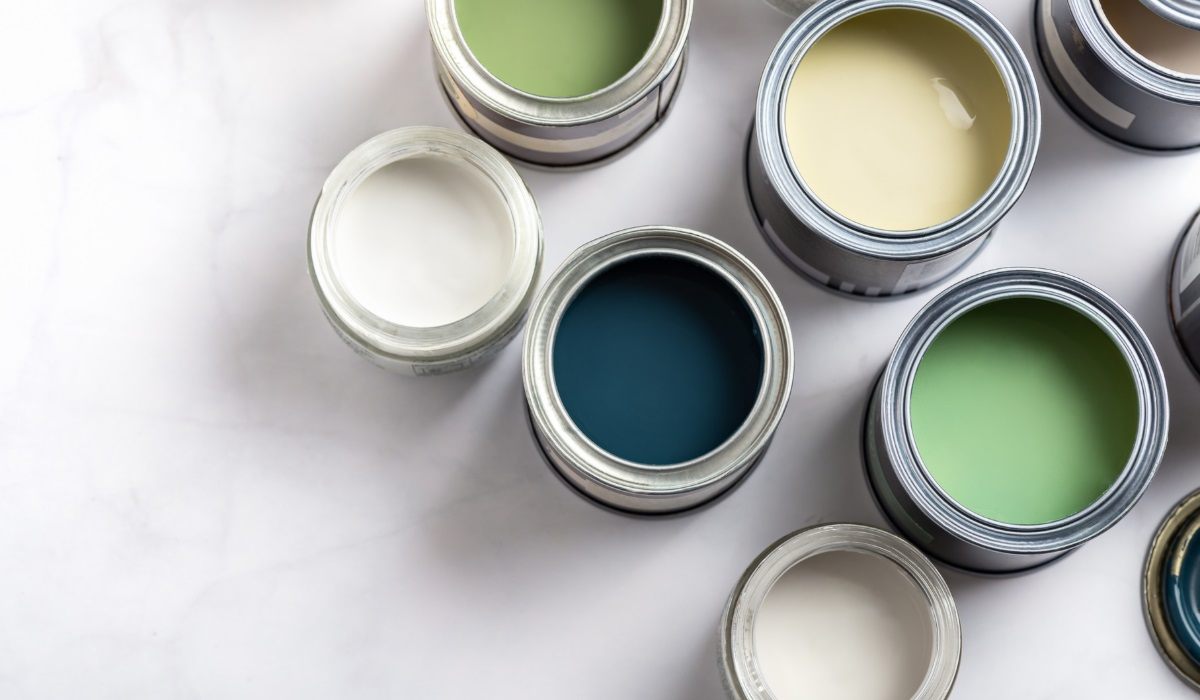
Just changing the colour scheme of your kitchen cabinets can create a whole new look. A single lighter colour can work well, or consider a combination of more vibrant colours for a really summery vibe. Let's look at some colour ideas for your kitchen cabinet summer paint job.
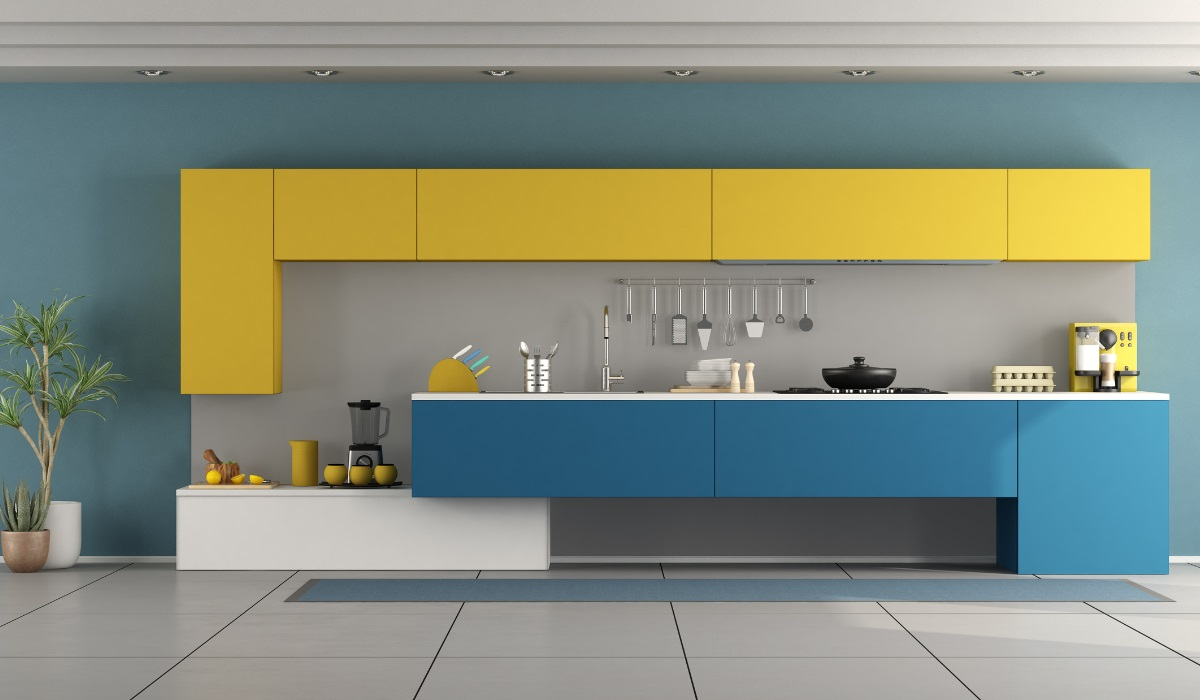
Sunshine Yellow and Deep Blue
Embrace the warmth of summer by incorporating a joyful sunshine yellow for upper cabinets. This uplifting colour creates a sunny, open feel. Complement it with calming deep blue for lower cabinets, reminiscent of cobalt summer skies.
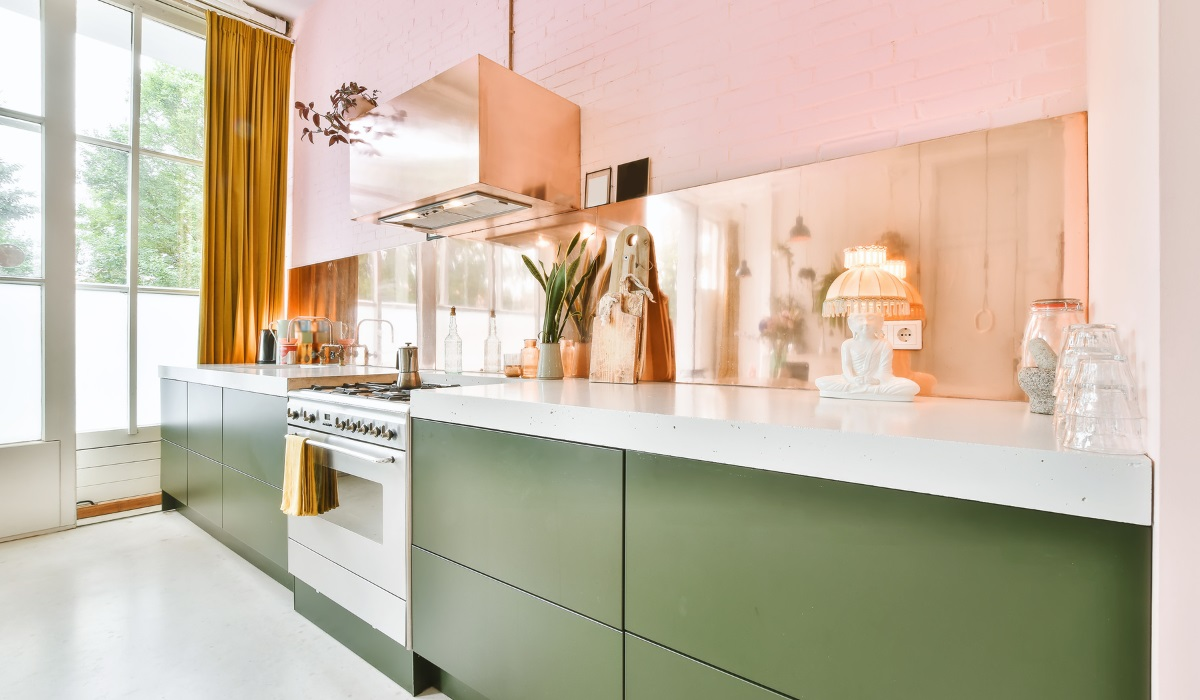
Sage Green and Coral
Transform your kitchen into a tropical paradise with lush sage green lower cabinets paired with coral pink for upper cabinets. The deep green adds richness, while the coral injects a burst of energy, creating a softer summer atmosphere.
Ocean-Inspired Blues and Whites
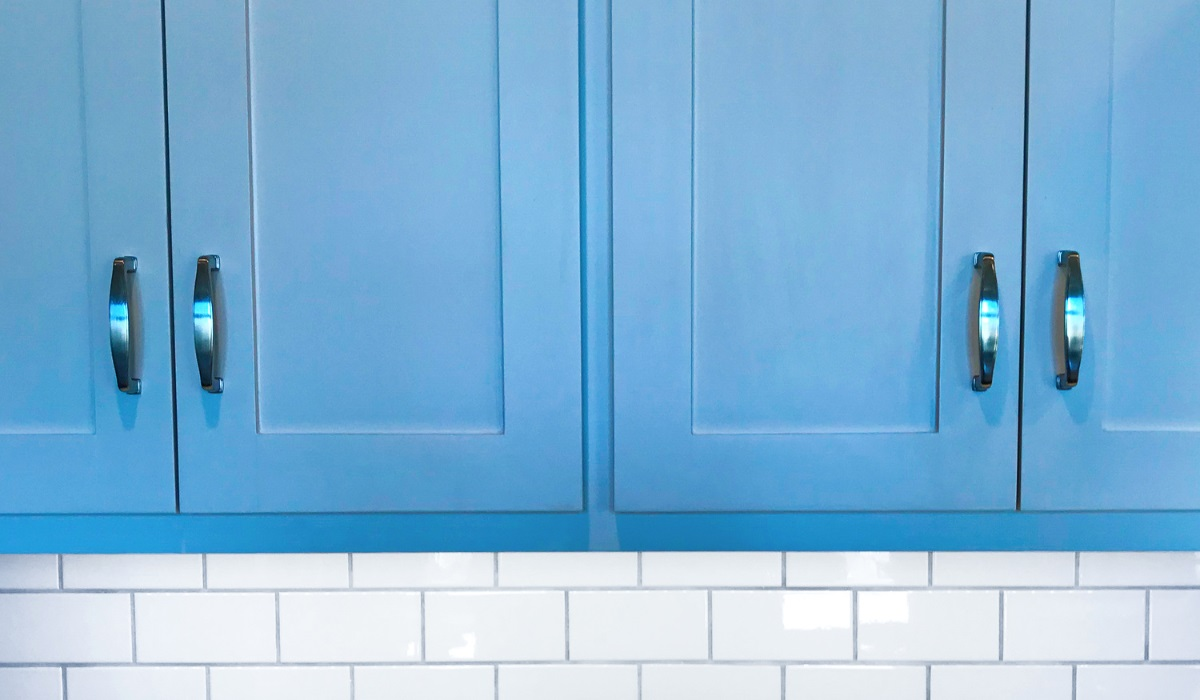
Capture the essence of the ocean with a palette of ocean blues. Use soft aqua for upper cabinets, seafoam green for lower cabinets, and navy blues and white for accent details. This combination has a cooler, coastal vibe, compared to hotter summer tones.
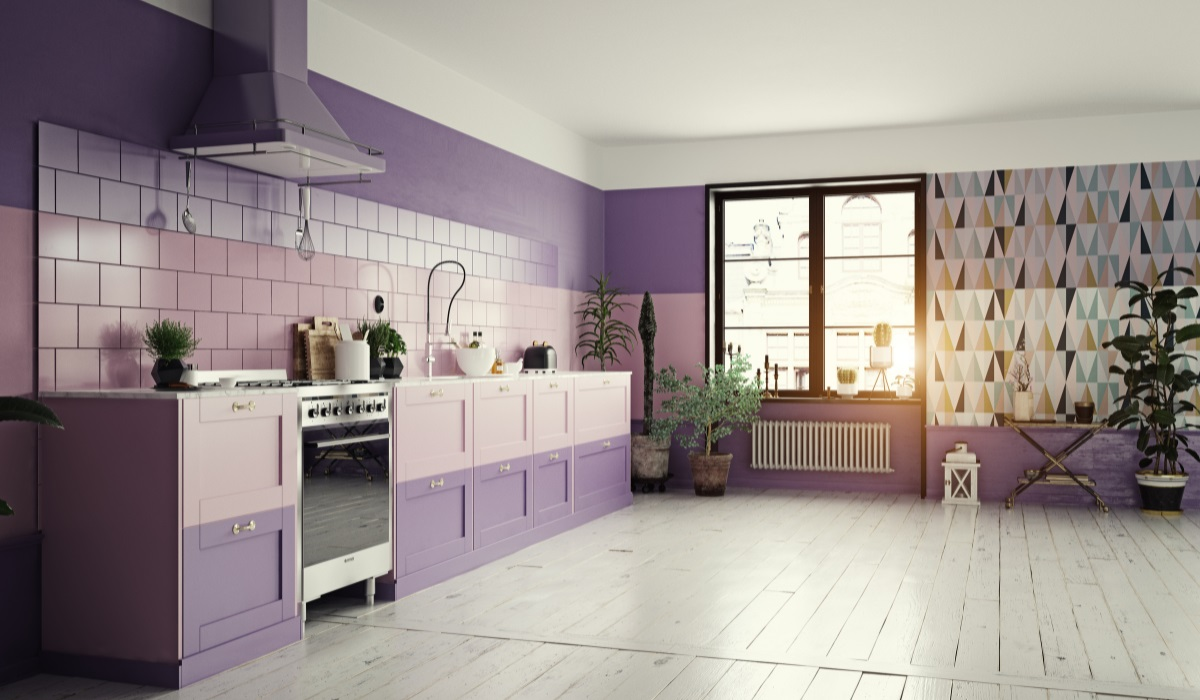
Pastel Shades
Create an eye-catching summer kitchen space with single colour pastel shades. Lavender purples, pinks, and citrus tones offer a range of feels, from softer tones to bright colours for a more striking look.
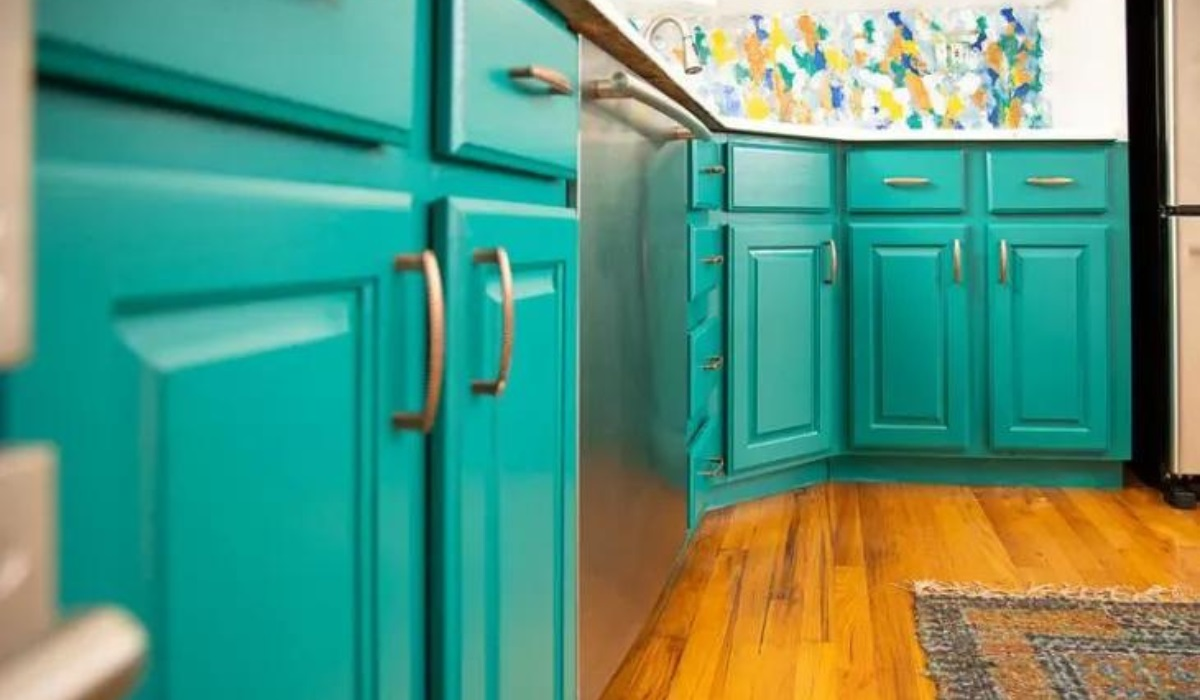
Bright Turquoise
Reminiscent of the Mediterranean, turquoise is right for a summer kitchen feel. Either towards the green or the blue end of the turquoise spectrum, it offers both more laid back shades and bolder, vibrant hues.
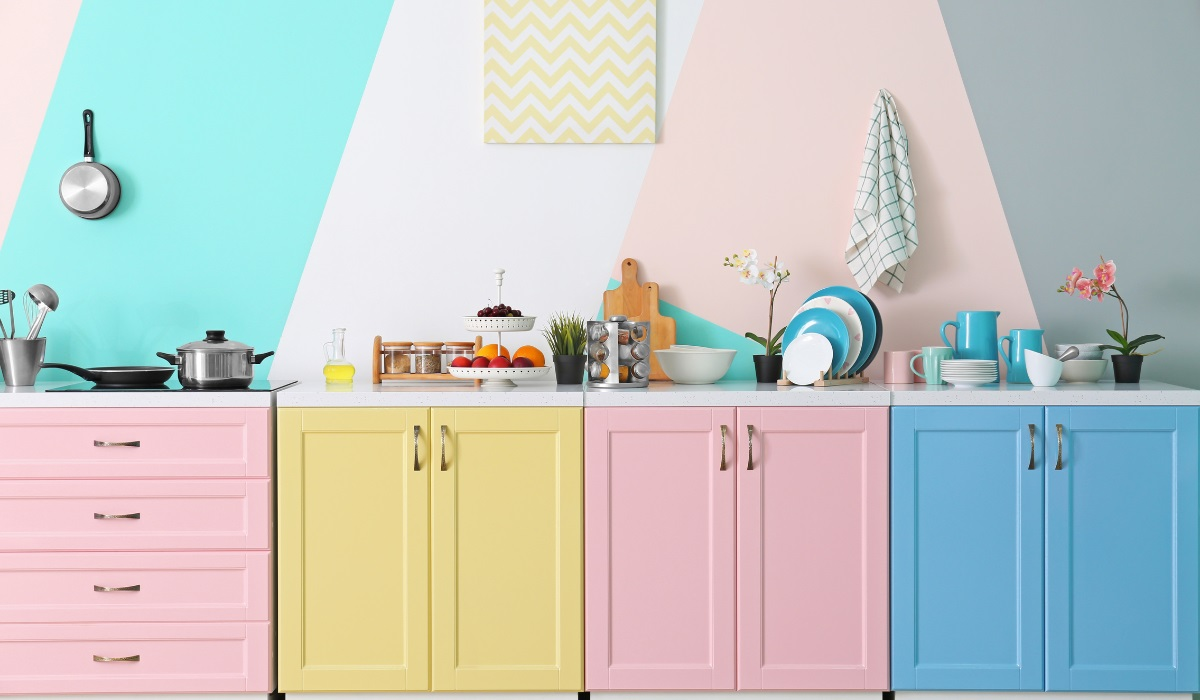
Mixing it Up
The above are just a few ideas for summer kitchen colours. There are no rules, the colours, shades and combinations that you choose are limitless. Being adventurous and experimenting with mixing and matching colours to create your own summer kitchen cabinet palette will give your cabinets a truly unique look.
Final Thoughts
Painting kitchen cabinets in bolder colours or softer shades is a great way to help freshen up your home ready for spring and summer months.
Painting kitchen cabinets yourself is a doable DIY job that can give you a wonderful sense of achievement and save you money. And matching colour combinations and painting is a creative process that allows you to inject your personality in to your home.
For more DIY inspiration and a range of home and garden guides, visit the Hiatt Hardware Blog.

