


How to Install Door Hinges for New Interior Doors
Guide Topics:
-
Tools and Materials Required
-
Marking Up
-
Creating Hinge Recesses
-
Install Hinges
Introduction
Fitting ball bearing butt hinges to a new interior door is, with the right tools and guidance, a fairly straightforward DIY job. This how-to guide will take you through each step of installing door hinges, from marking out, to creating a recess in the door, and fitting the hinge, along with some trade tips to help get the best results.

Before We Begin
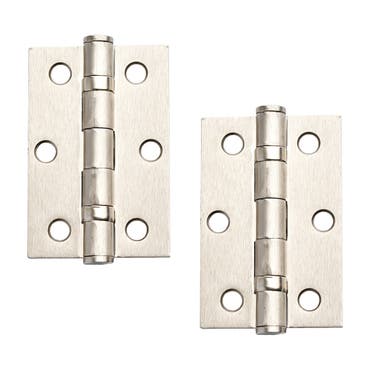
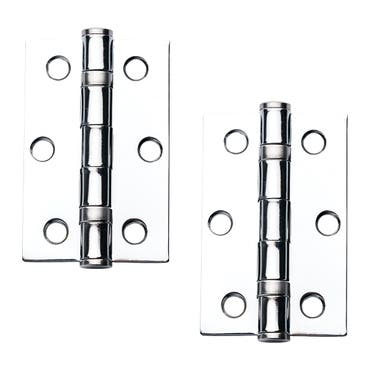
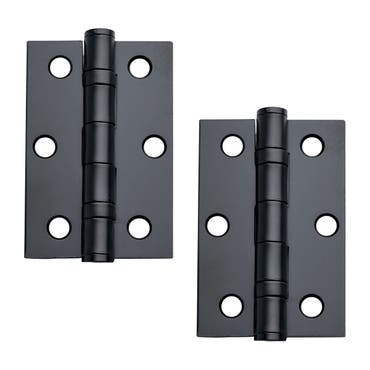
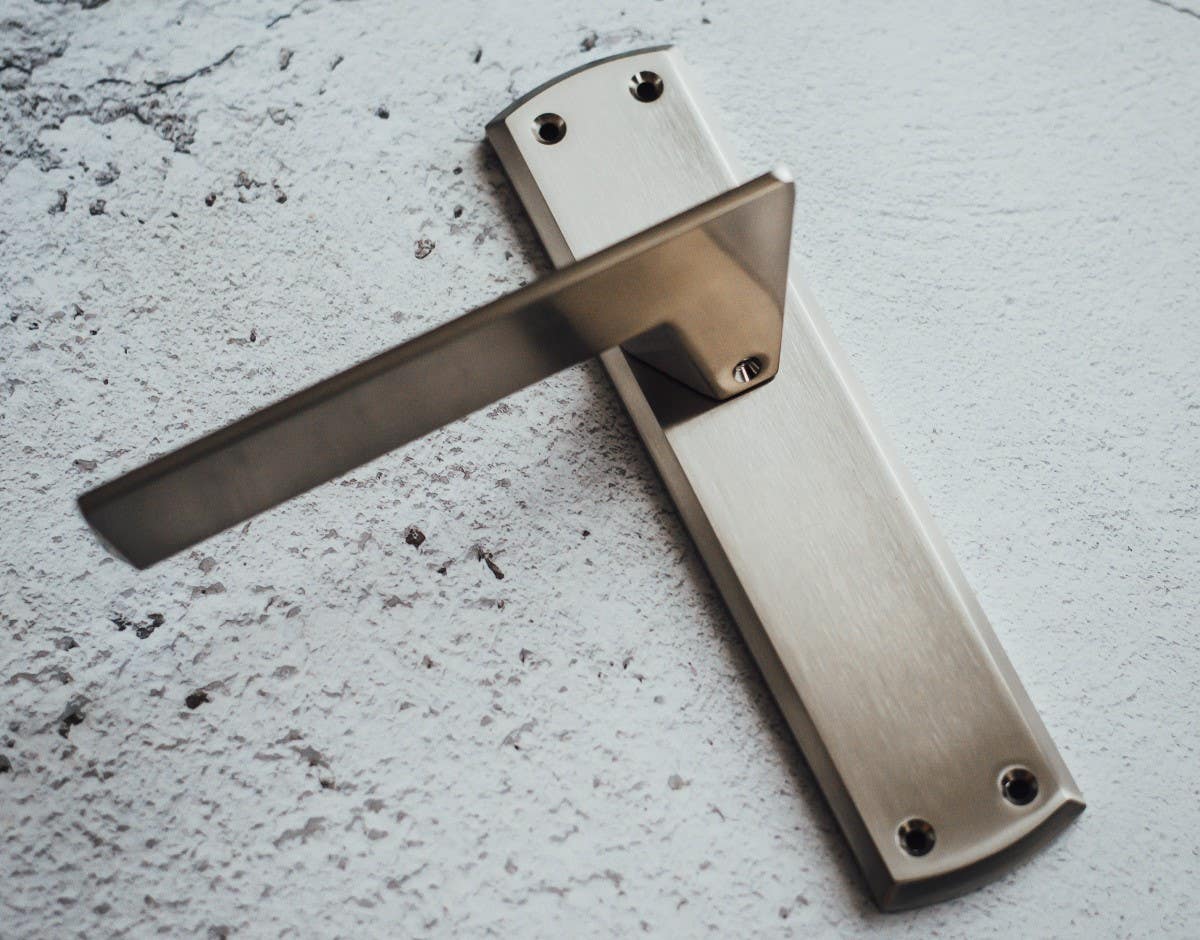
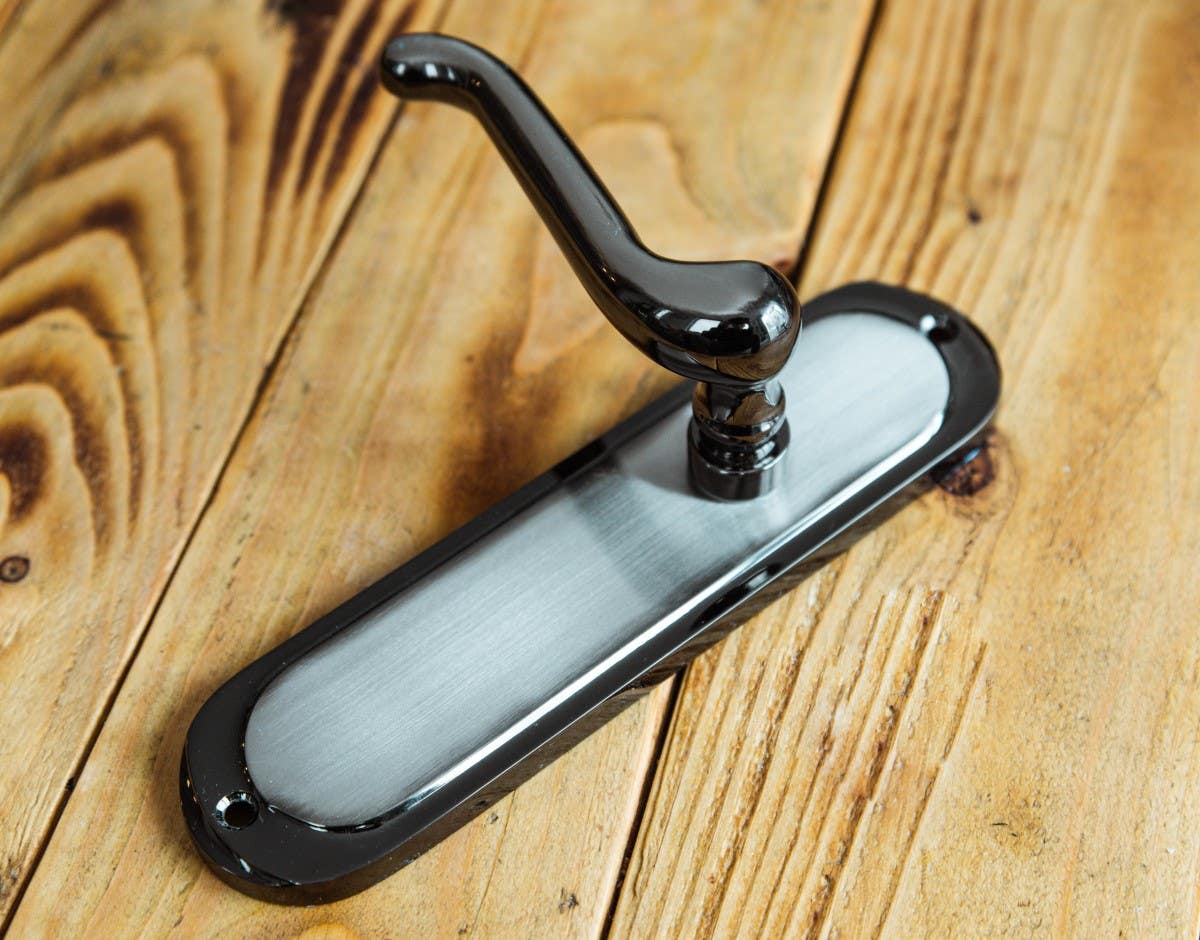
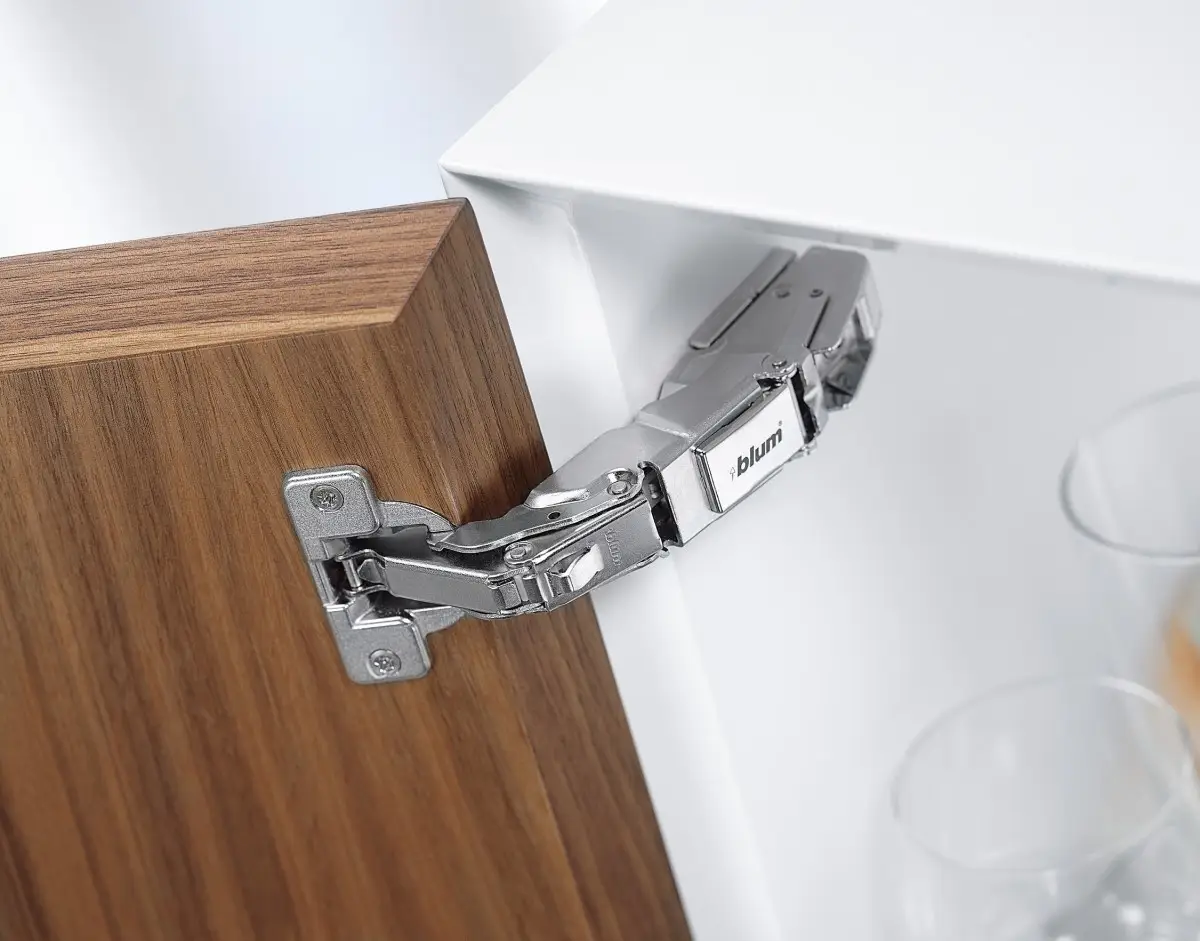
Are you sure you have the right hinges? If you’re unsure, fear not. This in-depth guide to door hinge types and their applications will help. Or if you want to fit or fix cabinet hinges, go to this guide instead.
To be clear, this guide is for fitting hinges to a new interior door that's already been sized for the door frame. If you're planning on replacing hinges and hanging a new door in an existing door frame, be sure to read this article that includes a comprehensive guide.

So, let's get into this step-by-step, how-to guide that will help you install tight, accurate hinges in your brand new interior door. First, here's a look at the tools you might need to get the job done.
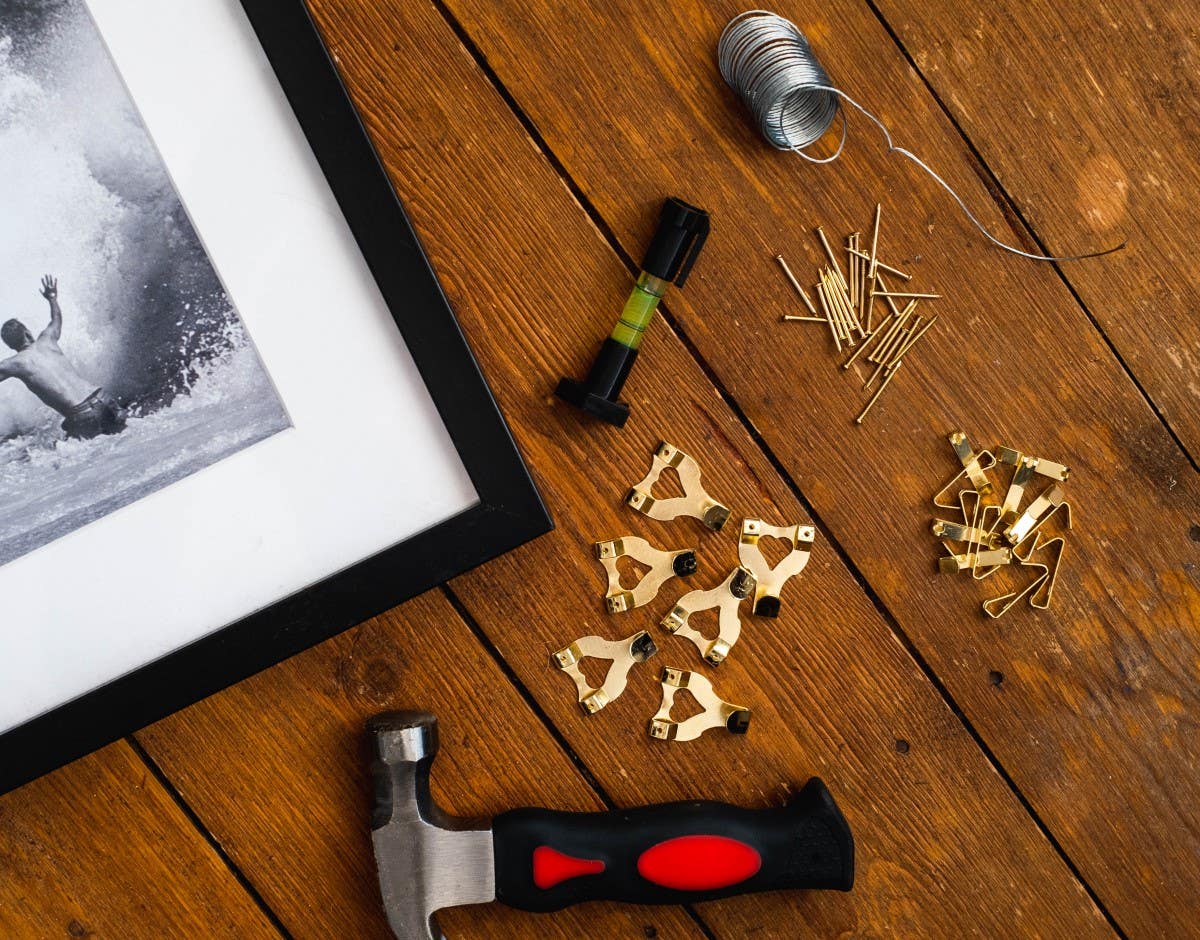
Tools and Materials
- Sharp utility knife (Stanley knife)
- Sharp chisel
- Hammer

- Pencil
- Set square
- Steel ruler

- Tape measure
- Safety goggles

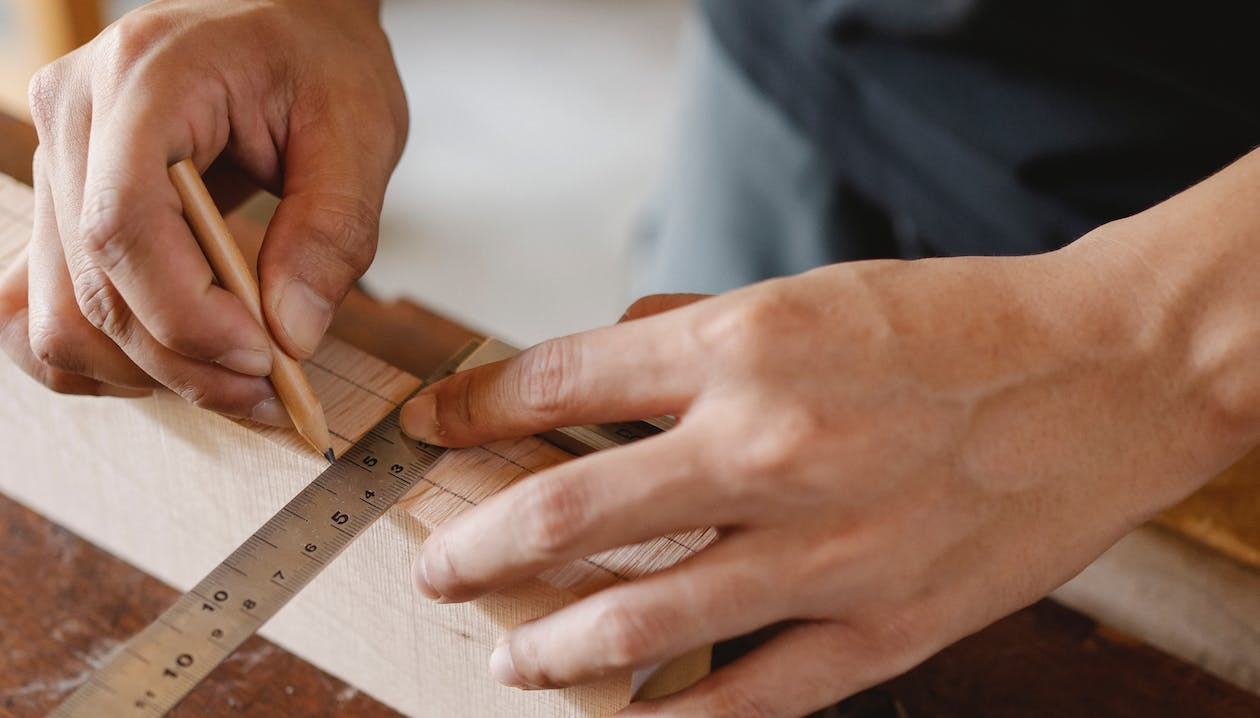
Step 1 - Marking Up
a) Position your new door on its side with the hinge-side facing upwards, ensuring that it's vertical and unlikely to move or fall over
b) Traditionally, interior doors have two hinges, with the top hinge 114mm (4.5”) from the top of the door, and the bottom hinge 228.5mm (9.0”) from the bottom of the door, to match the top and bottom rails. Heavy doors need three hinges and fire doors are required to have a third hinge
c) Measure these distances and mark them out on the door edge with your pencil
Trade Tip
Traditional door hinge positioning is a guide and placement can vary — if in doubt, double check the other doors in your house to see where their hinges are positioned.
d) Place the hinge onto the door edge, making sure that the base of the hinge lines up with your pencil mark
e) Ensure the hinge is positioned tightly flush to the door edge and hold firmly in place, carefully marking around its perimeter with your utility knife
Trade Tip
When marking up here, use several light cuts, or scores, rather than going too deep. This will help ensure that your utility knife’s blade stays true to the hinge edge so that it doesn't end up following the grain of the wood and away from the hinge.

f) Remove the hinge and you will see the scored hinge outline in the door edge. Now using the scored lines cut a bit deeper using the knife, about 1mm
g) To mark the depth of the hinge recess, take a hard flat edge, such as the thicker part of your set square, and place it on the door edge
h) Now take the hinge and push it firmly up against the underside of the square, marking two notches in the wood with the hinge corner, one at each end of the hinge’s marked outline length — the notches show the hinge’s depth, usually around 3mm (about an 1/8 of an inch)
i) So take a straight edge, such as a steel ruler, and line it up with the notches. Mark a line using your utility knife at notch height, the full length of the hinge

Step 2 - Creating the Recess
Now that the hinge position is marked out on your door you can begin creating the recess in which your hinge will sit flush to the door edge.
Trade Tip
Before you begin to remove wood, take your chisel and lightly mark a line about 1mm inside the hinge perimeter line, following it exactly. Use that inside line as your mark when you begin cutting. This will help ensure that your outer (true) hinge mark line is not compromised by chiselling.
a) Wearing your safety goggles, take your chisel and make a series of light cuts close together from one side of the inner hinge line to the other. This will help prevent the wood from splitting
b) Now use your chisel to gently cut away the wood at the hinge depth line
Trade Tip
Ensure your chisel is bevel edge down and your hold it at about 45 degrees when knocking out the excess wood.
c) Repeat the process at line b) and continue removing wood down to the required depth for the whole recess area
d) When close to the required depth, take the hinge and place it in the recess at an angle (it won't fit properly just yet) to see if it's flush with the door. If so great. If not quite, carefully use your chisel to shave out more wood until the hinge is no longer sitting proud
e) When at the right depth, go back to the hinge mark perimeter and carefully cut away the thin edge to make the recess the correct size for the hinge
Trade Tip
The slither of timber left around the hinge perimeter should be lose by now and it may only need your utility knife to remove it.
Your hinge should now sit flush with the door in the recess.

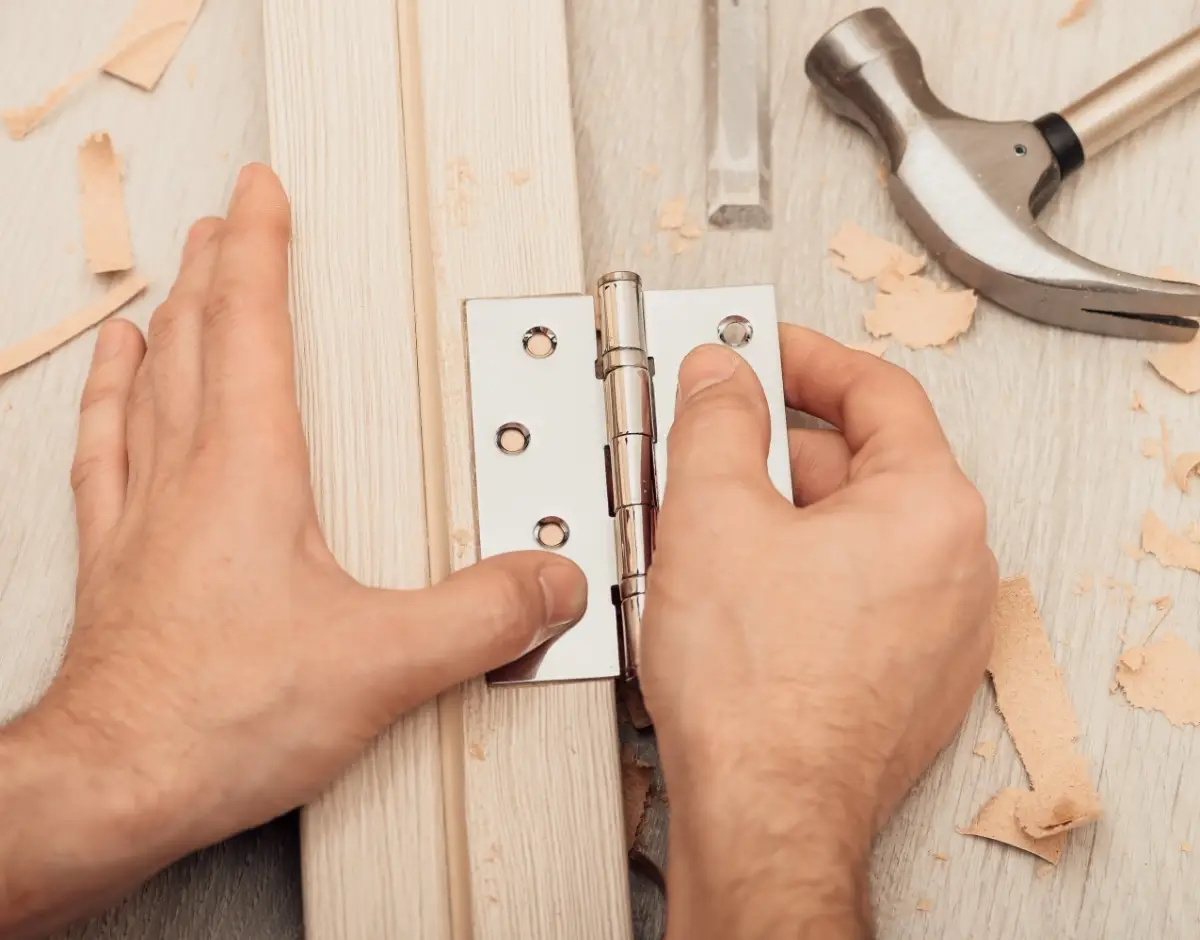
Step 3 - Install Hinges
a) Place your hinge in the recess and mark the centre of the screw holes to make pilot holes as a screw guide
b) With a drill bit that's about the same diameter as the centre shaft of your hinge screws, drill holes into the screw placings to around the dept of the screws' length
c) Given that the screw holes are the same size as the screw shaft, there will be plenty of wood for the screws to get a good bite. Now go ahead and screw down your hinge into place
d) When all the screws are in tightly, you're done. Your door hinge is fitted. That's one hinge down. Repeat for the other hinge(s) and your internal door will be ready to hang

Final Thoughts
So, installing door hinges is not a complicated job. It just takes the right tools and method to get nice tight, accurately fitted butt hinges in your interior doors. The key is a sharp utility knife and a sharp chisel, with accurate measuring and marking. Always work slowly, with a little patience, and a practical eye.
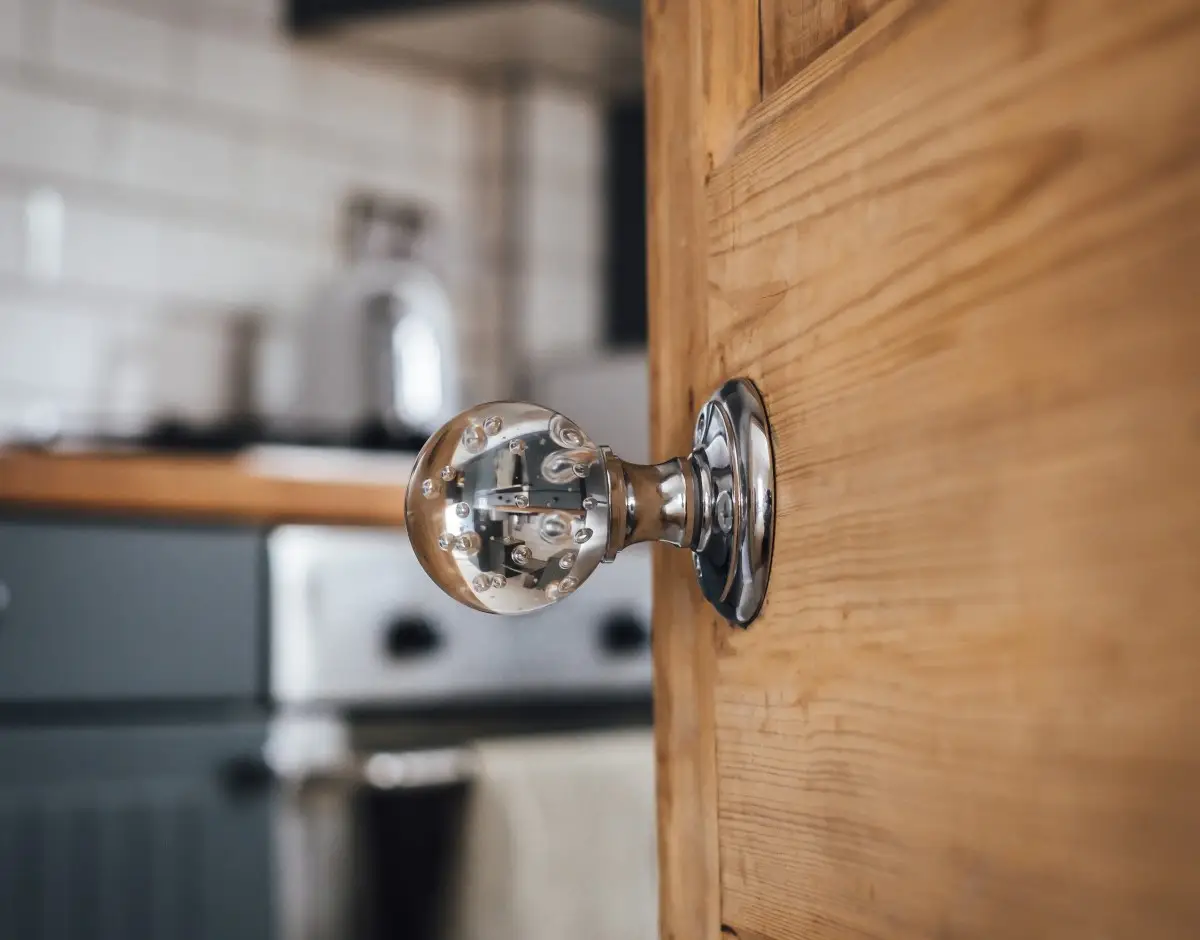
For hinges, door handles and knobs, as well as a wealth of other door hardware, visit Hiatt Hardware.