
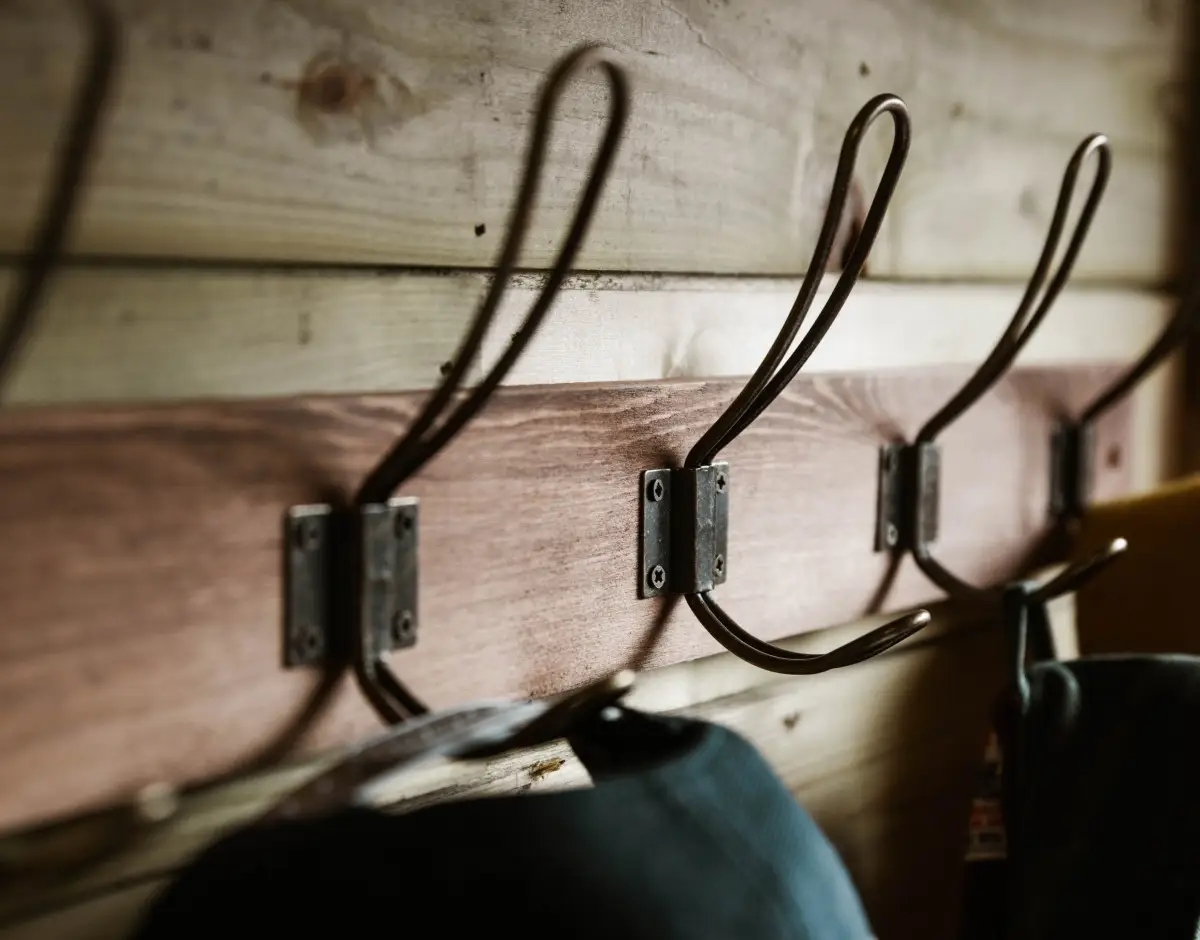
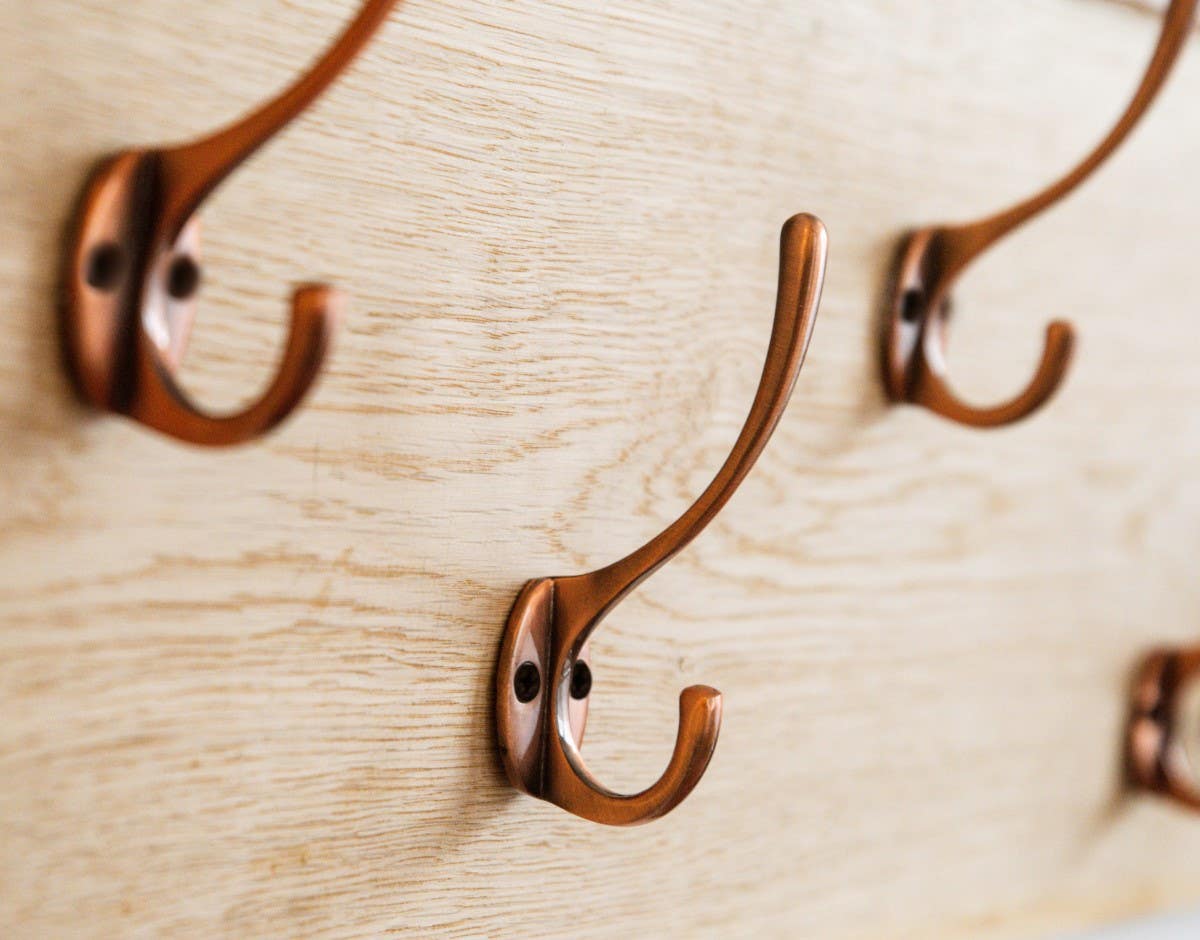

We often overlook our door hardware. However, sometimes we may notice that our door handles have become outdated, tired, or even broken. This is a crucial sign that your door handles need replacing.
Replacing your door handles may seem like a daunting prospect, but it is a great skill to learn. By learning how to replace your door handles yourself, you can save yourself time, money and effort in the future.
To find out how to replace your door handles, continue on to read our article below. Our experts here at Hiatt Hardware have collated some simple steps to help guide you through the process of fitting your new door handles with ease.
Before Installation
Before removing your old door handles to install your new ones, ensure you have the correct new handles to replace them with.
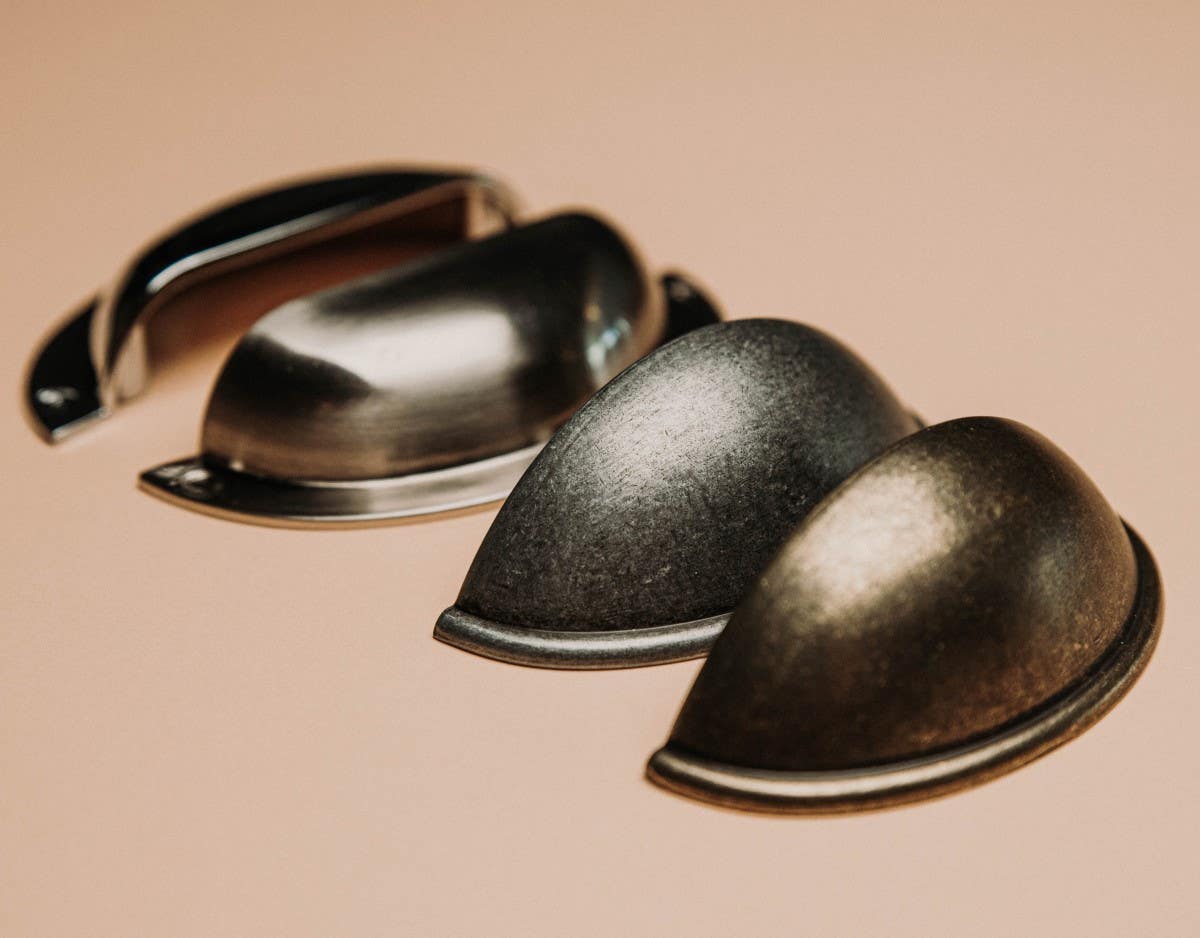
It is essential for you to make a few decisions before purchasing, including what finish you want to go for if you wish to install a door handle or a doorknob, what style of handle to go for and lastly, you will need to consider the accessibility of your home. Luckily, our guide 4 Simple Tips on How to will guide you through all these determinants to help you decide on your new handles.
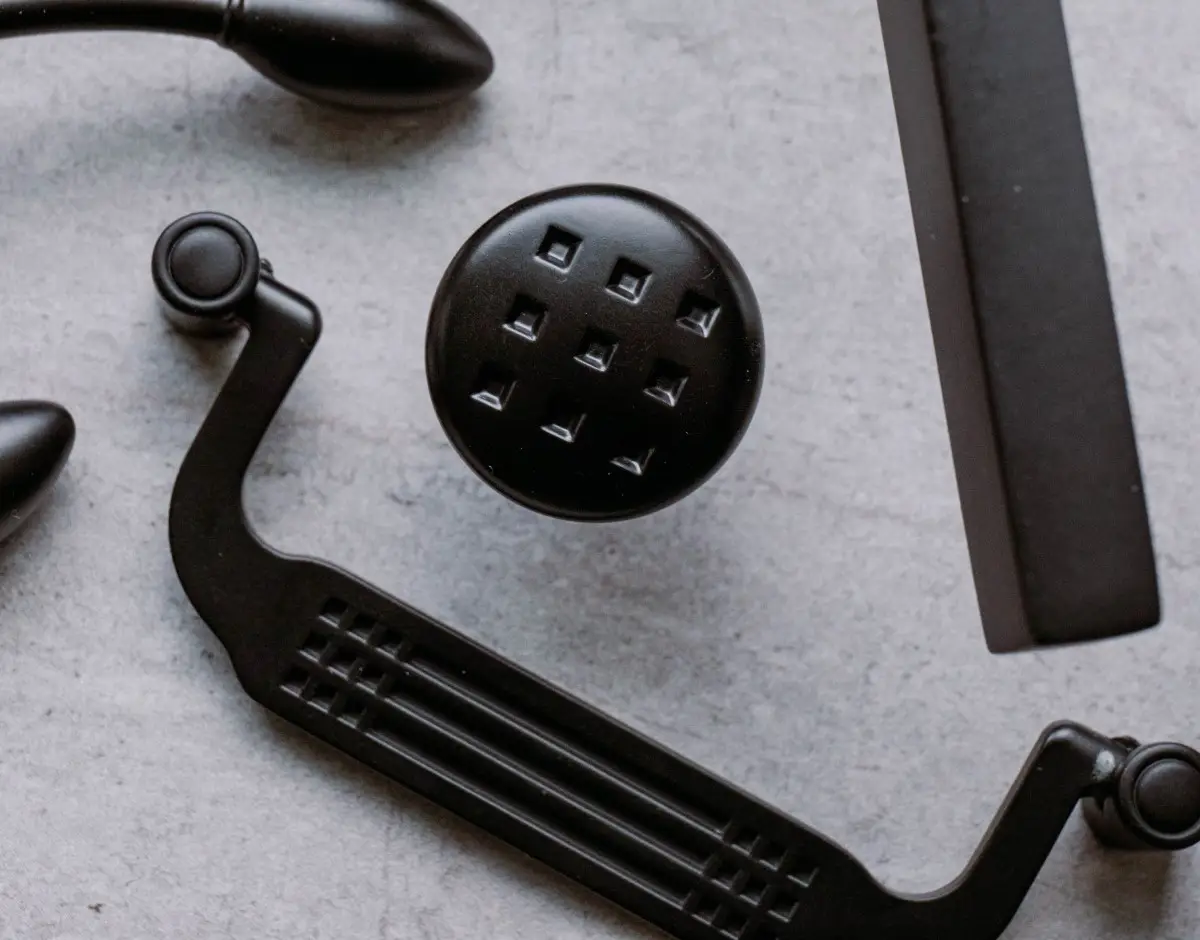
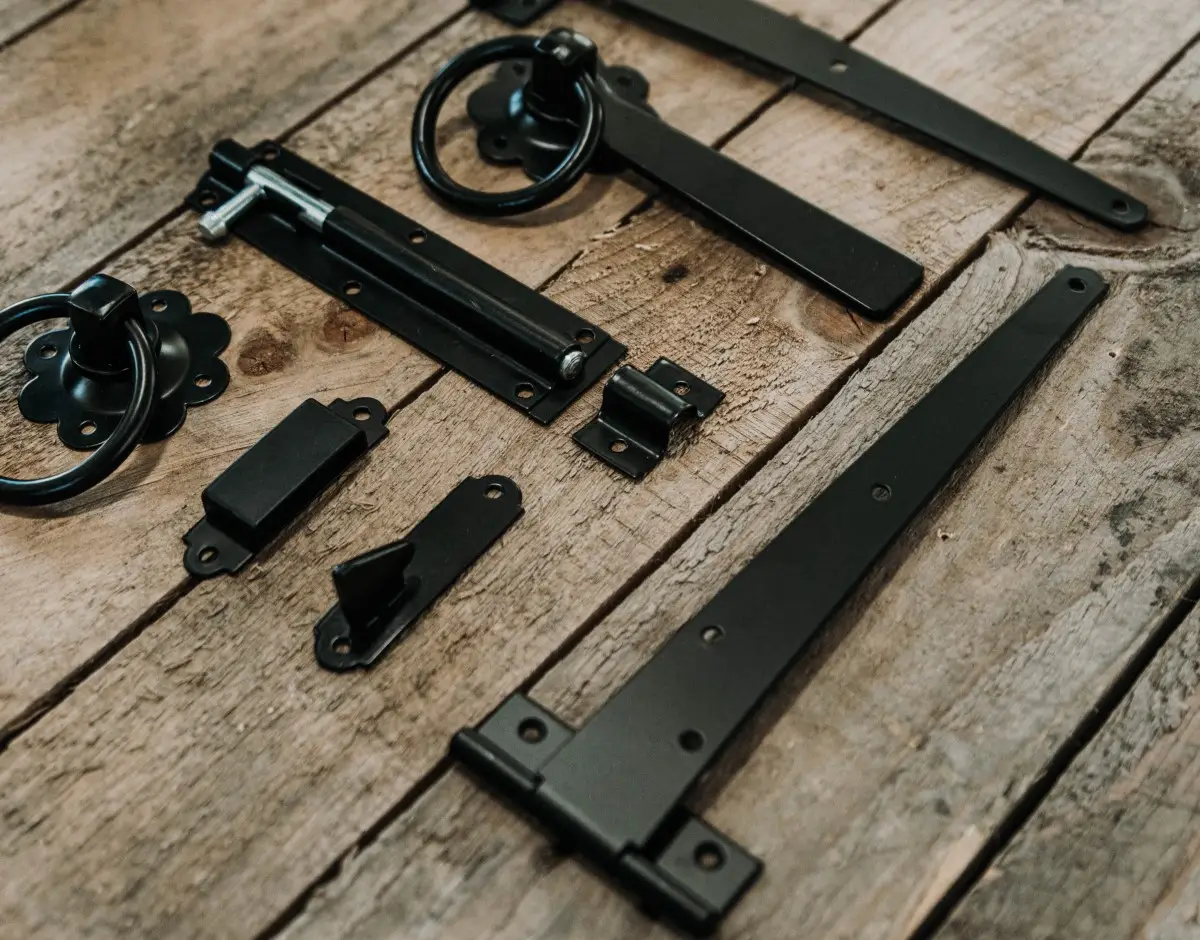
Luckily, we sell door handle packs too, so there is no need to fret about which hinge or latch you need to buy! Instead, simply purchase a door pack, and you will receive everything you need in one package.
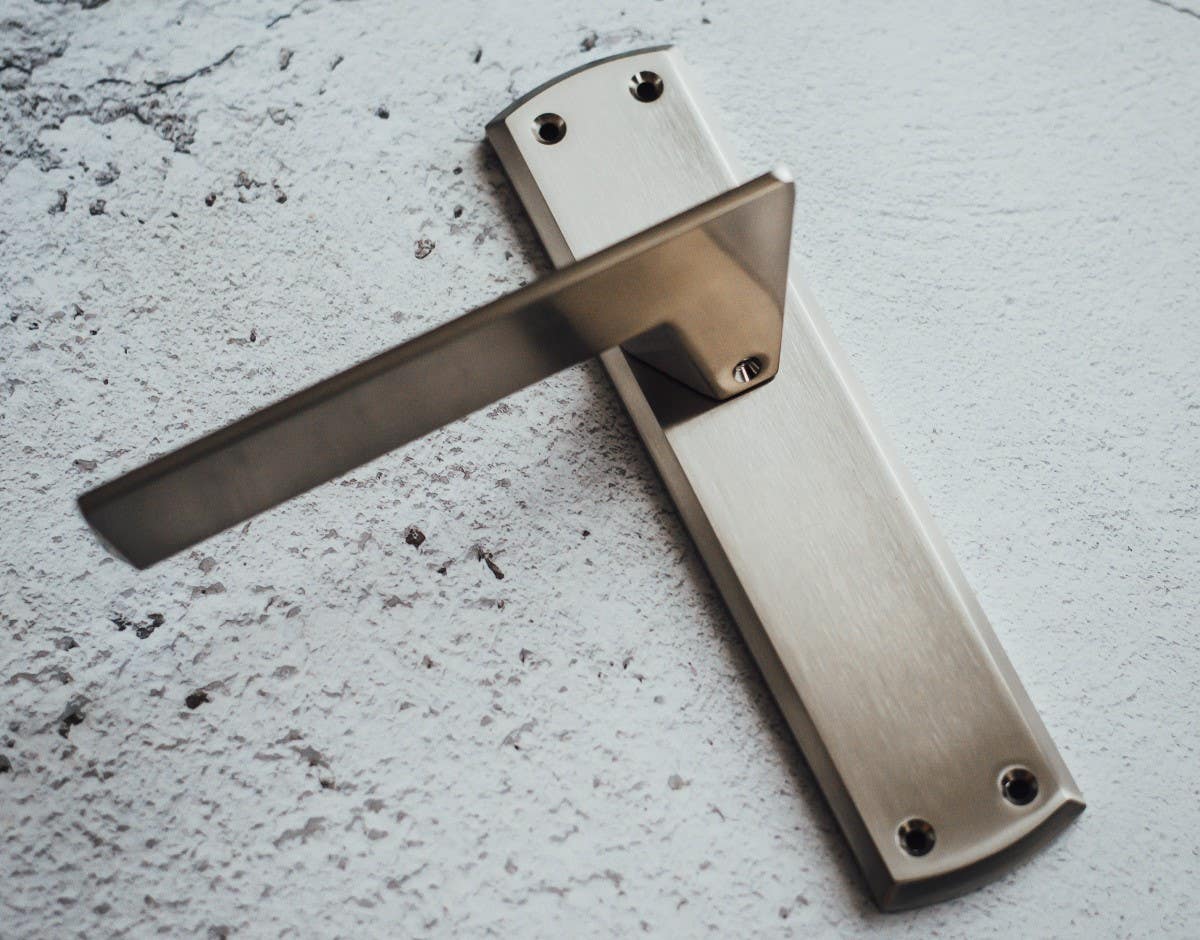
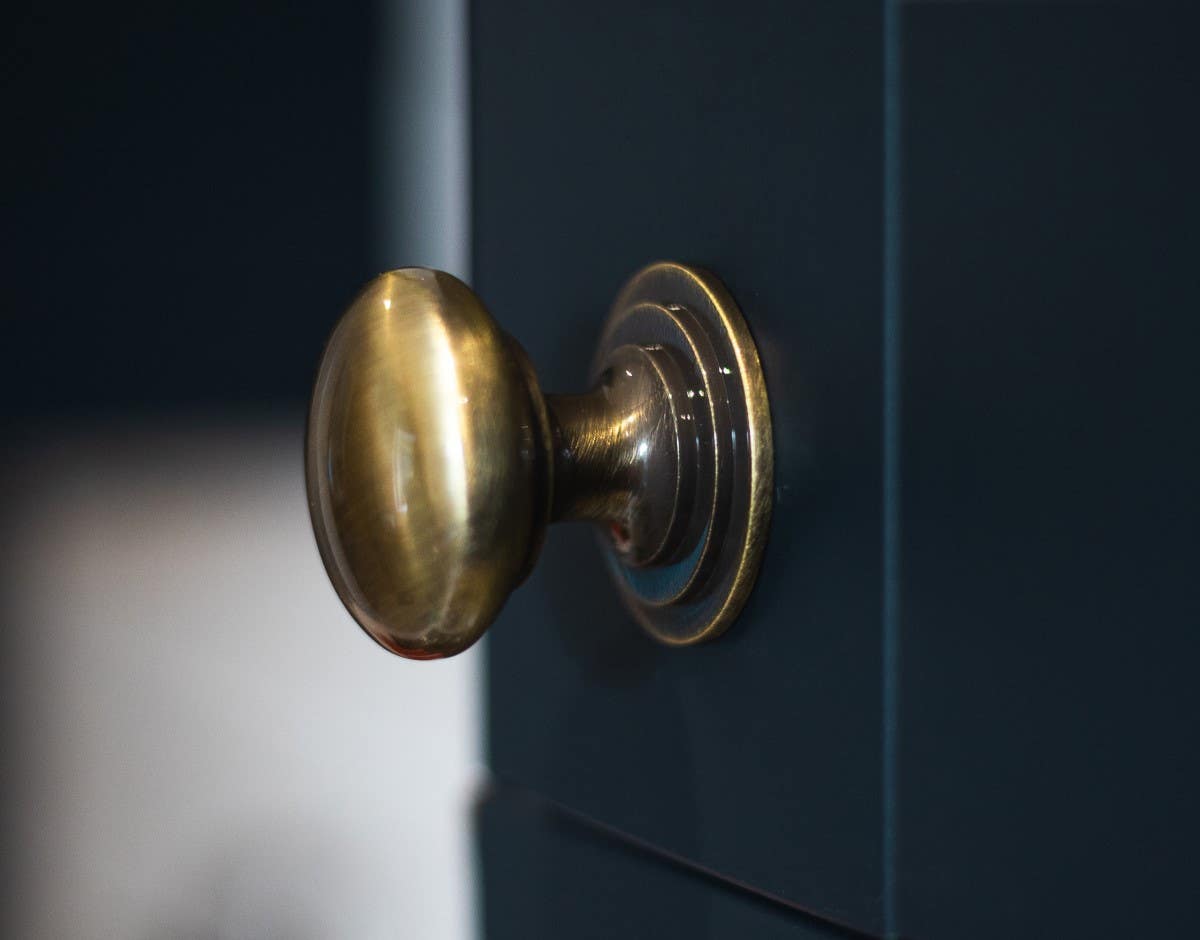
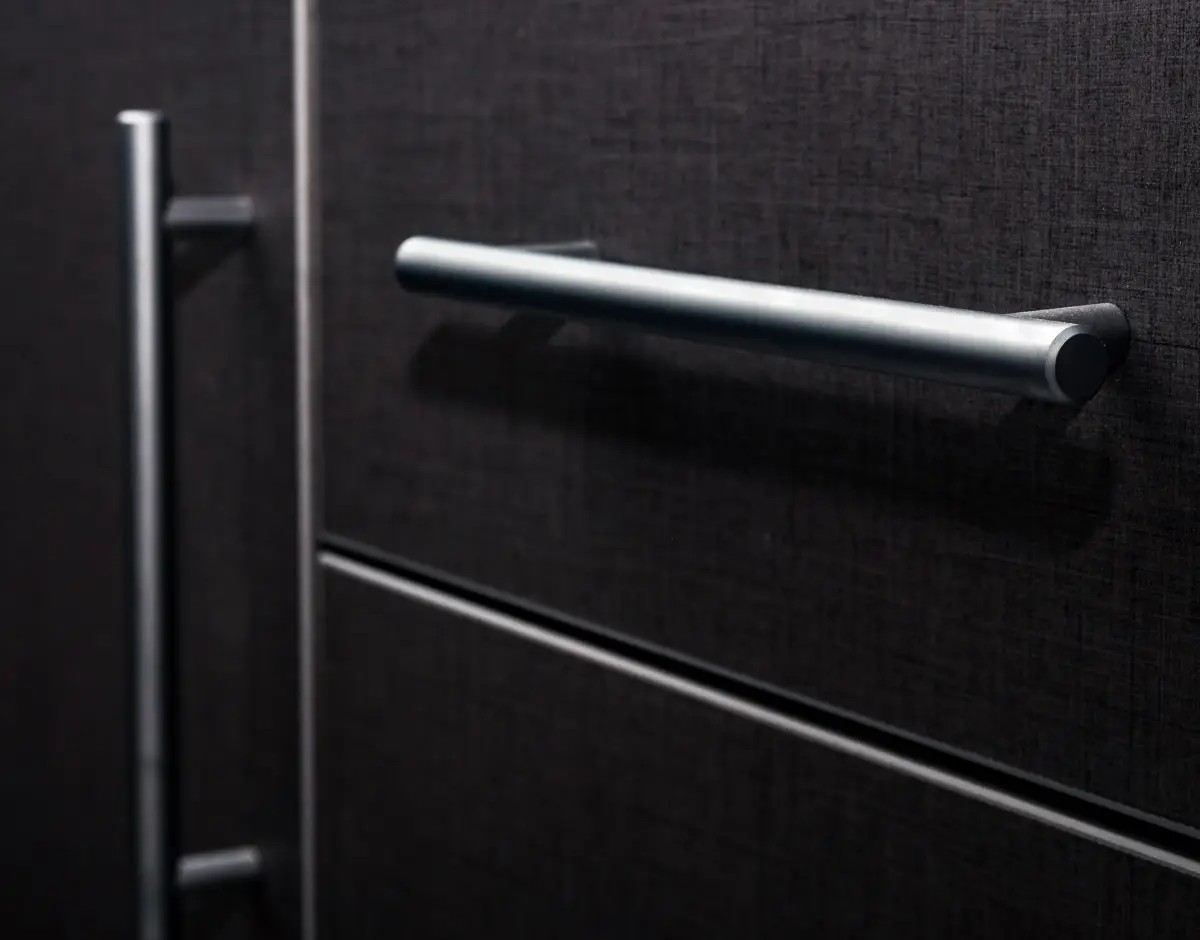
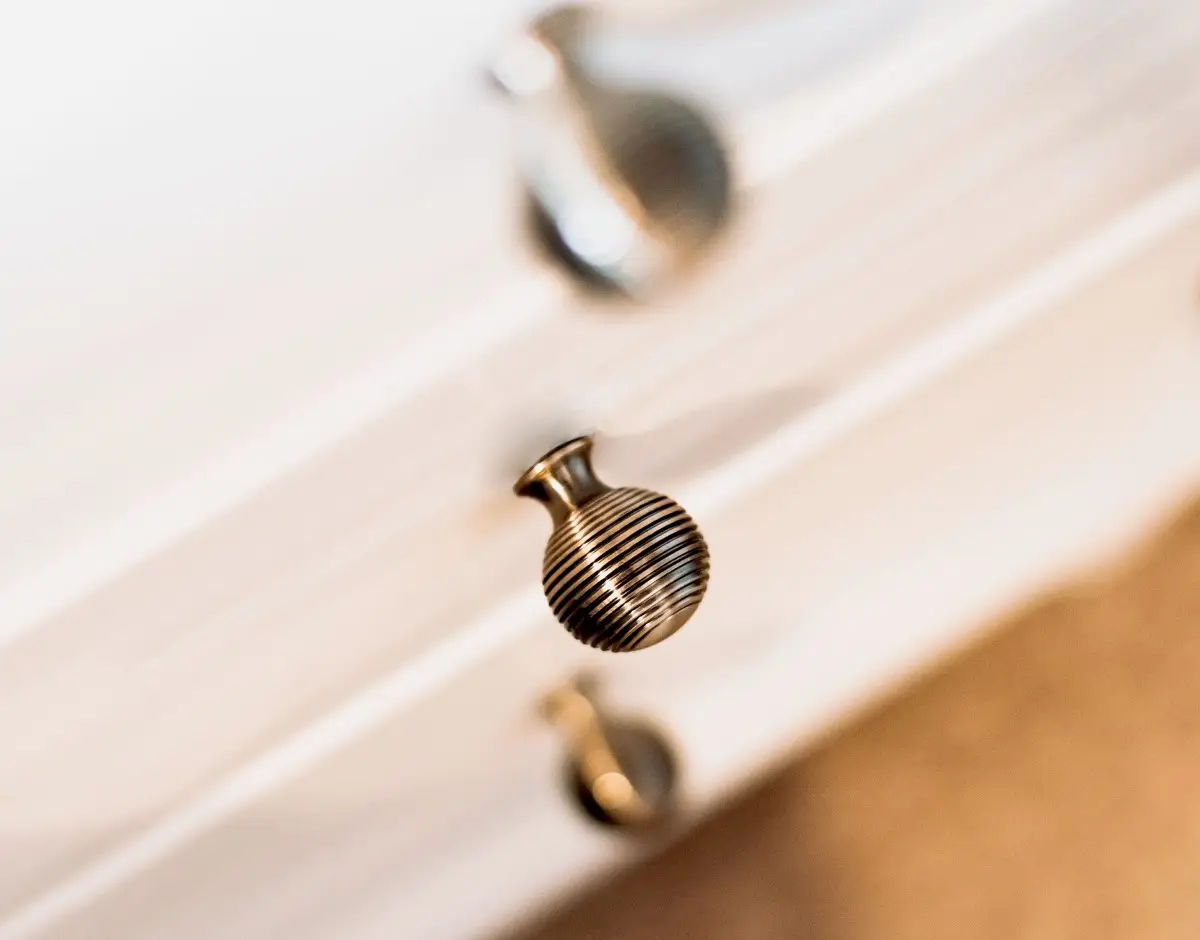
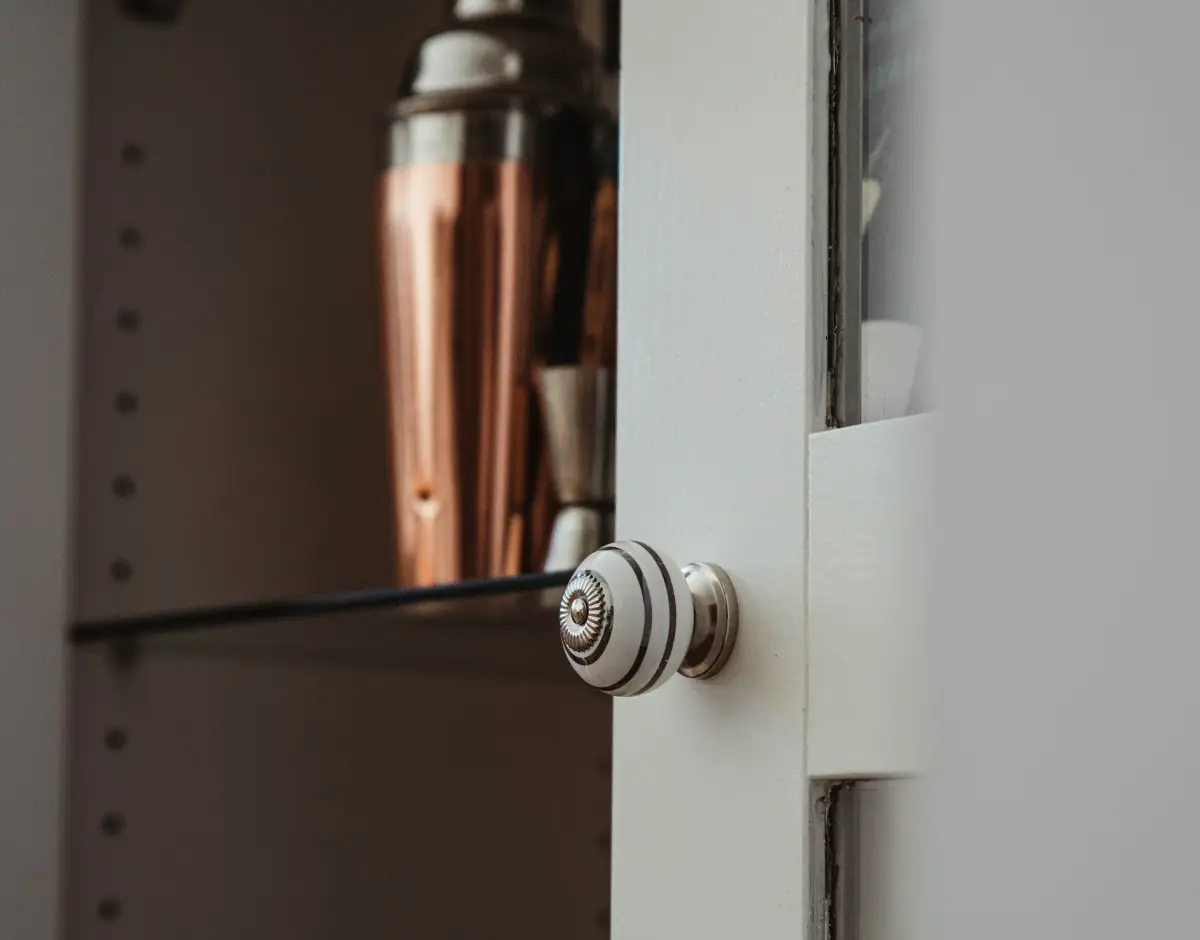
You can discover the perfect door handle for your home by browsing our door handle collection.
Measuring your door
Perhaps an essential step to take before installing your new handles is to have to hand all the measurements of your door.
You should measure:
- The thickness of your door.
- The backset measurement
- The size of your current handle.
The thickness of your door
The thickness of your door may seem unimportant, but various door handles or doorknob styles are only suitable for specific thicknesses. For example, most of our door handles at Hiatt Hardware are ideal for 30-45mm thick internal doors. Therefore, it is always worth checking the product specifications of the handles to ensure you are buying the correct size.
You also need to take note of whether your door is solid or hollow. It is crucial to be aware of this factor, as some door handles may not include suitable fixings for hollow doors. The product descriptions on our website will always state the suitability of each handle.
The backset measurement
The backset measurement is the distance between the edge of the door and the centre of the spindle hole. Again, it may be clearer to remove the old door handle to take this measurement.
Taking the backset measurement ensures you purchase the correct size tubular latch, should you also need to install this. For example, many traditional door handles will require a latch with a backset of 45mm (a 65mm case size), whilst others, particularly doorknobs, will require a backset of 57mm (a 76mm case size).

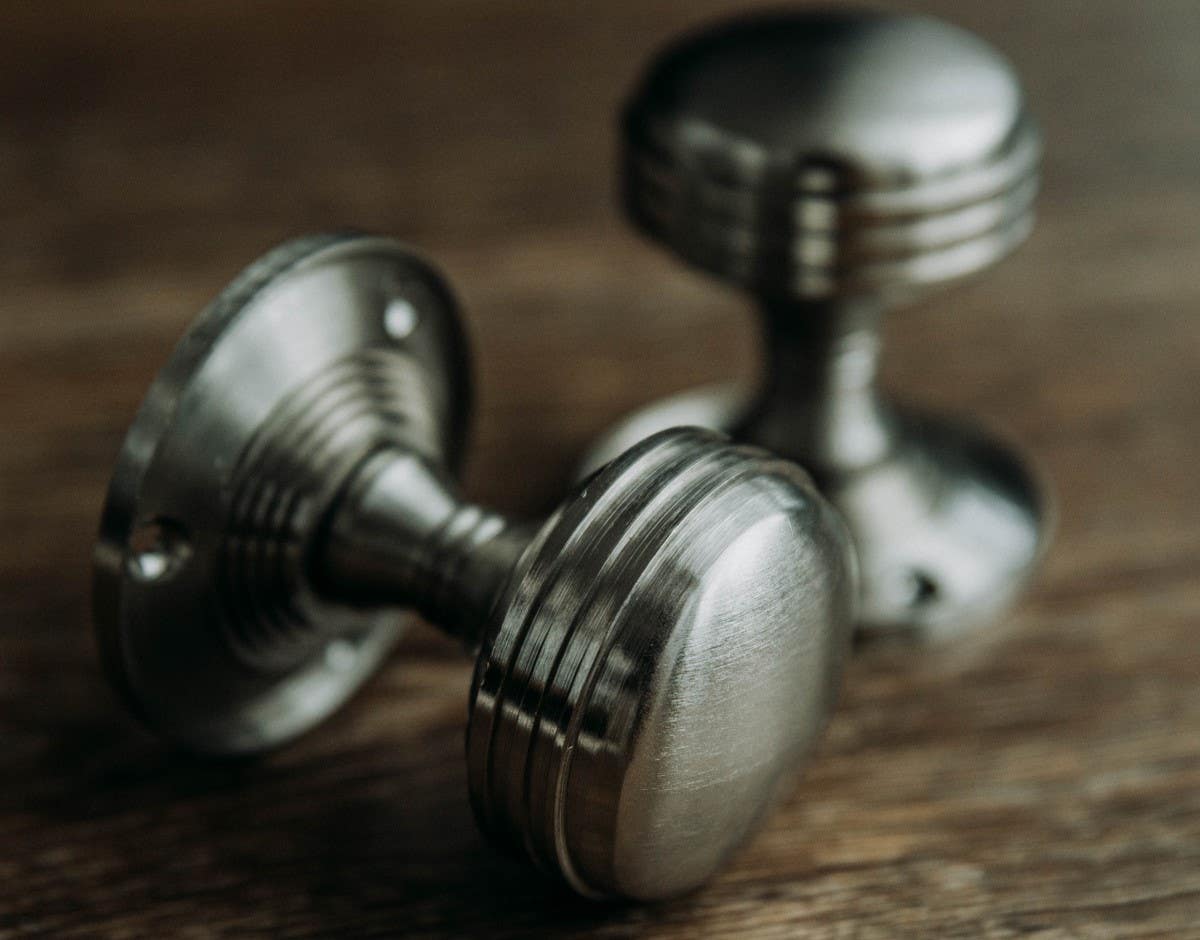
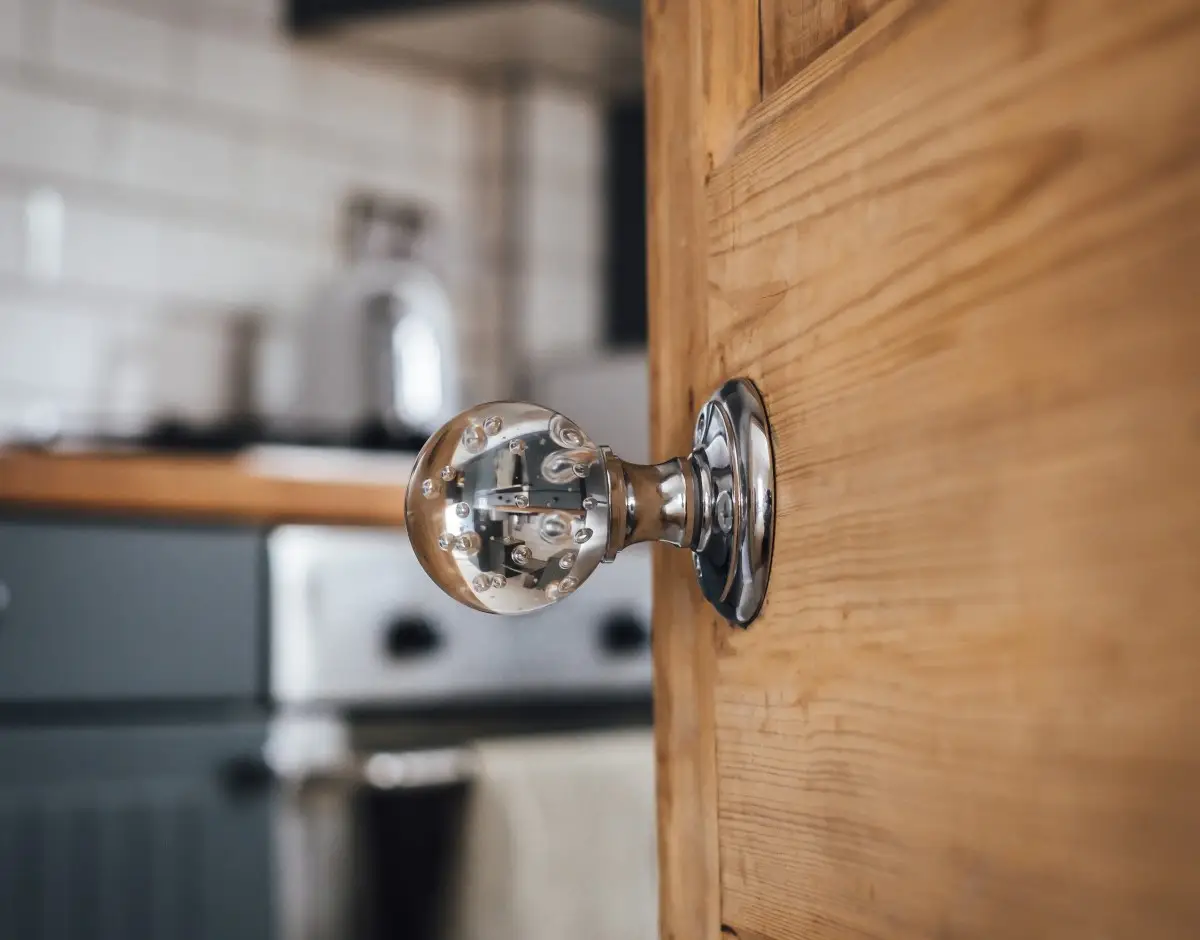
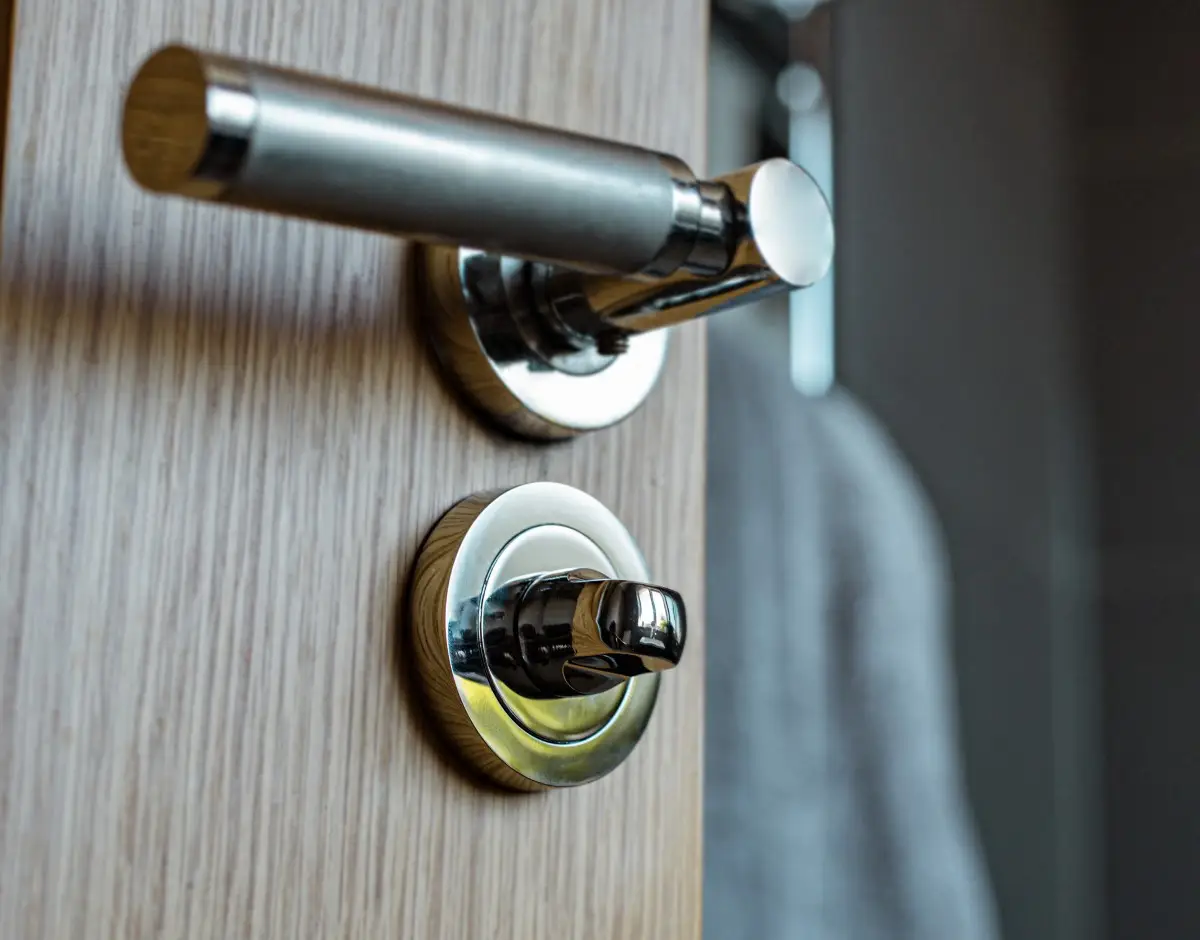
The size of your current handle
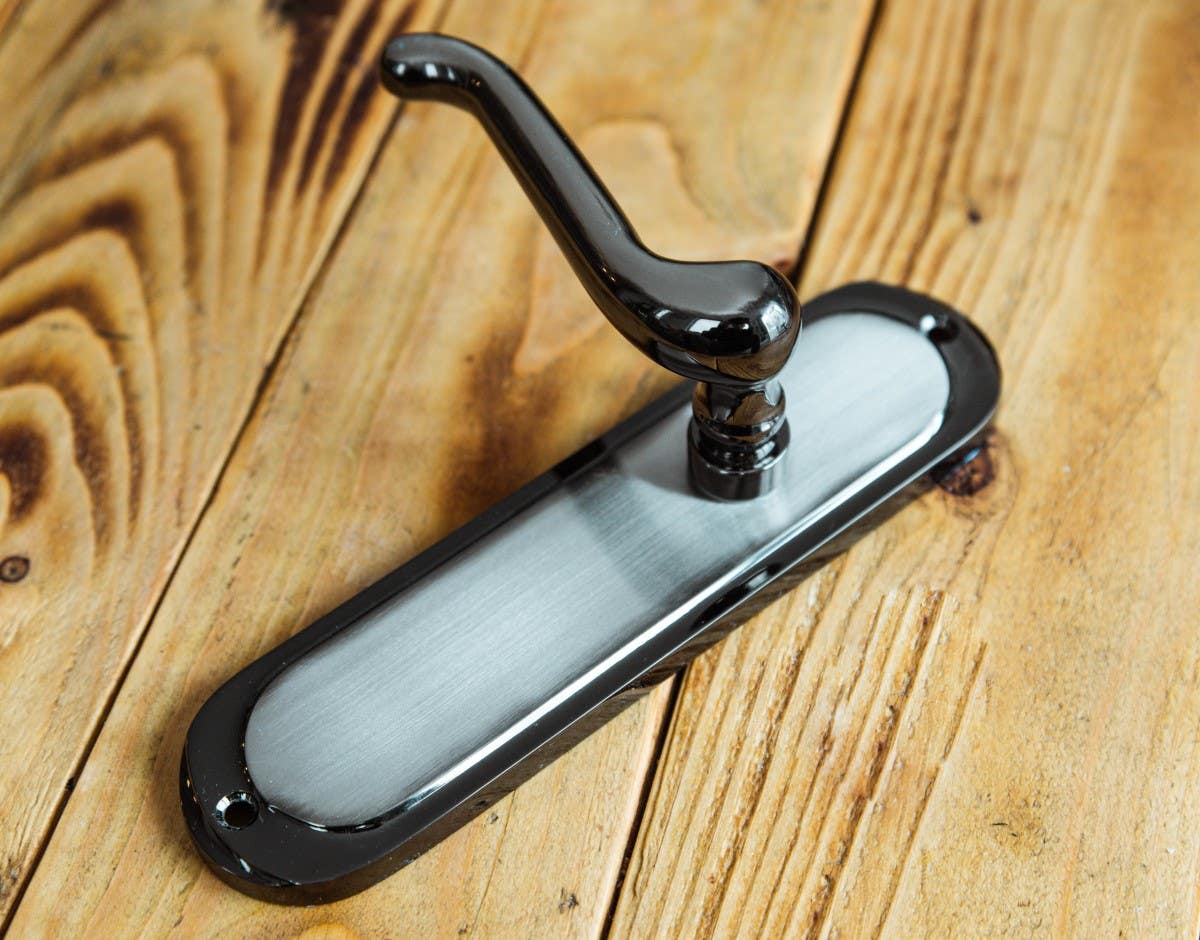
When replacing your door handles, you want to make sure your new handle covers any screw holes or marks made by your old handle. Particularly prevalent with lever on backplate handles, you can ensure your new one will sufficiently cover any marks or holes by measuring the height and width of your current backplate. For lever on rose or doorknob, this would be the diameter or size of the rose that mounts on the door.

Installing Your Door Handles
Now that you have all the measurements you need and have decided on your new handles, latches, and locks, it is time to start your installation.
What you will need
- Philips's screwdriver.
- Flathead screwdriver.
- Or an electric screwdriver.
- Your new door handles.
- The screws are included in your purchase.

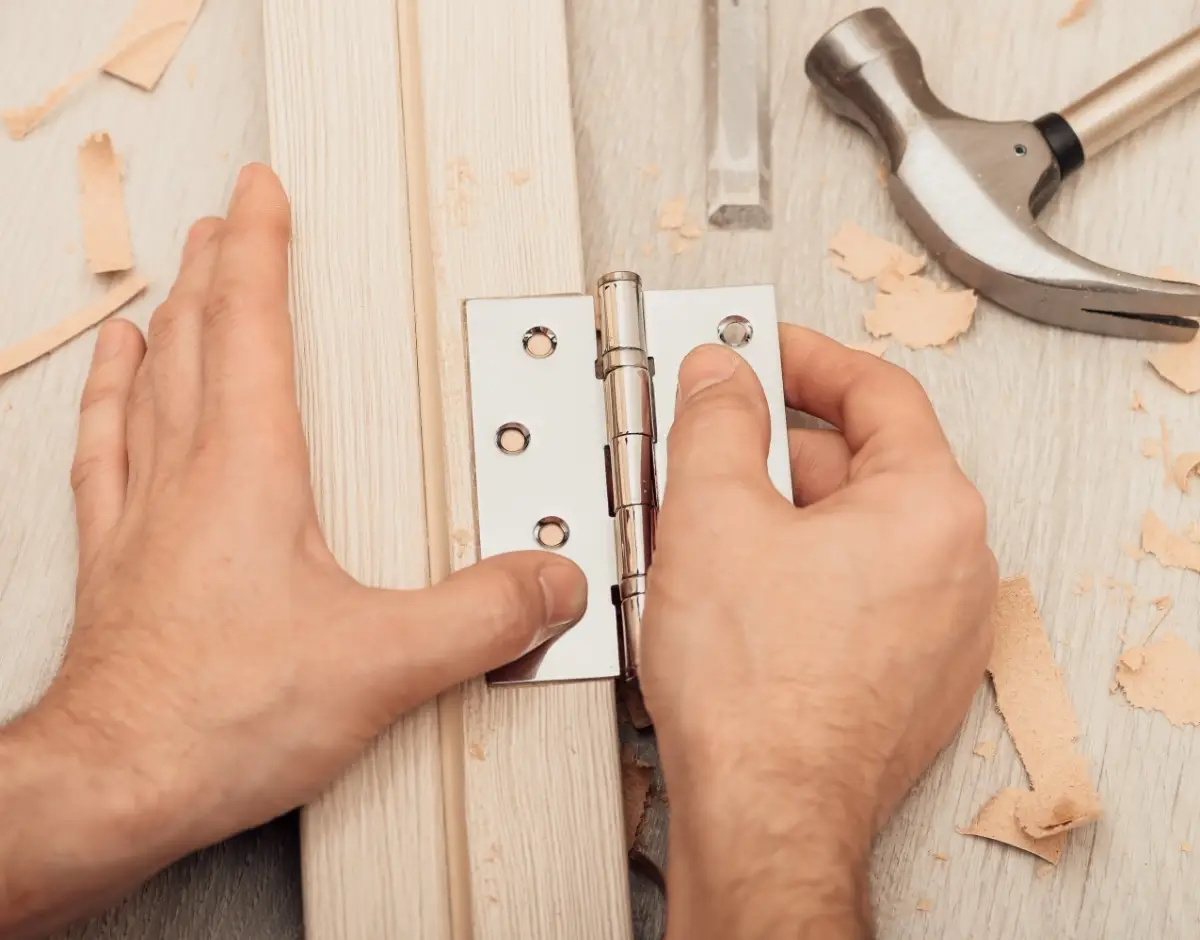
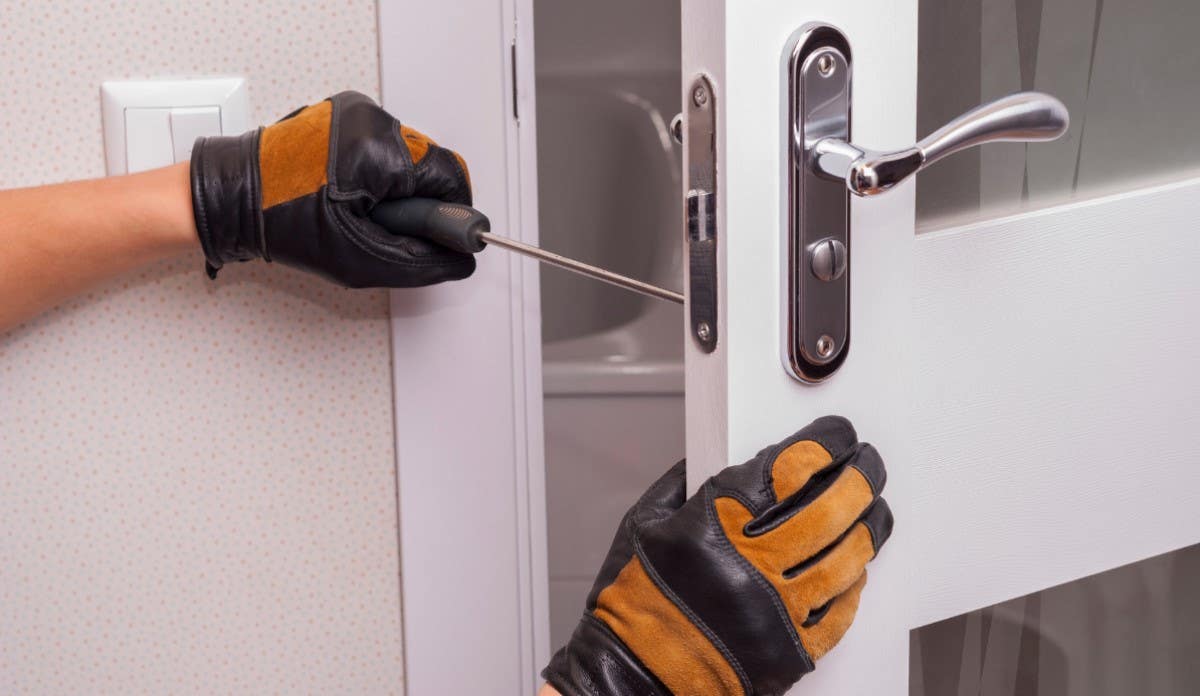
Step 1: Removing your old handles.
Prop your door open using a wedge or doorstop. By doing this, you can access both sides of the door whilst preventing it from closing whilst you are working.
Unscrew your existing handles.
- For aesthetic reasons, the screws of some door handles may be behind the cover plate.
- Should this be the case, remove the cover plate by finding the notch and using your screwdriver to lever it off.
- If you are uninstalling a lever on a rose handle, you may need to unscrew and slide off their cover plates to access the screws.
Step 2: Remove your latch or locking mechanism if you need to replace these too.
Should you need to replace your latch or lock, now is the time to do it OR skip to step 4 if you keep your existing lock or latch.
- Remove the screws from the edge of the door, which secures the latch and lock in place.
- Remove the existing latch by gently pulling it from the door.
Step 3: Installing your new latch or lock.
Slide your new latch into the hold in the door where you just removed the old one. The forend plate of the latch should sit flush against the side of the door.
- If it is not a correct fit, use a chisel to correct the hole's depth gently.
- Should the gap be too small, use a small piece of wood to fill it in.
Ensure your new latch lines up with the strike plate positioned on your door frame.
- The strike plate prevents any dents or scratches to the door frame.
Screw your new latch into place and repeat this process if you are installing a new lock.
Step 4: Attaching your new handle.
Push the new handle's spindle through the latch now set into the door.
- If you want to install a bathroom handle, you will need to also fit the 5mm bathroom spindle through the bathroom lock for the thumbturn & release mechanism.
- Bathroom locks and other door locks are sold separately to your handle.
Slide your new handle onto the spindle and screw it into place.
Step 5: Repeating on the other side.
Slide the other handle into place on the spindle and screw it into place.
- If you install a bathroom handle, you will now attach the thumbturn using the Allen key provided on the corresponding side of the door.
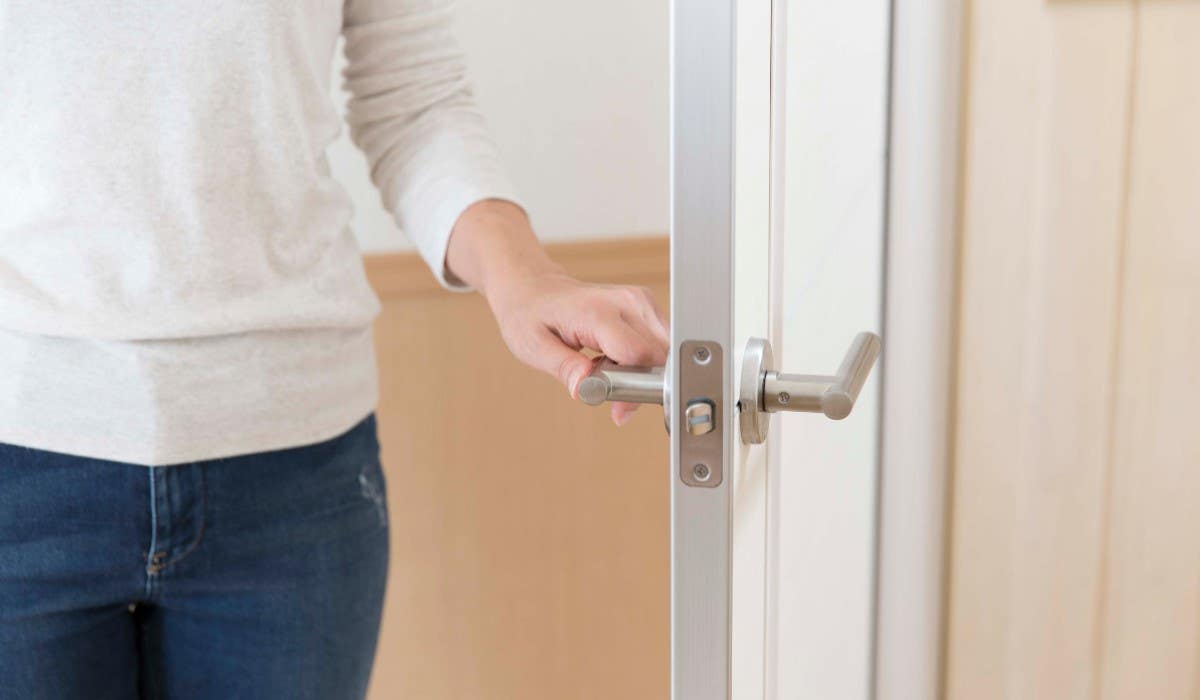
Step 6: Testing your door handles.
It is crucial that you now test your door handles before screwing the final pieces into place.
It is vital to ensure the handles work before closing the door; you may become trapped if they are incorrect.
Step 7: Tighten up the screws.
The final step is to tighten any screws to ensure the handle is firmly in place.
You will also want to tighten the grub screws located underneath the lever to lock the spindle in place securely.
Give you handle a final test, and that is it! You have now finished installing your new door handles!

Discover Your New Door Handles At Hiatt Hardware
Whilst you may think this is a daunting task, we hope our expert advice has helped guide you through the process. For clarification on any terms or door handle parts, our article Door Handle Parts Names will clarify these for you.
If you are still unsure or are stuck on a step, you can watch our YouTube video below for a visual guide.
For further queries, our dedicated team are always willing to help. You can contact us by calling 0800 0590 950 or sending an email to websales@hiatt-hardware.com.