

Looking to change your tired and outdated door handle? But you have realised you have never installed one before. Don’t fret! This simple step by step guide will take you through the process of fitting your new door handle without a hitch.
Additionally, if you are unsure about the parts you need, you can read our article that clarifies this issue here: Door handle parts names.
Before you buy new door handles
Before you purchase your new lever handle, you should measure the thickness of your internal door. Some handles are only suitable for a standard thickness of the door.
Most of our door handles are suitable for 30-45mm thick internal timber doors. You should always ensure the door handle you are buying will fit your door.
You should also check if your internal door is a solid door or a hollow door construction. This is very important as the door handle you choose to buy might not include suitable fixings for the hollow door.
All this information can be found on our website's details and more information section when you are browsing through our door handles.
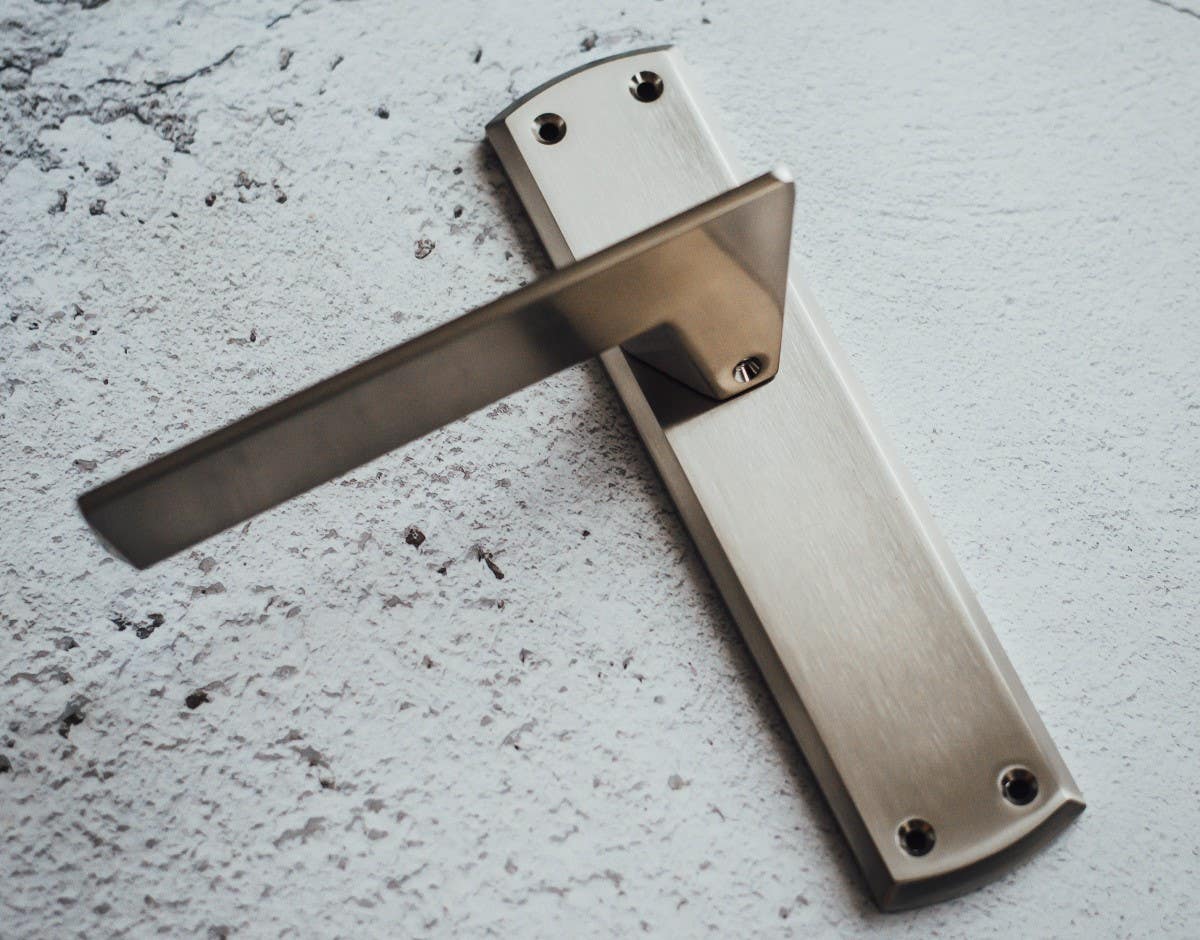
What type of door handle do you need?
Now, it is important to understand what kind of door handle you need to install.
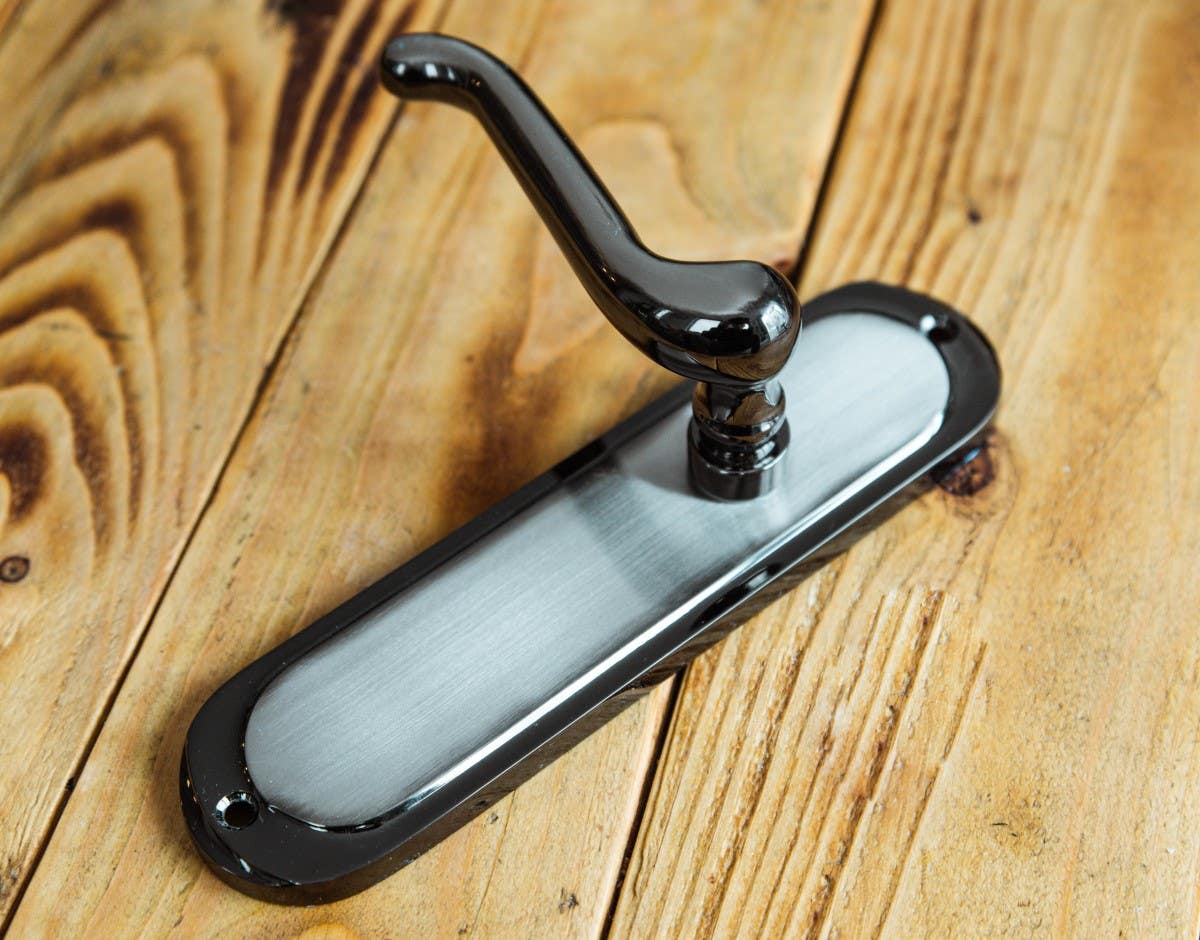
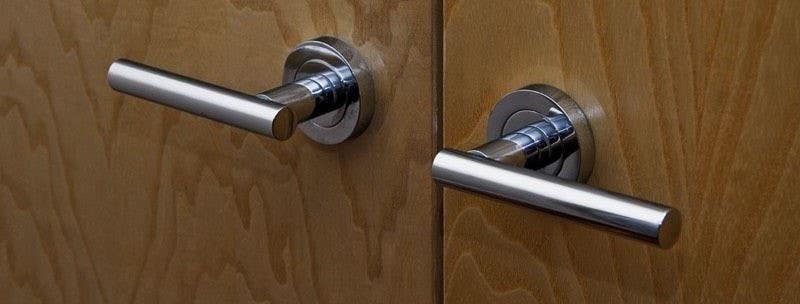
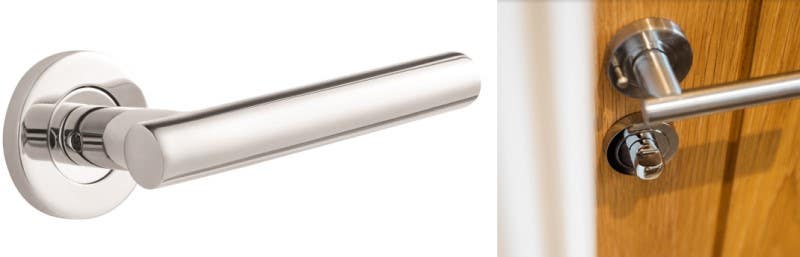
Regular handle with no locking mechanism
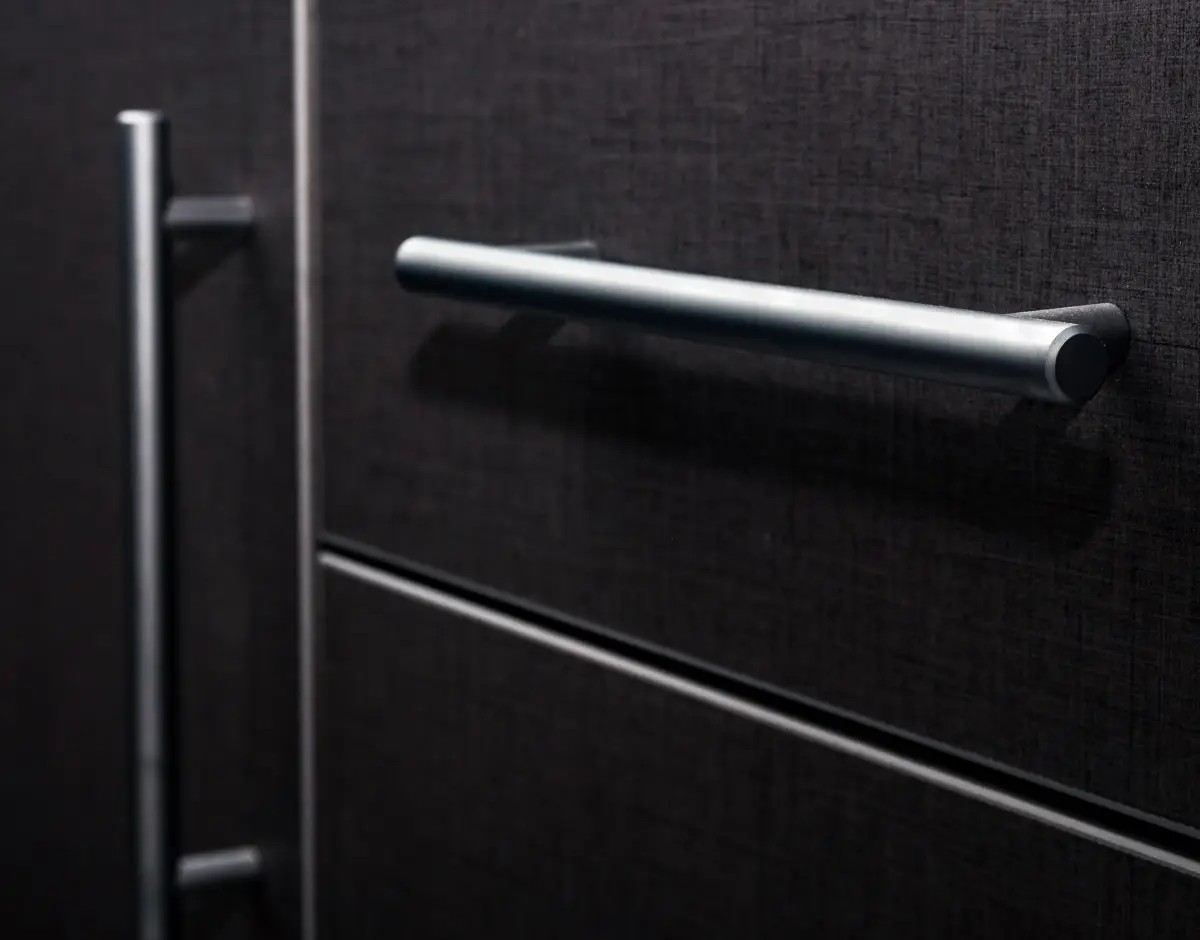
If you are looking for a regular handle with no locking mechanism, you need a lever latch door handle. This simply requires a mortice tubular latch to be installed with the door handle for latching the door shut.
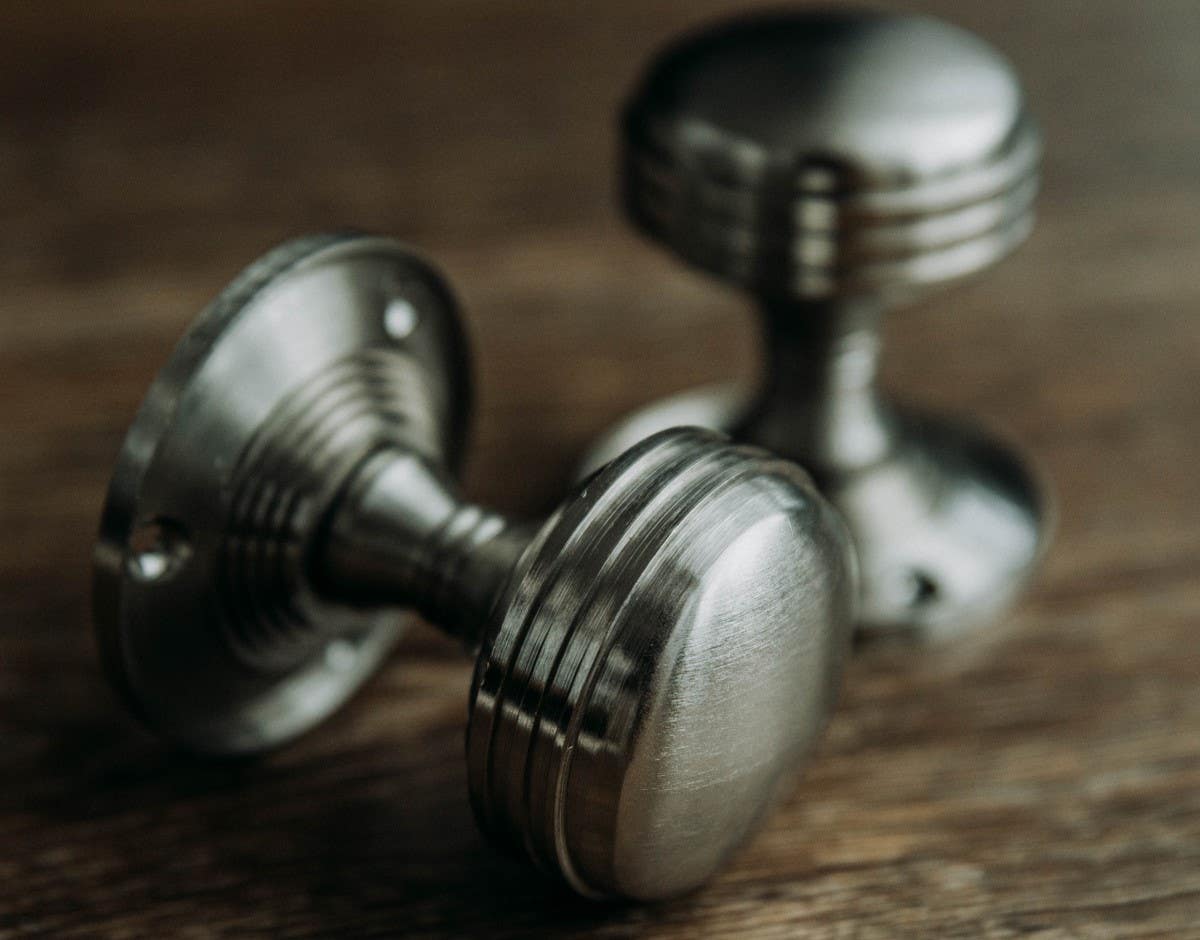
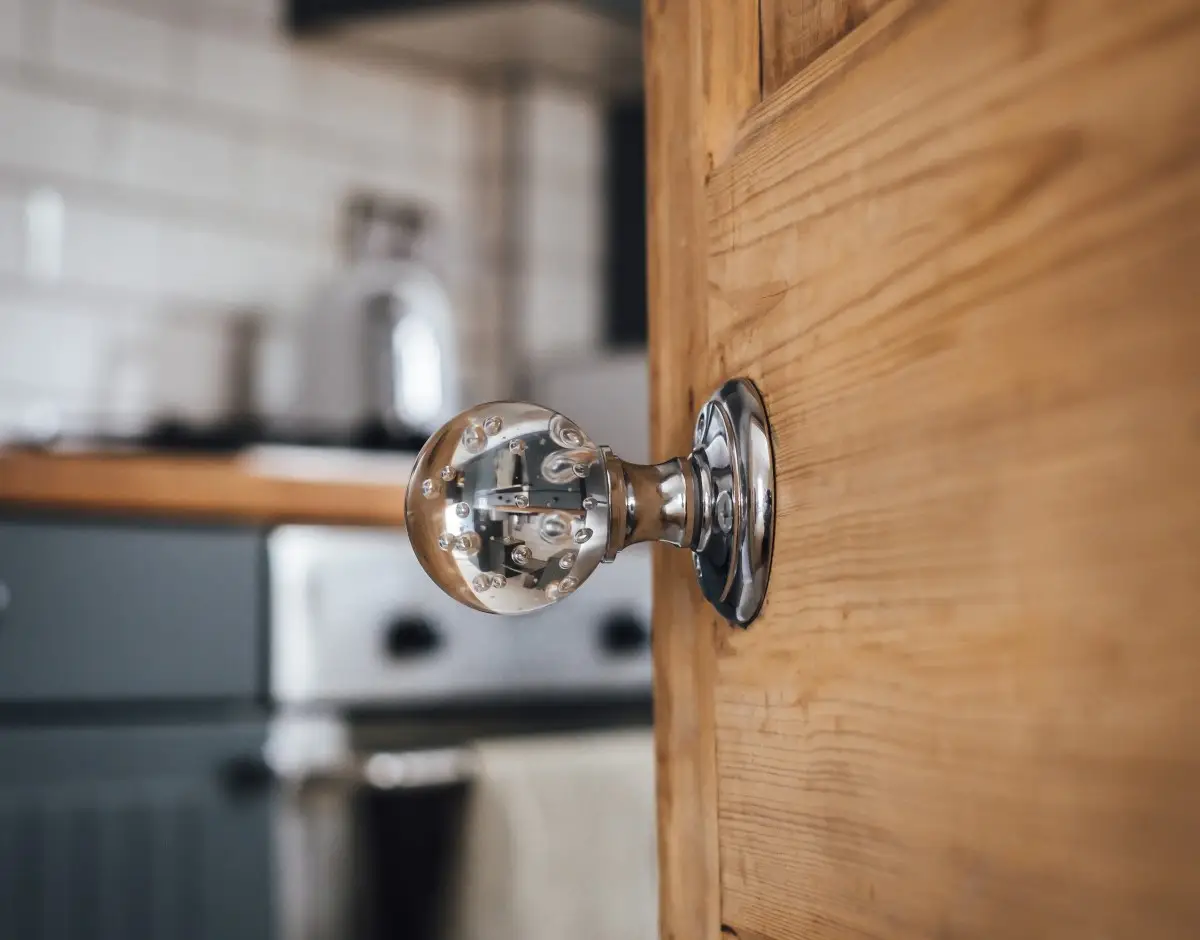
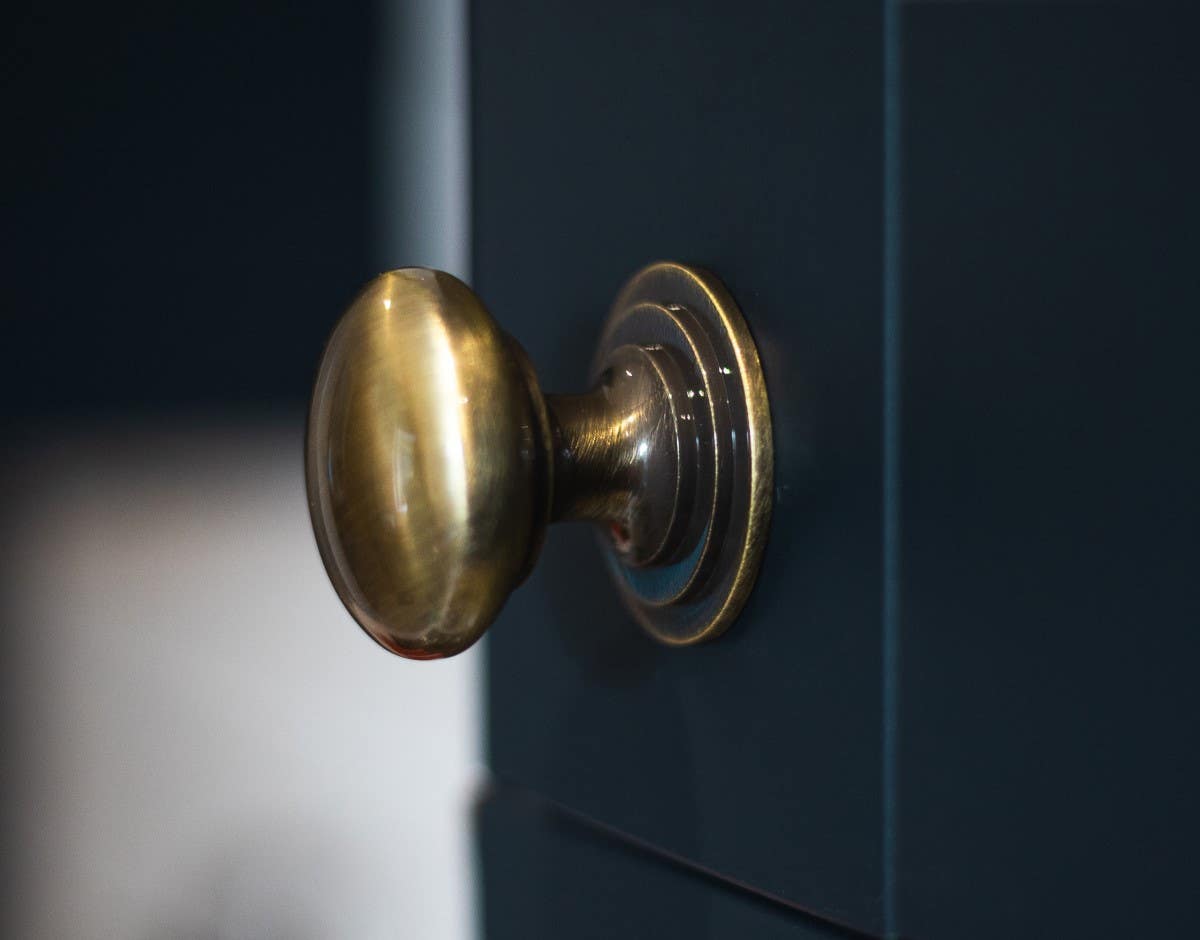
You can also choose to buy a mortice doorknob or lever on a round rose door handle, which is an ideal alternative for lever latch backplate door handles.
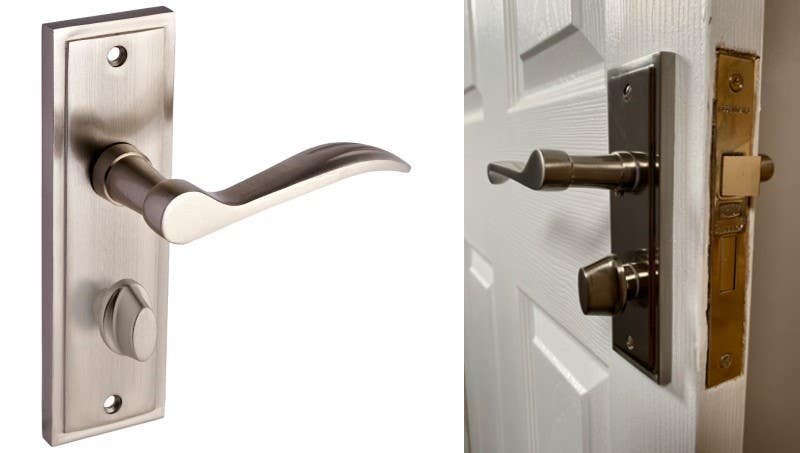
Lever lock door handle
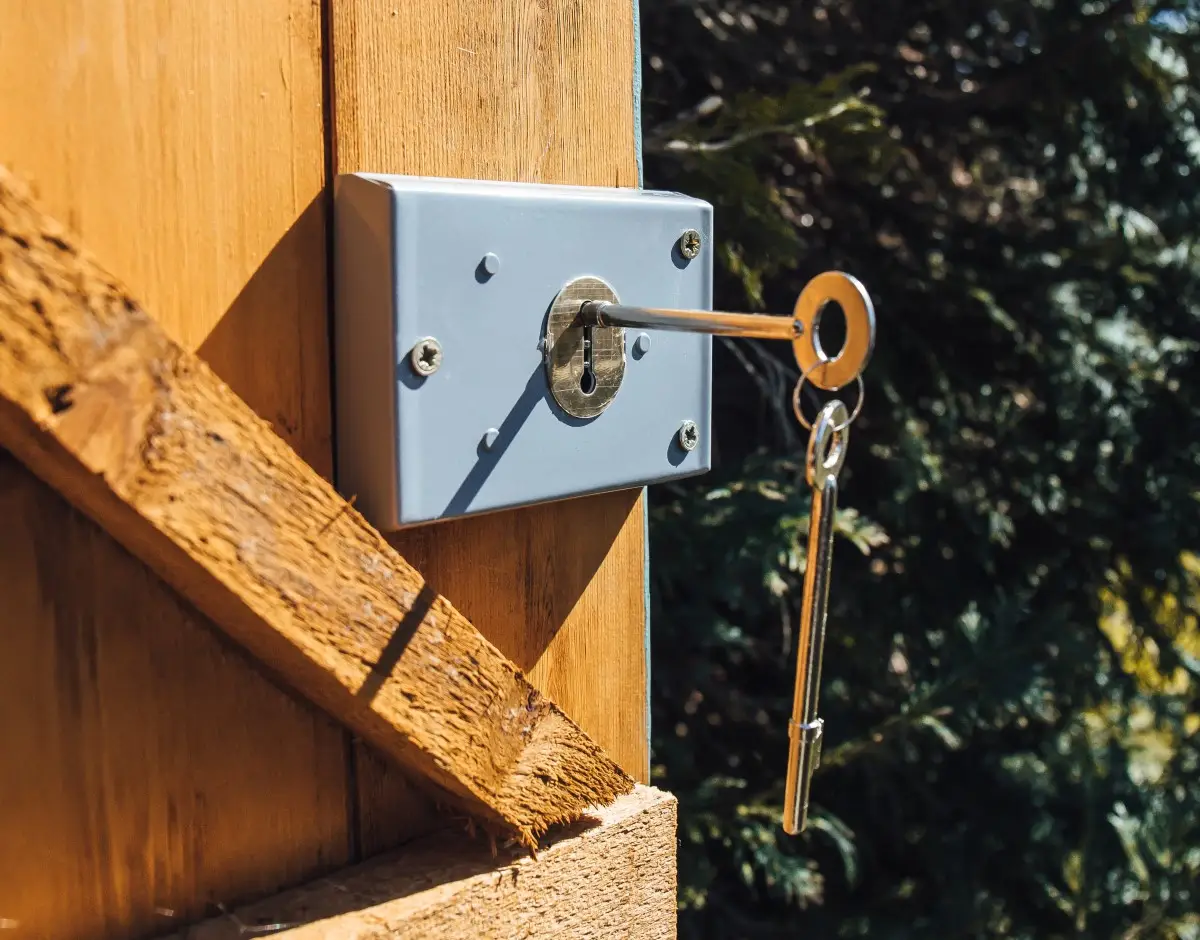
If you require more security or privacy, then you need a door handle with a keyhole for locking, this is called a lever lock door handle. This lever handle is required to be installed with a mortice sashlock. For mortice doorknob and lever on rose door handle, you can buy keyhole escutcheons to suit with sashlock.
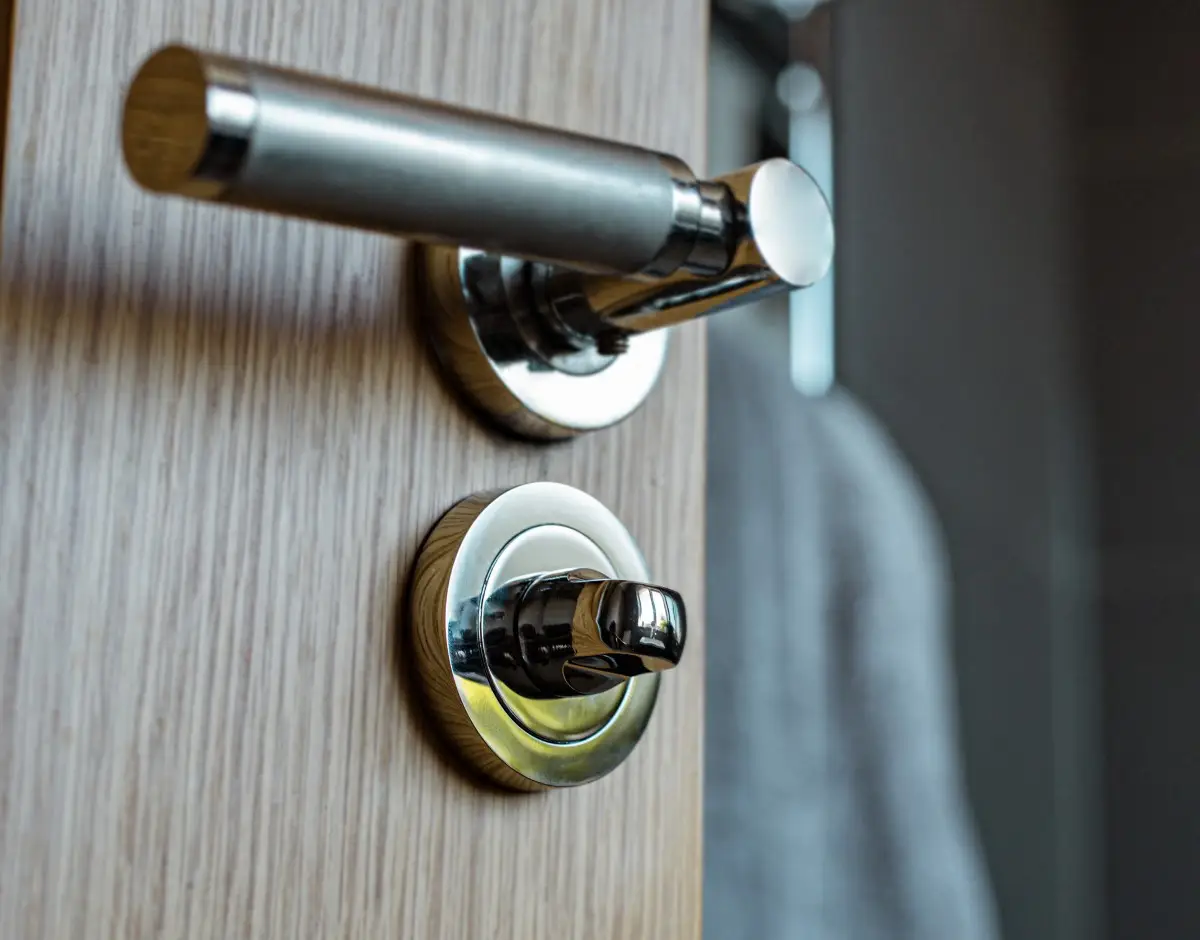
Bathroom door handle with lock
And finally, if you are changing a handle for your bathroom door, you will need to purchase the bathroom door handle, which includes thumbturn mechanism and needs to be installed with the bathroom door lock.
For the mortice doorknob and lever on rose door handle, you can buy the thumbturn & release mechanisms separately to install with the bathroom door lock.
You do not need to change the existing latch or locking mechanism if they are functioning fine. However, it is highly recommended to lubricate the locking mechanisms periodicallyfor smooth operation.
Installing handles on a new door | Changing existing latch/locking mechanism
If you are installing handles on a new door or wish to change your existing latch/locking mechanism, the most important part of a door handle installation is to ensure the latch or the lock fitted is the appropriate size and installed properly.
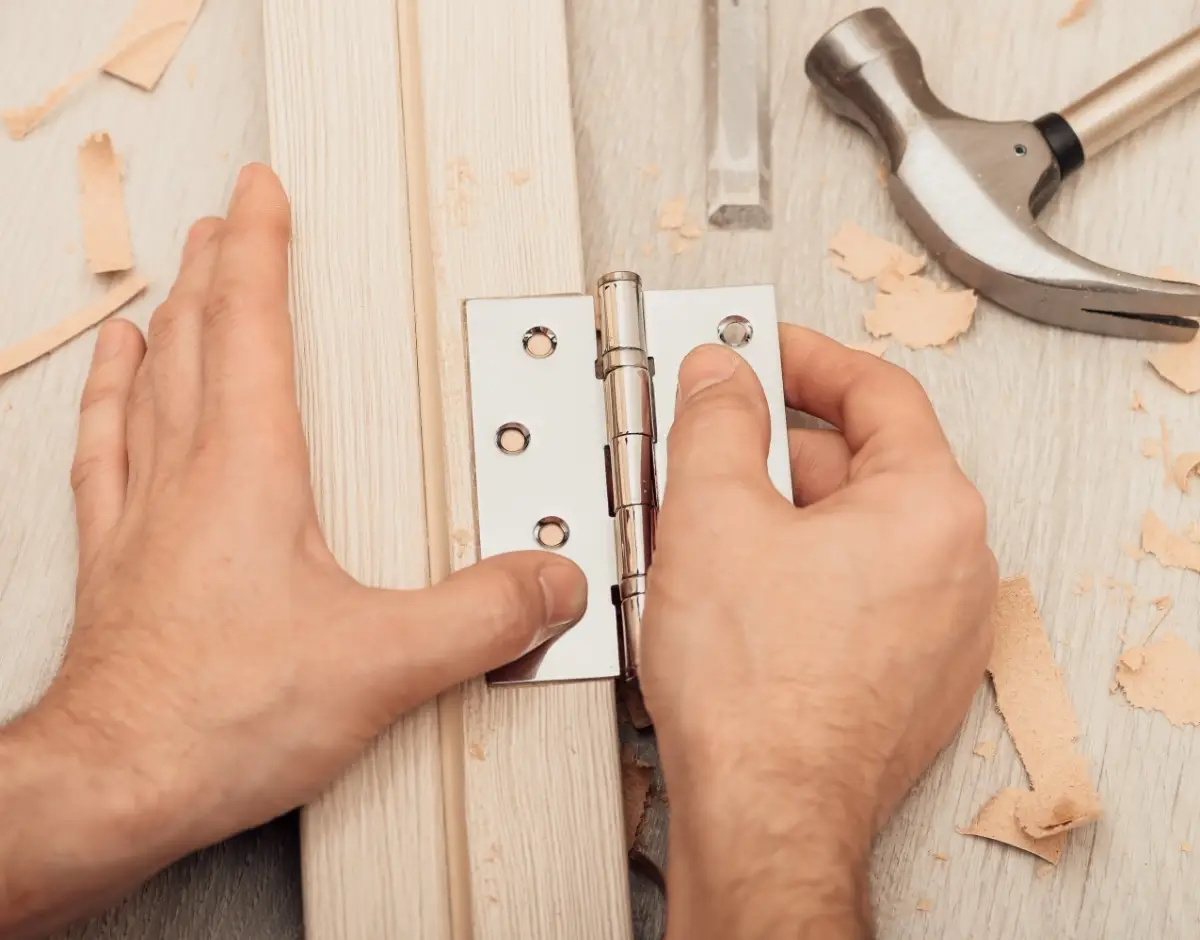
The mortice tubular latch or mortice door lock is fitted inside the door and the forend plate helps the lock to sit in a fixed position.
You can connect the handles with the mortice lock by passing the spindle through the mortice lock, which connects to either end of the door handles.
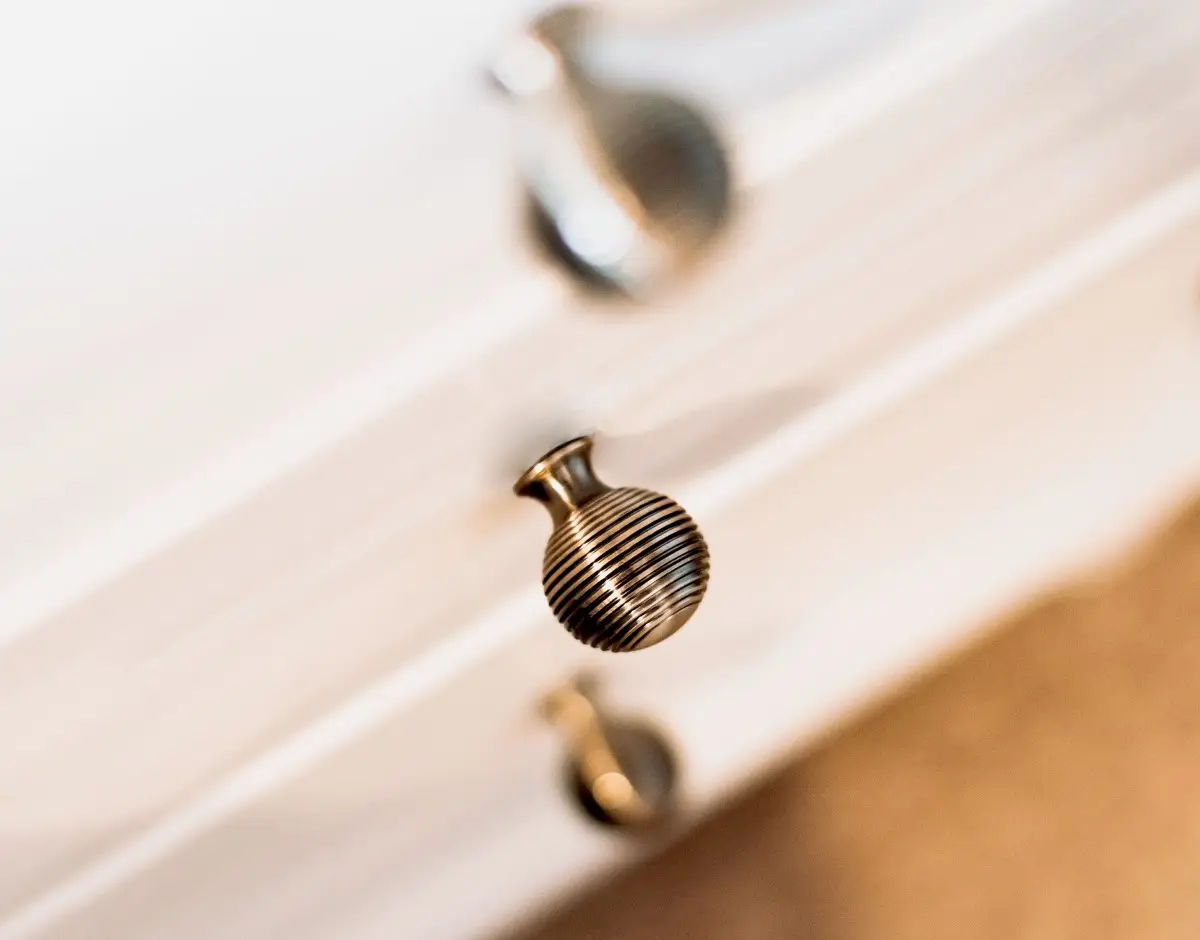
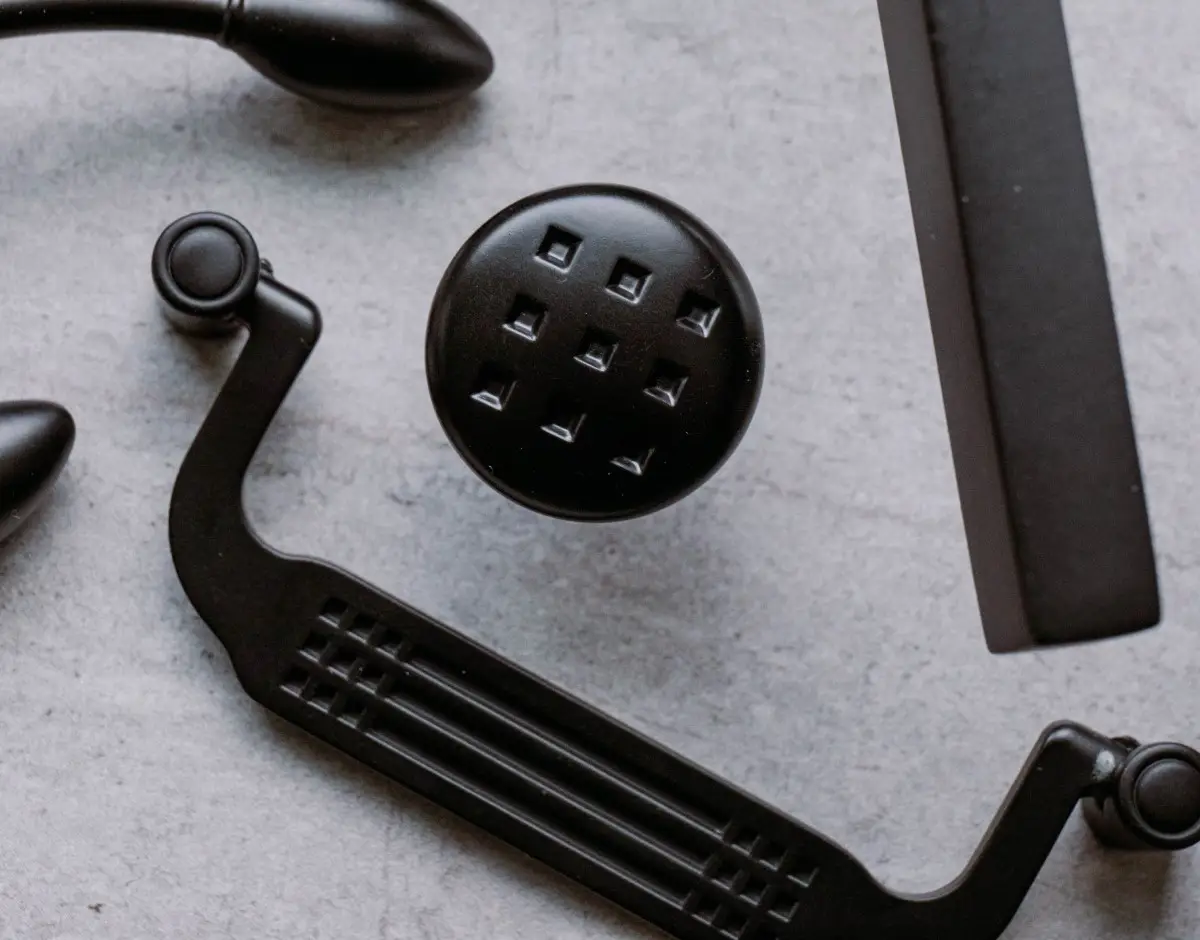
Getting to know the door handles parts
Inside the box of your new handle, you might see some unfamiliar parts, but don’t worry, here is a brief rundown on what you may find inside.
- The metal bar in the middle of the two handles is called a spindle. This is what goes through the door and turns the latch. The spindles supplied by Hiatt Hardware is 8mmx8mm thick, suitable for standard UK latch or lock.
- Next, there are two types of screws usually included with door handles. Woodscrews are the most common fixings used for installing the lever handles on solid wood internal doors.
However, modern door handles also include hollow door fixings which are also known as bolt-through screws. These are ideal for hollow doors as the male part goes through screw holes in the door and pass through your bolt-through latch or lock.

The female part is installed from the other side of the door and connects to the male part.
- Underneath the lever, you may find a little hexagonal screw in many of our door handles. This is called a grub screw. When tightened, it helps secure the lever handle to the spindle bar for a strong fit and sturdy operation.
- You will be provided with an Allen key in the box to tighten or loosen the grub screw.
Finally, installing the door handles
If you are more comfortable following a video for installation tips, we have a step-by-step guide on our YouTube page. You can find it here: Door transformation - How to install a door handle.
Tools needed to install door handles
First things first, you are going to need a few tools for installation. Please make sure you have a flat head and Philips’s screwdriver to hand.
It might also be handy to have a drill for a later step. If you need to make the rebate and hole for your mortice lock/latch bigger, you will need a chisel too.
Follow these steps to change your door handles:
- Step 1: Remove the old lever handle from the door. This is a good opportunity to see if your new door handle will line up to the existing holes, or if you are going to have to fill the holes up before you fit them.
- Step 2: If you are going to change the latch or locking mechanism, now is the time to do this. There will be a few screws on the edge of the door you need to remove to uninstall the forend plate. Getting the old latch out can be a little tricky, but this will come out with a little ‘persuasion’.
- Step 3: Then take your brand-new latch and fit it into the hole you just removed the old one from. This may not be an exact fit, so you might have to chisel a little of the wood out of the door to get this to fit correctly. Then simply screw in the new latch into place. The process is also the same for a mortice lock.

- Step 4: To suit the new latch or the lock you will need to install the striker plate on the door frame. The latch bolt strikes on this plate to avoid any dents and scratches on the door frame therefore the striker plate must be installed right opposite the tubular latch or mortice lock.
- Step 5: Push the spindle passing through the mortice tubular latch or mortice lock. If you are fitting a bathroom lock, you will need to feed the 5mmx5mm bathroom spindle through it too. You can then push one side of the handle into the spindle.
- Step 6: Mark locations for pilot holes if new screw holes are required. A useful tip to avoid splitting the wood is to drill a small pilot hole into the door first before grabbing your screwdriver to tighten this. Screw one side of the handle into the door.
- Step 7: Guide the other side of the handle through the spindle. You can then screw this side of the handle on. If you are installing a bathroom thumb turn, you can now attach this using the Allen key provided with the thumbturn mechanism. Finally, tighten up the grub screws underneath the handles to securely lock the spindle into place.
And voilà, you have just installed your door handle. Easy right?
Hiatt Hardware door handles are supplied with fitting instructions with detailed specifications and a step-by-step process to make your door handle installation very easy.